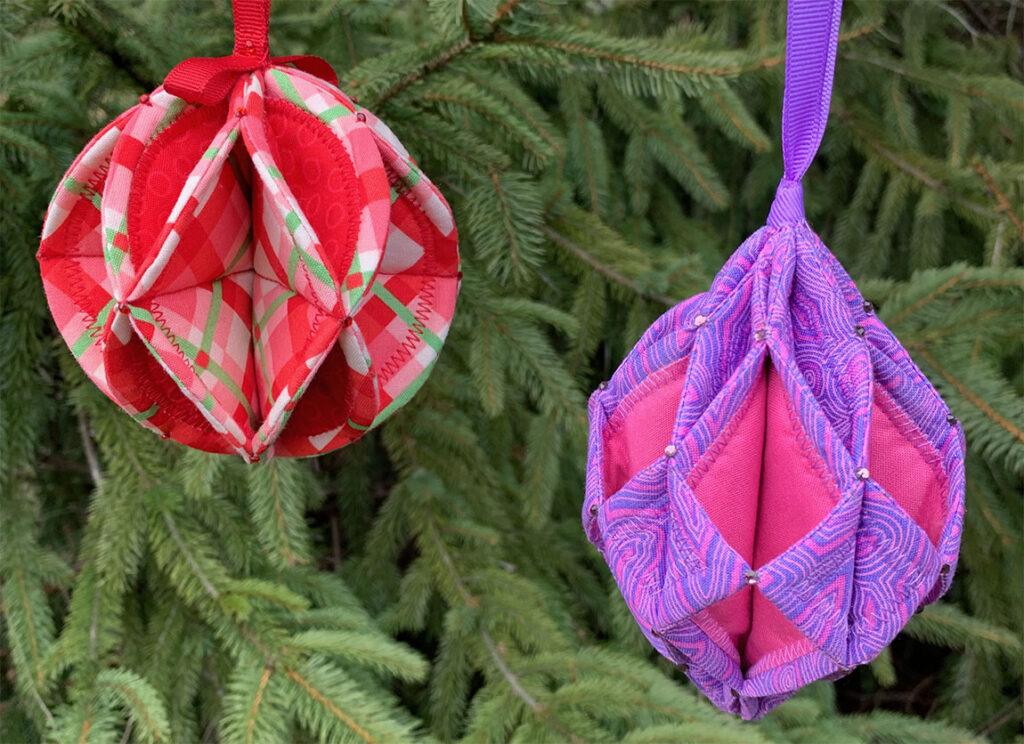
Do you stop at quit shops while you travel? On a recent trip, I stopped at a shop that had an eye-catching display with holiday ornaments, and I did an impulse buy of the pattern, Fold’n Stitch Holiday Ornaments by Poorhouse Quilt Designs. I adore the way the folds in these ornaments create so much depth in the design and the opportunities for bling where the components connect.
This post contains some affiliate links. That means if you click on an affiliate link and end up making a purchase at that site, I will receive a small commission that doesn’t cost you anything.
The Circle Fold’n Stitch Ornament
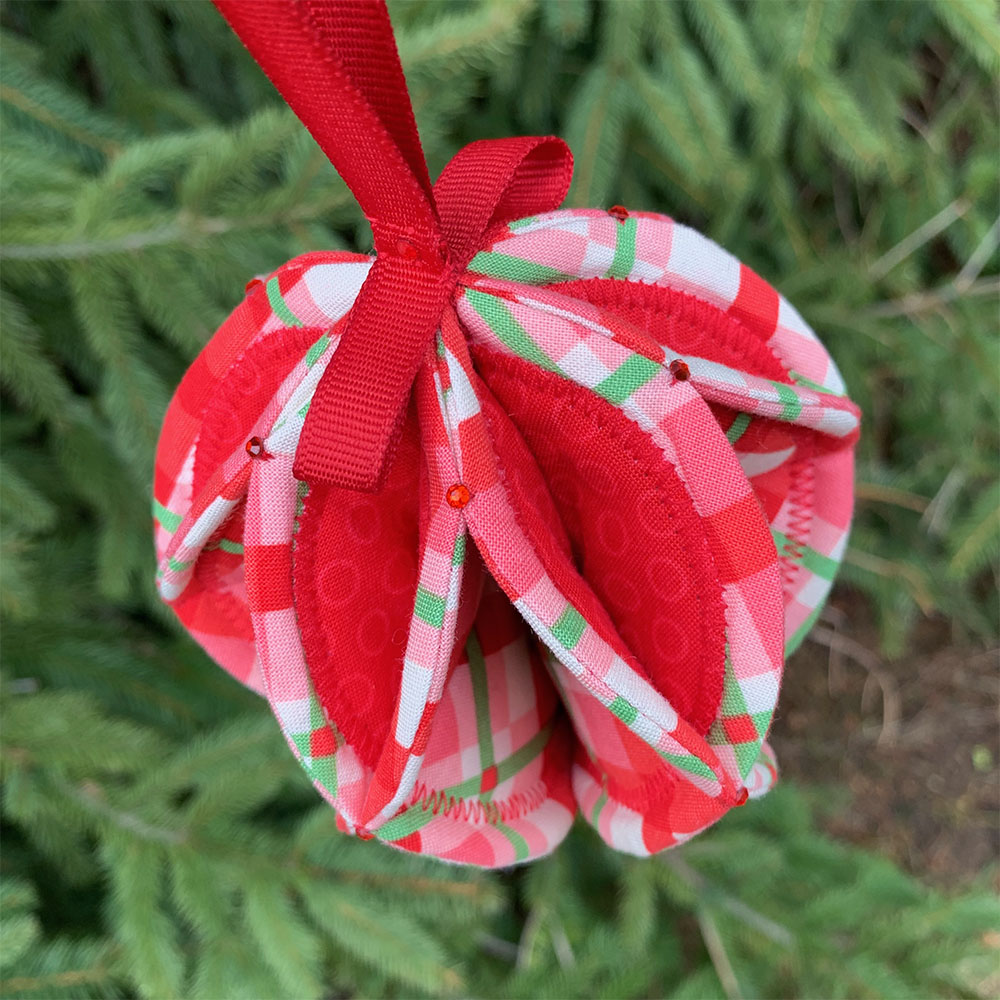
I started with the larger circle ornament and jumped in with one of my all-time favorite Christmas fabrics- a diagonal plaid of pink, red, and green. Almost all of my favorite holiday fabrics are only vaguely holiday themed, and I paired this plaid with a red tone-on-tone print that carries through the color story.
Foam and Fusible
These ornaments use single sided fusible foam to create the structure. I am thrilled with how sturdy these ornaments turned out, and I have no worries about them getting crushed during storage.
The accent fabrics are added with a two sided fusible. I have used very little fusible in quilting, and this was my first time using Lite Steam-a-Seam 2. Previous fusibles I have used don’t stick until they are pressed, and I really enjoyed using one that temporarily holds in place so it didn’t slip out of position when I started pressing. While I don’t see myself using much fusible in the future (I’m not big into using glue of any type in my quilts), I may consider this as an option for the right project. I am actually working on a mini “sketch” quilt using the Steam-a-Seam right now.
To further secure the edges of the fusible appliqué accents, the pattern suggested a zigzag stitch. I used 40wt Aurifil in both the top and bobbin, and it stitched beautifully through three layers of fabric, one layer of foam, and one layer of fusible. I was a bit nervous about getting some skipped stitches, but there wasn’t a single jump.

The Square Fold’n Stitch Ornament
The basic construction process for the square orament is the same as the circle. The cutting was a bit faster since I could use a rotary cutter to cut the foam and all of the fabric squares.
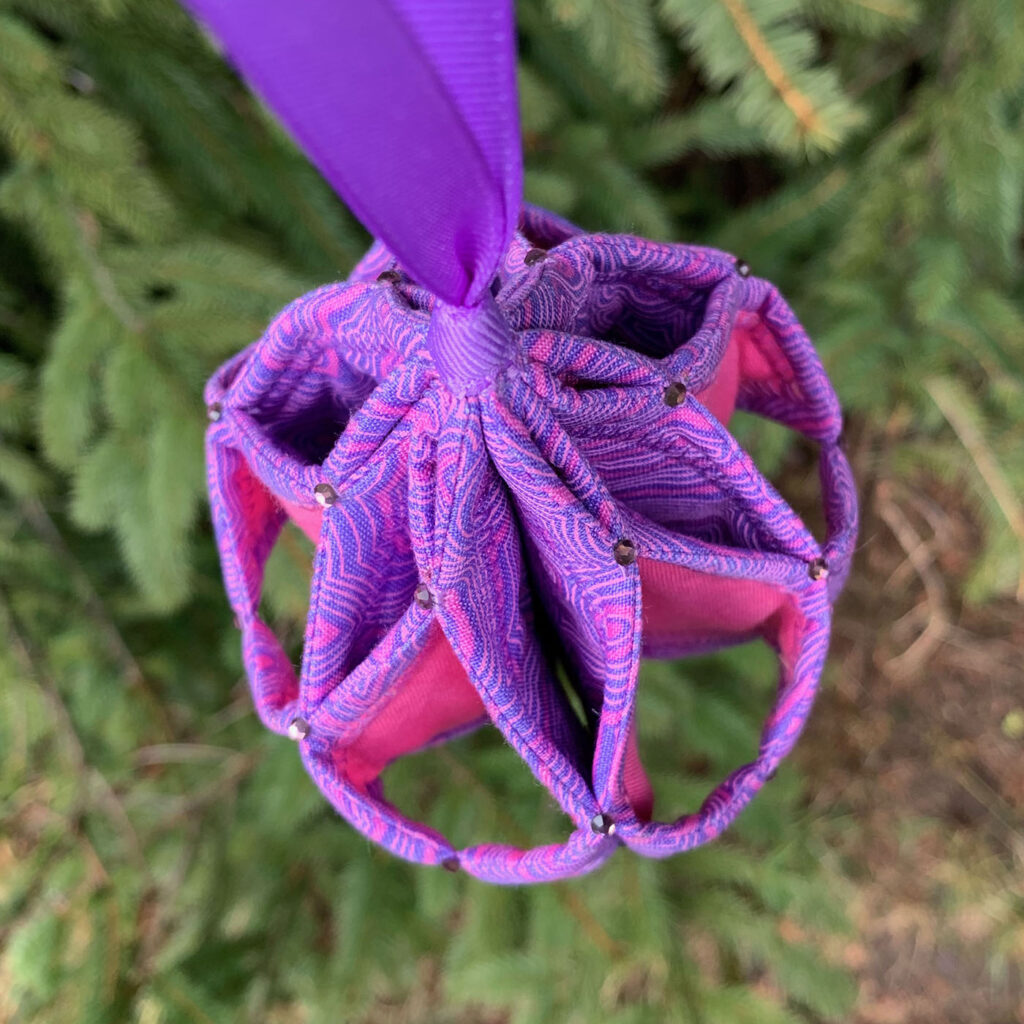
Over the years I have accumulated a few different ornament themes: first came red and gold, then violet and silver, and finally a primarily pink aesthetic. When I was making these, I wasn’t sure which one would go for a swap, so I started with pink and moved to violet. The square ornament is primarily this really awesome violet and pink Tula Pink fabric.
Hand sewing the connection points together is the most time intensive portion of the ornament making process. The circle ornament went together beautifully, but the square ornament hit some snags. The points were easy to sew together, but the measurement for the connections diagonal from the points were off. When I first stitched them with the measurement provided, the ornament looked crumpled, asymmetrical, and like my pleasantly plump cat had squished it. I release all of those hand tacks and used clover clips to test an alternate placement of the tacks and was much happier with the new results.
I did make a change to the connection points closest to the top and bottom. The pattern suggested stitching the same pieces together that were connected in the lower points, creating a very open look. I chose to connect alternating sections that resulted in a star-like formation at the top and bottom of the ornament.
Blinging Up the Baubles
My projects are generally on the low-glitz end of the design spectrum, but I will always make an exception for Christmas ornaments. These baubles are intended to hang on a tree and reflect the twinkle lights as they gently sway. (Hopefully not from a cat batting at them!) To go for ultimate bling-factor, I used heat set crystals on each hand sewn joint.
It’s time for these ornaments to decorate a tree!



No Comments