What do you hate about foundation paper piecing (FPP)? Almost every person I ask says they can’t stand removing the paper templates at the end of the sewing process, and I have to agree!
However, some simple tricks can streamline this process, so let’s put on a movie and pull out some paper templates.
(This post includes some affiliate links. If you click on an affiliate link and choose to make a purchase, I receive a small percentage of the sale at no cost to you. These funds help keep this blog running and content FREE for everyone!)
Foundation Paper Piecing
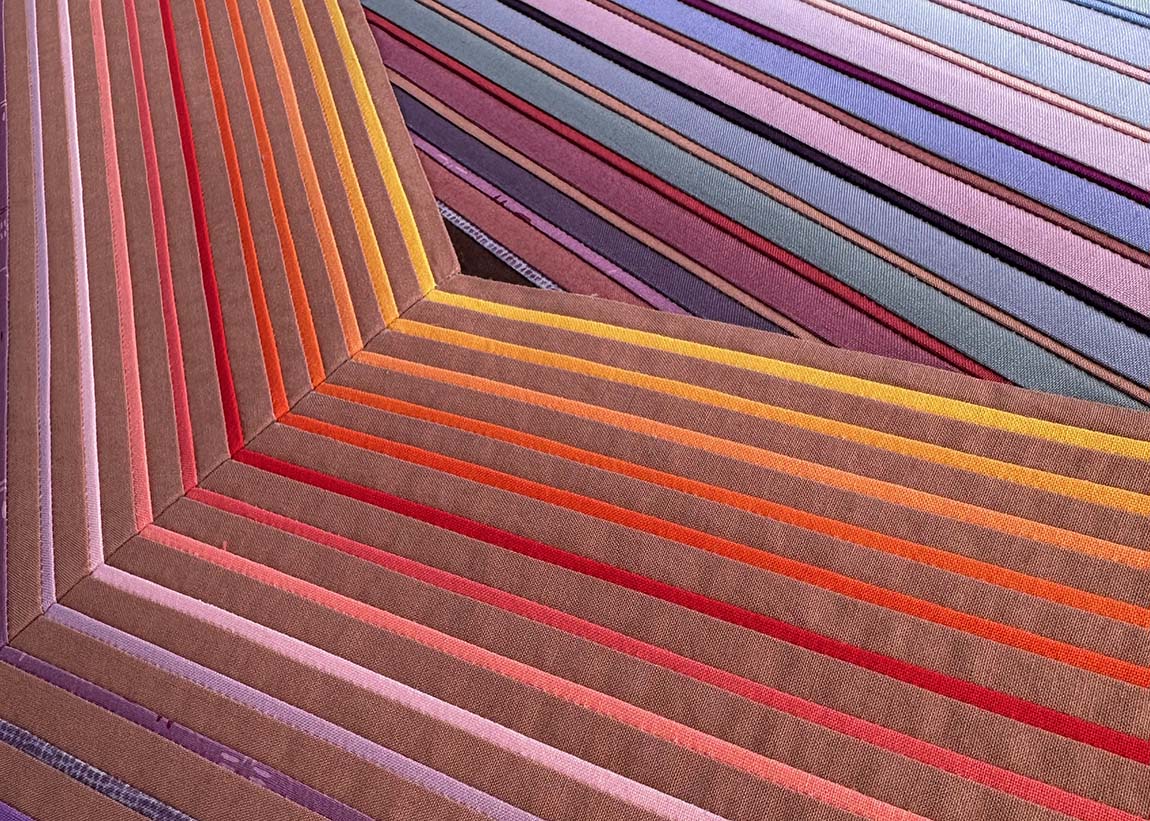
Foundation Paper Piecing (FPP) is one of my favorite techniques for creating blocks with complex or irregular shapes. This process guarantees perfect points and is terrific for pieced pictorial quilts.
There are as many ways to foundation paper piece as there are people who use the technique, so this post focuses on the process I use with great success. It may or may not be your perfect technique, so feel free to take what you like and leave the rest.
Do you want to try FPP? Check out this video, which includes an accompanying FREE pattern for practicing the technique.
Plan for Paper Template Removal Before Taking the First Stitch
If you start the project with a plan to remove the paper, you’ll have an easier experience.
Stitch Length
Shorten your stitch length to make tearing out paper easier. Each time the needle punctures the paper, it creates a perforation line that makes template removal easier. Smaller stitches are also more secure when you need to pull the paper away. I use a stitch length of 1.5-2 for foundation paper piecing.
Choosing Paper
There are several types of foundation paper piecing papers on the market. However, my favorite is still standard printer paper. There are papers intended to pull out more easily, but I do a lot of FPP with small pieces, and I have found that these specialty papers break apart before I’m ready for them to come out! (Besides, I always forget to swap the paper types in my printer!)
Selecting Thread
Some specialty FPP threads are available, but I stick with my favorite 50-weight Aurifil. The paper is a temporary part of the process, and when I think of the longevity of a quilt, I prefer to keep cotton thread with a cotton quilt.
If you are concerned about cotton thread breaking when you remove the paper templates, just follow the remaining suggestions to reduce the pressure on the stitching.
Template Assembly
If your pattern has large templates that require assembly before the stitching process, put them together with a glue stick or paper-based tape. In the quilt shown in this post, I forgot what I was doing and used transparent tape to assemble the templates (I had been doing this process with some non-FPP templates around the same time), and it was challenging to remove the sections that intersected with the tape. Do yourself a favor and use a glue stick!
Use Tools That Make Paper Removal Easy
I use two tools to simplify the removal of paper templates: water pens and tweezers.
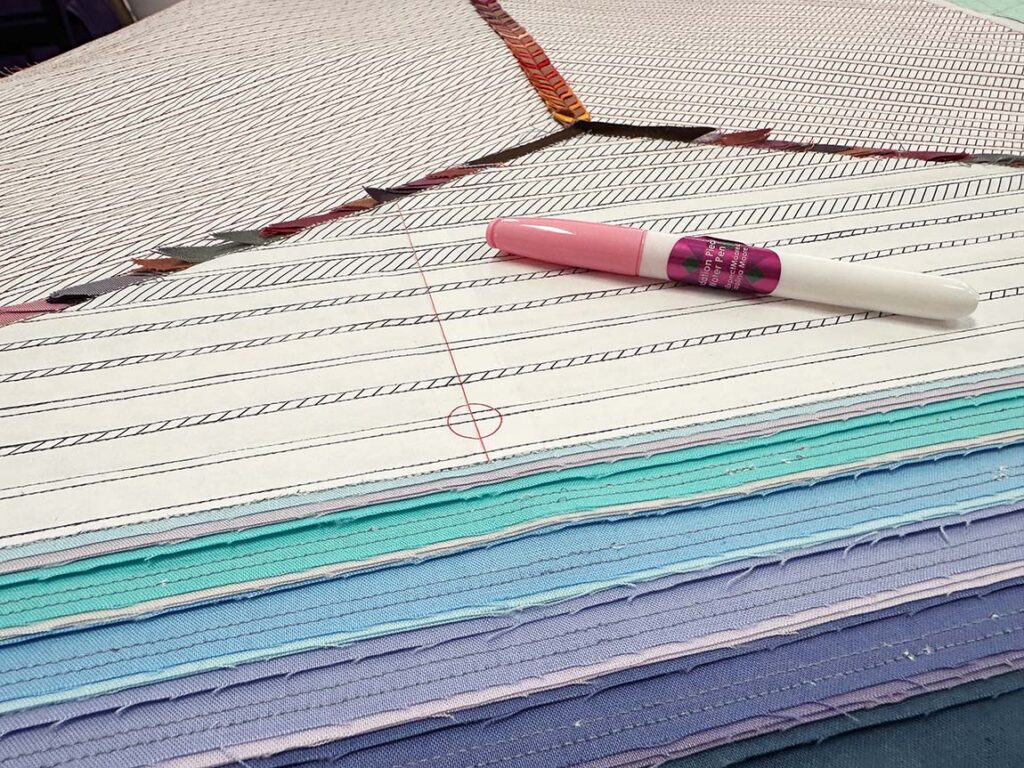
Water Pen
The water pen is a relatively new tool on the market, but it is one of my favorite innovations of the past couple of years. I don’t know how I did FPP without it for so many years!
You fill the water pen with tap or bottled water. I always suggest using the same water you would put in your iron. Since you fill the pen yourself, it never runs out of juice!
When you are ready to remove your papers, run the pen’s felt tip along 1-3 stitching lines at a time. The pen distributes the perfect amount of water along the seam to soften the paper without drenching your project. If the seam is long, do one seam at a time. For shorter seams, wet two to three seams at once. By the time you are at the end of the last seam, the beginning of the first seam is ready to pull out.
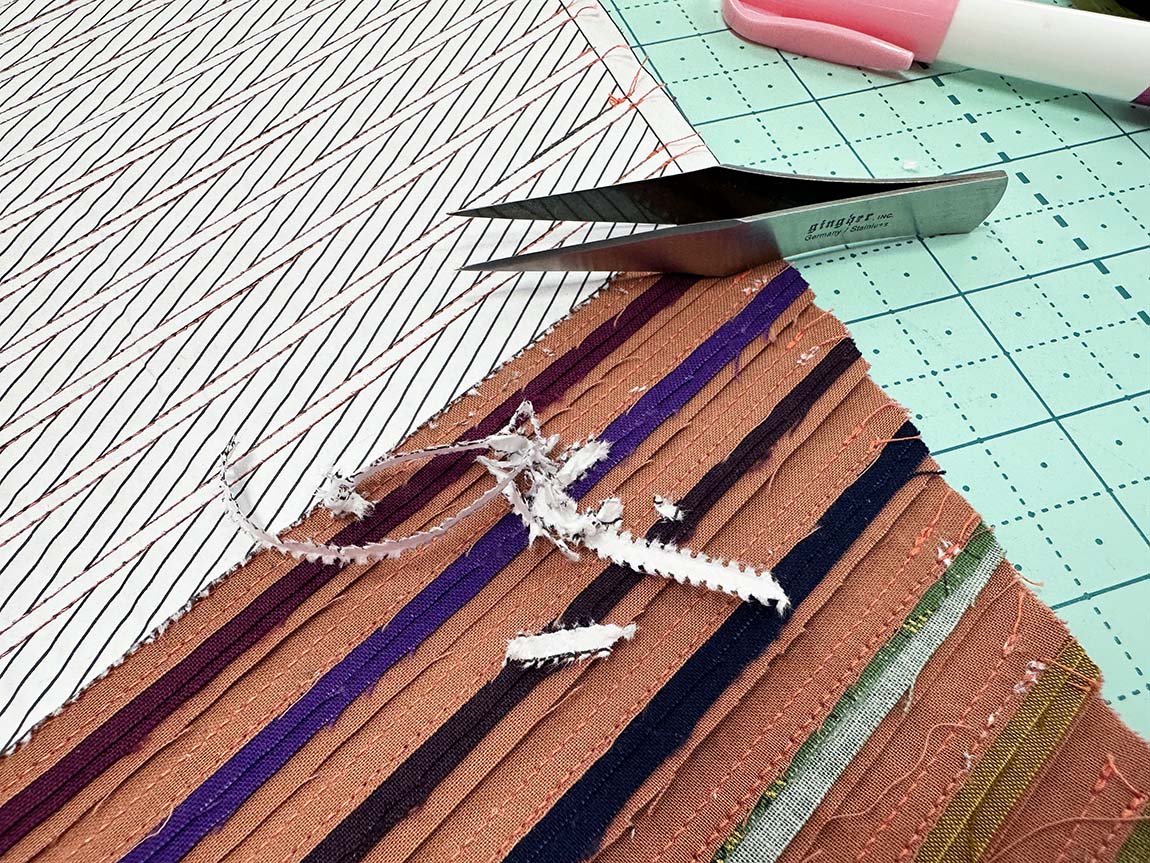
Tweezers
Choose tweezers with the pointiest of pointy tips to make it easy to pull out the tiniest bits of paper from the seams.

Removal Order Matters
Pull the paper from the project in the reverse order the seams are stitched for the easiest removal process.
Remove Seam Allowance Paper First
The template paper in the seam allowances is the most annoying to remove. To make it easier, I pull the seam allowance paper out as soon as I stitch the FPP segments together. I stitch on the line connecting two segments, check that the stitching is accurate, remove the paper from the seam allowance only, and then press the seam between the segments.
I leave the paper in the main body of the FPP segments until the quilt top is assembled. However, removing the seam allowance paper makes pressing the seam allowances easier and minimizes the number of paper bits stuck in folds where multiple segments converge.
The Last Piece Added is the First Paper Removed
By working backward through the assembly process, you pull the paper template along one seam at a time since many template sections are surrounded by multiple seams.
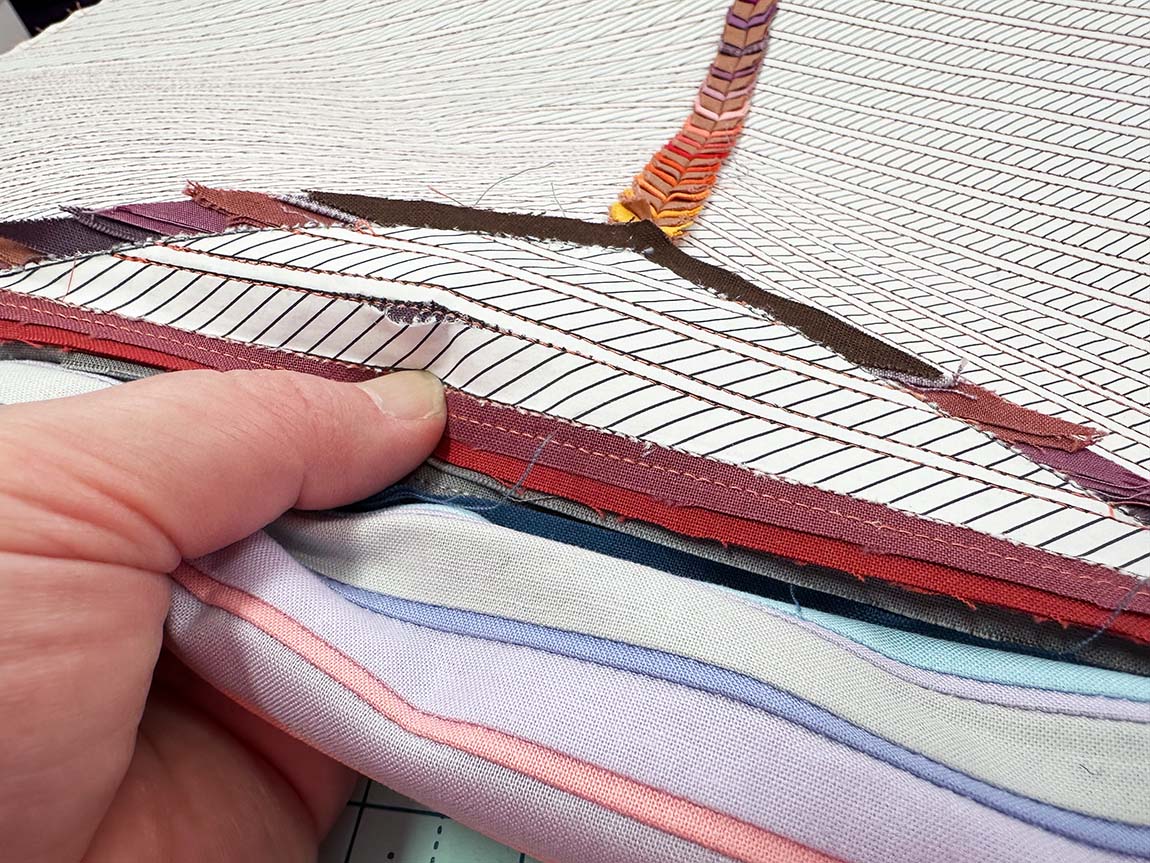
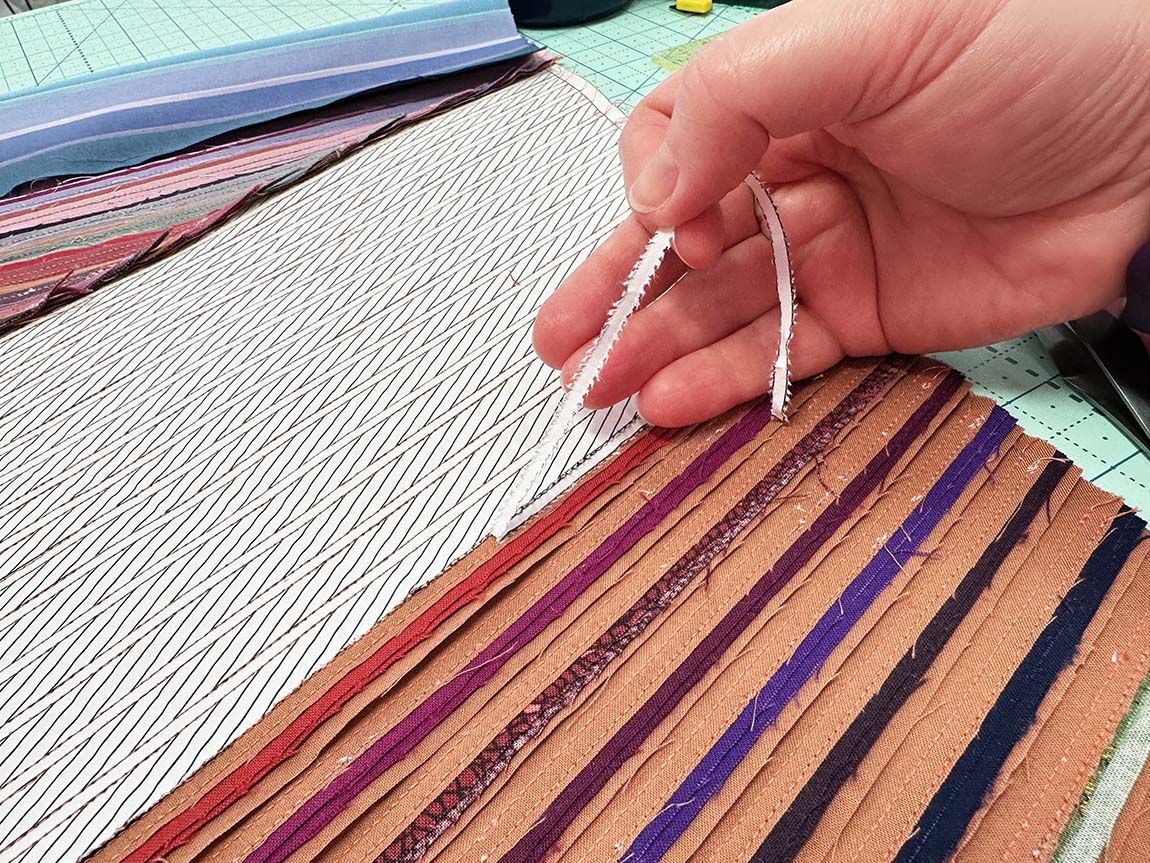
Tear and Remove Carefully
Tearing templates carefully preserves the project you have worked so hard on. Here is the process I use
- Run the water pen along the seam.
- When the paper begins to soften, gently break the paper along the seam line.
- Pull the paper free from the quilt top.
Did you notice that I tore the paper and removed it separately? Breaking the paper along the seam line lets you use the slight give in the fabric to pull the paper to each side rather than putting a lot of pressure on the stitching to yank the paper free. This method is handy when working with small pieces.
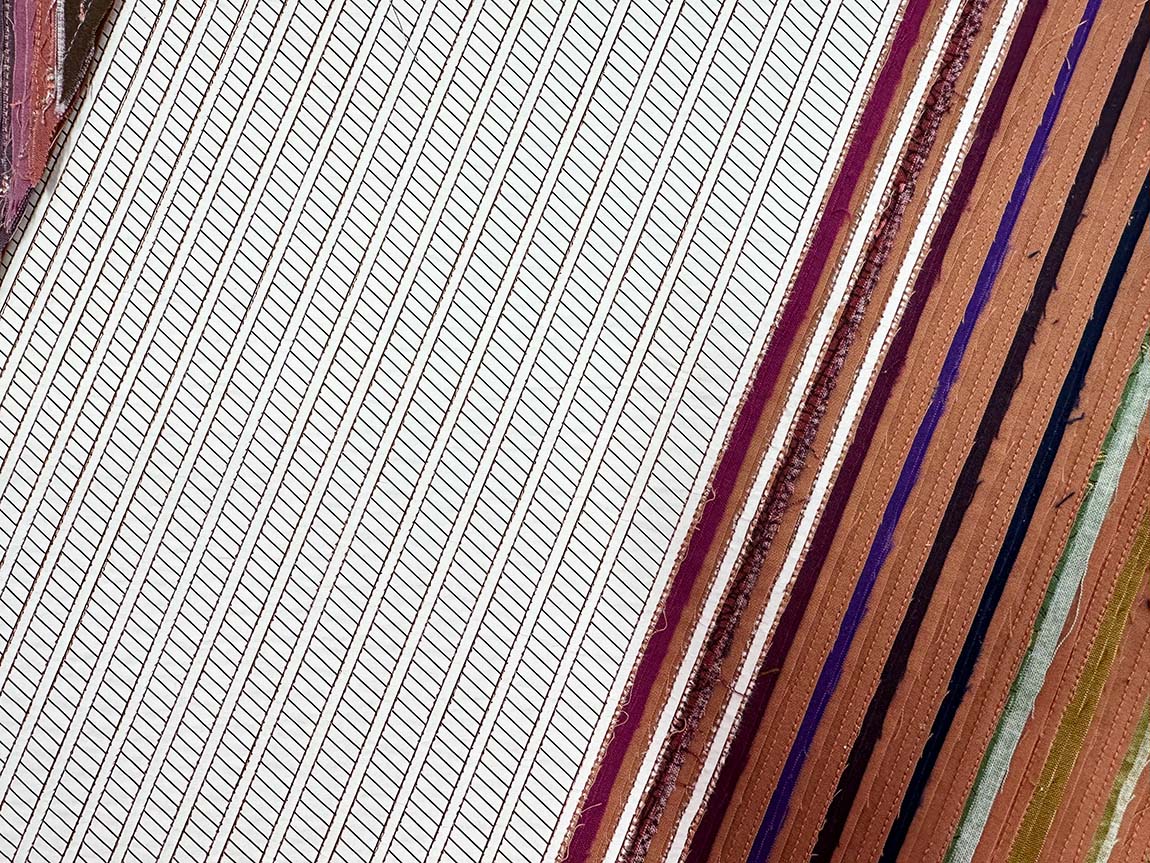
For tiny pieces, like these 1/8″ wide strips, I often let them dry for a few minutes before pulling out the paper. When seams are very close together, you may find the overall paper is too soft to pull out in one piece. By breaking the paper while damp but waiting a minute or two to pull the paper, you are making it easier to pull the paper out in larger pieces.
Take Your Time and Make It Fun
Paper removal is never a fast process, but using the tips in this post does make it easier.
I suggest slowing down, putting on a movie, and tearing away. Do your best to get out as much of the paper as possible to make it easier to quilt.


6 Comments
Diane M
April 11, 2025 at 9:00 amThank you for the suggestions for successful removal of foundation papers. I had not heard of the water pen. I look forward to trying it. I
I too sit in front of the tv and plan for an uninterrupted evening while pulling papers. I also wear an apron too catch all the small/tiny pieces of paper.
Beverly Guhl Davis
April 11, 2025 at 9:13 amThanks. I have never tried FPP because the paper removal looks daunting. This should be helpful! BTW, I love your email newsletter. The script font you chose is lovely, but did you know they stopped teaching cursive years ago and now younger people cannot read it?! A shame. Best wishes!
Kathie
April 11, 2025 at 9:43 amThanks for an informative post. My guild is doing a FPP BOM challenge. Some of the pieces are so tiny that getting the papers out of the seams is truly the challenge! I use a watercolor paint brush that holds the water (or Best Press) to soften the papers. Sadly, the red ink in the paper blead onto my white fabric, so I won’t be using that technique again. Instead, I’ve shortened the stitch length even more and that “seams” to do the job. The detail and precision that FPP gives the blocks makes the fuss worth it in the end.
Alejandra Alcantara
April 11, 2025 at 11:14 amYou’ve given me the best of the best tips of a lifetime! I love Paper Piecing but dread the moment I have to begin taking away the paper. All your newsletters are very informative. Thank you so much!
Can an “Ugly” Color be Successful? A Surprising Mocha Mousse Quilt – The (not so) Dramatic Life
April 18, 2025 at 1:45 am[…] carefully removing the paper, I was left with my finished quilt top. If you look closely at this quilt back, you will notice a […]
Ruth
February 27, 2026 at 1:30 pmThank yo for this thoughtful, explicit explanation for removing paper pieces. It answered just about all my frustration when trying to get those tiny flecks of paper out! I LOVE your Mocha Mousse Mountain quilt, and was very tempted to purchase it at QuiltCon, I’m glad it found a new home! Now I know how you managed to get those consistent tiny strips to stay put. Wonderful color choice & design. I love your work.