Quick- What is the most basic quilt block you can think of?
Did you guess a Nine Patch? For many of us, this block (or its cousin, the Four Patch) was the first quilt block we sewed. There are good reasons to choose this block as a starter project:
- Every edge is on the straight grain.
- All of the block components are the same size.
- You can learn to match corners without other bulky seams getting in the way.
The virtues of a Nine Patch block are also the aspects that make us set it aside as our quilting skills advance. This standby block rarely gets our attention unless we are making Nine Patch units as a portion of a larger design.
(This post includes some affiliate links. If you click on an affiliate link and choose to make a purchase, I receive a small percentage of the sale at no cost to you. These funds help keep this blog running and content FREE for everyone!)
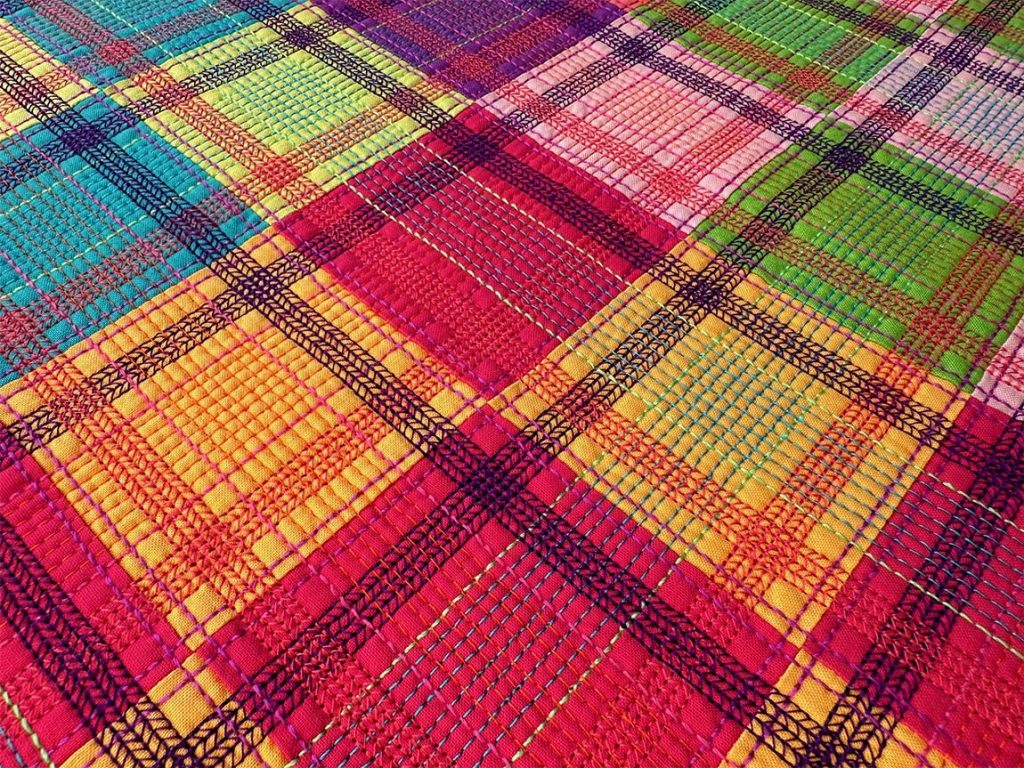
Is it possible to elevate a simple block using simple stitching? This question is what I set out to answer when I started this mini quilt, Nine Patch Infusion.
I use a lot of dense straight-line quilting in my work, but most of the time, I use a white background when I want my matchstick quilting to stand out. For this project, I selected eight brightly colored solid fabrics to construct four Nine Patch blocks. I aimed to see how quilting threads in contrasting colors would play against a vibrant palette.
Designing and Constructing the Quilt Top
Each Nine Patch block paired a dark value with a lighter value, but I didn’t overthink the precise colors for each block. If my theory works, the quilting thread will act as a filter that unifies the overall design.
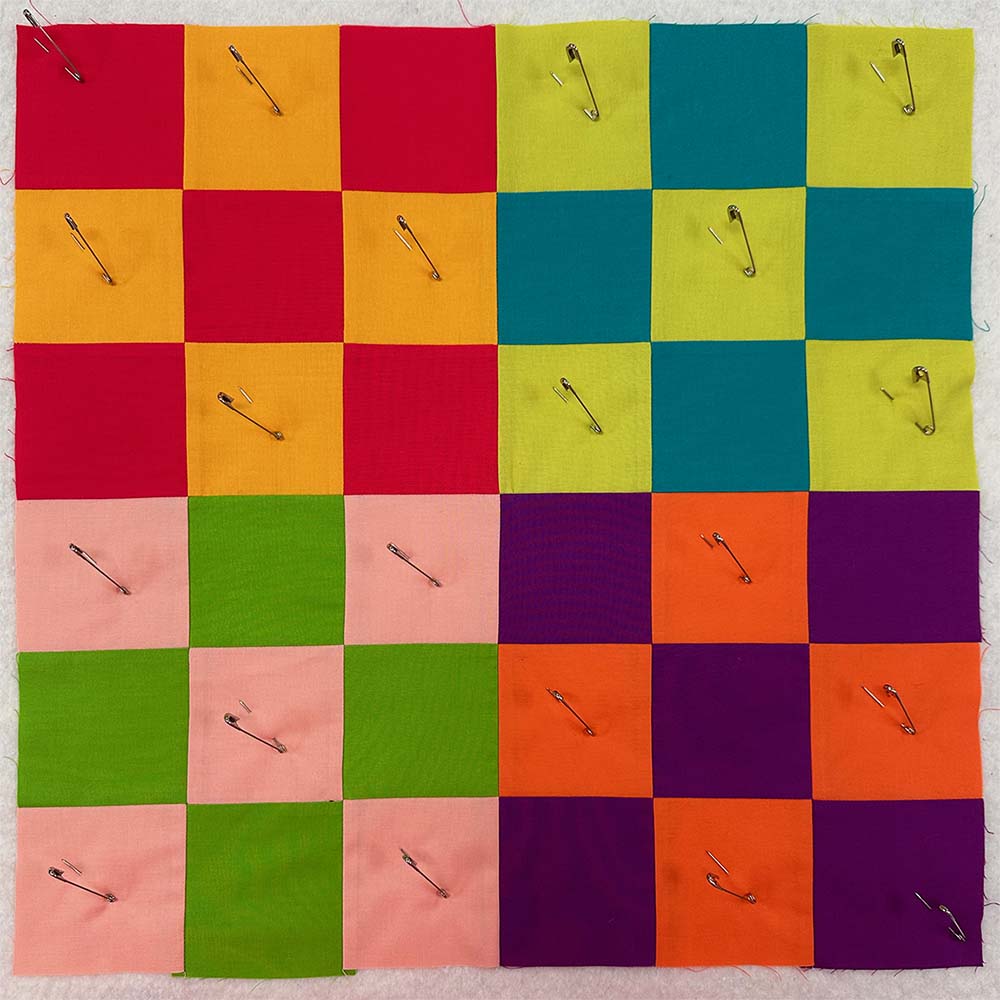
I used standard machine piecing techniques to create the quilt top, and I pressed my seam allowances to the side, spinning the seam allowances at the corners to reduce bulk.
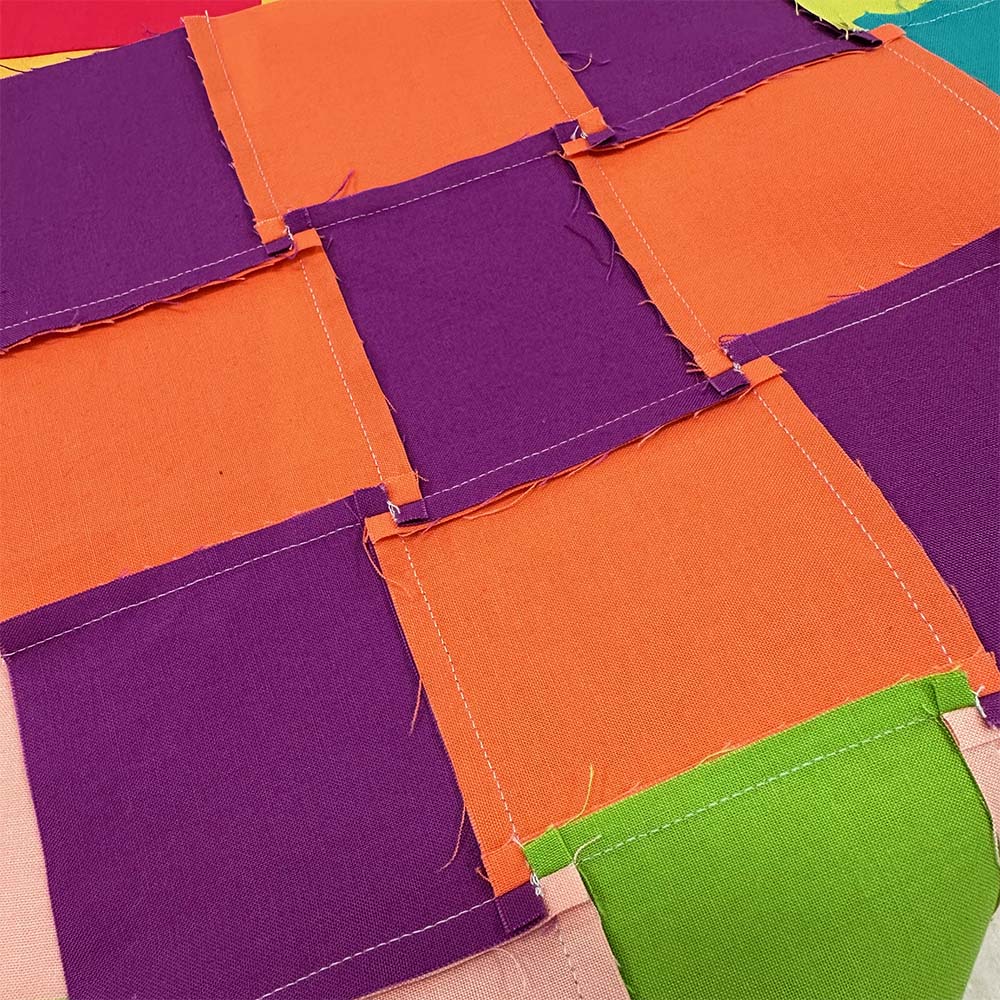
When you spin the seam allowances, they will lay flat and be easy to quilt over. If you want to try this technique, watch the video tutorial below.
Quilting Nine Patch Infusion
I typically mark my major lines using 1″ wide masking tape when straight-line quilting. This method gives me accurate markings, and since I use a ruler to place these lines all across the quilt, the quilting will stay straight throughout the quilt. The big bonus is that there are no drawn lines to remove when you are finished quilting!

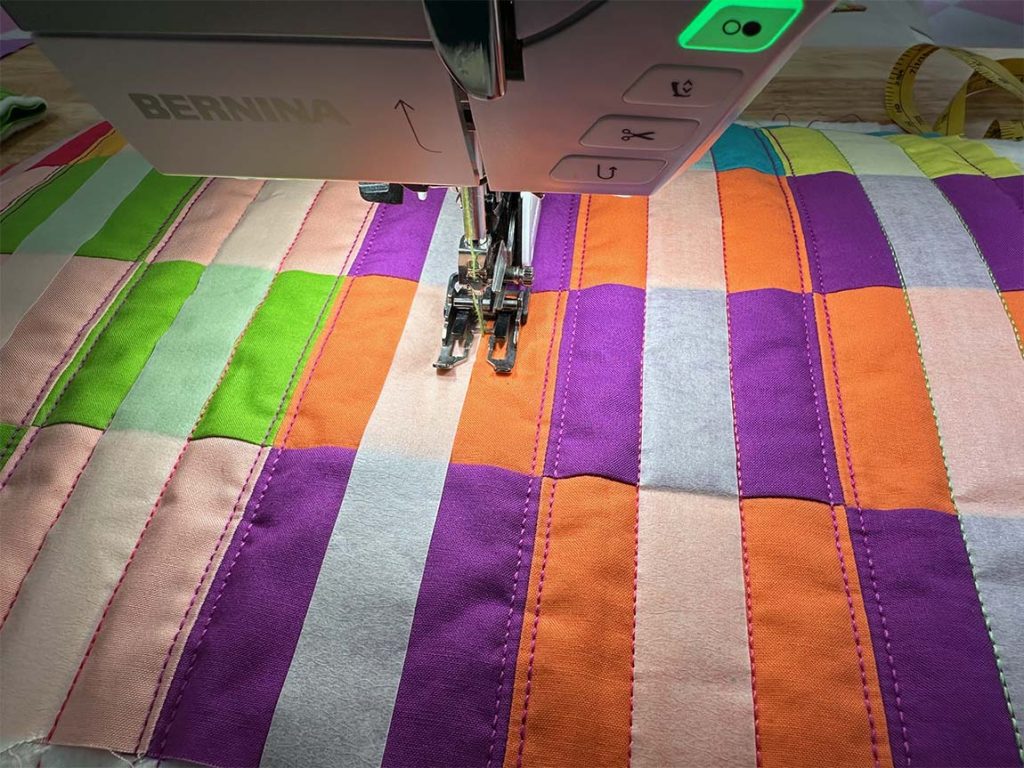
I quilt on a BERNINA, which has a 1″ wide walking foot with marks on the foot indicating quarter and eighth-inch increments. These markings make it easy to break down each 1″ wide area into smaller sections with subsequent quilting lines.
If you are interested in learning more about my straight-line quilting techniques, check out the following posts:
- How to Pin Baste Your Quilt for Straight Line Quilting
- Upgrading Your Straight Line Quilting Part One: Getting Started (written for the BERNINA blog, We All Sew)
- How to Do Straight Line Quilting Using a Walking Foot
- Discover 5 Simple Techniques to Enhance Straight Line Quilting with Decorative Machine Stitching
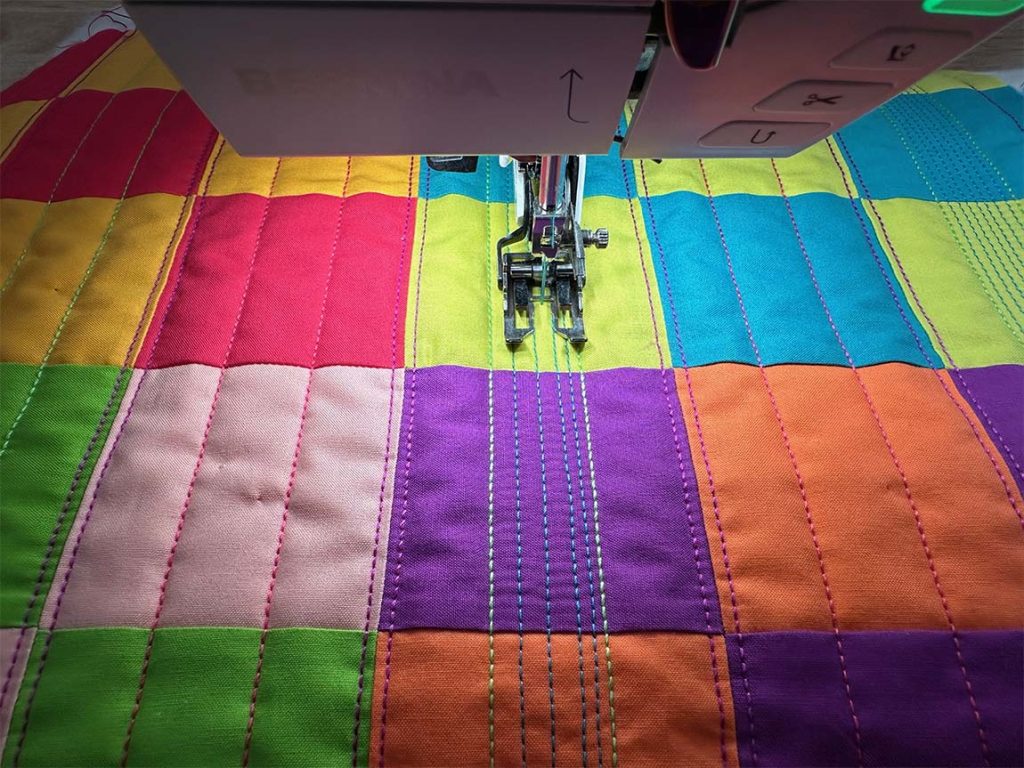
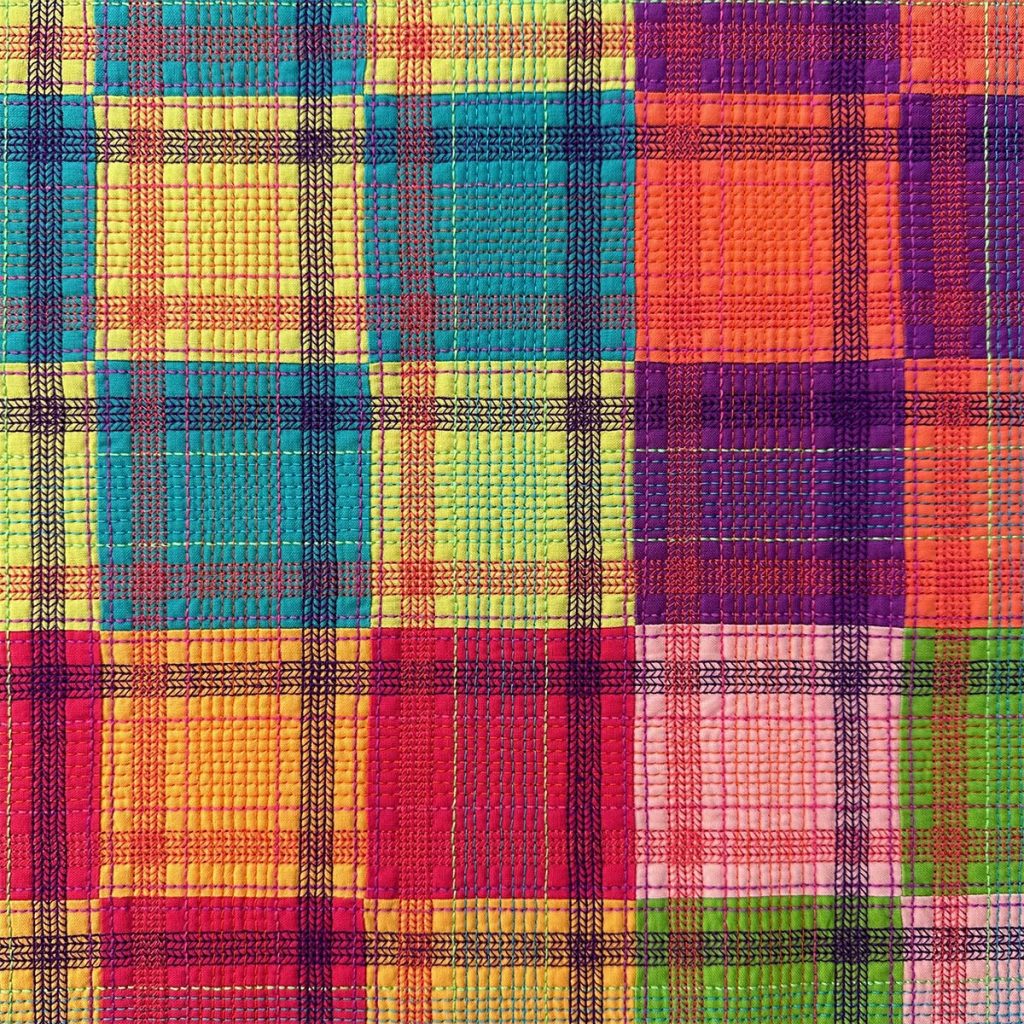
I added more visual interest to this mini quilt by incorporating rows of decorative straight-line quilting. The stitch I selected is wider than my walking foot can accommodate, so I switched to the Open Embroidery Foot (20D) to stitch these lines. This foot is slightly narrower than the walking foot, but I did a straight line 1/8″ away from the seam lines on the quilt, which meant the presser foot was centered nicely between stitching lines.
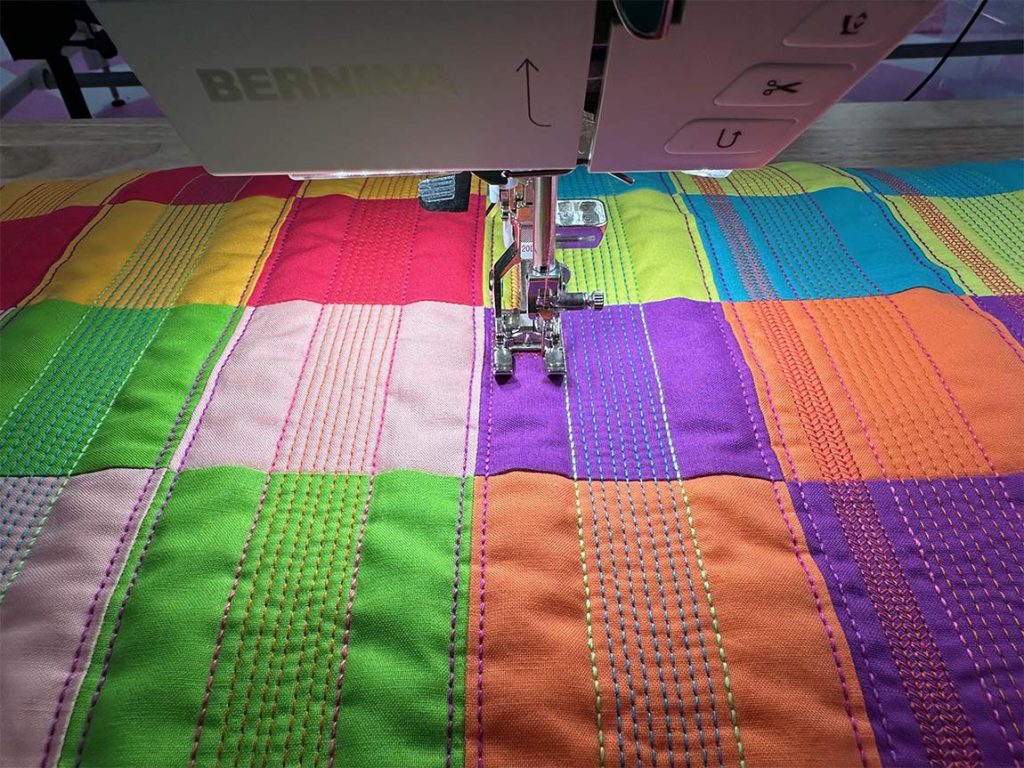
I prefer quilting my projects entirely in one direction before rotating the quilt and stitching in the other to reduce the chance of buckling or pulling on the quilt backing.
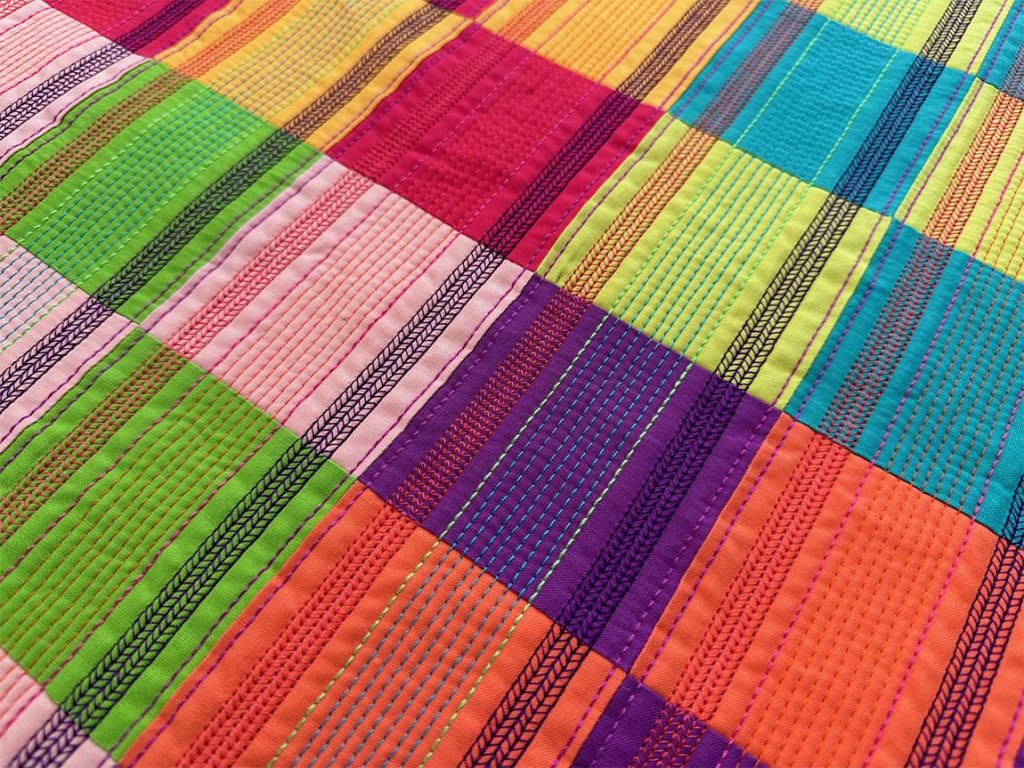
I used a range of colors and thread weights to create this quilt. The heaviest lines are made with 12-weight thread. I quilted with 28-weight for the other straight-line quilting and did the decorative stitching with 40-weight. For more information about using thread weight in your quilting, check out this post: Upgrading Your Straight Line Quilting Part 2: Using Thread Weight.
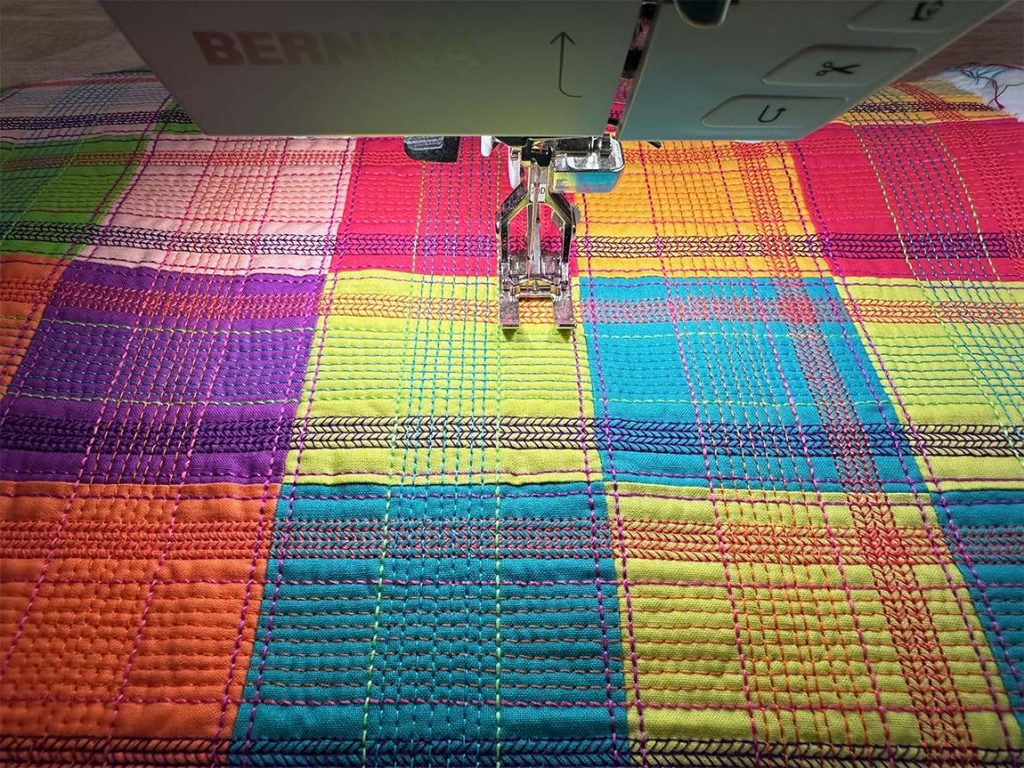
There are a lot of threads hanging from the sides of the quilt by the time I’m finished, but they disappear as I square up the quilt.
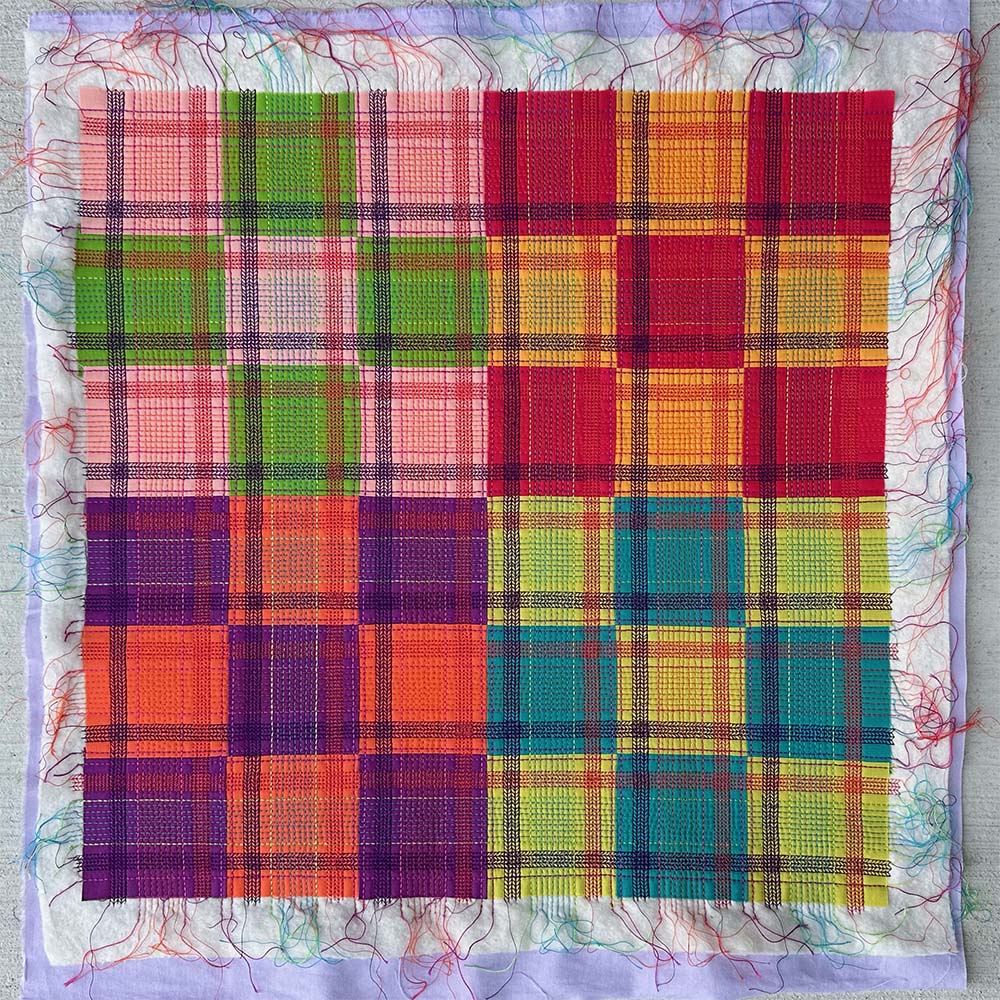
Finishing Nine Patch Infusion
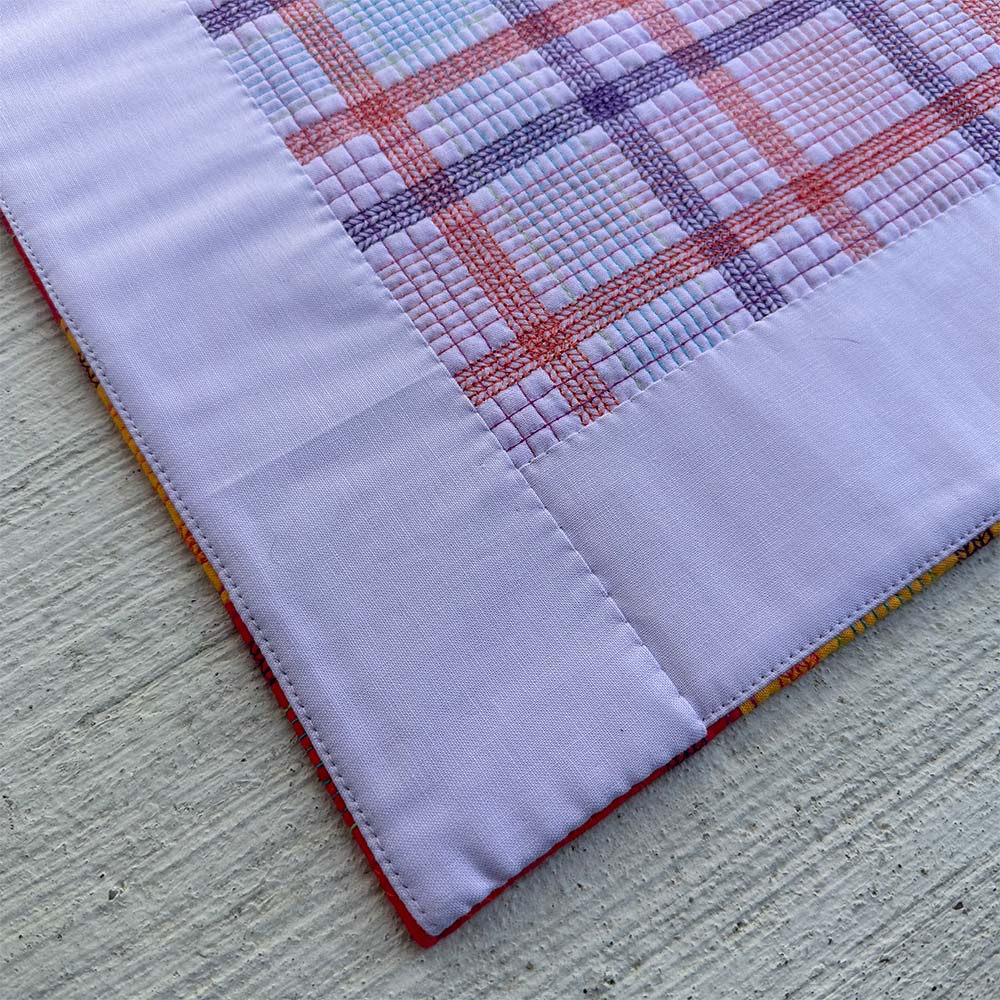
The quilting lines are the strongest design feature of this piece, so I wanted to have those lines go all the way to the edge of the quilt. To accomplish this, I used a facing to finish the raw edges of the mini quilt.
The finished design captures everything I hoped for when I started this project. The simple Nine Patch block combines with straight line quilting to make a design more remarkable than the piecing or the quilting on their own. This quilt, made using two basic techniques, even got juried into QuiltCon 2025!
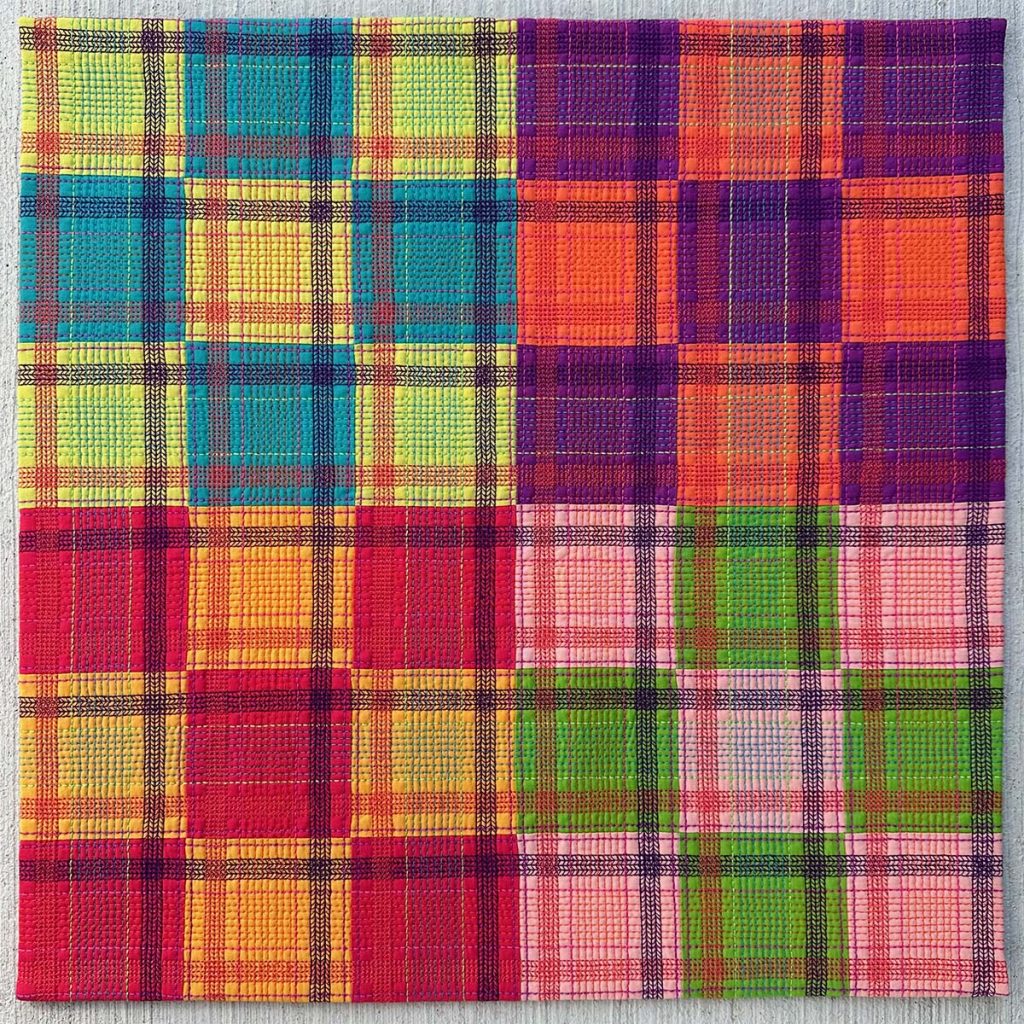
Quilt Stats:
- Title: Nine Patch Infusion
- Size: 17.5″ x 17.5″
- Techniques: Machine Piecing
- Quilting: Straight Line Quilting and Decorative Stitch Quilting on a BERNINA 770 QE PLUS
- Fabric: Painter’s Palette Solids
- Batting: Hobbs Tuscany 80/20 Cotton/Wool Blend
- Thread: 12, 28, 40, and 50-weight Aurifil in a variety of colors
- Binding: Faced edge in the same fabric as the backing


No Comments