Walking foot quilting doesn’t start with the first stitch in a project- setting yourself up for success begins with the way you set up your sewing machine.
Using a walking foot is the easiest way to do straight-line quilting, and a little preparation goes a long way toward ensuring success with your final project.
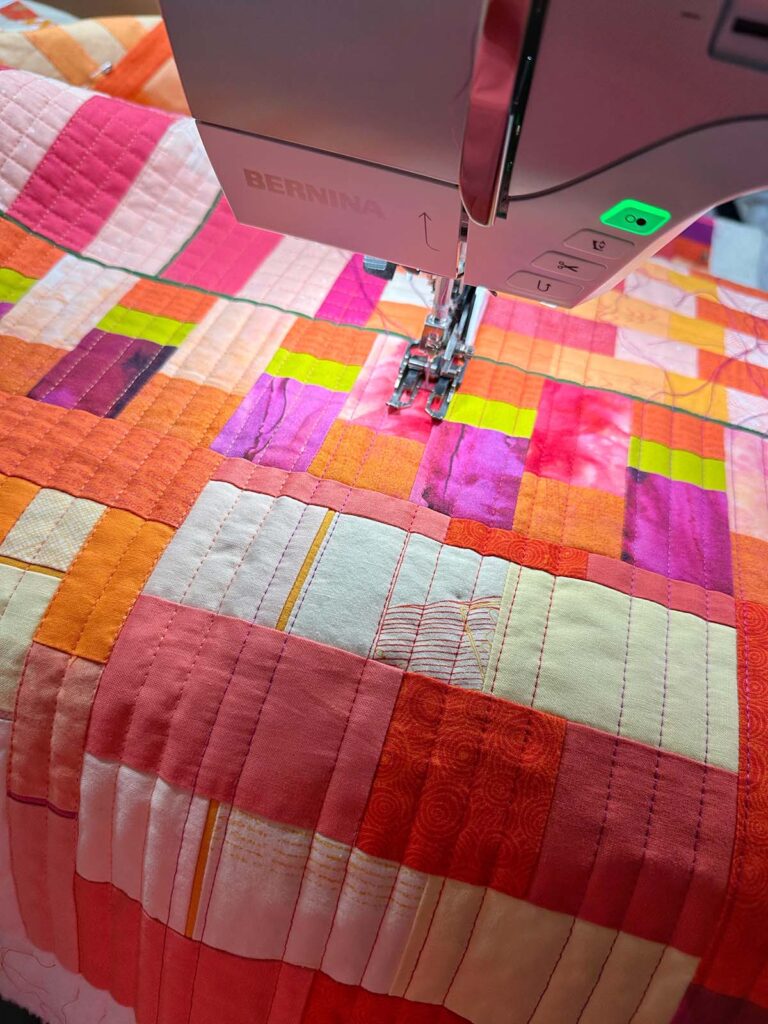
Why do you use a walking foot for quilting?
Sewing machines use feed dogs under the presser foot to pull the fabric through the machine at an even pace. This setup generally works well with a couple of layers of fabric, but when you get multiple layers of material, the feed dogs can’t keep up, especially if those layers are thick or bulky. With multiple thick layers of materials, like the three layers of a quilt, the feed dogs pull the bottom layer through the machine. In contrast, the top layers get pushed forward a bit by the presser foot—this combination of pushing and pulling frequently results in ripples and tucks in your quilt.
The walking foot functions as a second set of feed dogs functioning from the top of the project. The walking foot feed dogs connect to the machine via an arm on the side of the foot, so when the needle bar goes up and down, the arm causes this effective upper set of feed dogs to move in pace with the machine.
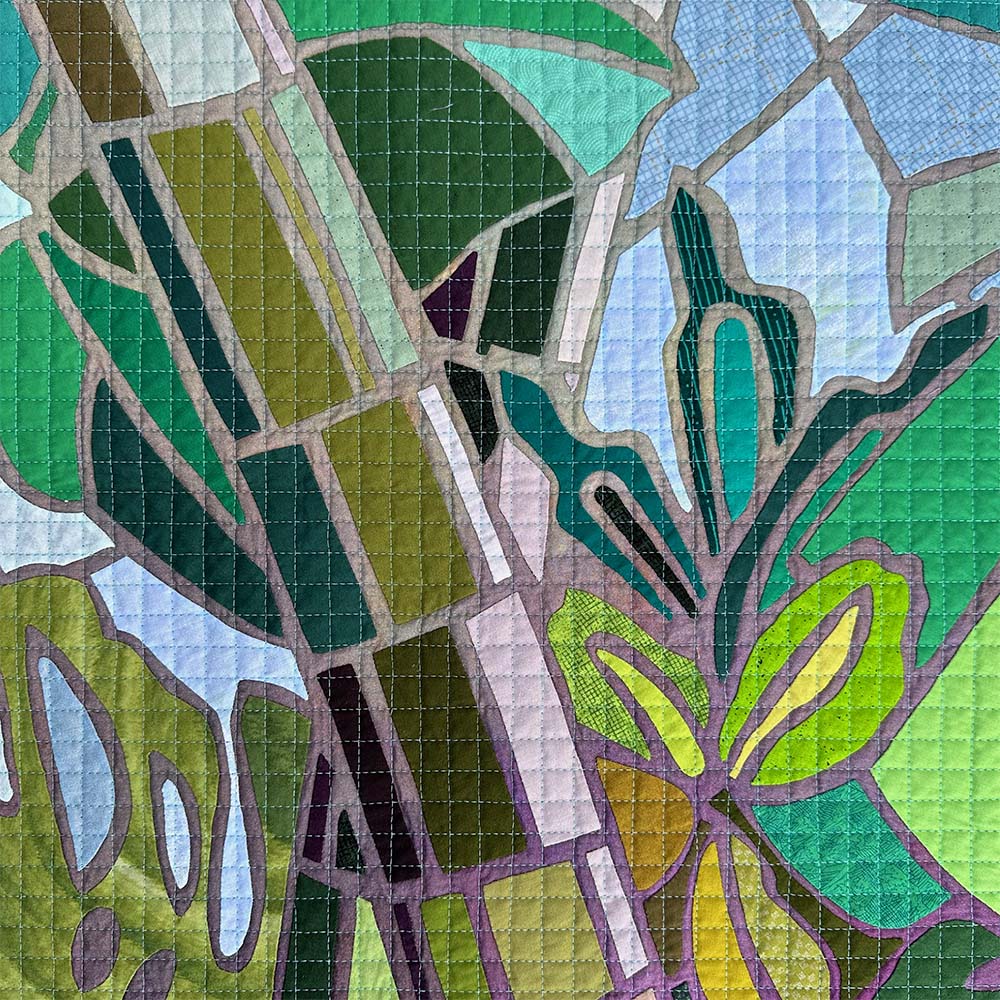
Machine Settings for Walking Foot Quilting
Installing the Presser Foot
The walking foot installs the same way any other foot on your machine goes, except you need to pay attention to the placement of the arm on the side of the foot.
My walking foot has a U-shaped arm that wraps around the piece protruding from the needle bar. Many walking feet look like this, but some just have an arm that rests on top of this section of the needle bar.
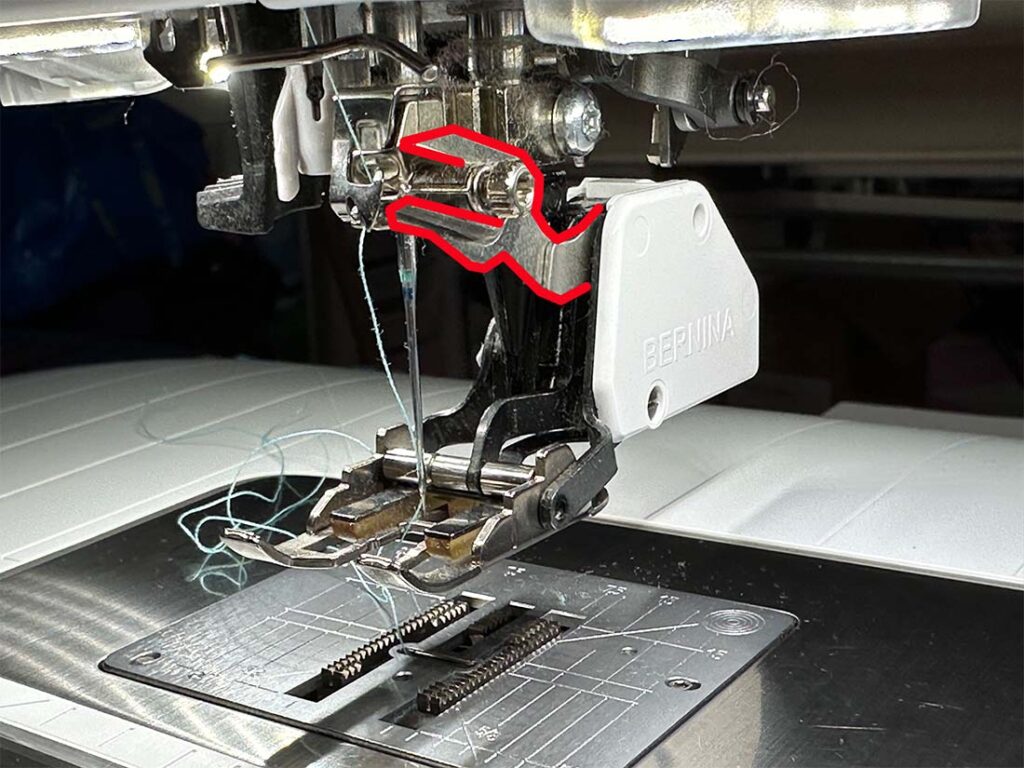
A walking foot is larger than most machine presser feet, and because you need to position the walking foot arm and the foot itself simultaneously, it feels awkward the first few times you put the foot onto the machine. However, it does get easier!
Ensure the needle is as far up as it can go, and tilt the foot at an angle. Position the arm before the foot is entirely in place, then finish attaching the foot.
Needle Plate
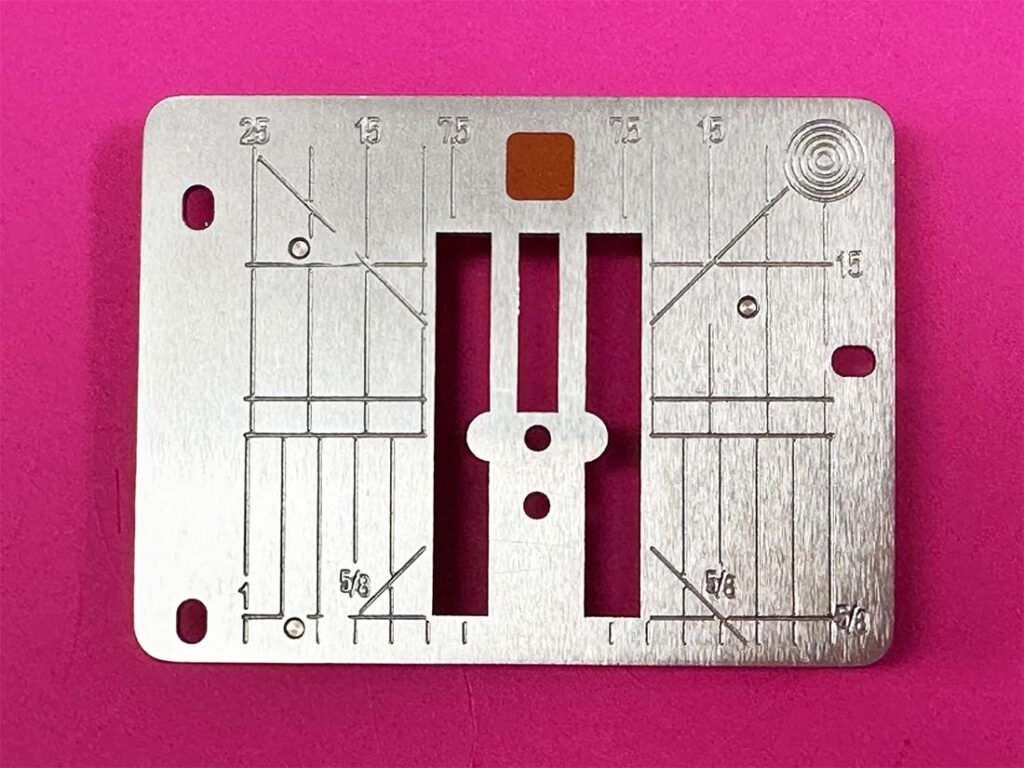
If you plan to do only straight-stitch quilting with your walking foot, change the needle plate to the straight-stitch needle plate. This plate has a smaller opening for the needle, which prevents the fabric from getting pushed down into the machine and often results in a better stitch quality.
Change the Needle
I change my needle each time I start quilting a big project. My favorite quilting needle is a size 14 Topstitch needle, but I will sometimes use a size 16 if I am using heavier threads. The eye of a topstitch needle is larger and more round than other needle types of the same size, making it easier for the thread to pass through smoothly.
Microtex and Quilting Needles are also good options.
Stitch Length
Stitch length is mostly a personal aesthetic choice, but walking foot quilting is usually the easiest and most attractive when you select a longer stitch length.
I typically piece with a stitch length of 2-2.5, but I quilt with a length of 3-4. Some people like stitch lengths that are even longer. The exact stitch lengths I choose depend on the following:
Stitch Design: Long, straight stitching lines look good with longer stitches. If you are doing motifs with lots of turns, a somewhat shorter stitch length creates a smoother line.
Thread Weight: Heavier threads tend to look better and stitch more easily with longer stitch lengths.
Tension
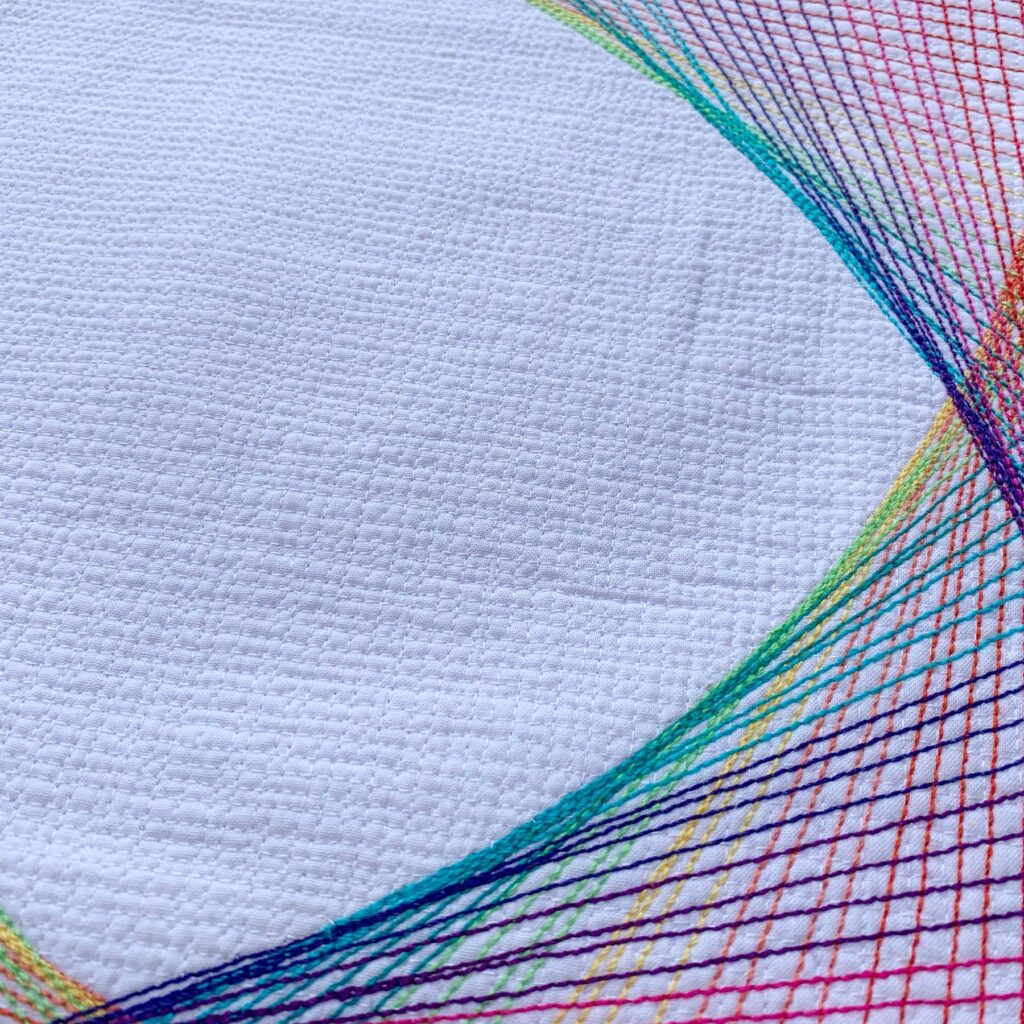
Tension is one of the trickiest settings for walking foot quilting. Always test your machine tension on a practice quilt sandwich. Always have your walking foot in place, and the machine threaded with the thread you intend to use on your final project. I typically start with the standard tension setting on my machine.
Look carefully at your first line of sample stitching. Does it look like the top and bobbin thread connect inside the sandwich? If it does, you are probably in good shape.
Does the bobbin thread peak up to the top of the quilt, and does the top thread look like it’s flat or nearly flat across the top of the quilt? These indicators mean your top tension is too high, and you need to lower it. On most machines, you must change the settings to a lower number, but check your manual to ensure this is how your machine works.
Does the top thread peak through to the back of the quilt sandwich, and does the bobbin thread look flat or nearly flat across the back of the quilt? These indicators mean your top tension is too low, and you need to raise it. On most machines, you must change the settings to a higher number, but check your manual to ensure this is how your machine works.
Unless you are an expert with your machine, I never suggest altering the bobbin tension. Bobbin tension is extremely sensitive and complex, and resetting to an exact setting is challenging. Many modern machines do not intend to have the bobbin adjusted at all. You should be able to balance the machine tension entirely from the top of the machine.
Presser Foot Pressure
Have you ever quilted a section of a quilt only to notice that the top and bottom of the quilt are starting to arc downward? Sometimes, the presser foot pressure that works great for piecing is too heavy when a thicker project moves underneath it. Reducing your presser foot pressure helps the walking foot and machine feed dogs guide the quilt through the machine evenly without pushing the fabric too hard. Reduce the presser foot pressure gradually until you don’t see any shifting in the fabric.
Speed
When I quilt, I keep repeating, “It’s a WALKING foot, not a RUNNING foot!” so I don’t get ahead of myself. If you are using a machine with speed control, set the speed to about half to three-quarters of the maximum machine speed before you start to quilt.
Bonus Tip
Get to know your machine settings. I quilt primarily on a BERNINA 770 QE PLUS with many specific stitch settings. If I select my favorite quilting stitch, 1302, the tension and stitch length automatically adjusts to the ideal setting. Sometimes, I still need to tweak the settings depending on the project and thread I am using, but these settings are usually an excellent starting point.
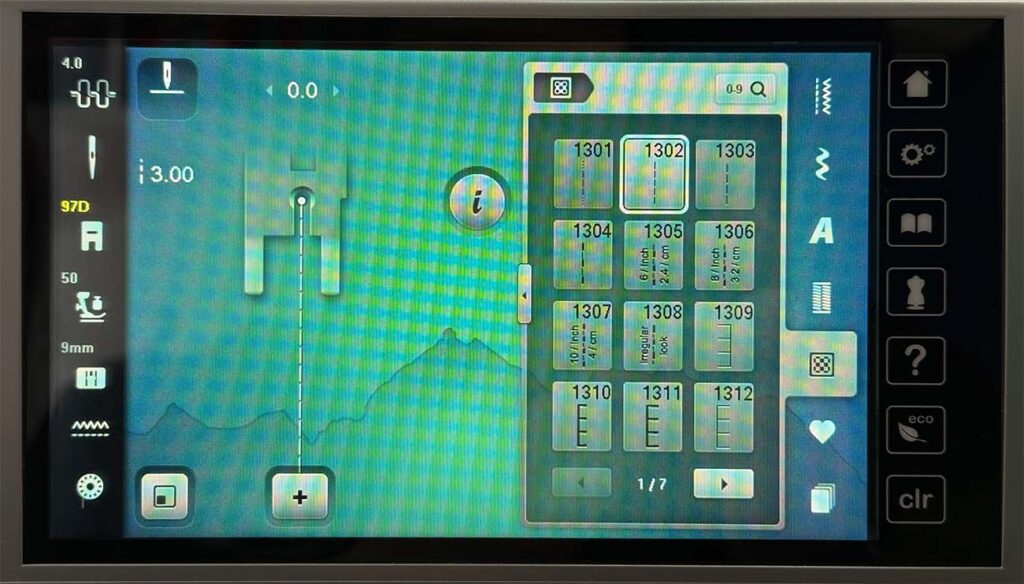
Many machines now allow you to save a favorite stitch. If you have a machine with this function, you can save the settings you like for quilting to return to later.
Are you ready to quilt?
Walking foot quilting is one of my favorite techniques, and I have written several articles about it here and on the BERNINA We All Sew Blog. You can read them here:
- Upgrading Your Straight Line Quilting Part 1
- Upgrading Your Straight Line Quilting Part 2
- Upgrading Your Straight Line Quilting Part 3
- How To Do Straight Line Quilting with a Walking Foot
- 5 Simple Techniqes to Enhance Straight Line Quilting with Decorative Stitching
- How to Pin Baste for Straight Line Quilting

1 Comment
Brendan Berg
January 24, 2025 at 8:35 amCassandra. Just a quick note to say how much I appreciate your writing. I can see how much time and care you take to ensure your copy is clear, precise and illustrative of the technique and knowledge you’re trying to convey. I have no doubt you spend hours crafting your content, choosing the right picture and making sure the information is laid out just the right way. We appreciate you sharing your talent, experience and insights with us. Many thanks!!