
Contributing to a group quilt is an excellent way to improve your design skills by working within another quilter’s parameters. Every participant has a different process for developing their contribution, so it’s also fun to see how individual blocks turn out with completely different looks using the same inspiration and guidelines.
The Exquisite Quilt
Recently, I contributed a block to the Exquisite Quilt Project run by Abby Vargas. For each quilt, Abby challenges collaborators to work with a specific color palette and create blocks that will connect together to form the overall composition. She collects 1-2 blocks from each participant and works some magic to create some stunning quilts.
This year’s theme is Orange Tree Espalier, which is the practice of training a fruit tree to grow flat against a wall. The theme primarily informs the project’s color palette, but I also used it to loosely inspire my block design.
What Were the Project Parameters?
- Contribute one or two blocks measuring at 9″ x 9″ finished (9-1/2″ x 9-1/2″ unfinished)
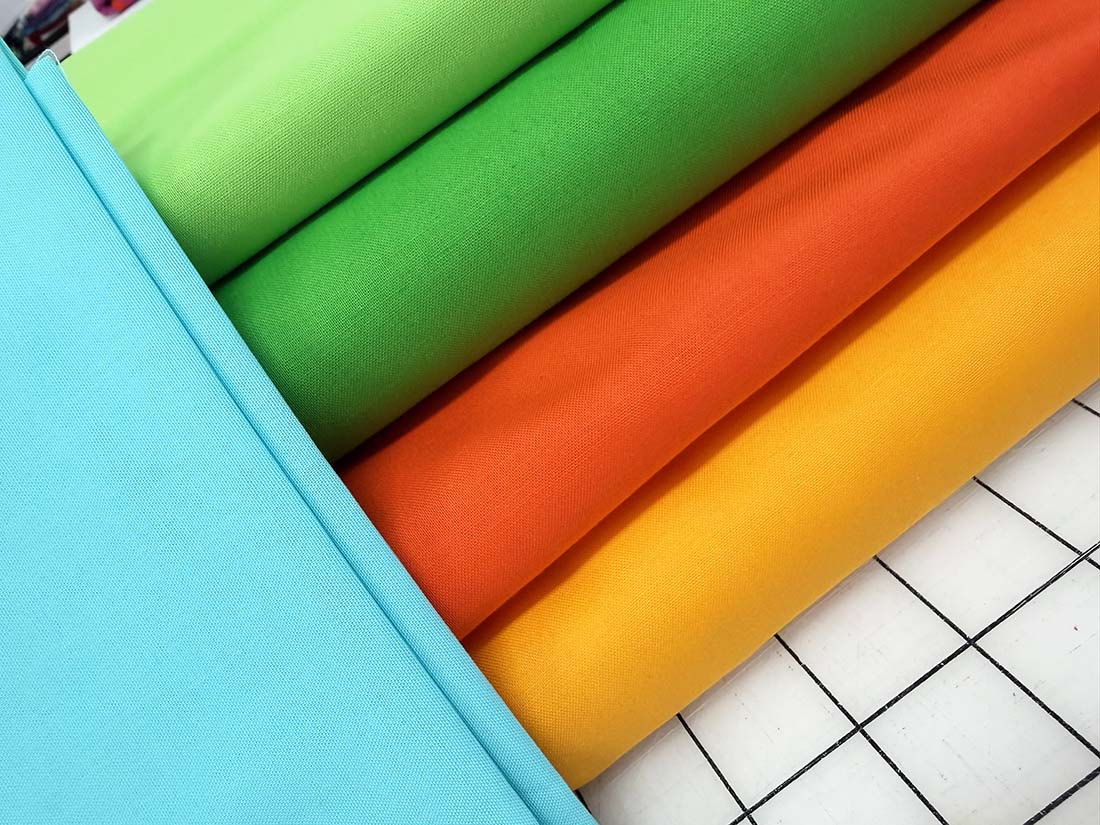
- Use green and orange-yellow solid fabrics to create a block, along with the Kona Azure connector fabric. All blocks must contain at least some of each color.
- Place one-inch square “connector” pieces at the center of all four sides of the block. Using the connector fabric, join the connector points in some way in the block.
- Any techniques can be used to create the block.
Designing the Block
Drawing on the theme of Orange Tree Espalier, I decided to incorporate curves into the design while maintaining a graphic quality in the overall composition.
When I design quilts or blocks with specific size parameters, I draft the initial design in AutoCAD Light, which lets me easily experiment with different design configurations.
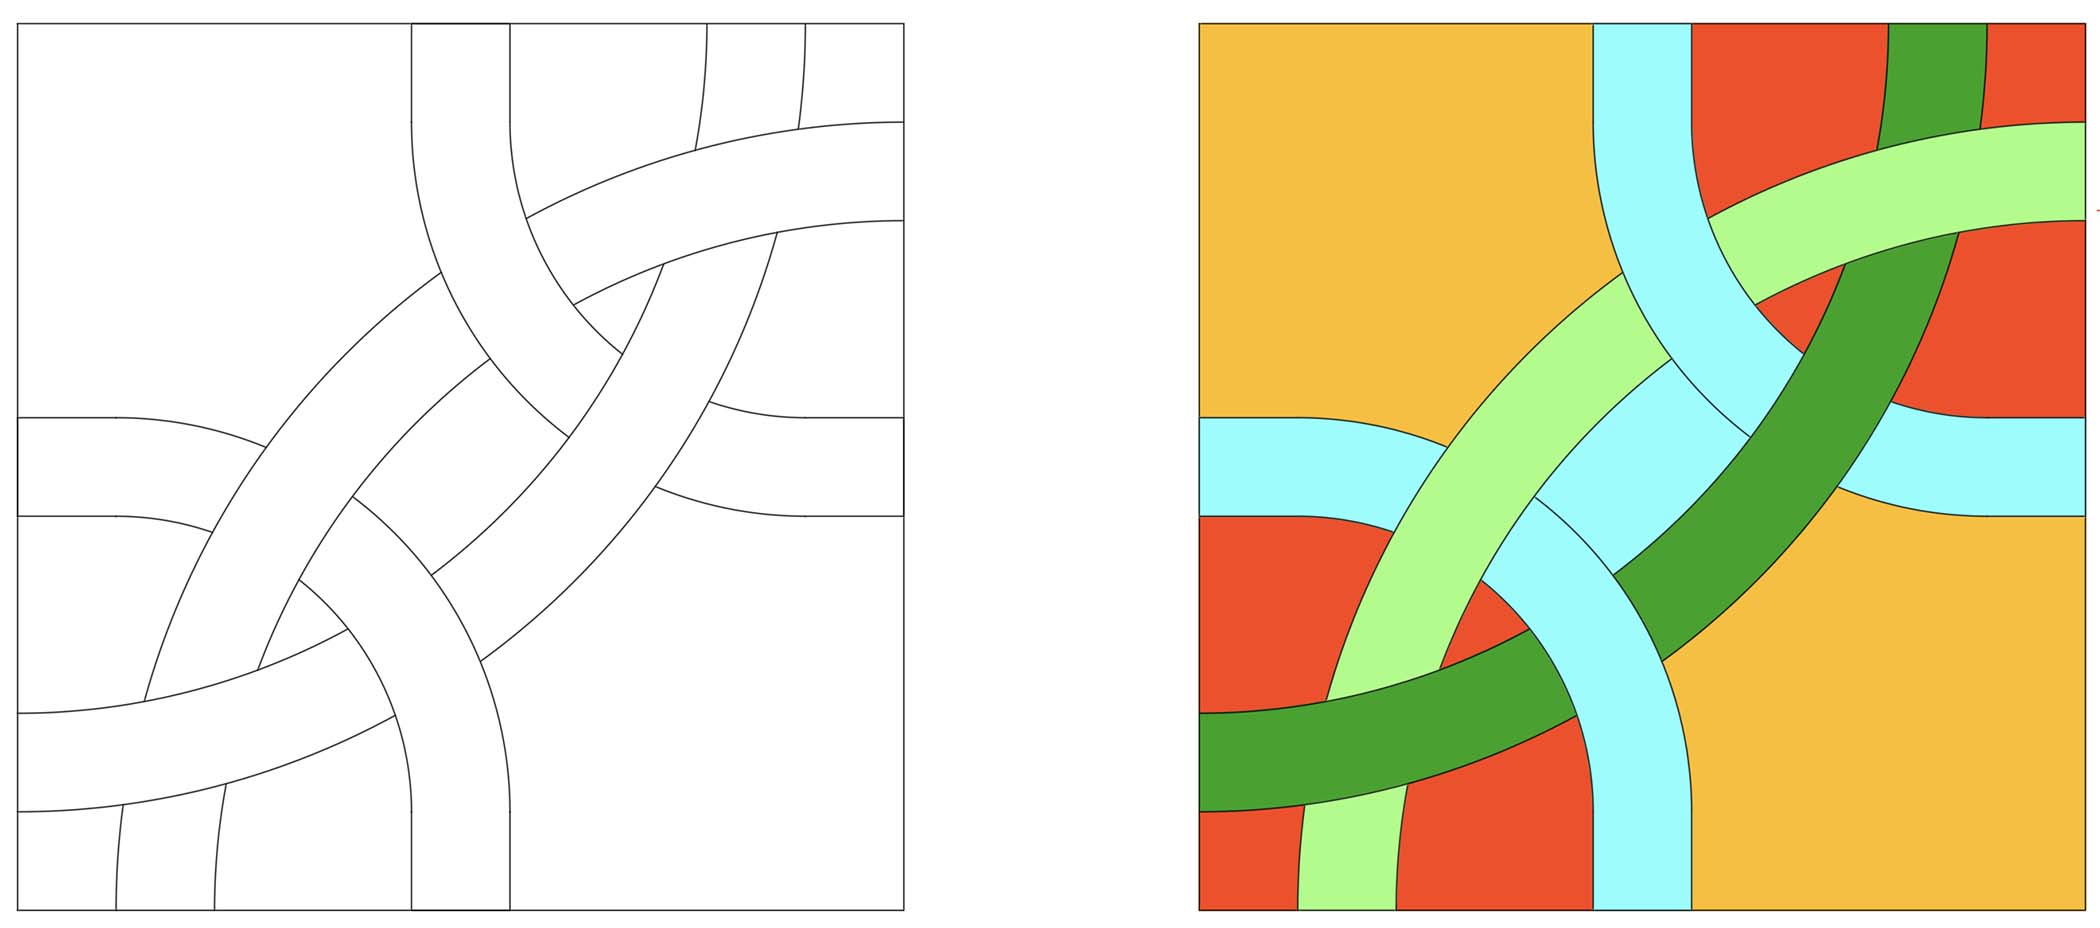
I started with a line drawing focused entirely on curves, allowing the curves to intersect in a way that evokes tree branches. In experimenting with color, I started by connecting the azure arcs with a solid central section of the same color.
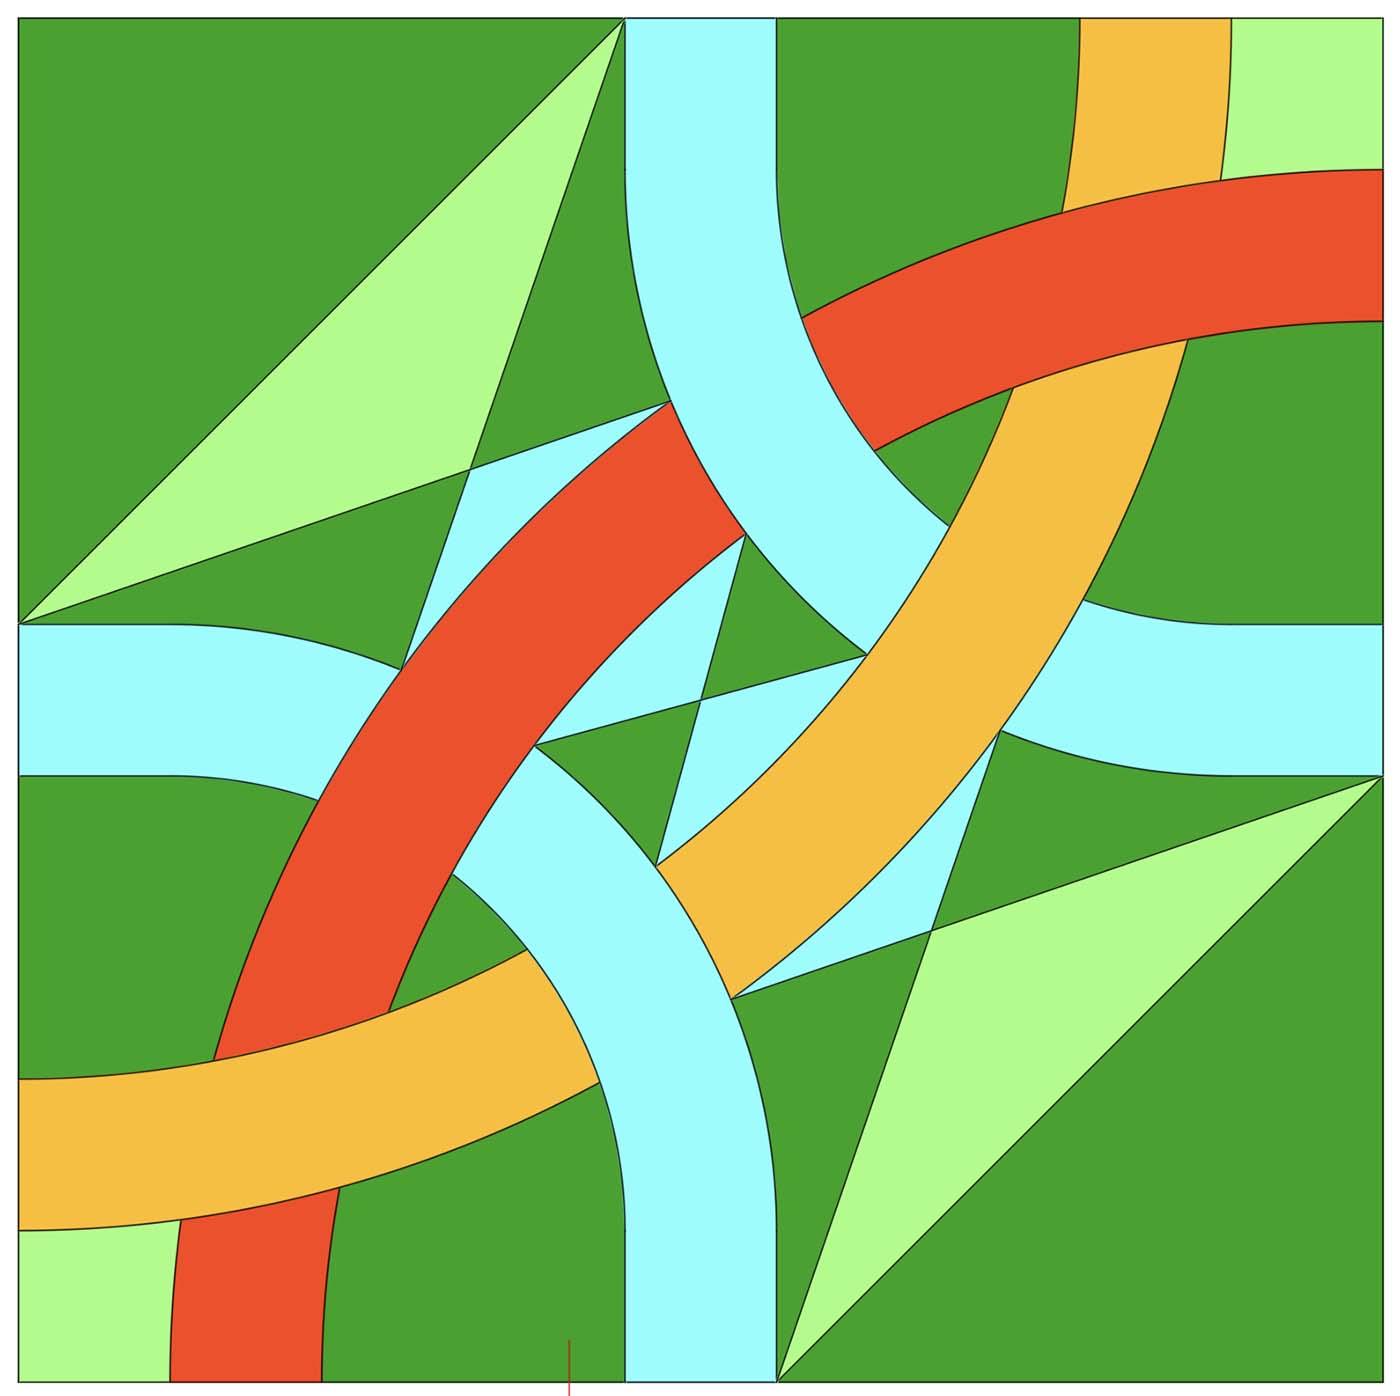
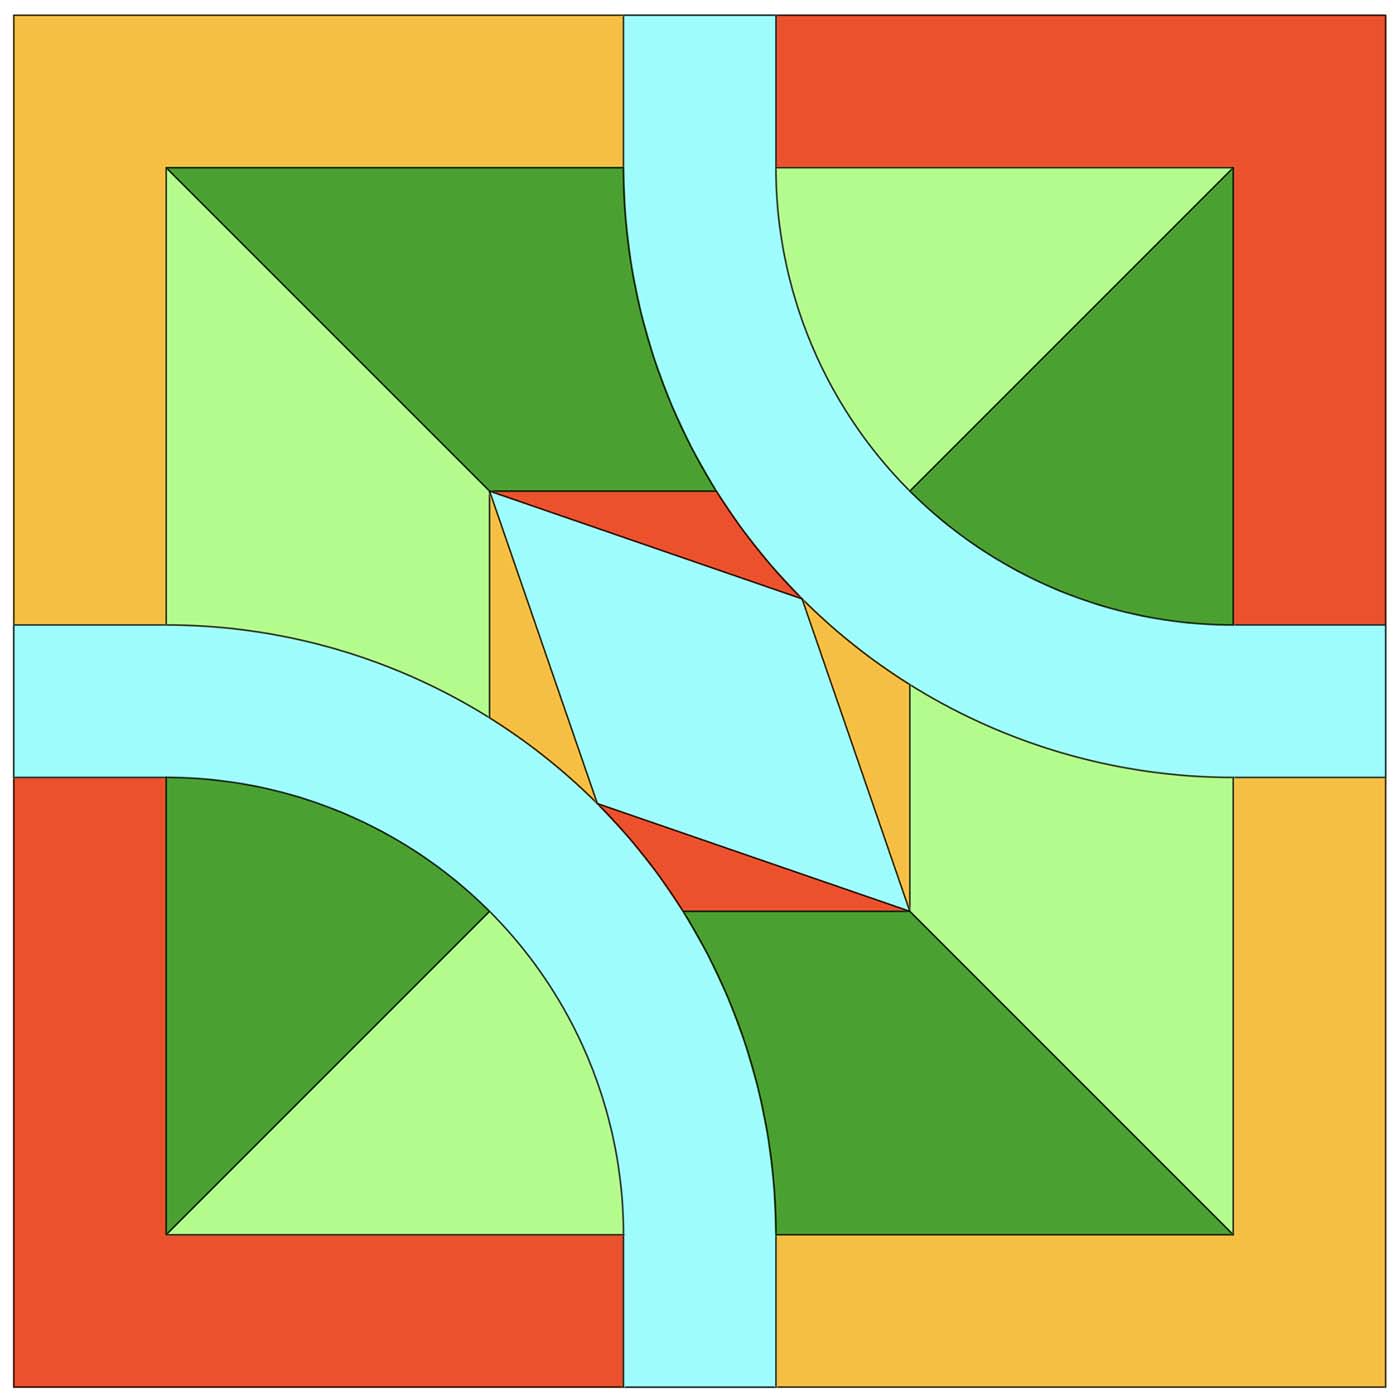
The central section of azure felt like it needed to be broken up, so I experimented with adding triangular sections, which gave the design a graphic, leaf-like effect. I liked this design, but I also know that the blocks I tend to like the most in these group quilts are often the simplest (or simple-looking) designs, and this block has a lot going on in a 9” square. I also wanted to try using more of the orange-yellow fabric in the design.
In the next iteration, I cut the curves down to two azure arcs and added orange-yellow sections to create a visual border.
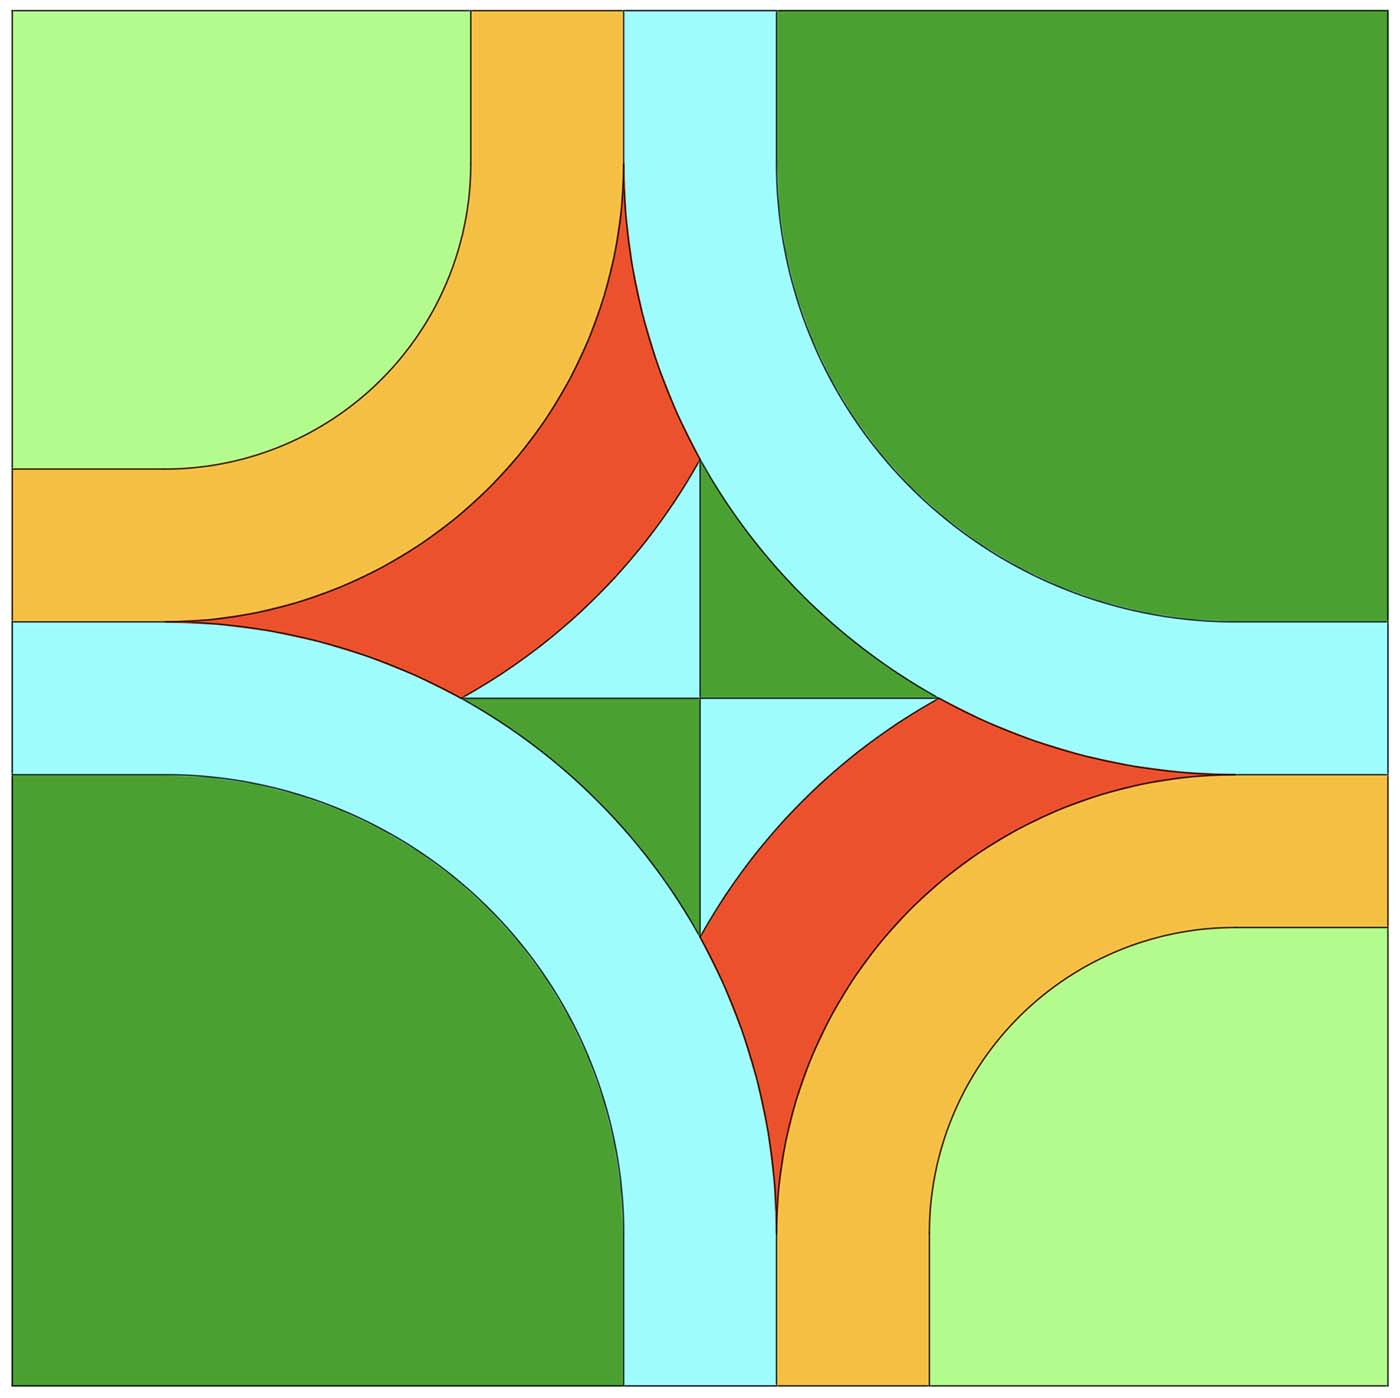
The border effect felt like it would truncate the flow between blocks, so I added orange curves back in, arcing towards the center of the block design.
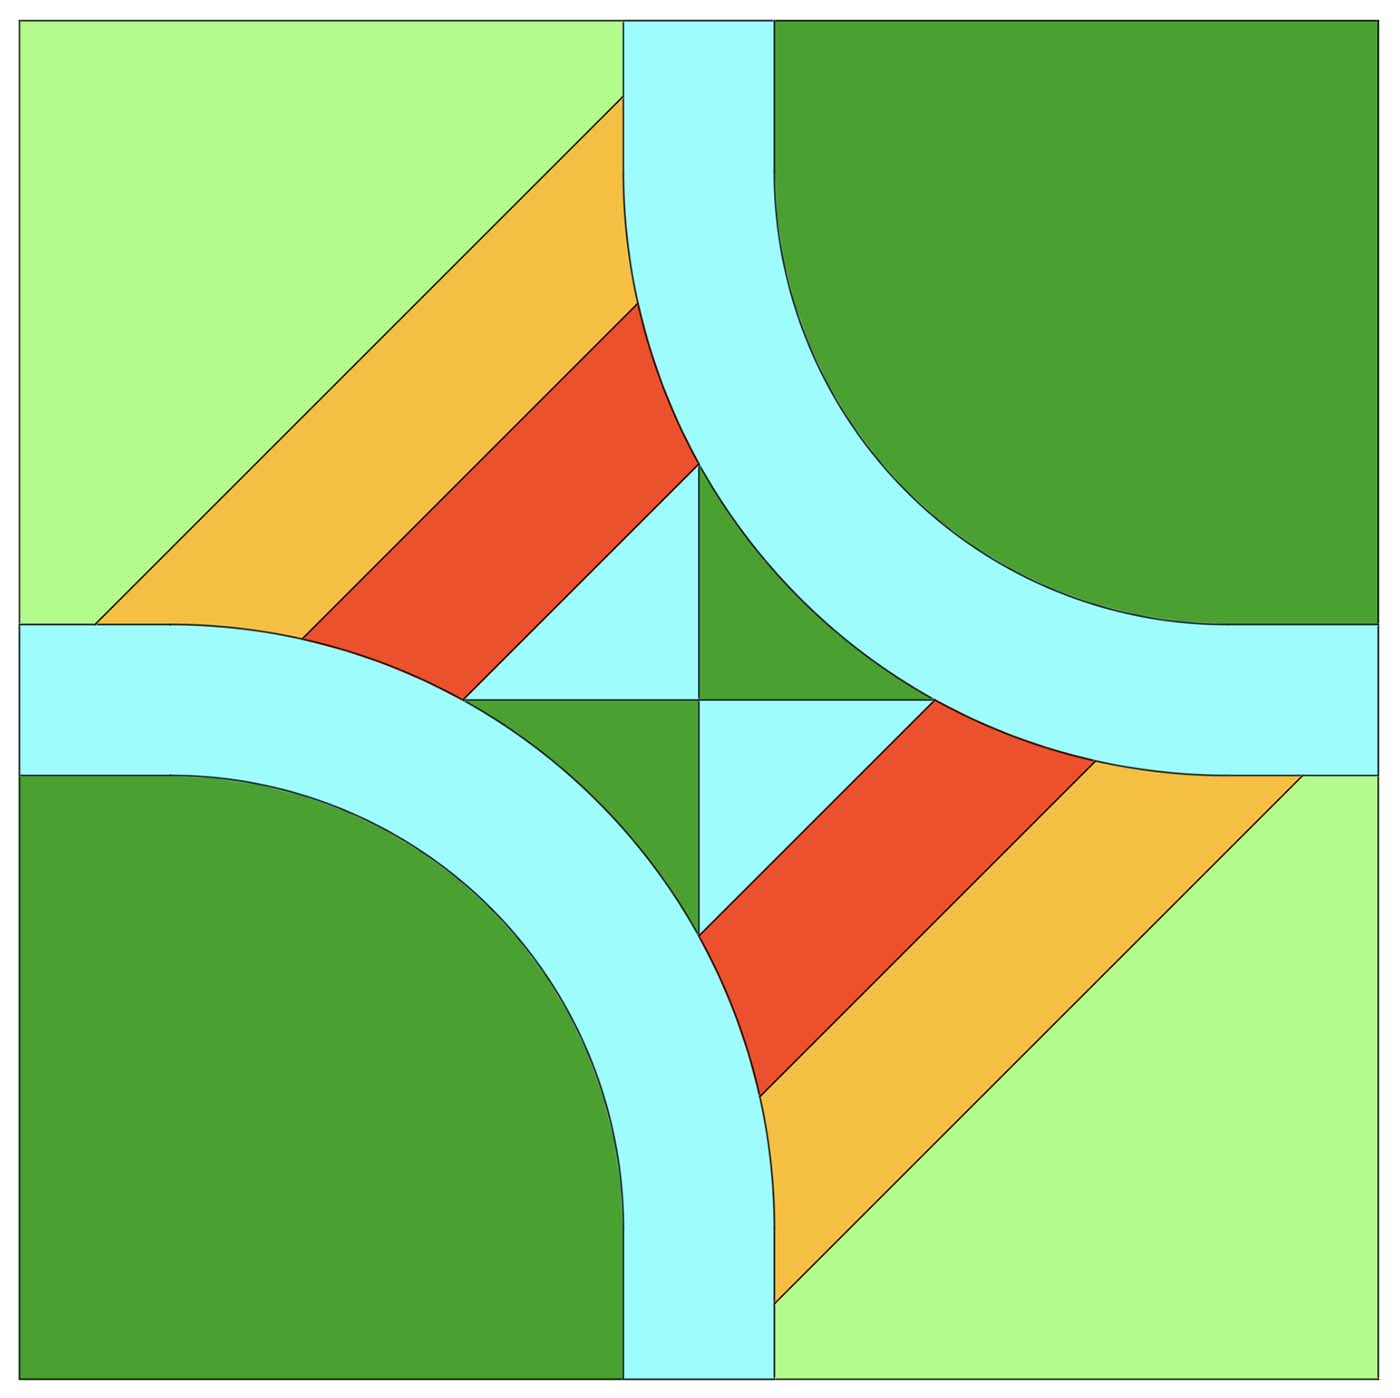
In the spirit of simplification, I also experimented with swapping the orange curves with straight lines.
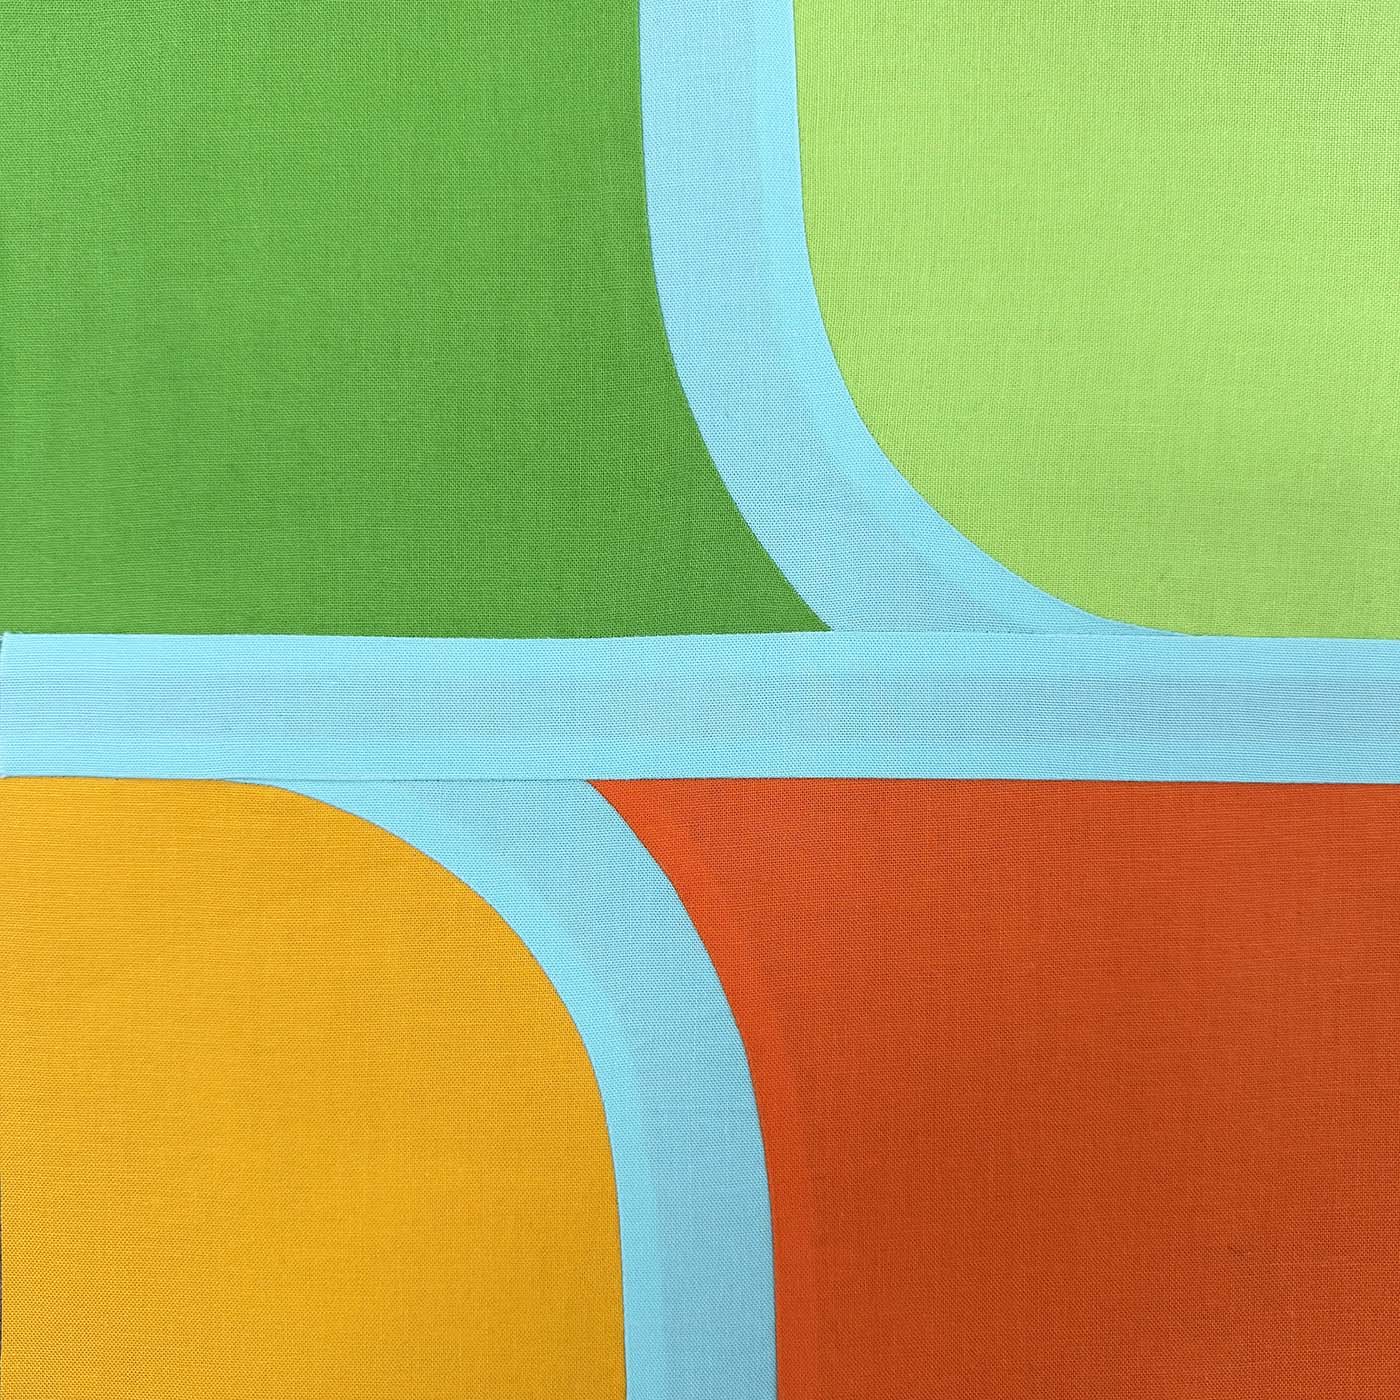
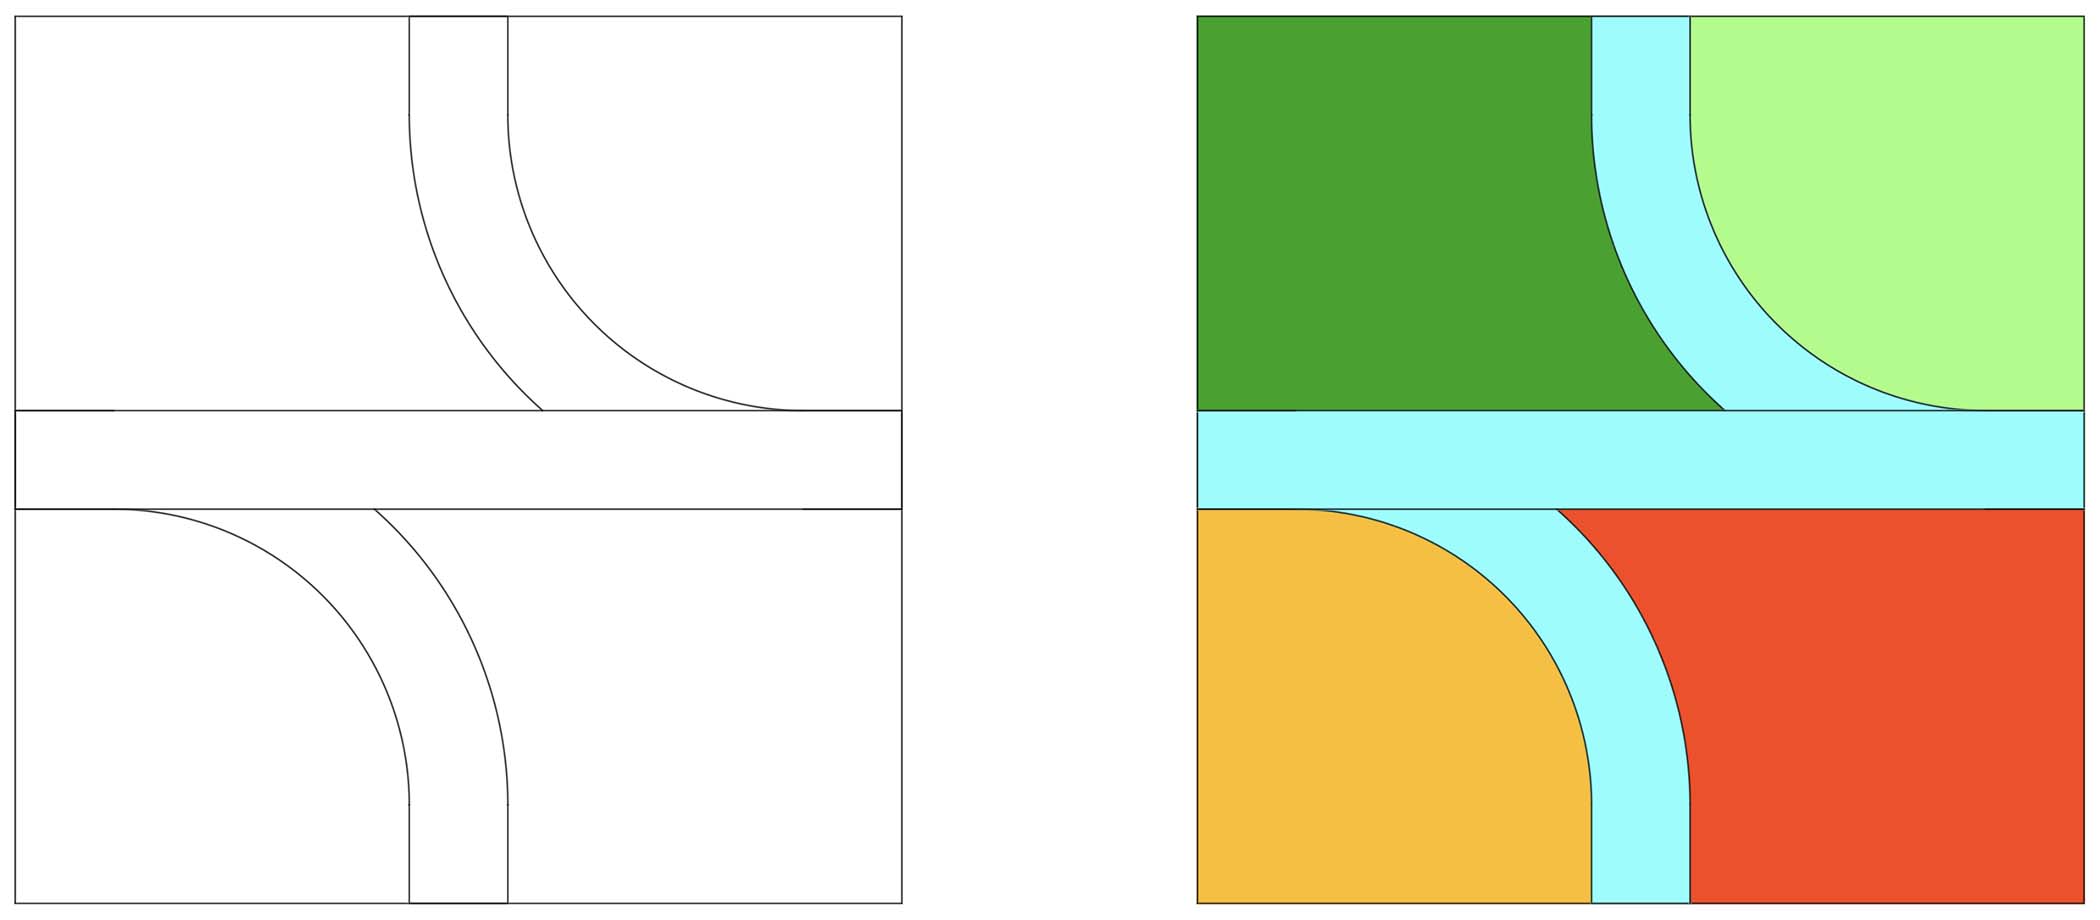
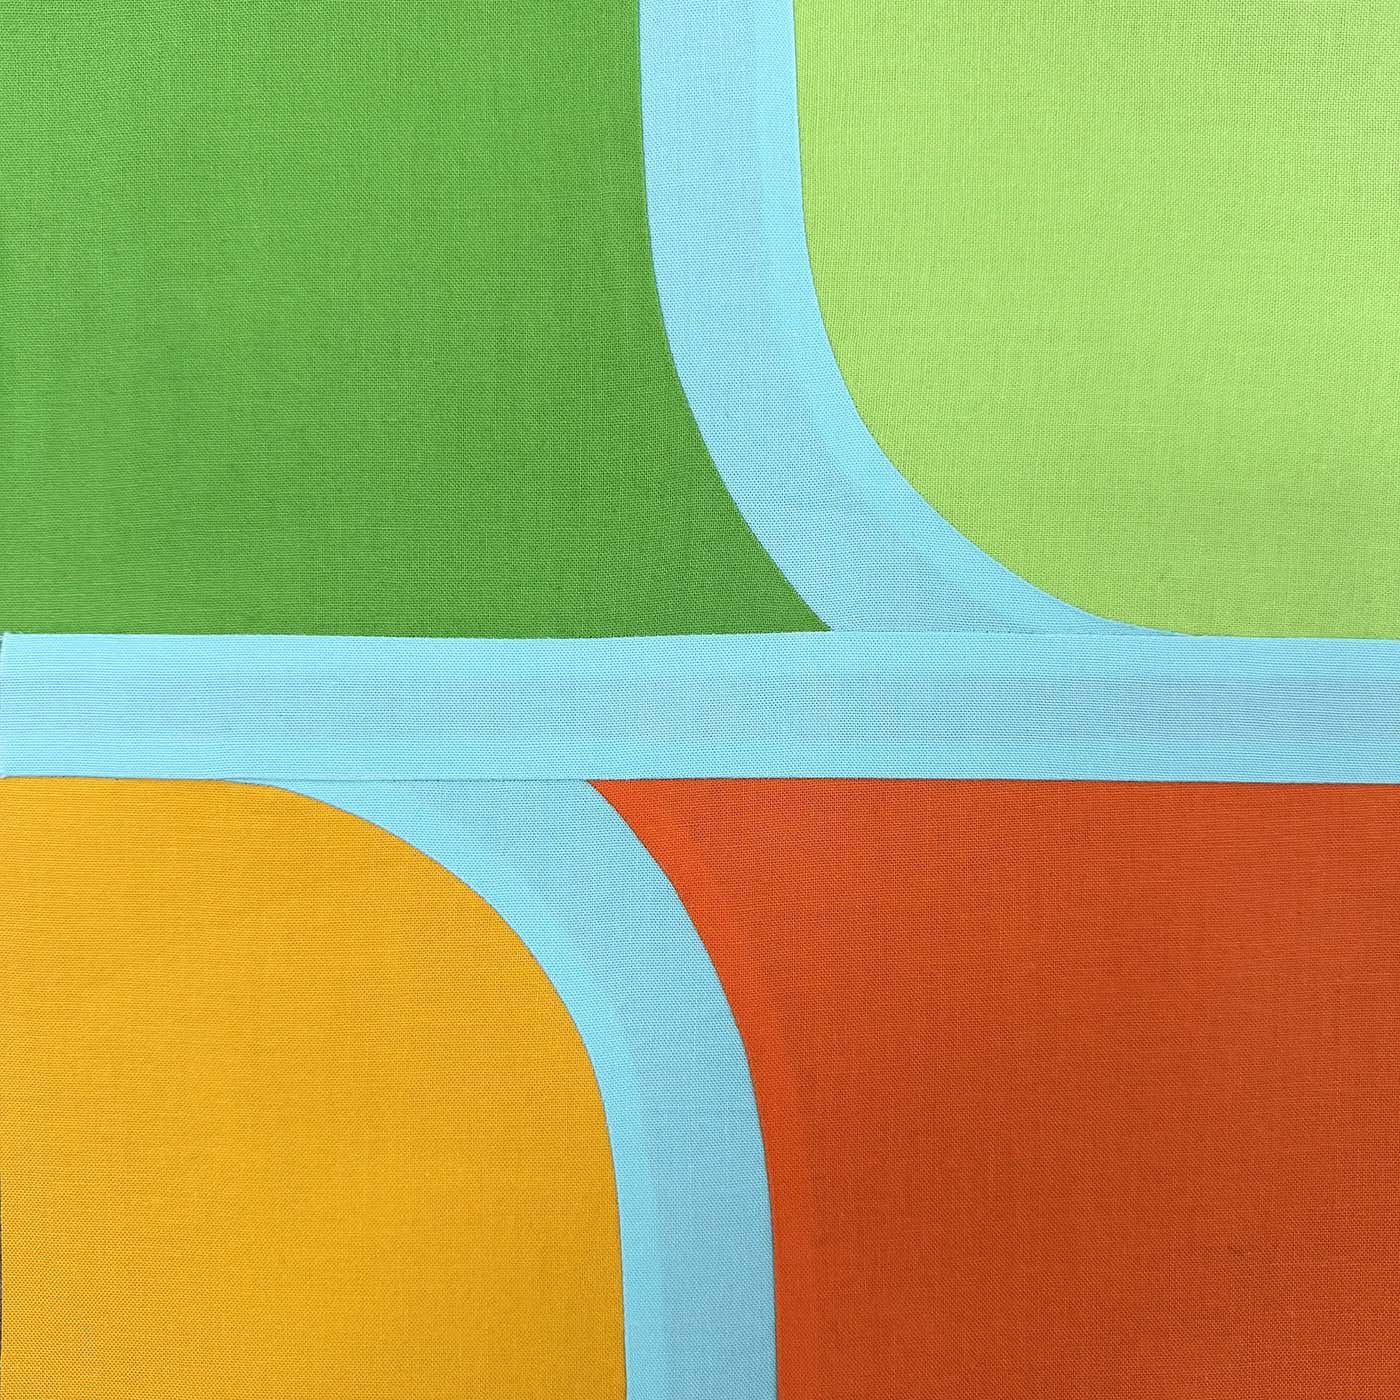
For the final iteration of the block, I decided to look at what happens when the azure arcs connect with a simple, straight line across the center. Suddenly, this simple line assumes the role of an abstracted tree trunk, and the azure arcs evoke carefully trained tree branches. With this design, I finally created a simple (only seven pieces) design that told a story related to the quilt’s original theme.
Constructing the Block
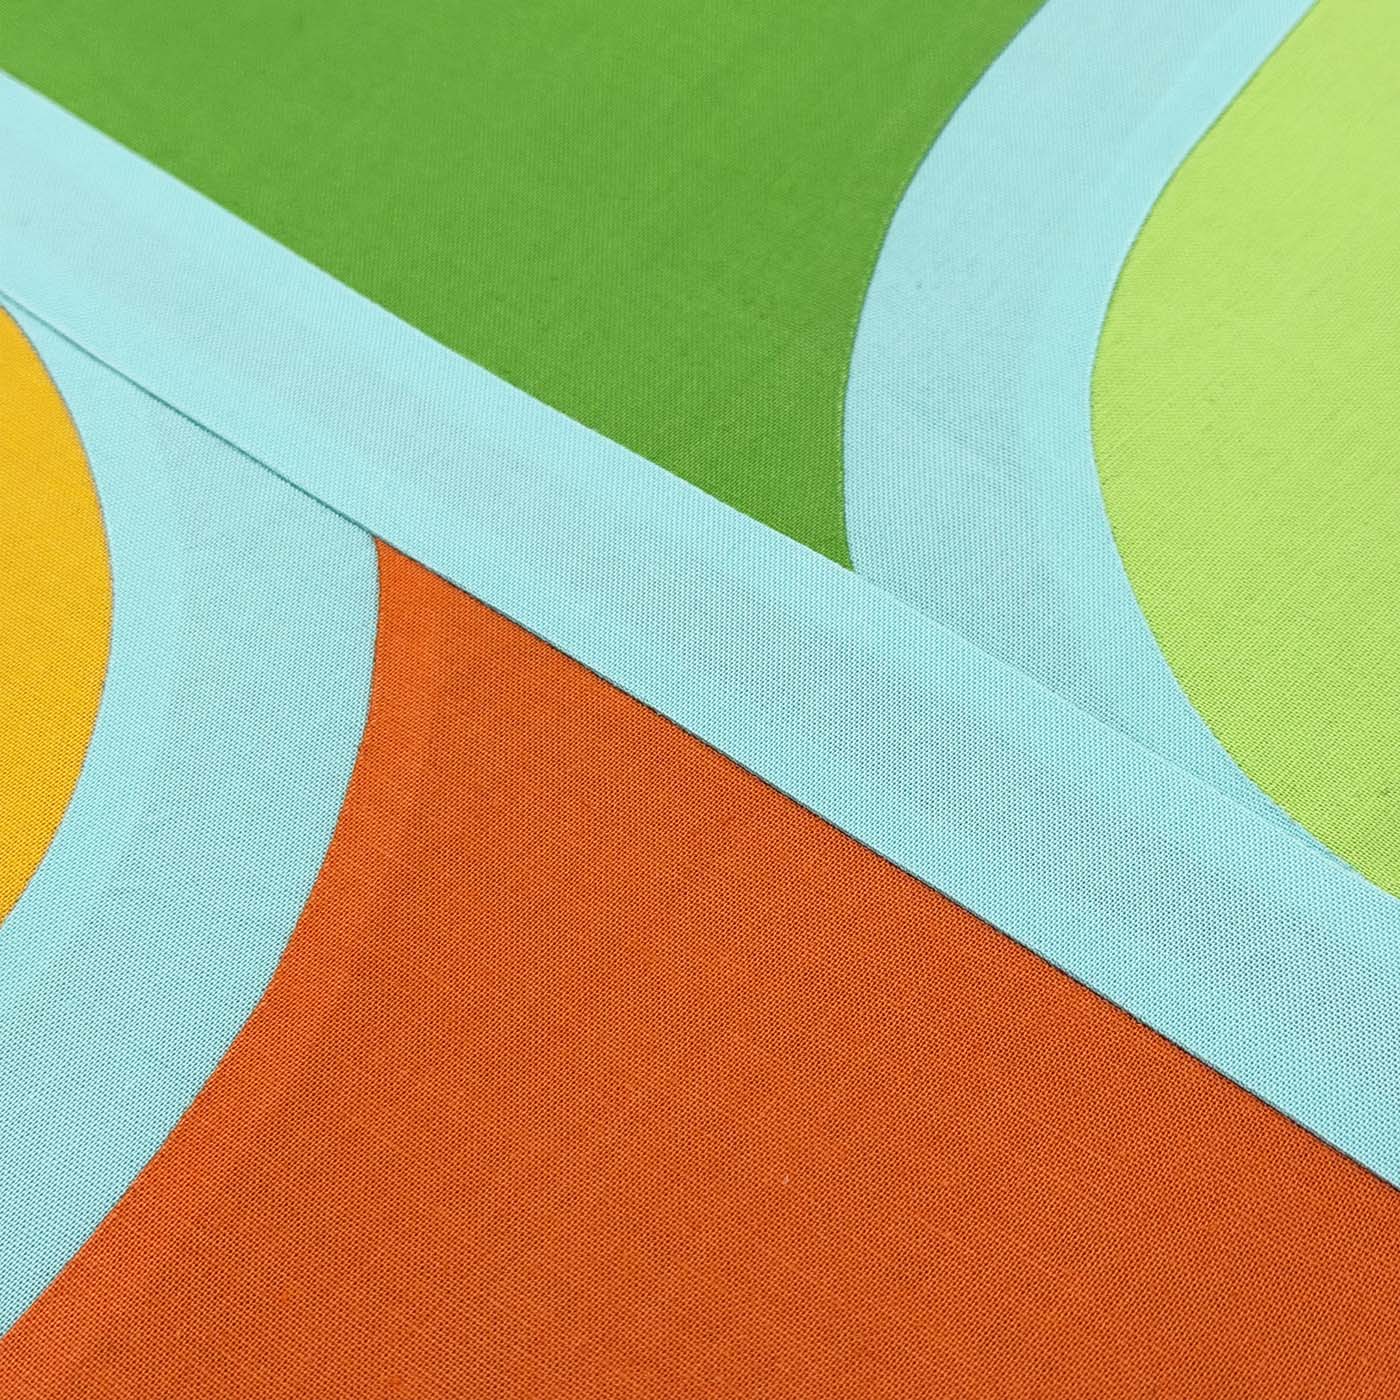
Even though the design only includes seven pieces, the scale of the curves and the arcs melting into the central azure line made for a fussy construction process.
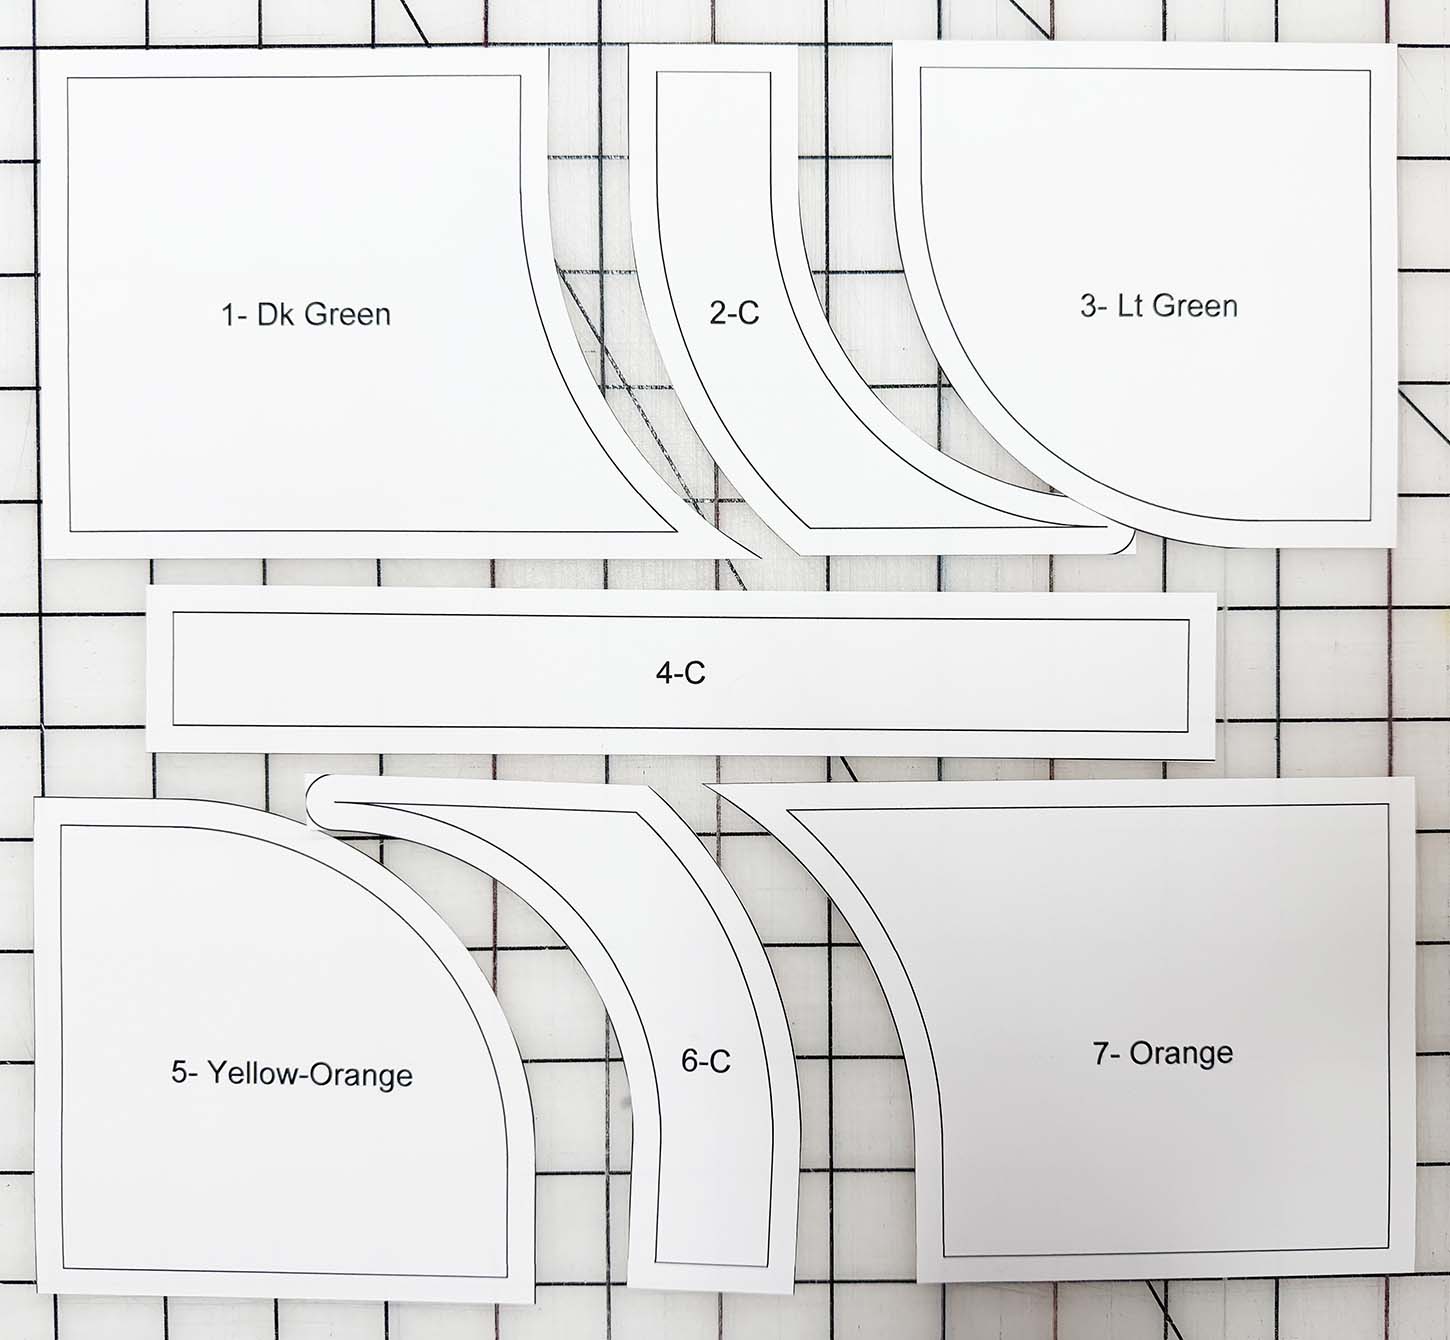
I created templates in AutoCAD to accurately cut each fabric section.
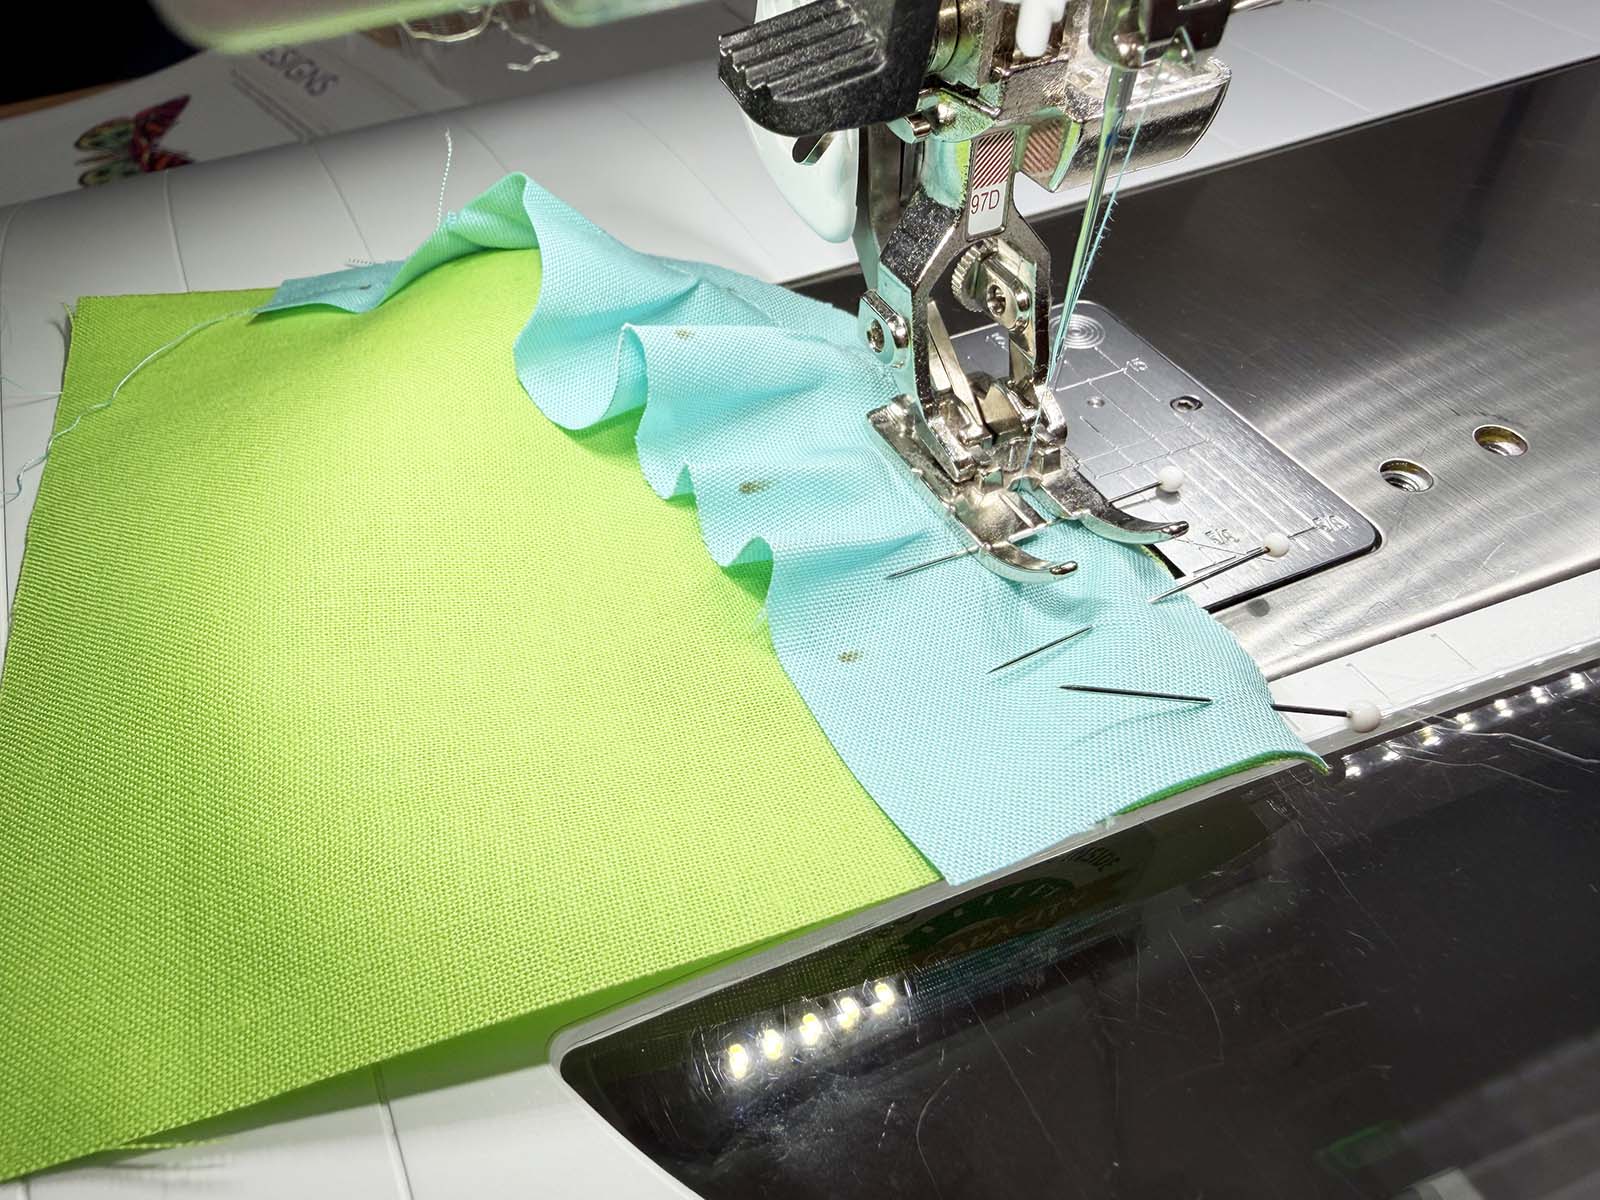
A lot of pins and slow machine stitching helped the curves go together.
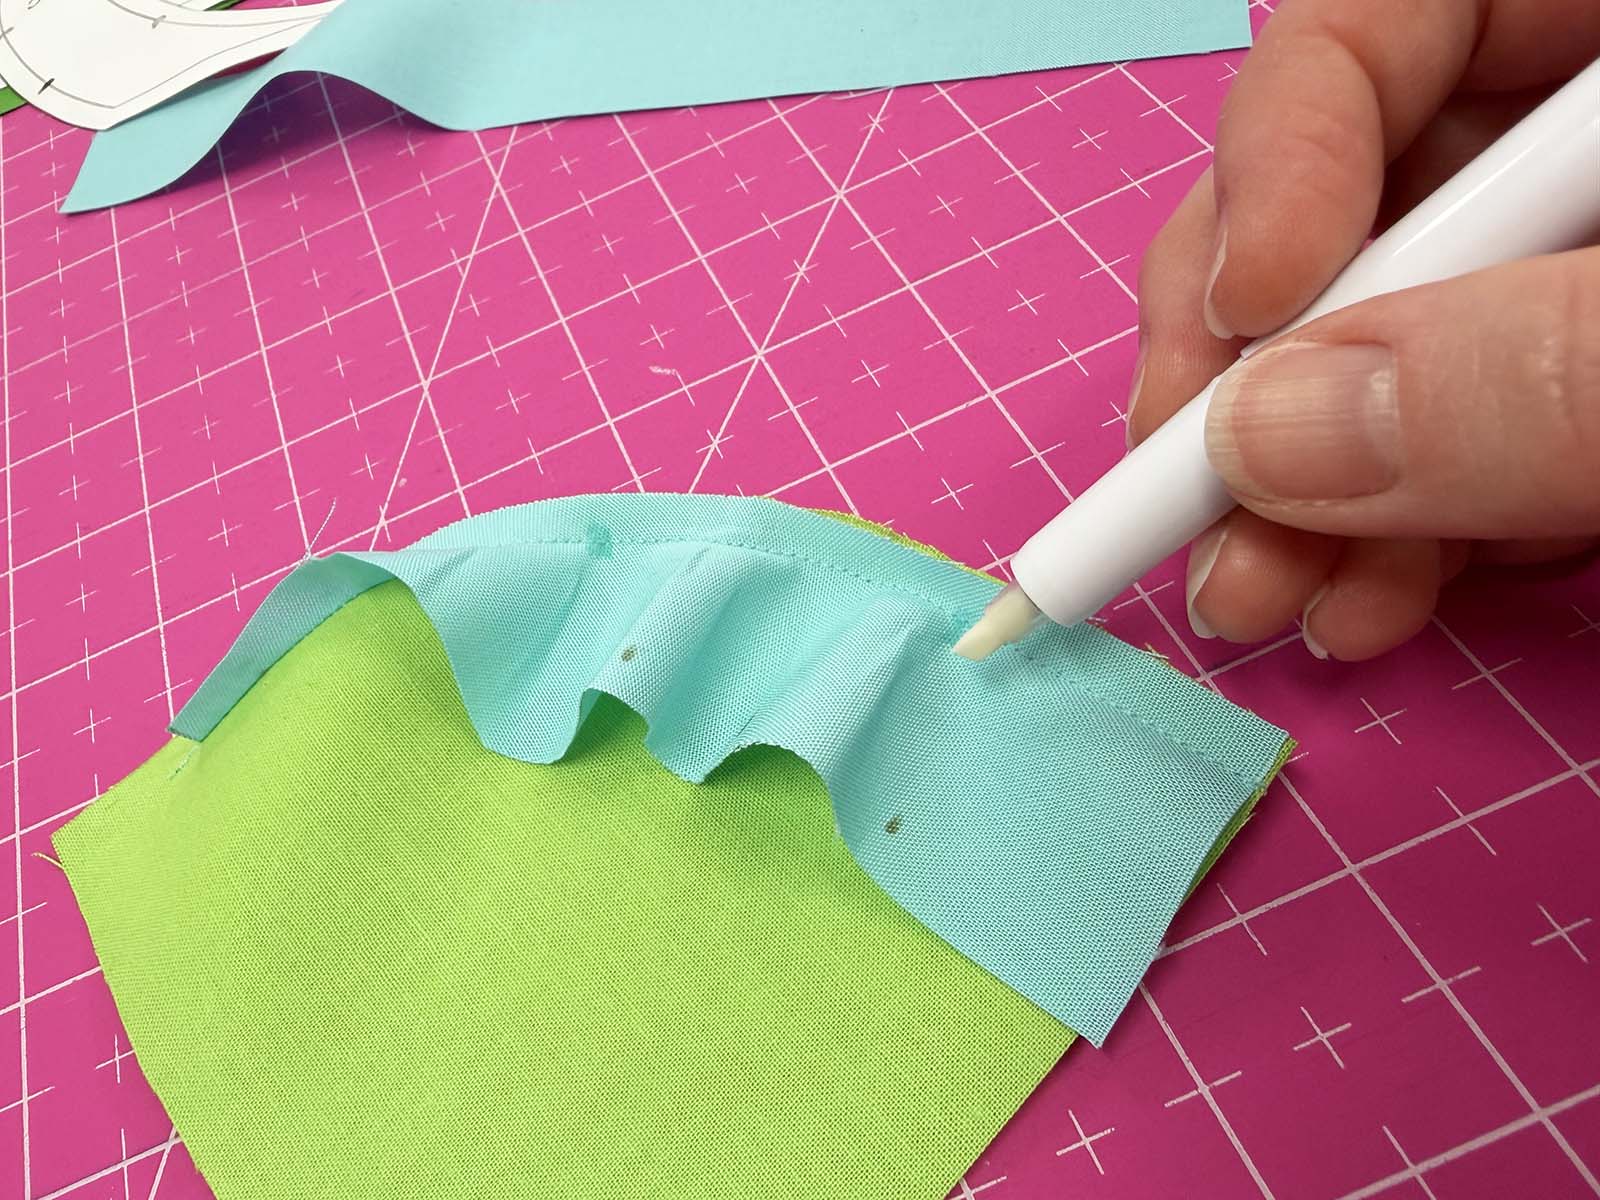
I put tic marks along each seam to mark several points where the curves would intersect. I used a two-part removable fabric marker that came out easily with the eraser pen.
Then it was just a matter of very careful pressing to complete the block.
The Finished Block
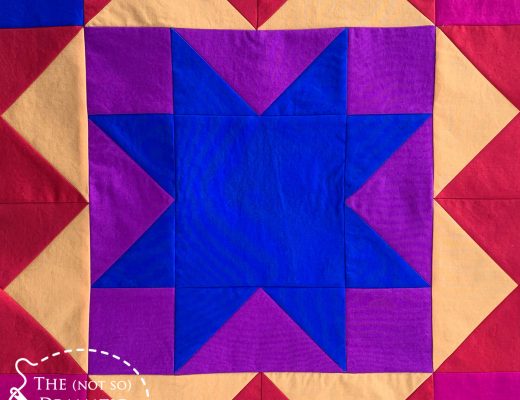
This block created an unexpected optical illusion that made it look like the ends of the arc didn’t line up. Even knowing all the measurements, it was enough to trick my eye, so I had to double-check the layout.
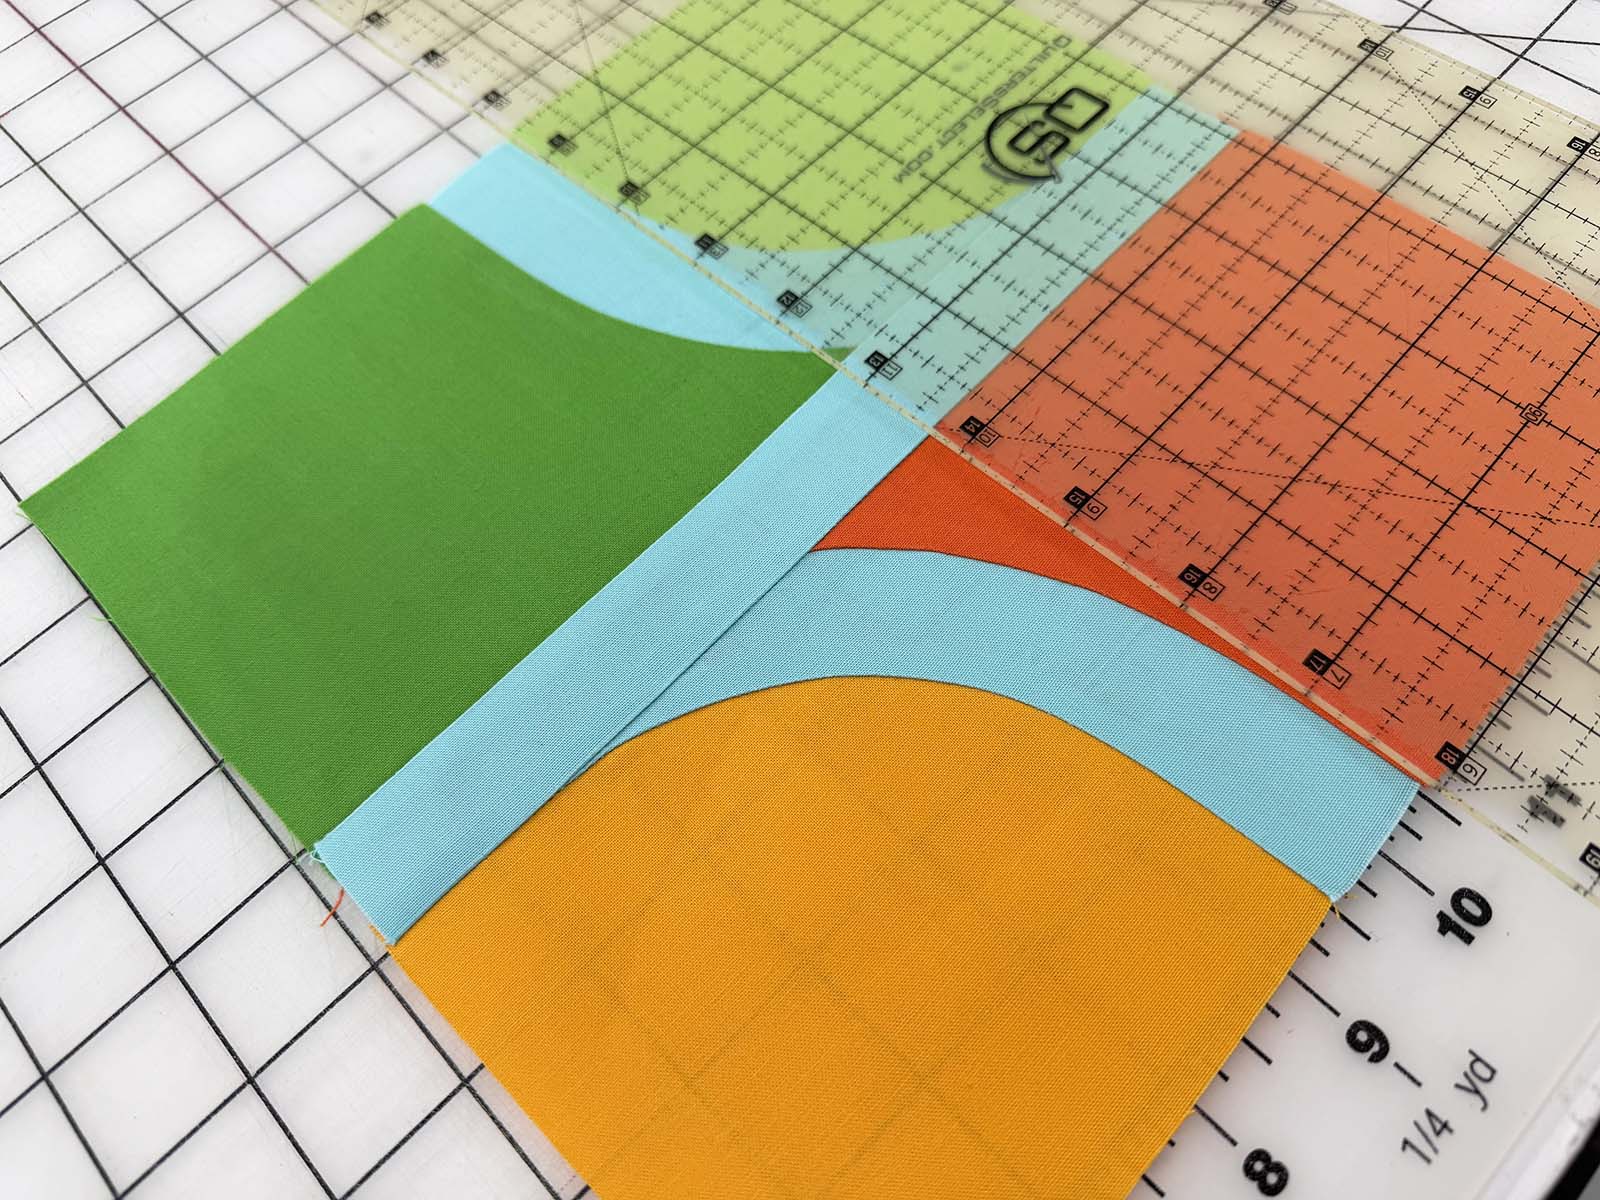
I shipped the finished block off last month, and this iteration of The Exquisite Quilt is coming together!

3 Comments
Kathie
May 29, 2026 at 8:05 amIt’s perfect! I really enjoyed seeing how you flowed through design ideas to the final product. I use EQ8 to design my quilts, and I too develop my final design by trial and erroring through several iterations.
Shanda Siekert-Logue
May 29, 2026 at 2:08 pmWow! Thanks for sharing your design methodology, Cassandra. Well conceived, designed, colored and fabricated!
Denise Nash
May 29, 2026 at 3:29 pmI so enjoy seeing your creative brain in action! You make me feel like I can be more creative as I watch your thought process through your photography.