
Marking quilts is one of the biggest technical challenges in our chosen medium, and nearly every quilter has a horror story (of varying degrees) about marking gone wrong. I make it a point to try as many options as possible because it is one of the most common questions I receive when I’m teaching. New fabric-safe pens and pencils come out all the time, but sometimes the most effective options rely on old-fashioned techniques.
One of my favorite ways to mark a design with many interacting elements is to create a pounce template specific to the design. To create a pounce, you will make a paper template of your design, punch small holes along each line, then push chalk powder through the holes onto the fabric you want to mark.
If you have ever used Full Line Stencils, you will recognize this process, but this way you can create a custom design for the space you want to work within.
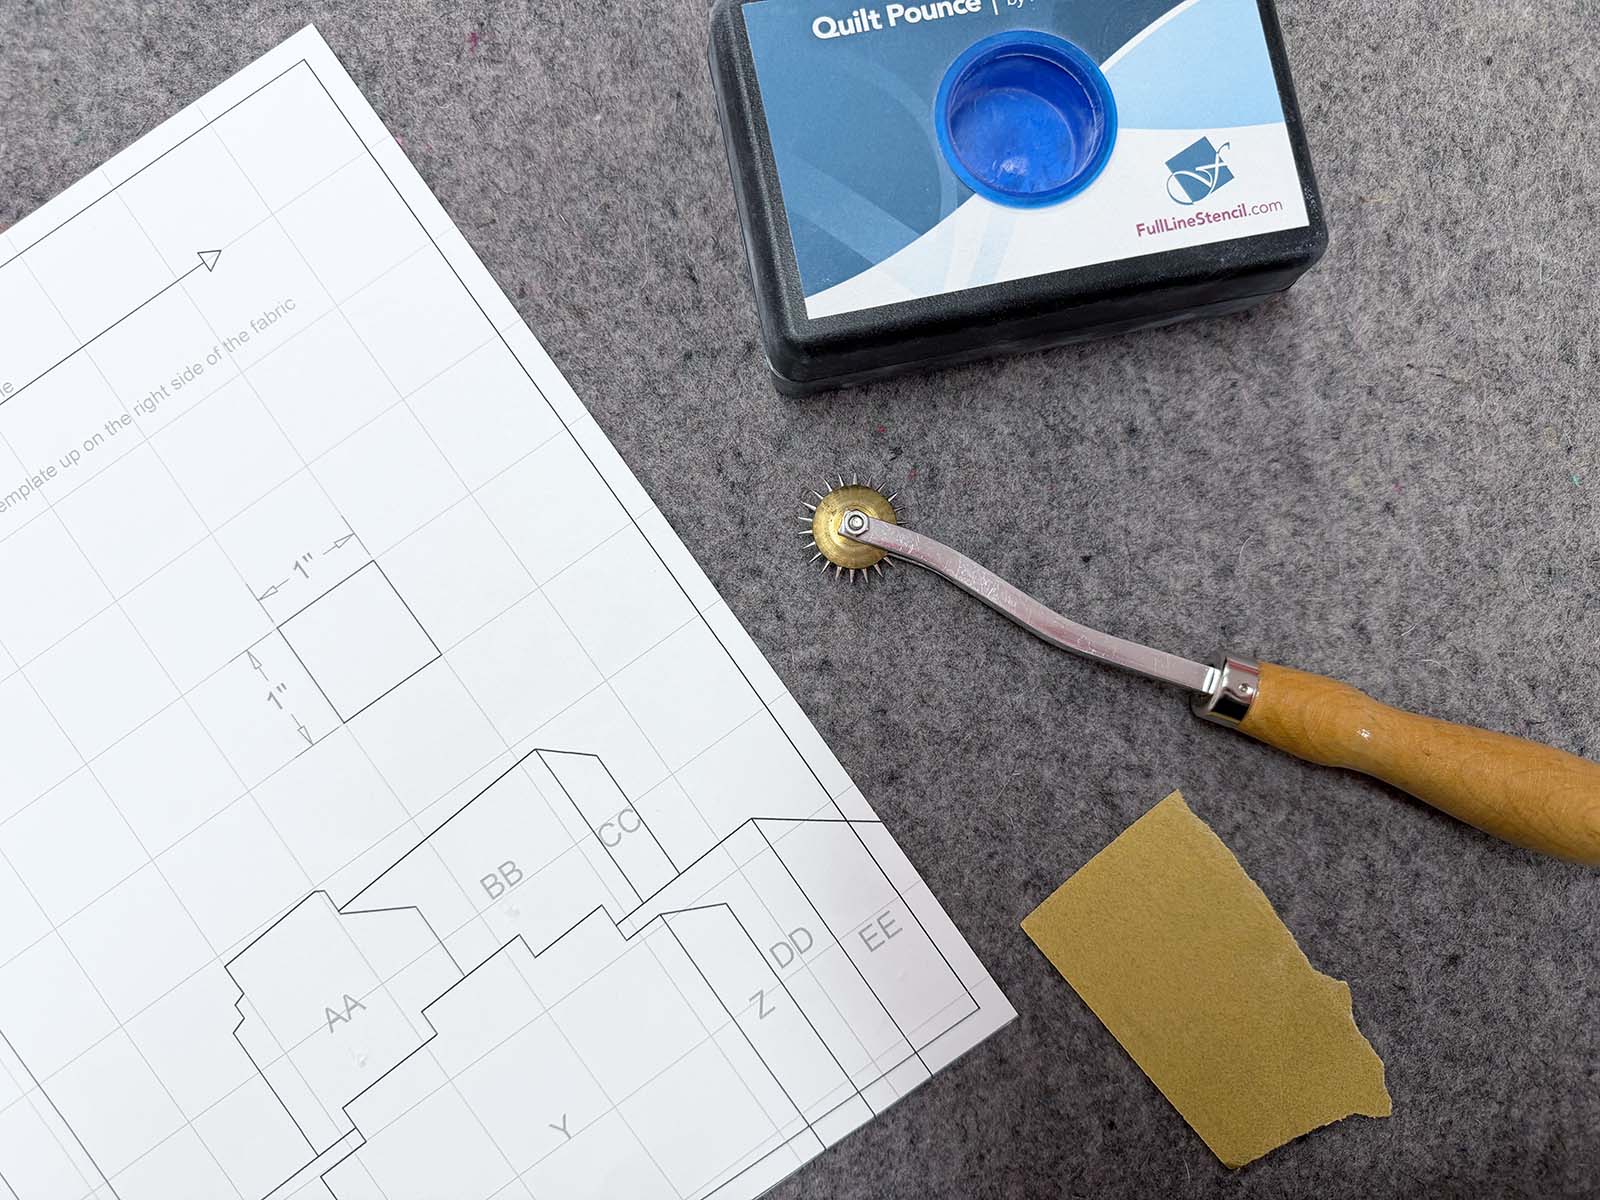
Supplies to Make and Use a Pounce Template
I learned this method of transferring a design while doing scenic painting, not in quilting, but the tools you need may already be in your sewing kit.
- Needle point tracing wheel: You may have one in your sewing kit if you have used tracing paper when marking and sewing clothing.
- Full-size version of your design, drawn or printed on paper
- A surface with a little give: My favorite surface is cork or homosote, but cardboard, foam core, or a wool pressing mat also work well.
- Very fine grit sandpaper
- Fabric-safe chalk powder: Test your chalk to make sure it comes off your fabric, and only purchase chalk intended for use on fabric. I prefer white and very light blue chalk. Other colors are more likely to stain your fabrics.
- Pounce pad: If you don’t have a pounce pad, you can create a fabric pouch to hold the chalk. You may need multiple fabric layers, and it is messier than a purpose-made pounce pad, but it is an option.
Making the Template
Hand-draw or digitally draw and print your design at full scale. If your design is large, you may need to tape multiple papers together.
Place the paper drawing on a surface with a little give, such as the wool pressing mat I’m using below. Run the tracing wheel along each printed line. You may want to use a ruler to help keep straight lines straight.
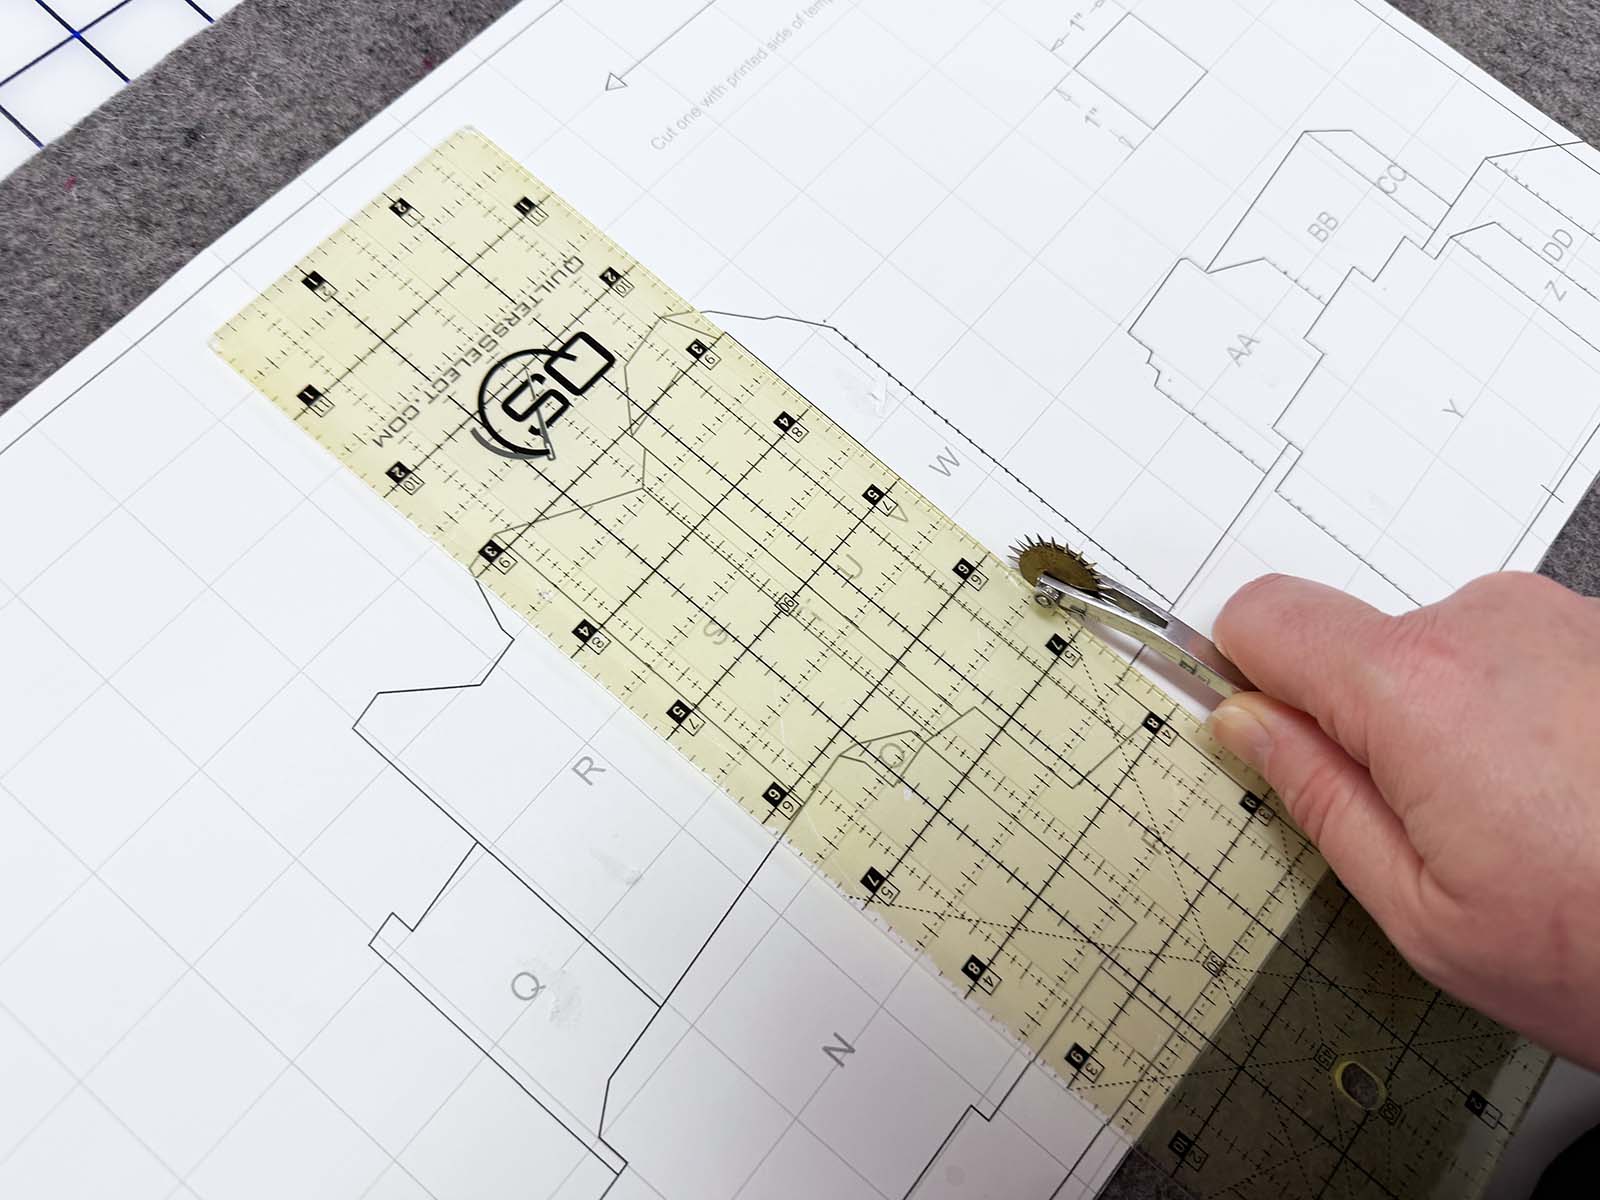
You will have a series of small holes along each line. If you need additional holes, use a thick pin or stiletto to make them.
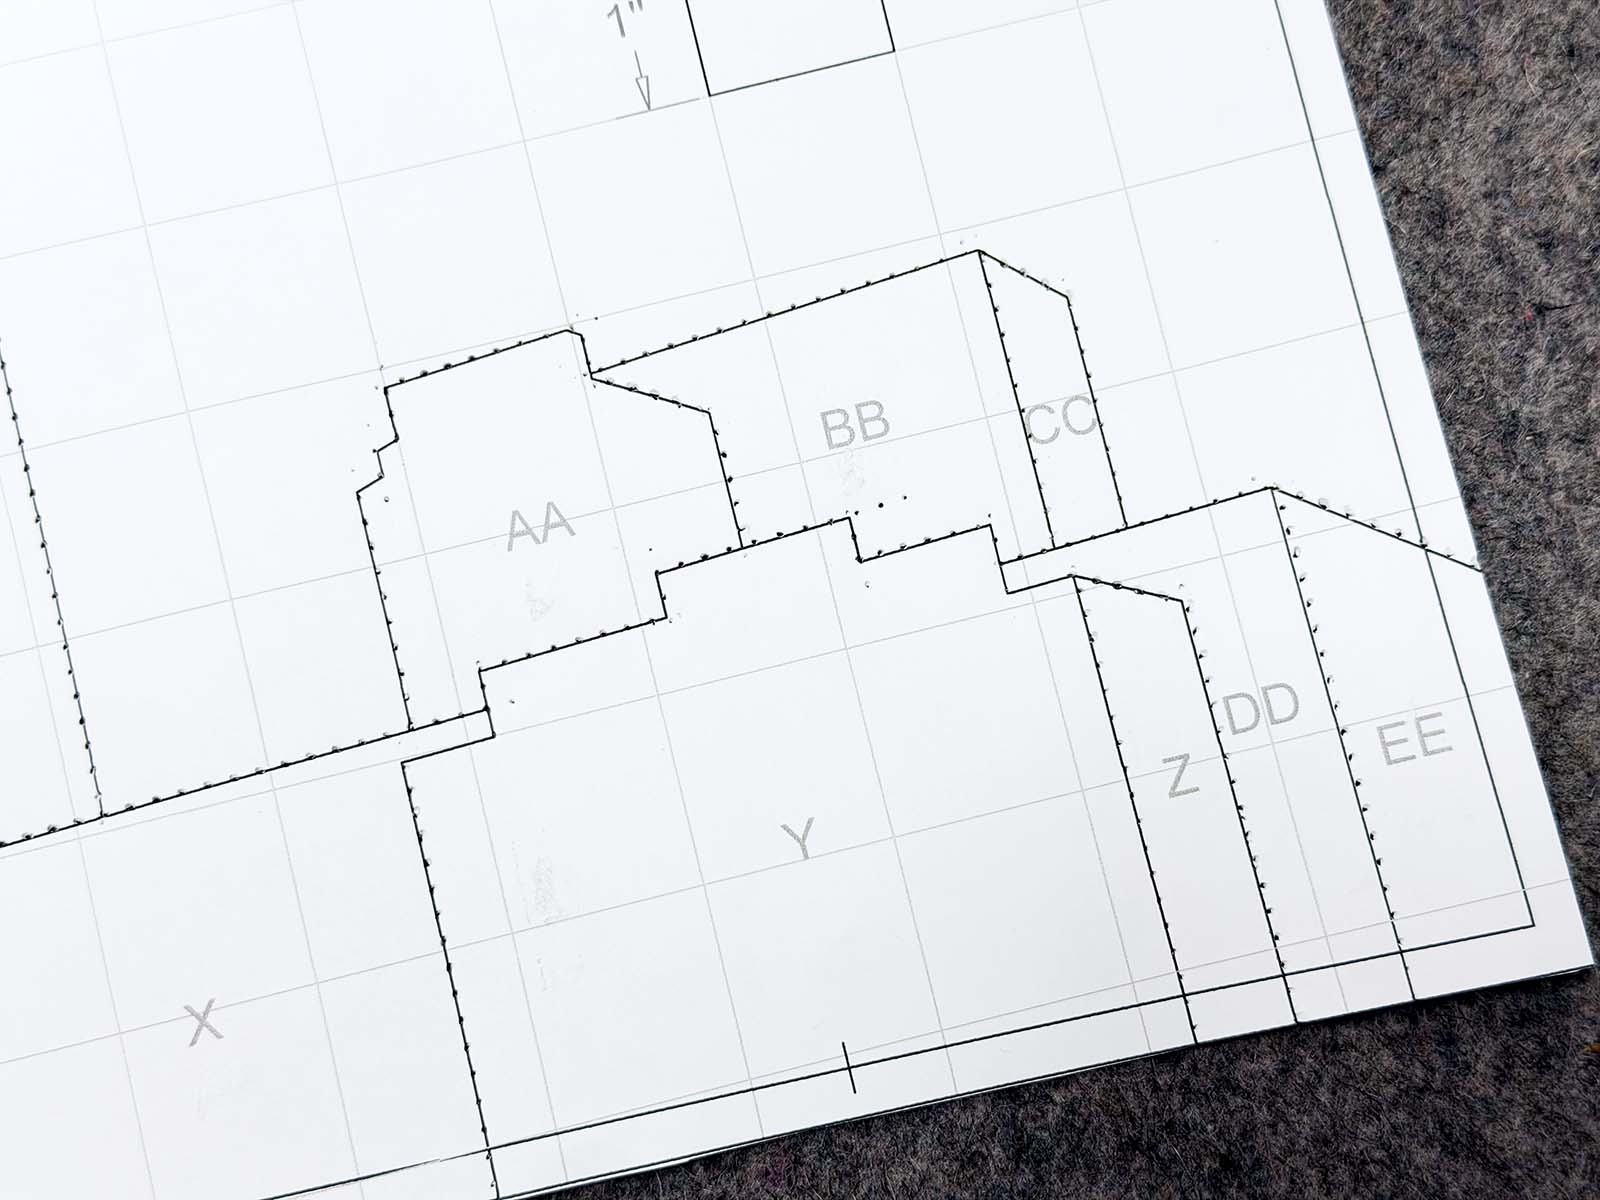
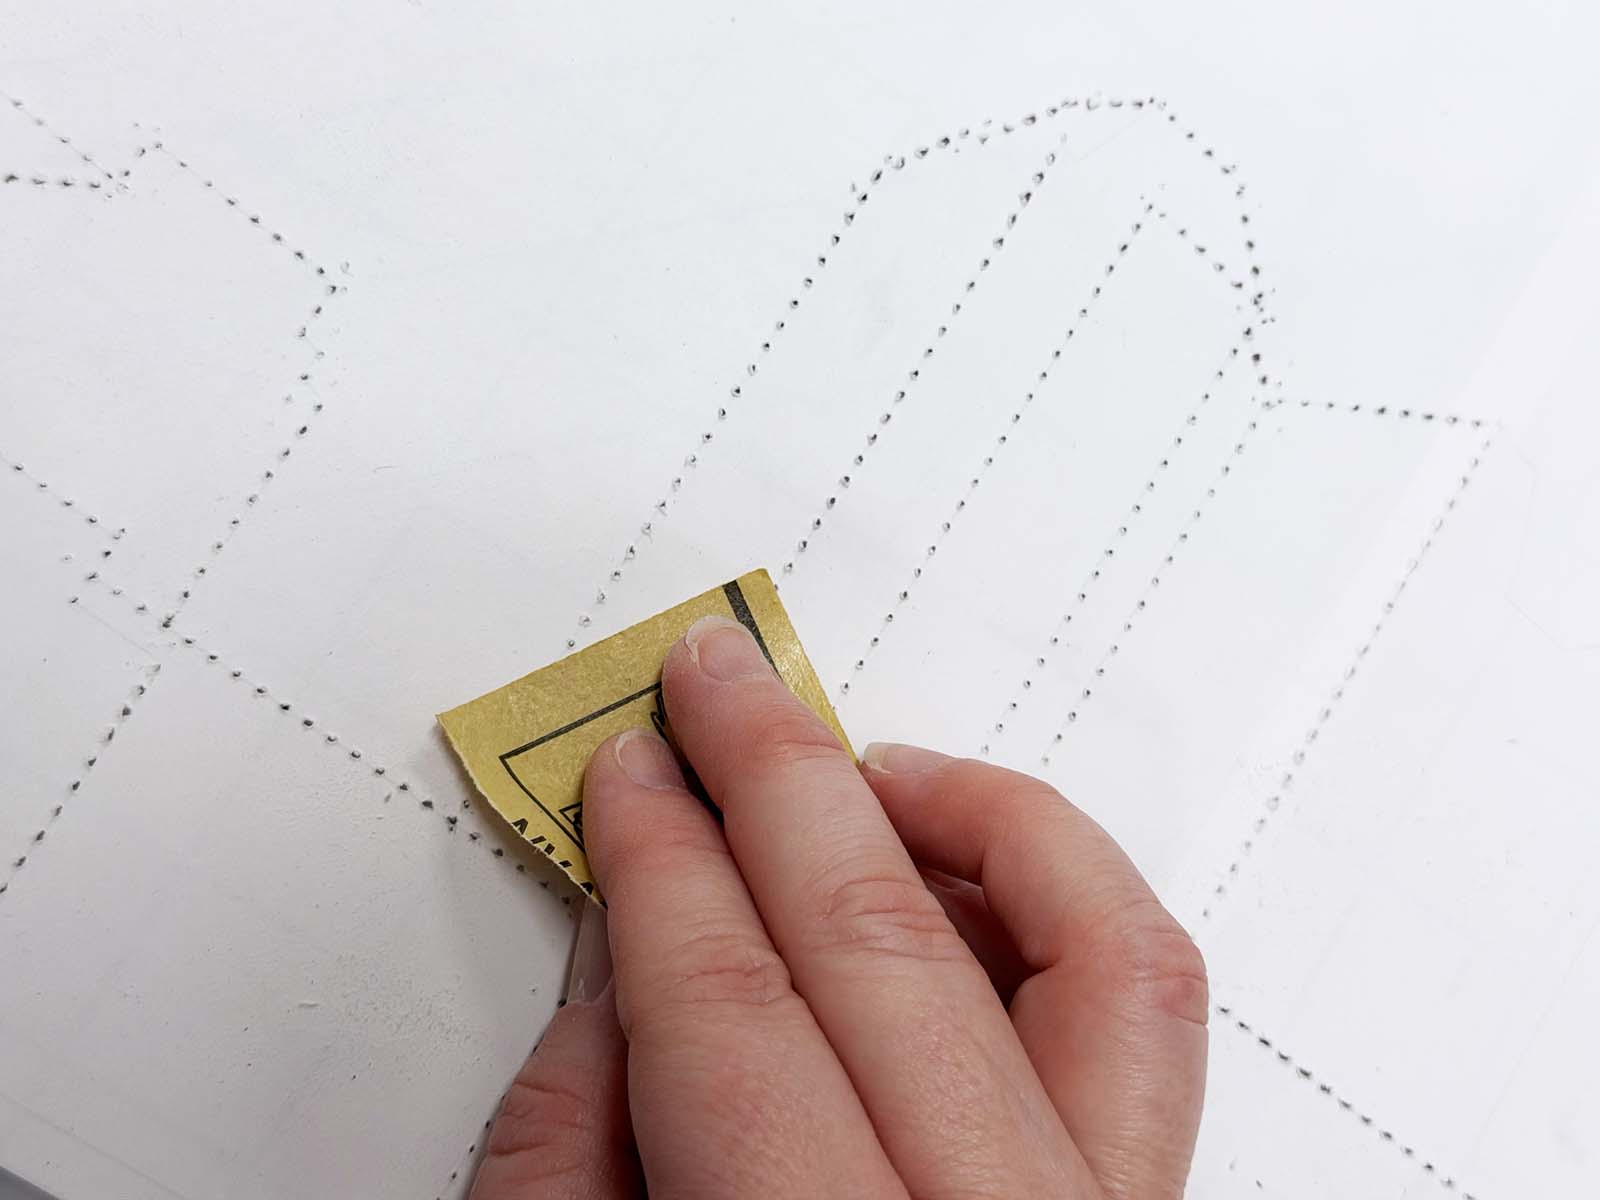
The back of the template now shows a mirror image of the design. You will notice paper bumps along each line on the back of the image.
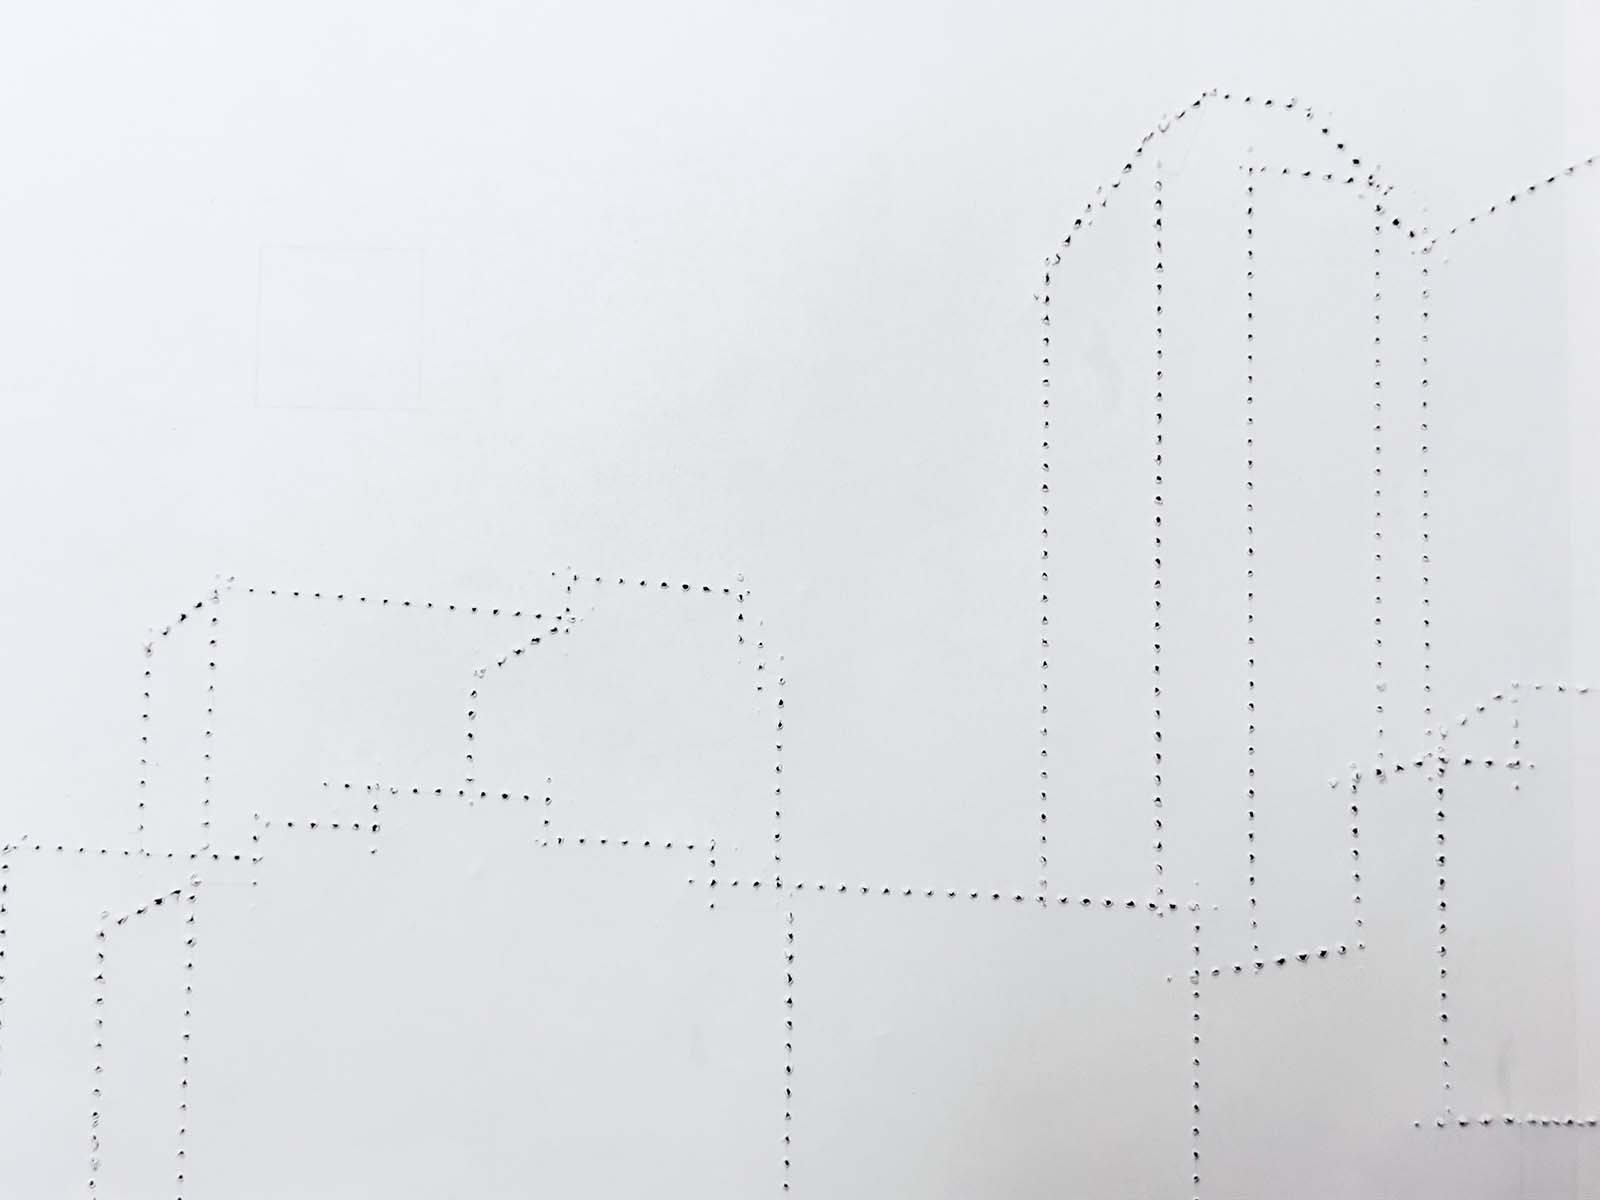
Rubbing the back of the template with very fine-grit sandpaper will remove the bumps and help open the holes, making the marking process easier. This step is optional, but if you want to skip it, I suggest a test to make sure the chalk passes accurately through all the holes.
Using the Template
Position the pounce template on the section of fabric you plan to use. You may want to pin or tape the template in place, especially if the design is large.
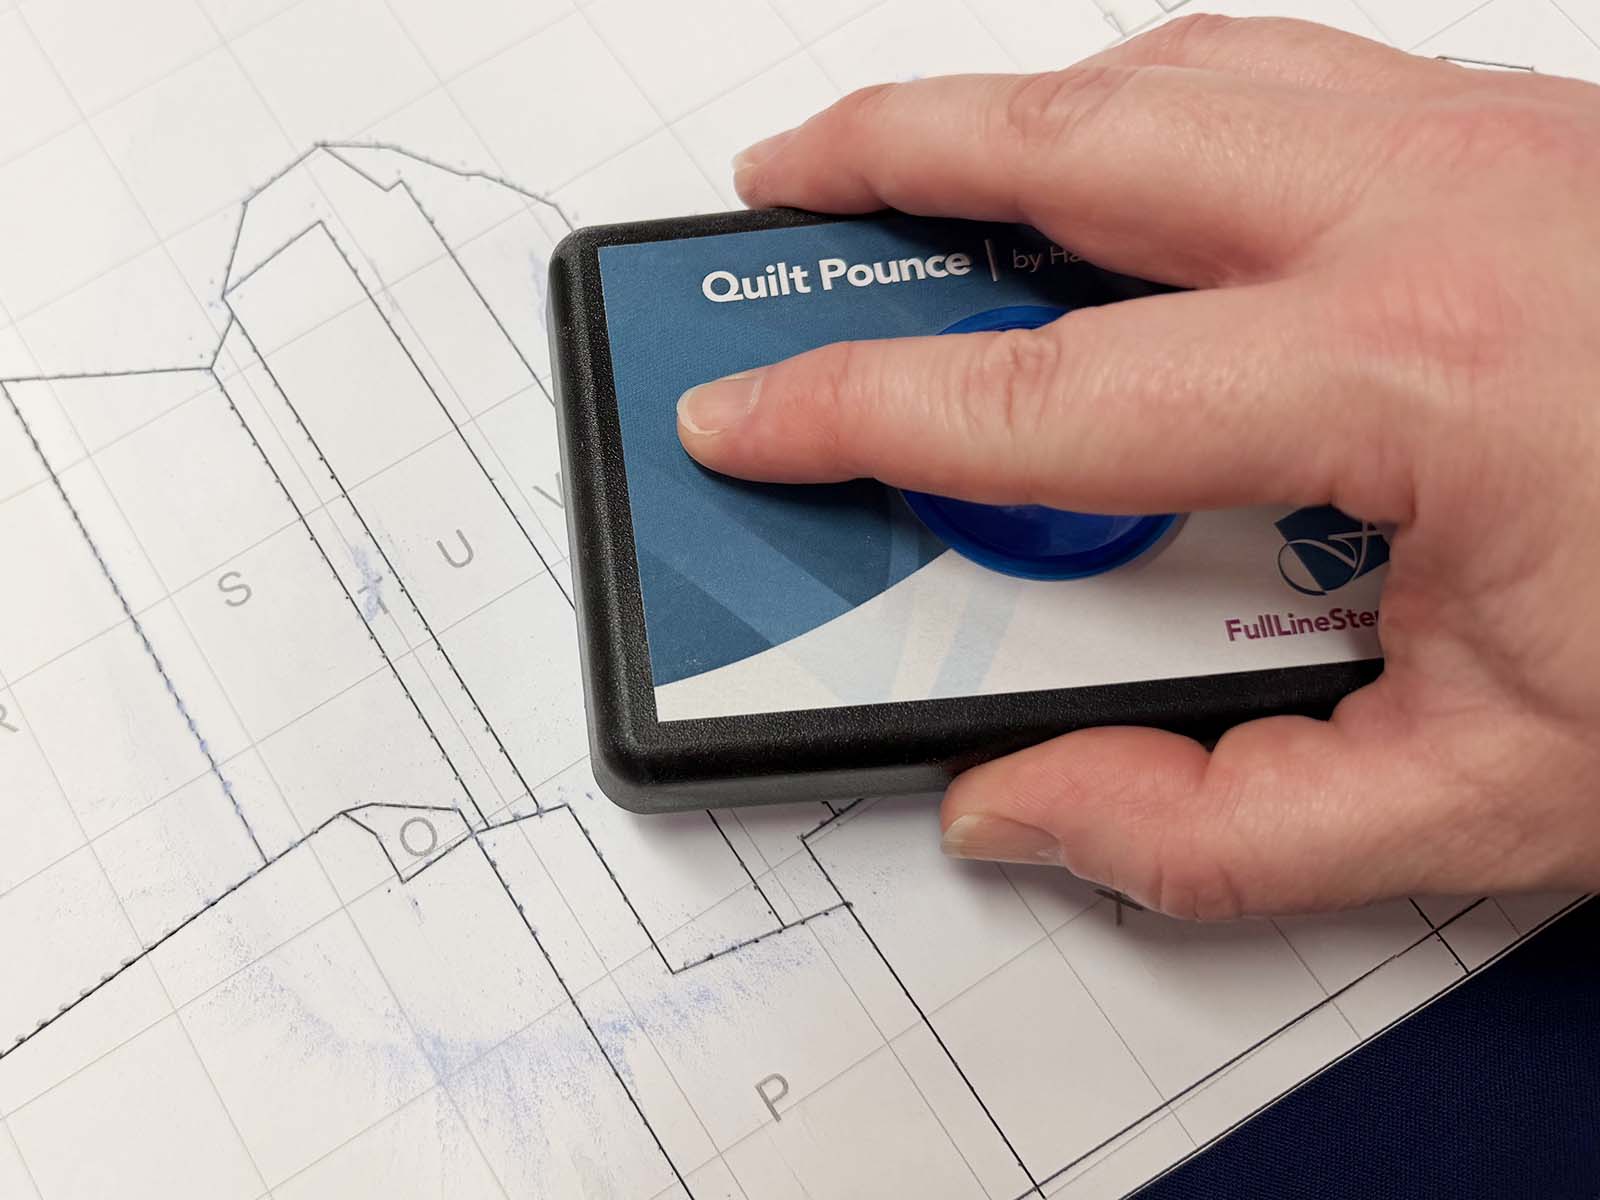
Prep the pounce by firmly tapping it on a table. The pounce I use is a box with a pad inside. Tapping the pounce with the box lid in place greatly decreases the amount of dust released into the air. Once the pounce is ready, gently rub it across the paper template.
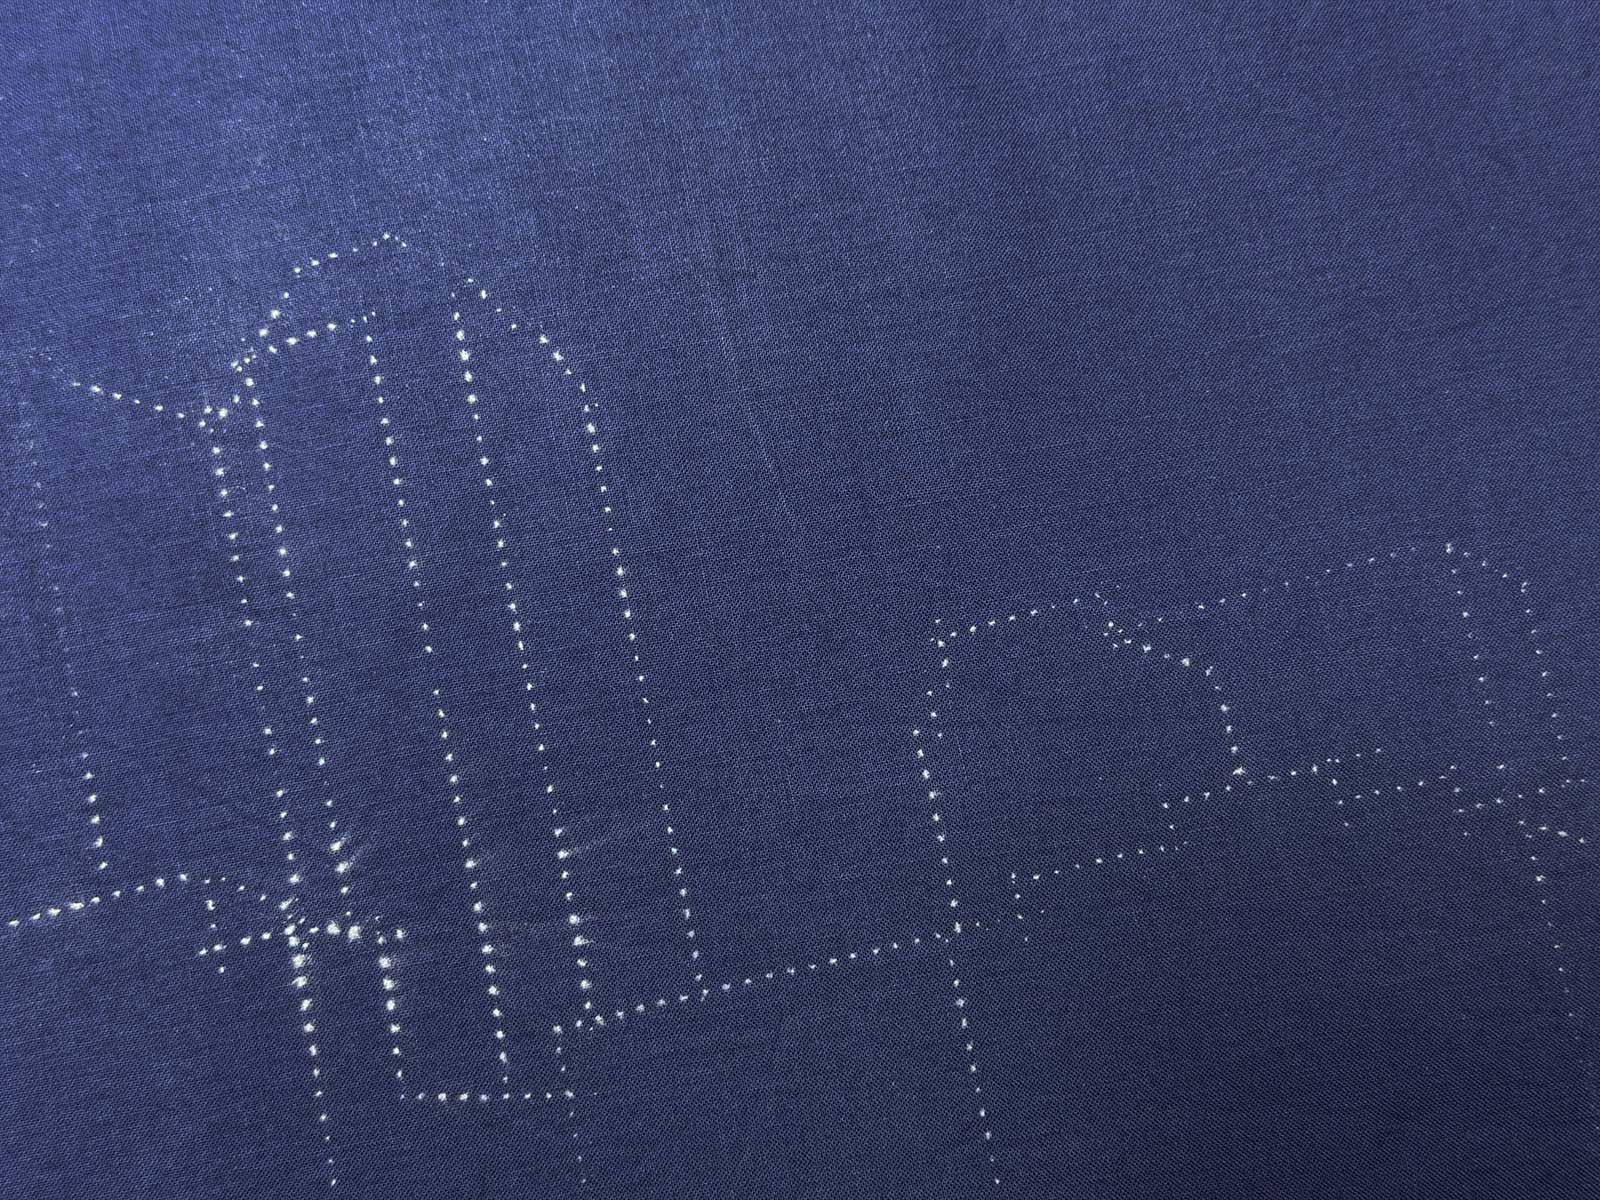
Remove the paper template to see the design that you have transferred to the fabric.
When to use a Pounce Template
The template shown here is for positioning appliqué components on a dark background, but my favorite use for a pounce template is marking quilting stitches. This technique is particularly useful if you want to quilt specific, detailed designs multiple times in a quilt.
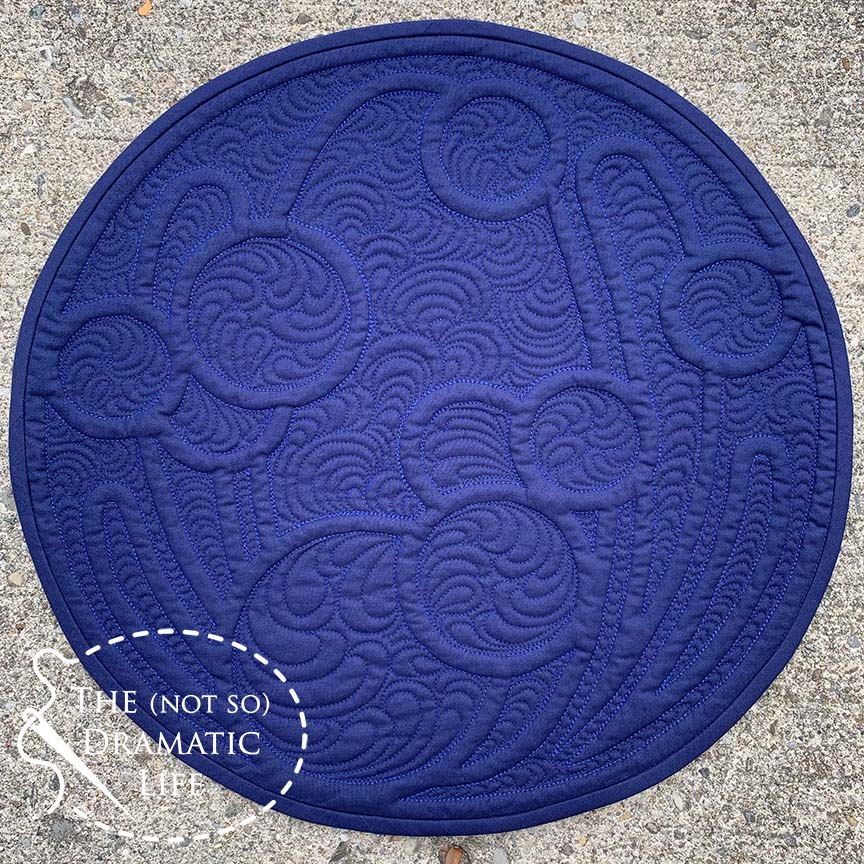
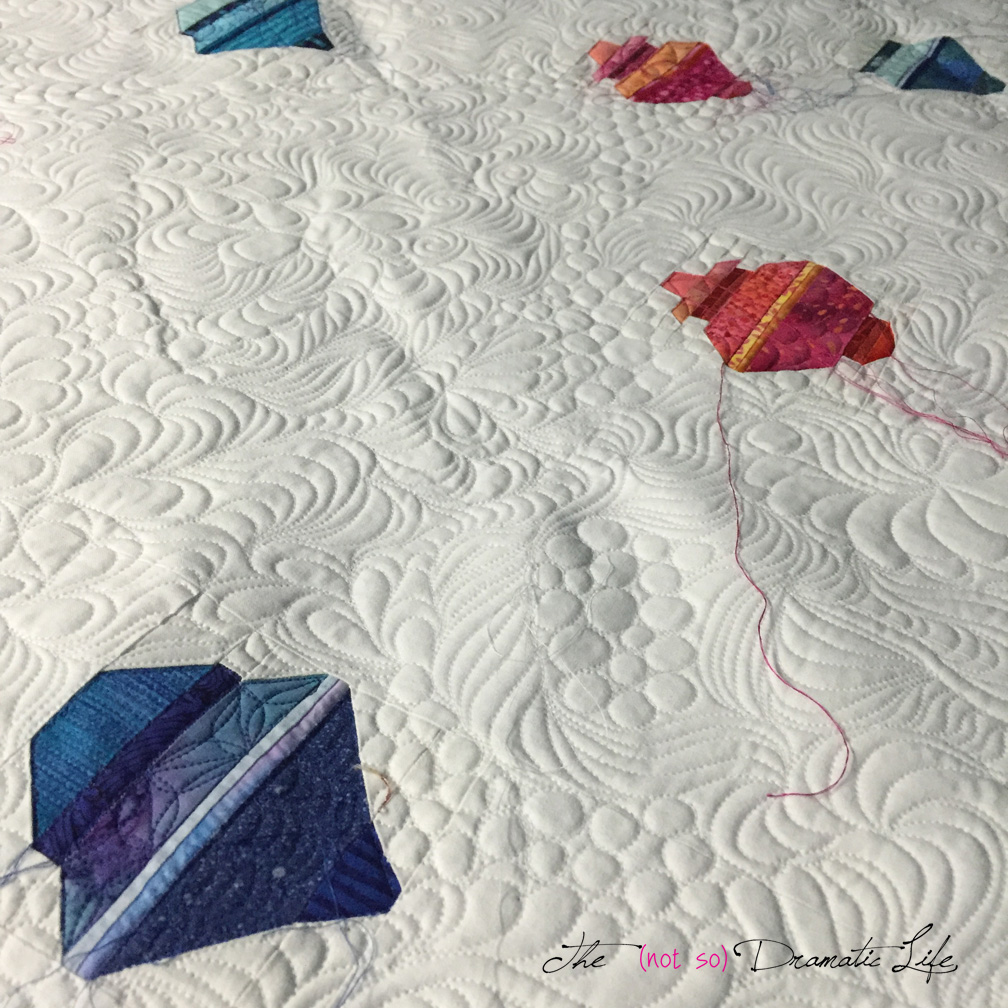
I marked the primary design lines of this wholecloth mini quilt with a template, then filled in the background quilting freehand.
3 Comments
Kathie
September 18, 2026 at 8:57 amThanks for sharing your little tricks. I did start my quilting journey with a set of pounce pads, but the powder would get vibrated off the surface of my quilts when I was doing FMQ. The entire set ended up a popular buy at my guild garage sale. I do love using white soap shards on dark fabrics and water-soluble markers on light fabric. Still, I prefer limited marking with a “dot-to-dot” approach. If I’m doing a cartoonish motif, I draw a shape on freezer paper and quilt around them. It works nicely on children’s quilts, and the freezer paper shapes can be used multiple times, so just a few pieces will do the entire quilt.
Pat. A
September 18, 2026 at 3:44 pmIn addition to the wheel tool you suggest there are also leather seam marking tools that are shaper and bigger.
Karen
September 18, 2026 at 5:57 pmLove the sandpaper trick to have the holes a little larger. I can see my wool mat getting a little dustier! As always a helpful & informative read.