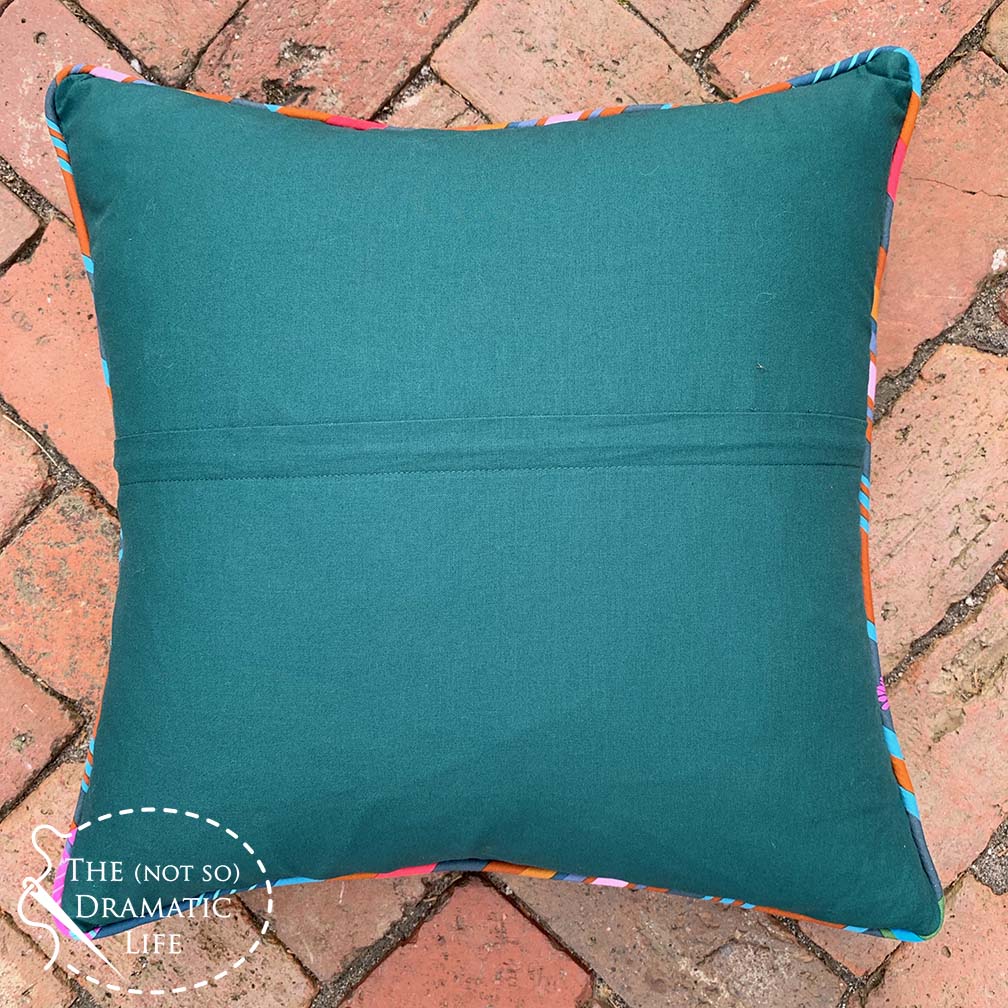
Apart from quilts, cushions are my favorite sewing projects. They are a fun way to incorporate mini quilts into your home and are much faster to make than a quilt if you are looking for a fun personalized gift.
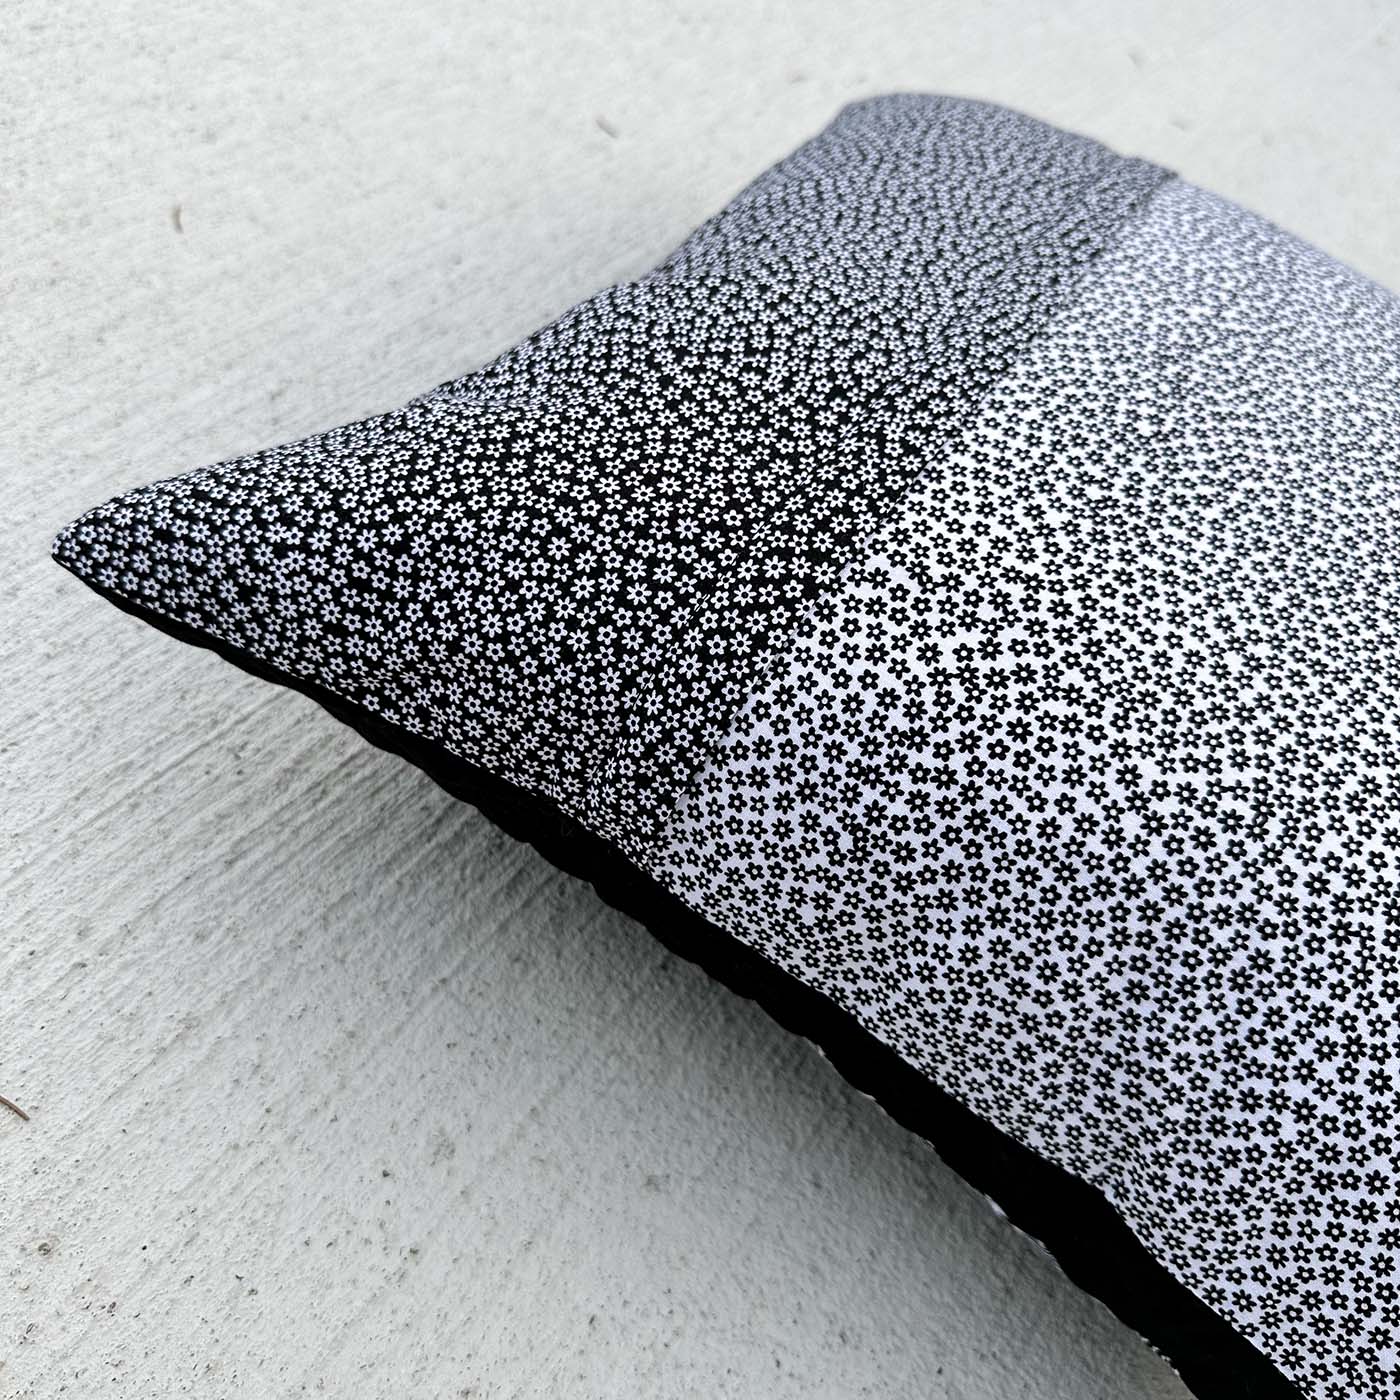
The biggest difference between a mini quilt and a cushion is that the cushion requires a back, which typically features a mechanism for inserting and removing the pillow form that gives the cushion its shape. In its simplest form, a cushion back features an envelope-style overlap that allows insertion of the form. However, I prefer using a lapped zipper in the cushion back for both aesthetic appeal and structural integrity.
Lapped zippers:
- Make it easy to insert and remove the pillow form
- Hold the cushion in place in a way that keeps the fullness of the form evenly distributed
- Are sturdier than invisible zippers
- The lap fully covers the zipper and pull tab to prevent unwanted rubbing or catching on other surfaces near the finished cushion
Making a Cushion Back with a Lapped Zipper
Let’s insert a lapped zipper into the back of your cushion to give your project a clean, professional look.
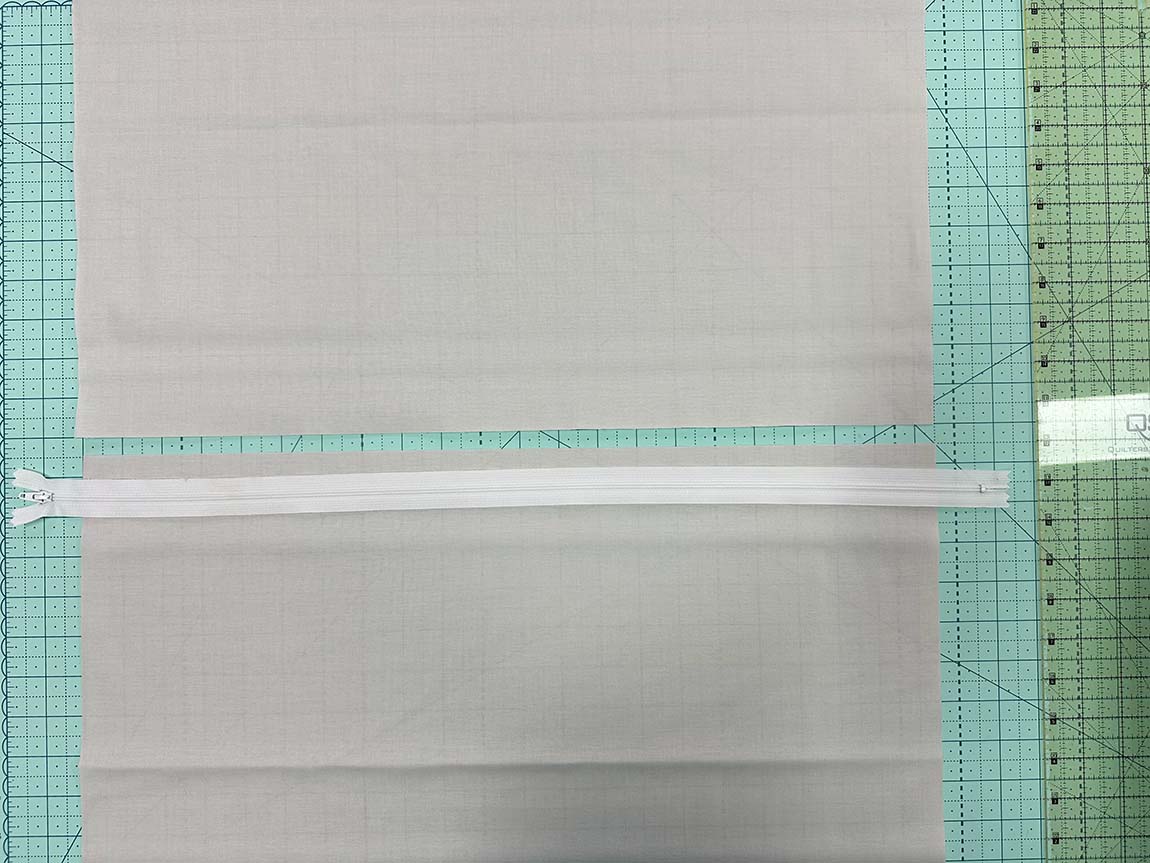
Cut a top and bottom panel for the cushion back. The width for each panel is the width of the cushion front plus 2”. The total height of the two panels together is the height of the cushion front plus 4”. If you have a cushion front that measures 18” square, your panels will be 20” wide (18” + 2”). The height of each panel may vary, but if you want them to be equally sized, they will each be 11” tall. (18” + 4” = 22” and 22”/2= 11”) As long as the height of the two panels together equals 22” (or larger), it will work for your cushion back. You will trim some fabric away from each edge after the zipper installation, but having some extra fabric guarantees the cushion back and cushion front will fit together well.
When selecting a zipper, choose one that is longer than your seam for the easiest installation. However, a zipper of the same length will also work. Longer zippers allow you to keep the zipper tab off to the side while you sew, meaning you never need to move it mid-seam.
Along one long edge of each panel, zigzag or overlock the raw edge. These edges will adjoin the zipper, and finishing them ensures stray threads won’t get caught in the zipper.
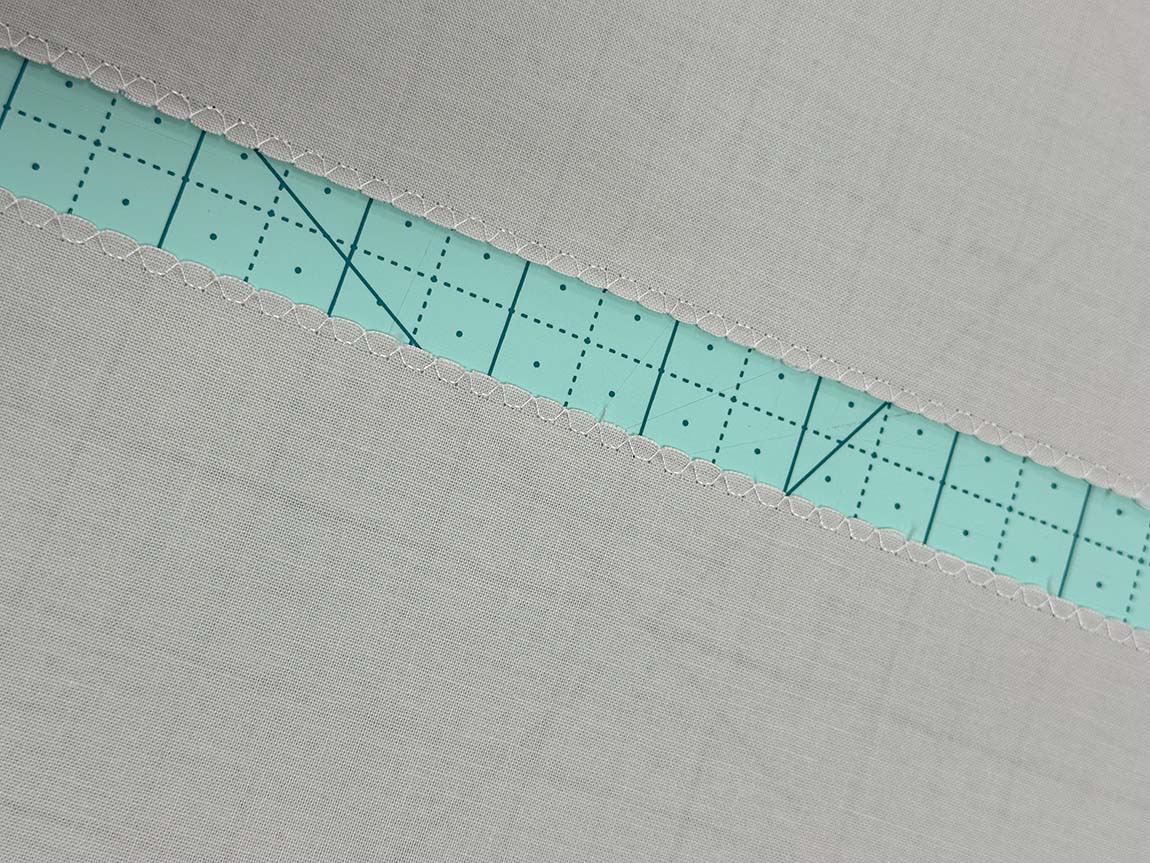
Place zig-zagged edges right sides together. Using a 1” seam allowance, stitch the first and last 1 to 1-1/2” using a regular stitch length. Backstitch at the beginning and end of each stitching section. Stitch between these sections using a large machine basting stitch.
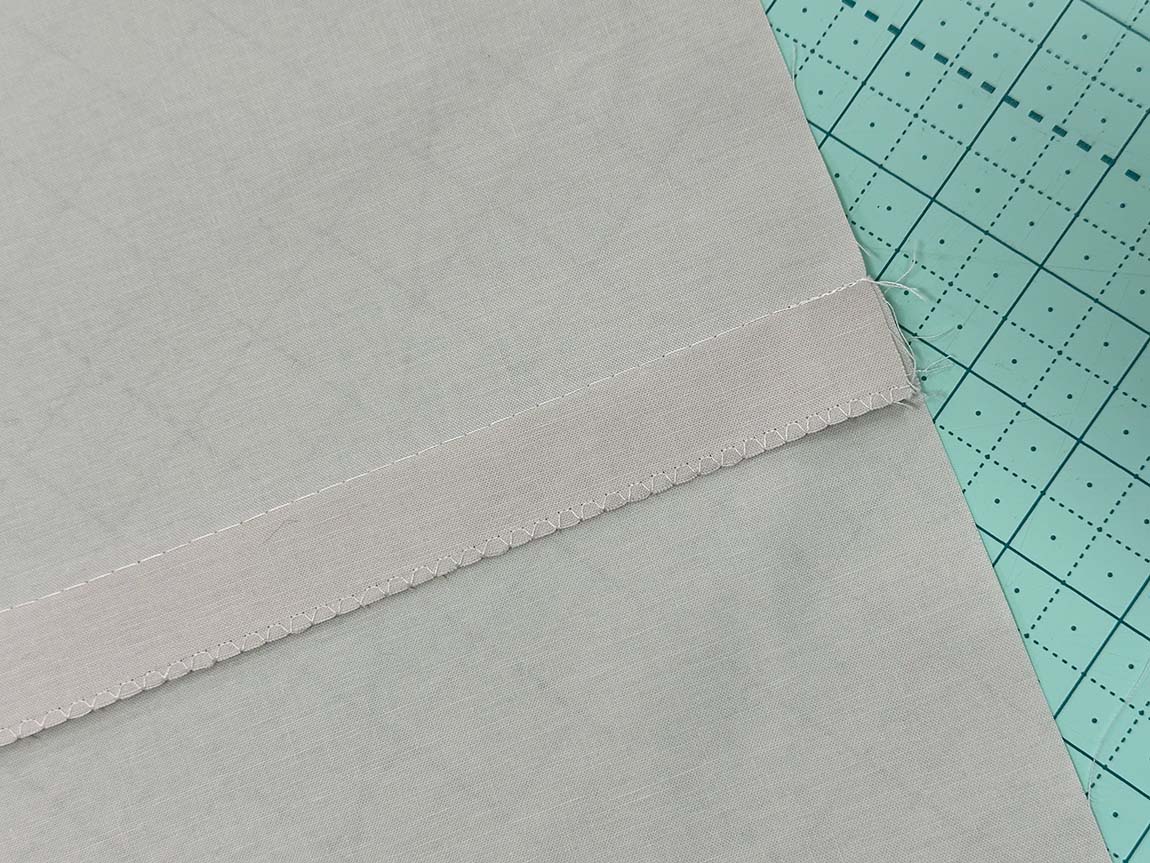
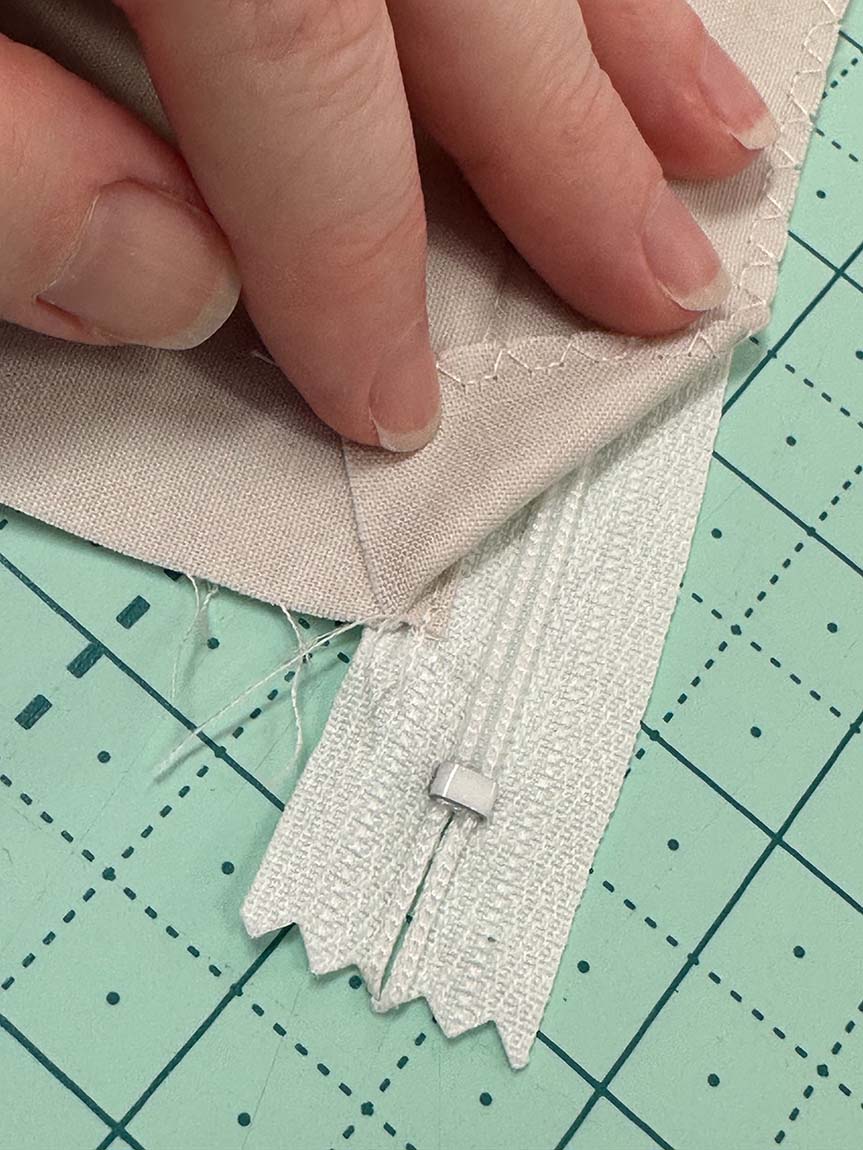
Keep panels right sides together. Press the top half of the seam allowance open, back toward the main panel. Keep the bottom half of the seam allowance extending out flat.
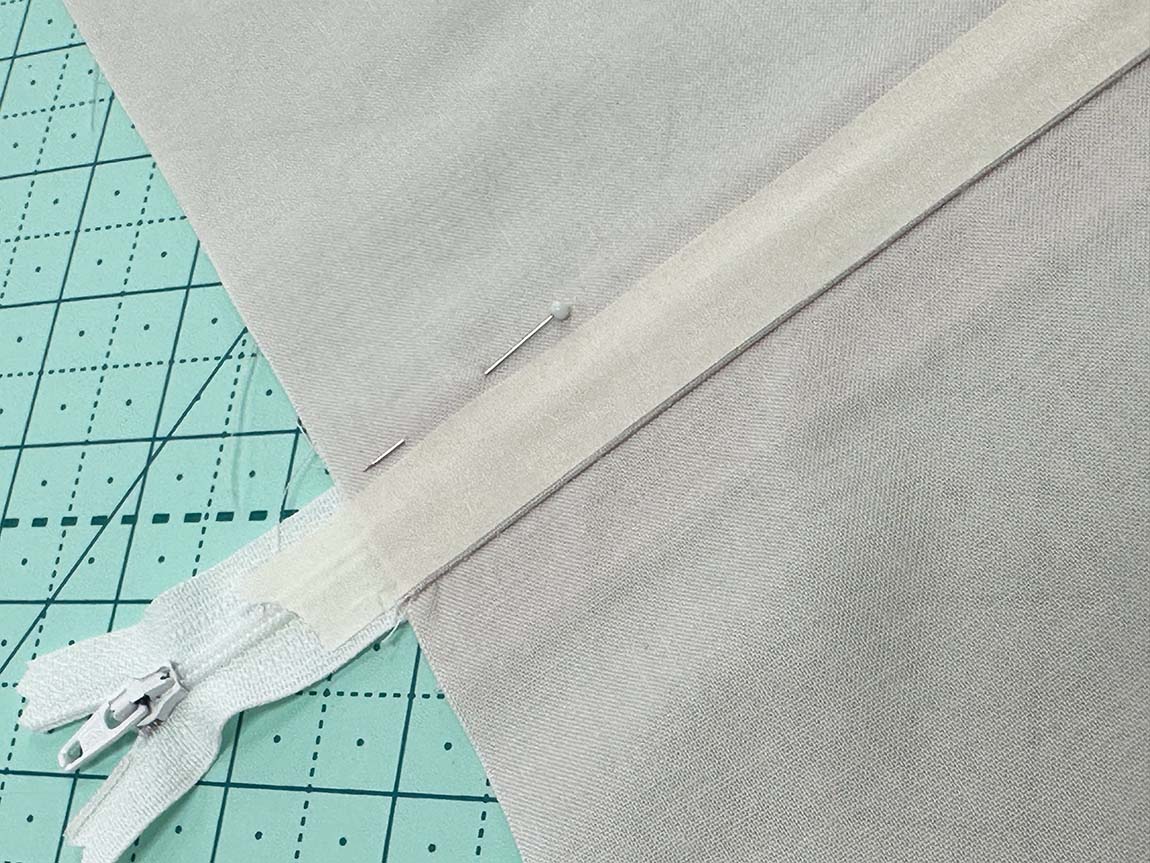
Center the zipper along the seam, placing it face down. Align the side of the zipper teeth against the line of basting stitches.
Pin the zipper tape in place on the single seam allowance only. Glue or thread baste if desired.

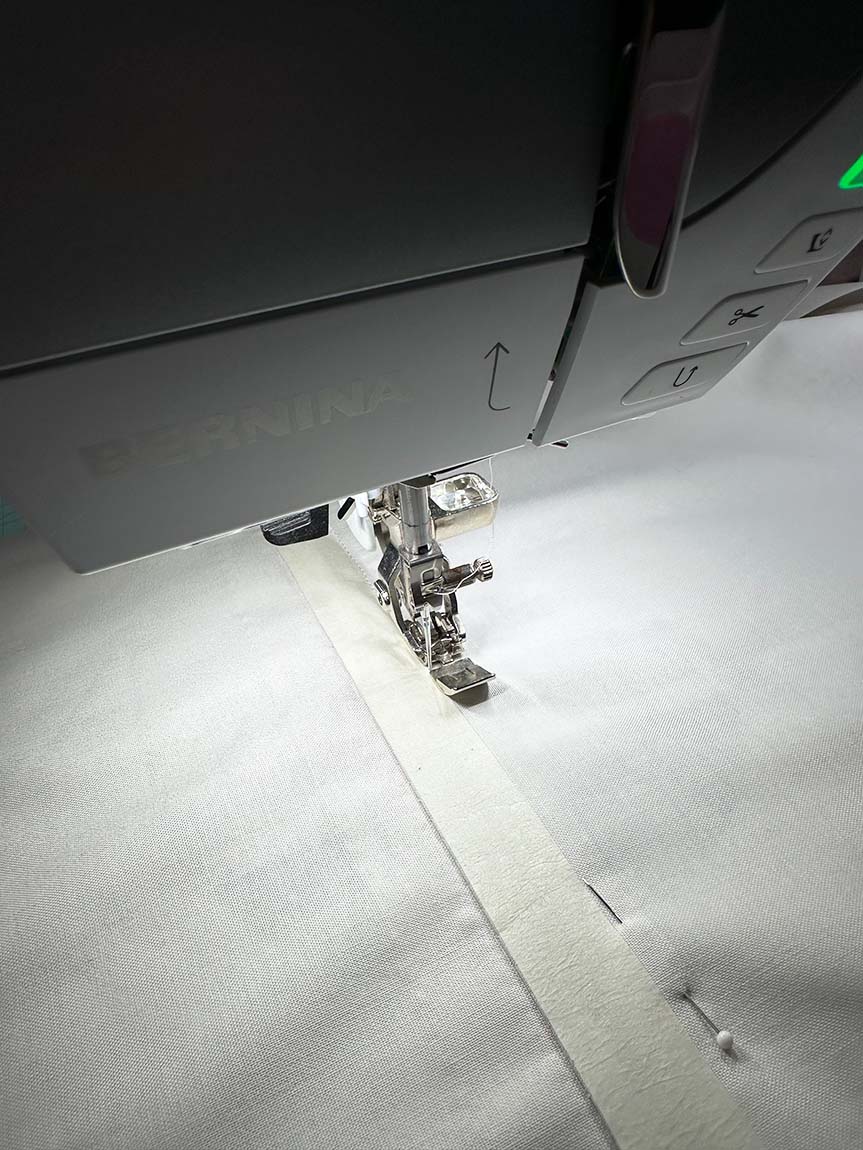
Using a zipper foot, stitch through the zipper tape and single layer of the seam allowance approximately 1/4” away from the center of the zipper. If you have a zipper that is the same size as your seam, open the zipper and move the pull tab as needed to stitch the seam.
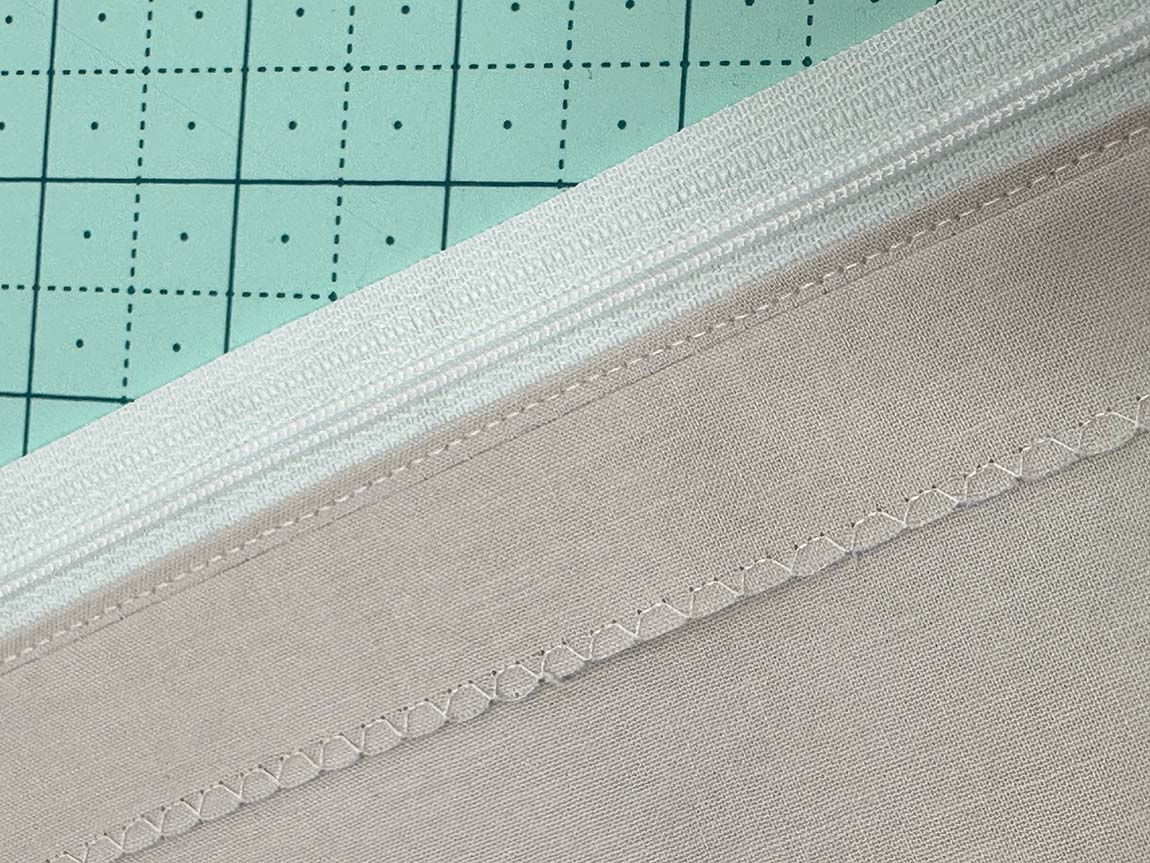
Fold the bottom SA back along the stitching line completed in the previous step, so that the zipper lies right-side up. Press.
Top-stitch along the fold in the bottom seam allowance, approximately 1/16” to 1/8” from the folded edge. This stitching line will go through two layers of seam allowance and one layer of the zipper tape.
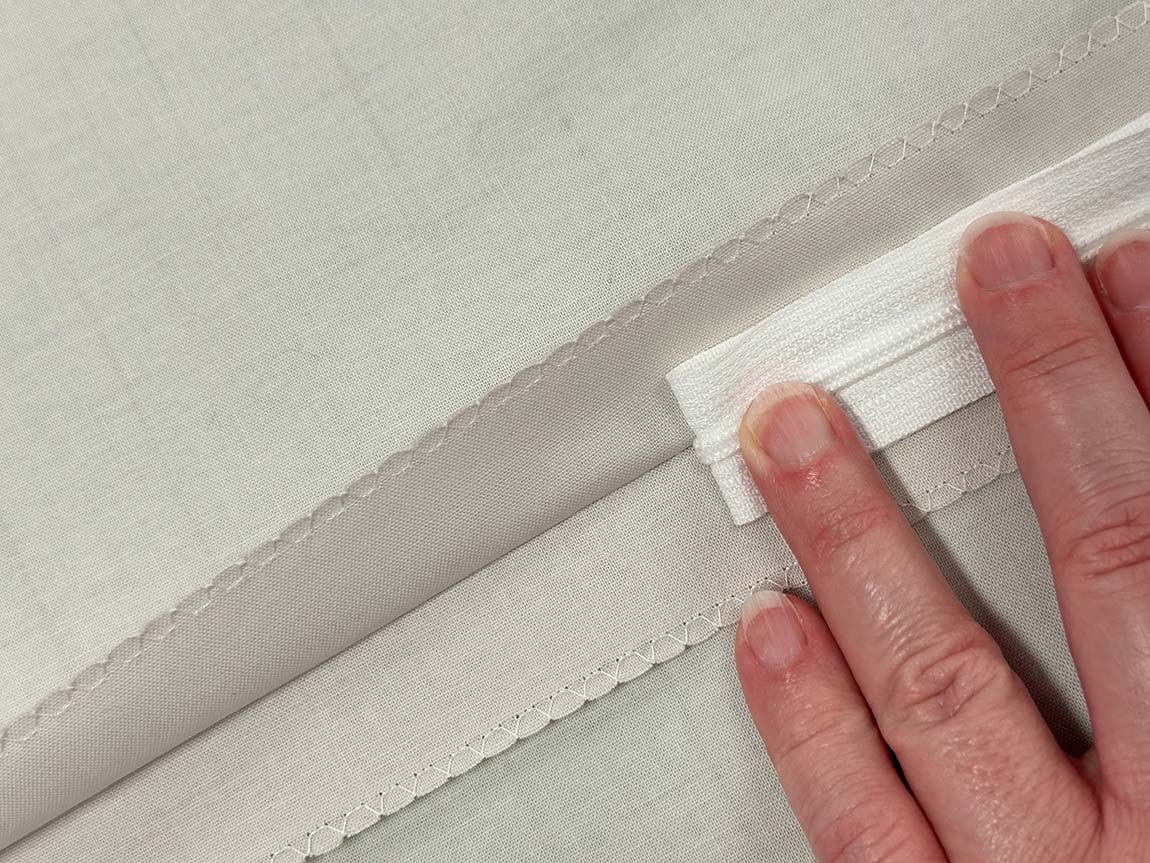
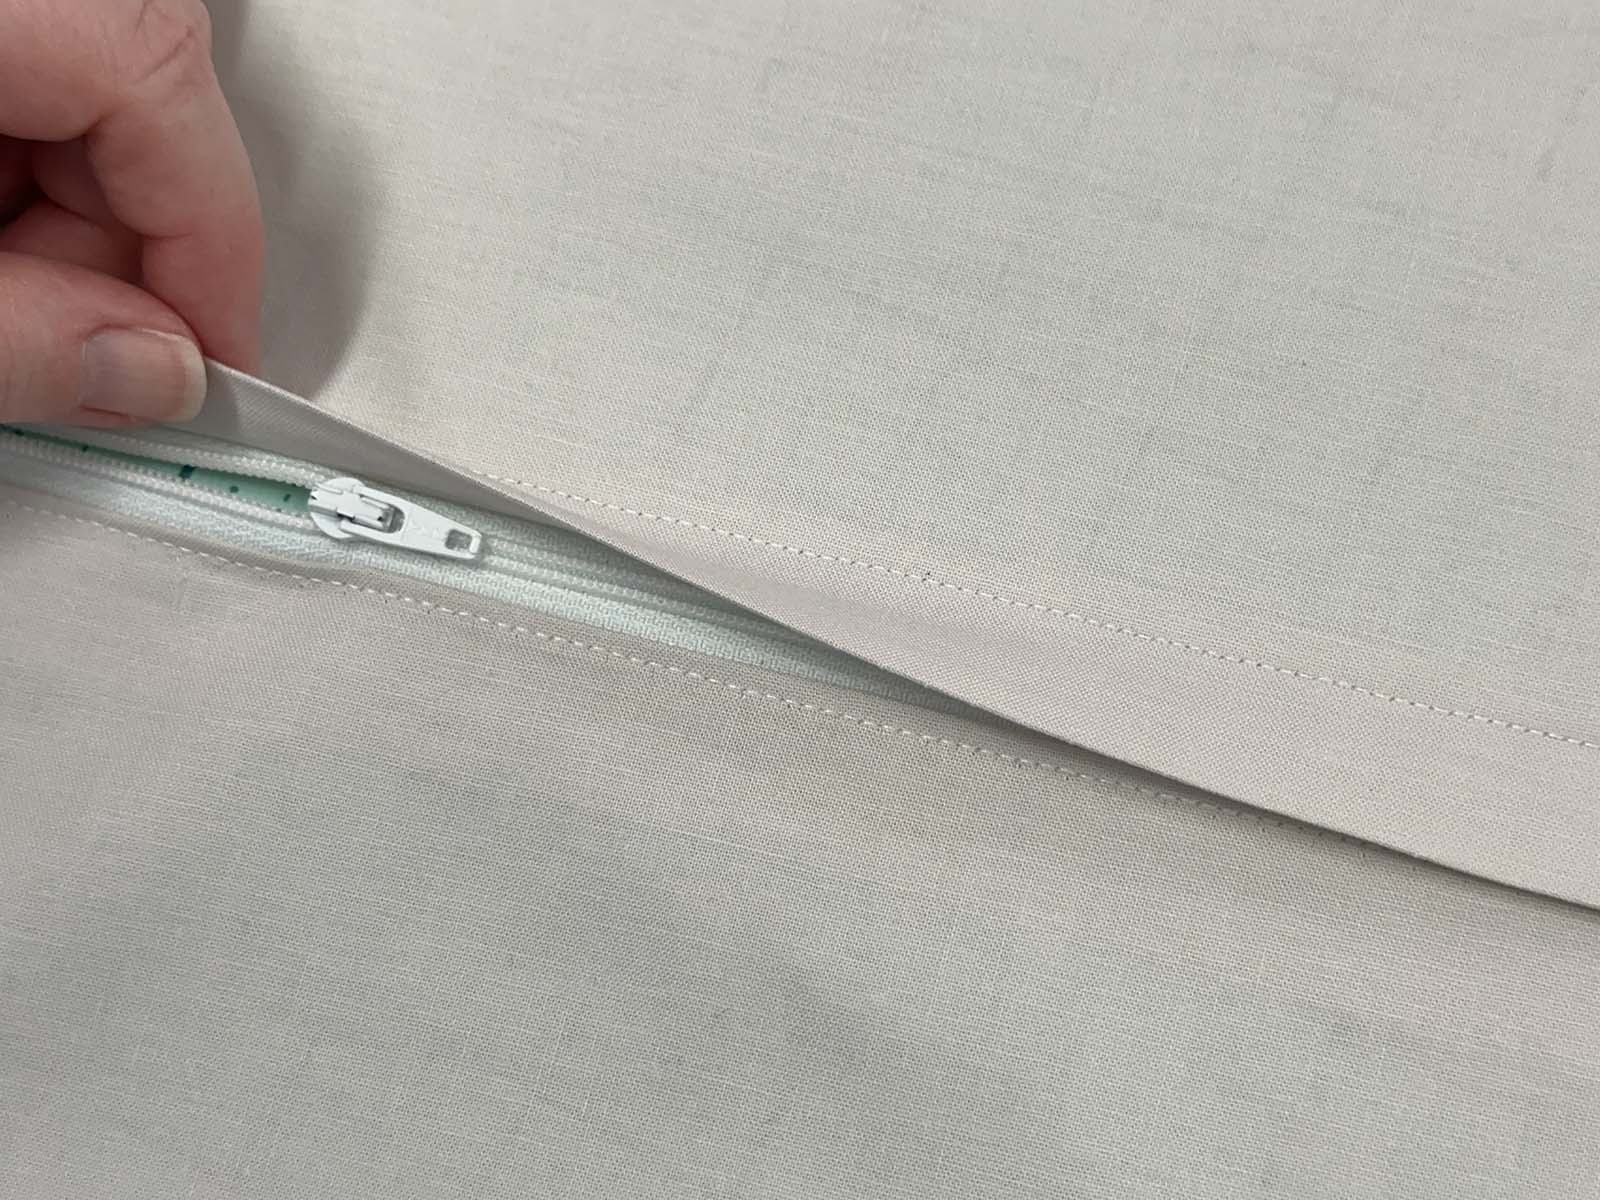
Lay the top seam allowance over the zipper. There should be no pulling or puckering. On a 1” wide zipper, the edge of the seam allowance will align or closely align with the edge of the zipper tape. Flip the unit over so that the zipper is facing up. Pin. Stitch through the zipper tape and seam allowance only approximately 1/4” from the edge of the tape.
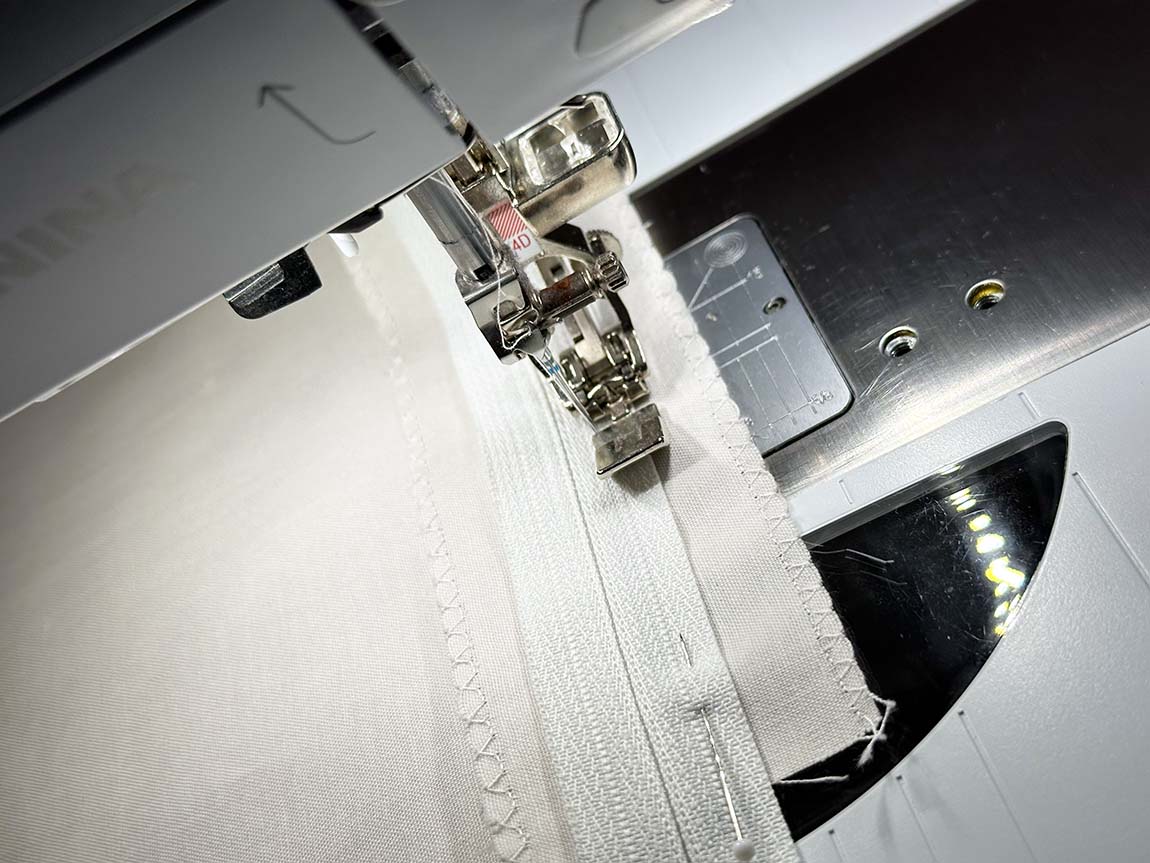
From the right side of the cushion back, press the panels open along the line of basting stitches. From the stitching/basting line, mark a parallel line over the zipper 3/4” away. Tip: Use 3/4” wide masking tape to mark this line.
Top stitch through the top layer, seam allowance, and zipper tape. Move the zipper pull tab as needed.
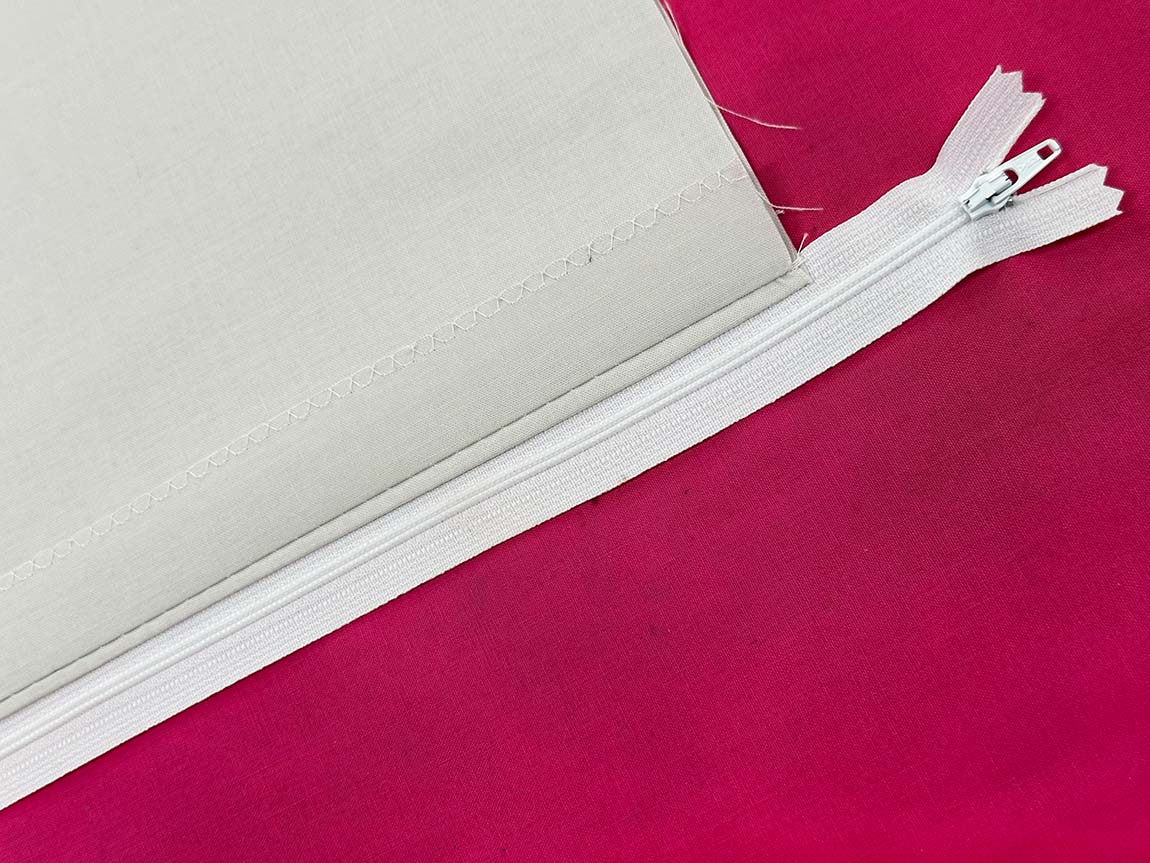
Remove the masking tape or marked line. Remove the basting stitches. Press.
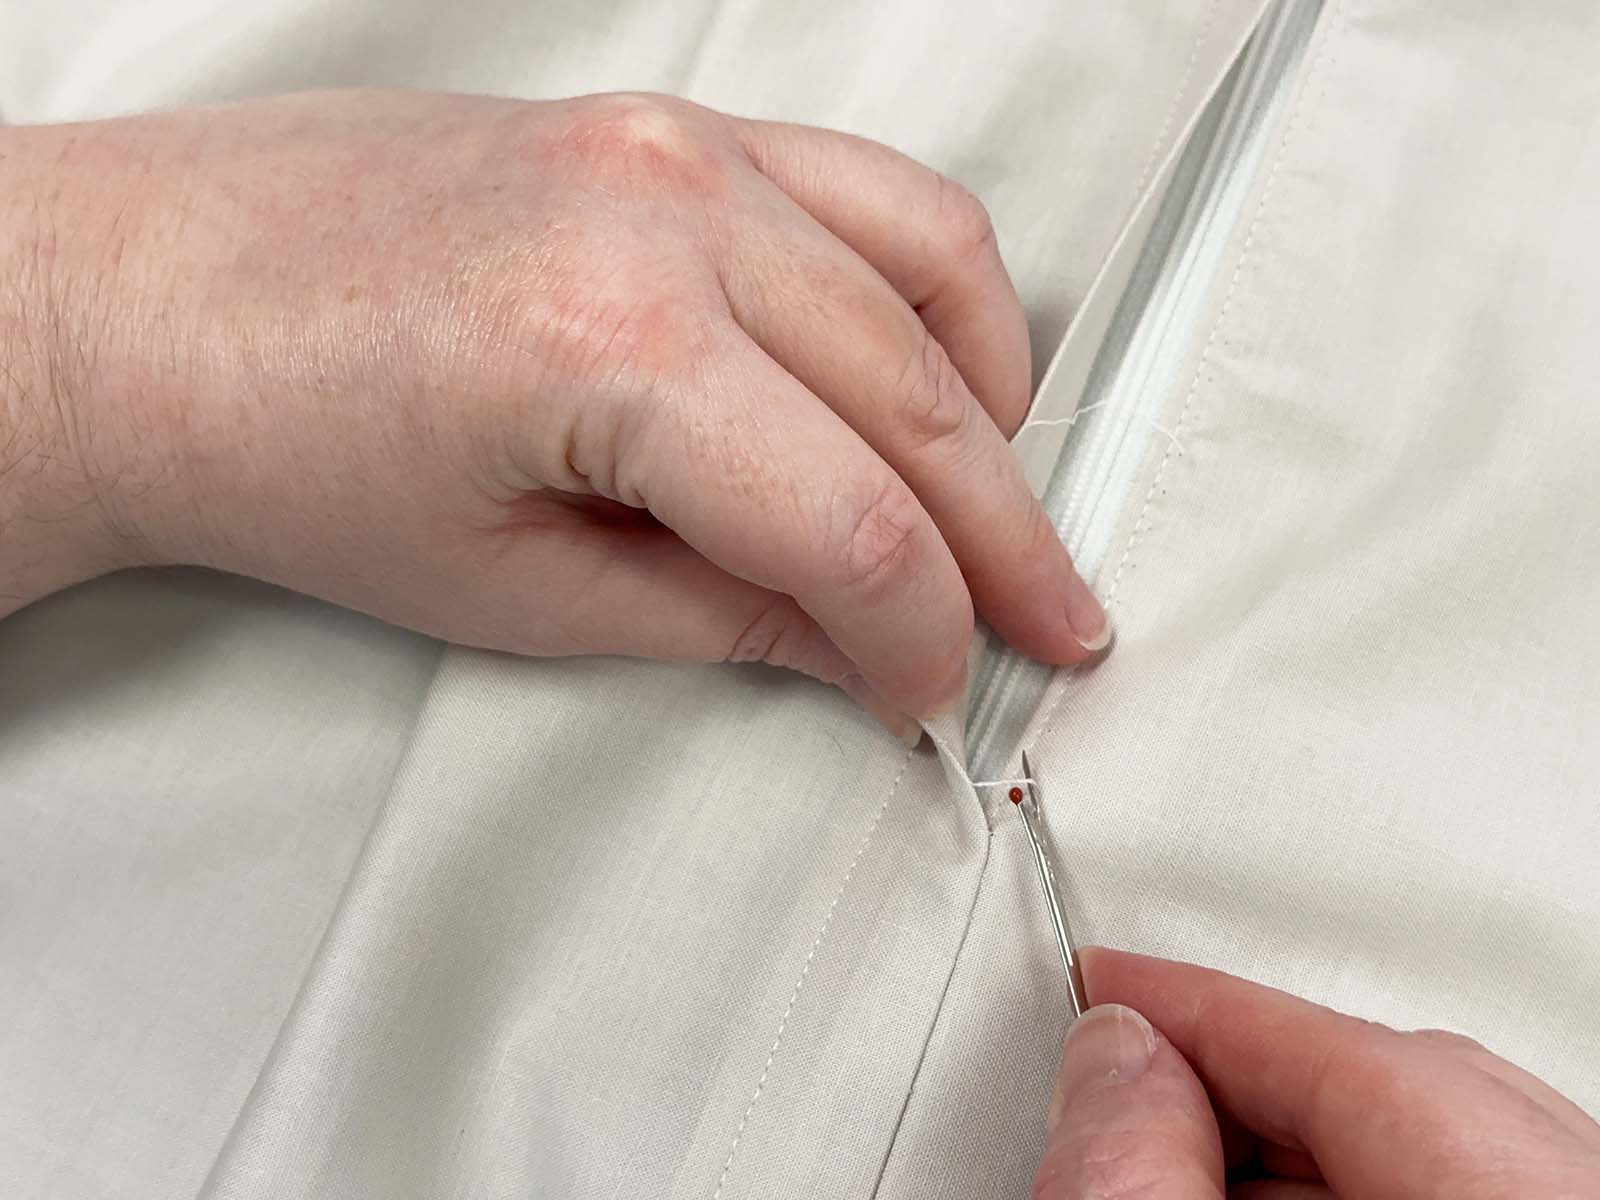
Position the zipper tab approximately three-quarters of the way open.
Place the trimmed cushion top right sides together with the cushion back. Ensure the zipper in the cushion back is parallel to the top and bottom edges of the cushion top. Trim the cushion back to match the edges of the cushion front.
Pin the cushion’s front and back together around the edges, right sides together. Stitch around the edges of the cushion using a 1/4” SA. Zig-zag or overlock the raw edges to increase the longevity of the cushion.
Turn the cushion right side out through the zipper opening. Lightly press edges as needed. Insert cushion form.
3 Comments
Karen
August 8, 2025 at 7:35 amThank you for the fabulous instructions and pictures. Our challenge this year for our quilt guild is to make a cushion with a floral design and have it finished with binding and a closure. I am excited to try your method. Bravo!
Lynn
August 8, 2025 at 9:59 amMy favorite way to finish a pillow! I create pillow “slip-covers” so that I can change with the season or just freshen the decor.
Maribeth
August 8, 2025 at 10:15 amGenius!