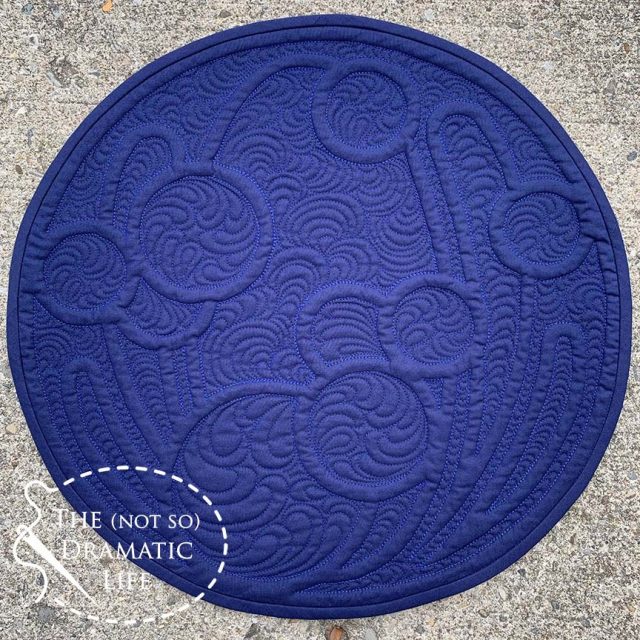
I love a challenge, and this month Aurifil challenged it’s artisans to create a whole cloth mini quilt using a Paintbrush Studios Painter’s Palette Solid and a coordinating thread in our choice of weight. I was sent Midnight blue fabric and a matching thread. This first photo has the most accurate color so imagine that color when you see all of the indoor photos! 🤣
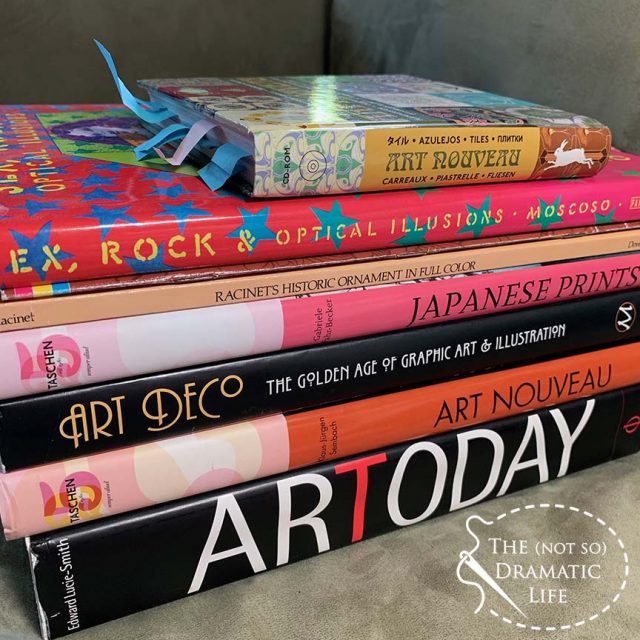
Whole cloth quilting isn’t something I do very often, so I decided to start the process with a little research. Quilting tends to rely on pattern and repetition, so the books I pulled out had lots of art that embraces those principles. I was also leaning toward 20th century art for inspiration, but I include some inspiration from earlier eras, just in case something caught my eye.
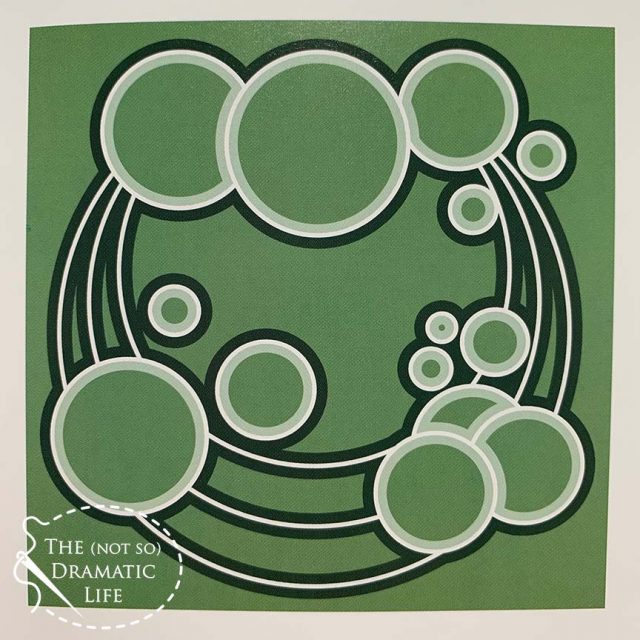
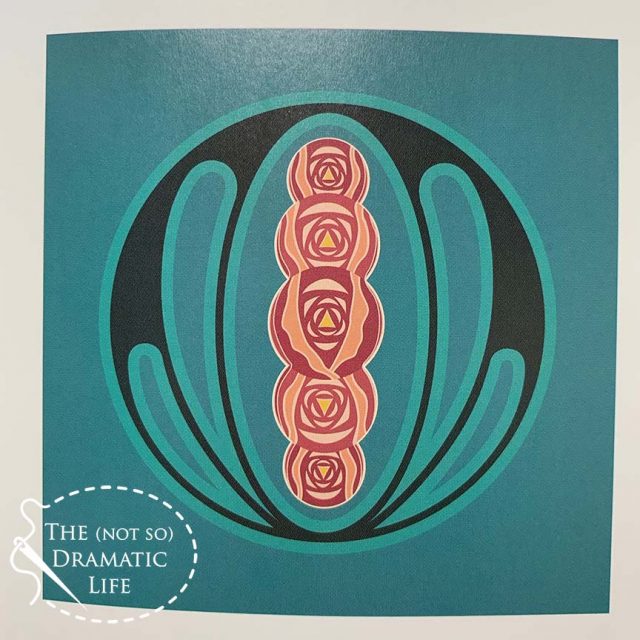
Ultimately I landed on these two Art Nouveau tile images to use for design inspiration. I liked the circular quality of both designs, and thought that they would combine well.
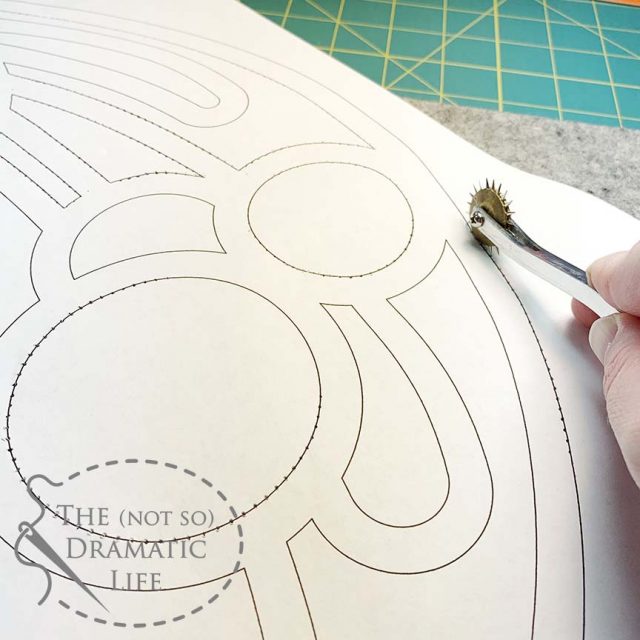
I drafted the design on AutoCad, then printed it across two sheets of tabloid size paper and glued them together to form the entire image. Then it was time to pull out my perk wheel to use an old scenic painting technique to create a stencil. I placed the image on top of my wool pressing mat and ran the wheel along the lines. For the tightest curves, I used a large safety pin to poke through the paper.
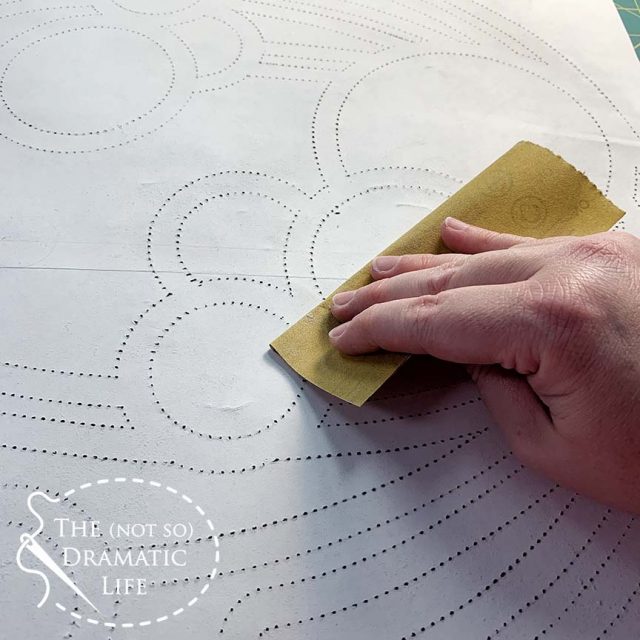
Once the holes were poked through, I flipped the paper over and used a fine tooth sandpaper to remove the bumps on the back of the template and make sure the holes were completely open.
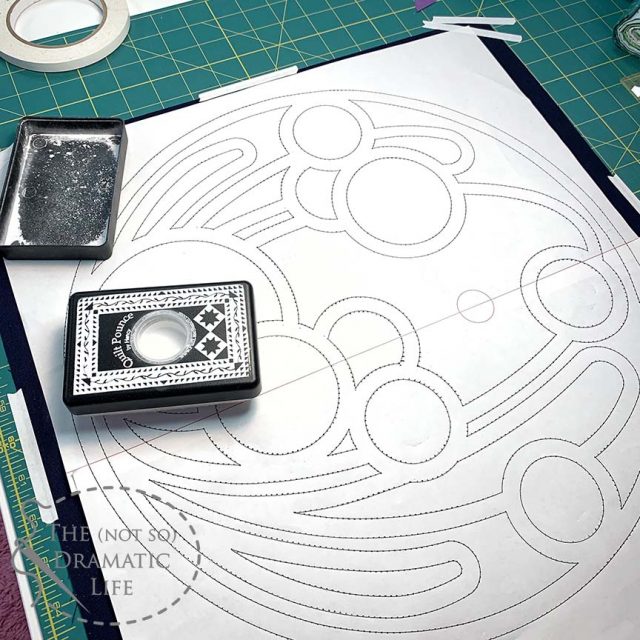
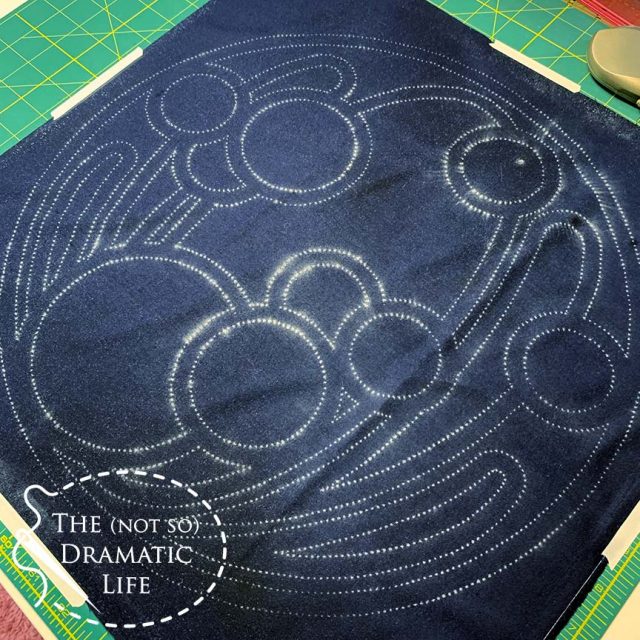
Then came the moment of truth — would it work? I taped the fabric to the table and the stencil over it, then pulled out my chalk pounce pad. I ran it over the stencil in small circles to keep the dust down, then carefully removed the stencil.
It worked like a charm! The lines were clear and easy to follow.
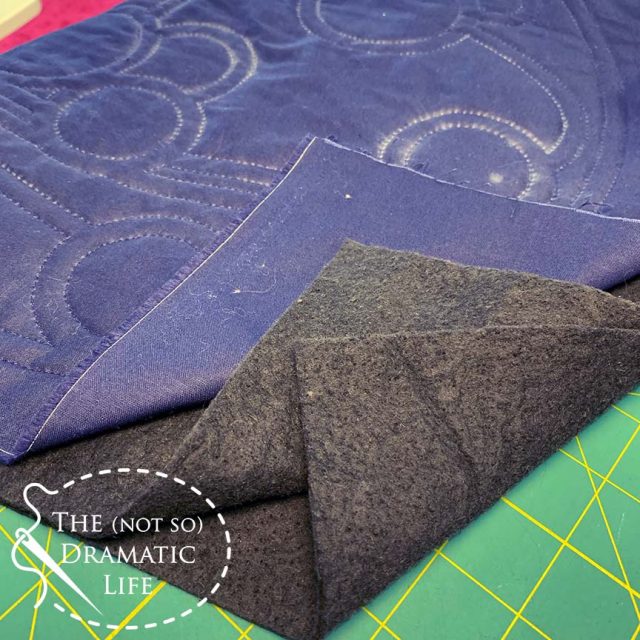
This project was the perfect time to give trapunto a try, so I started the quilting process by using batting and the top fabric with no backing. Since I was using such a dark fabric, I selected a black batting by Hobbs. Since the black batting doesn’t have a huge amount of loft, I used two layers for the trapunto.
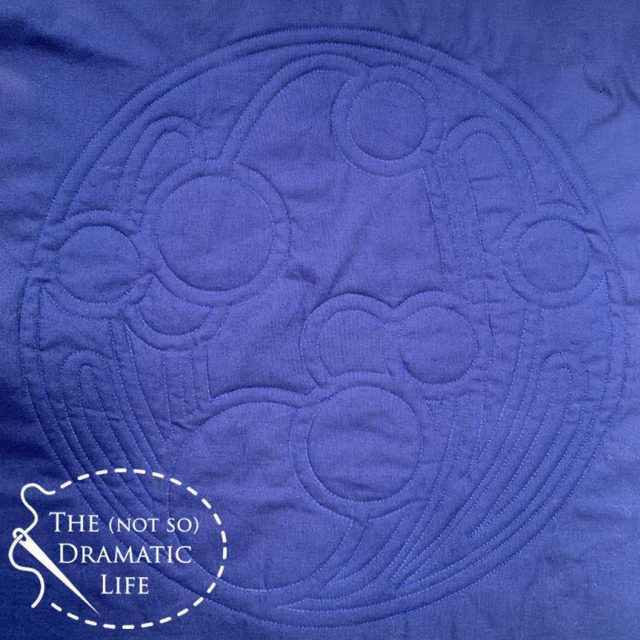
Using a walking foot on my domestic machine, I quilted all of marked lines through the top fabric and two layers of batting. At this point I was using a 50wt Aurifil so it would be easy to quilt over using the final 12wt thread, but I’m getting ahead of myself. Here is what it looked like from the front:
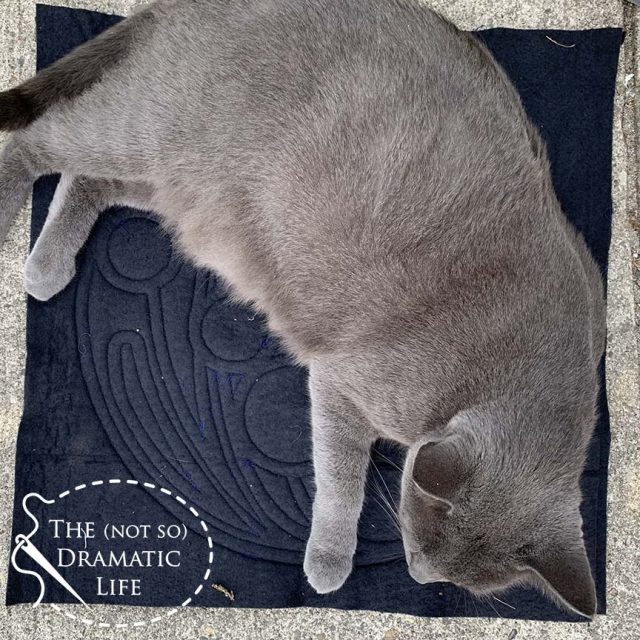
And most of the back (thanks Monty— I think he knows how hard it is to lint roll batting!):
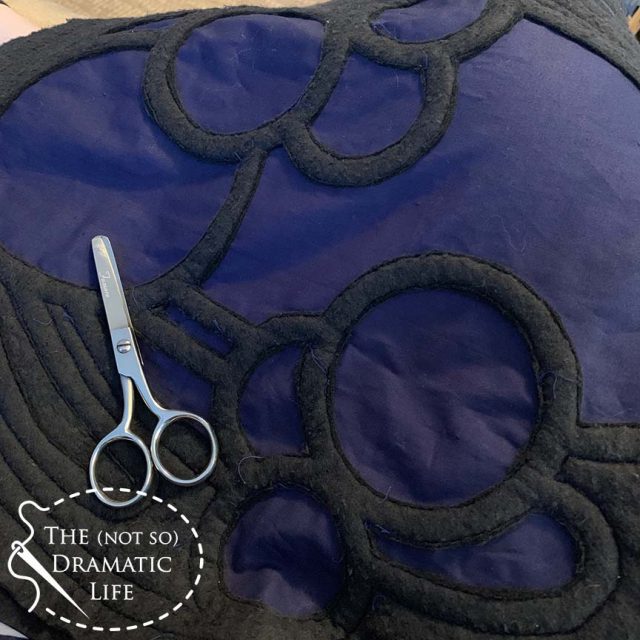
The next step was to trim away the batting around the areas of trapunto. I used scissors with a rounded tip for most of the trimming, and only pulled out scissors with a pointed tip for the tightest corners.
Trapunto has the best effect when the areas around it are densely quilted, so most of the quilt has dense free motion quilting. For this part of the quilting I used 50wt thread on the longarm. At this point in the process, there is backing fabric, one full layer of black batting, two layers of batting in the trapunto areas only (three layers total in those areas), and the quilt top. The final quilting step was to use 12wt thread to outline each area and help that trapunto really pop!
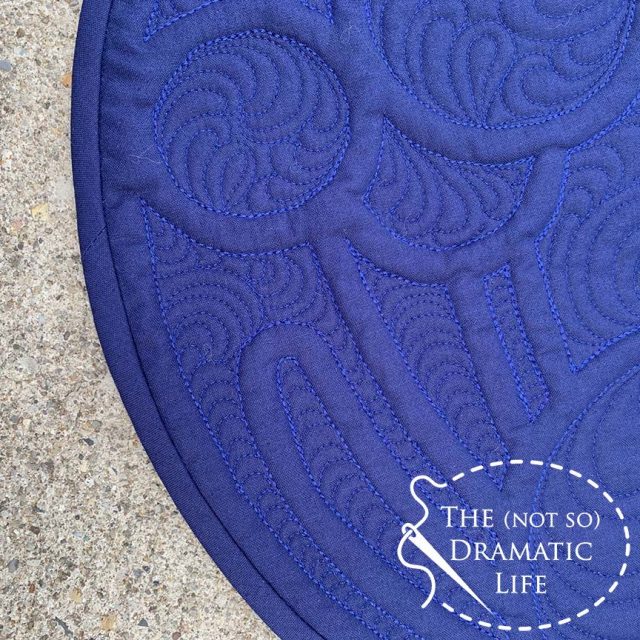
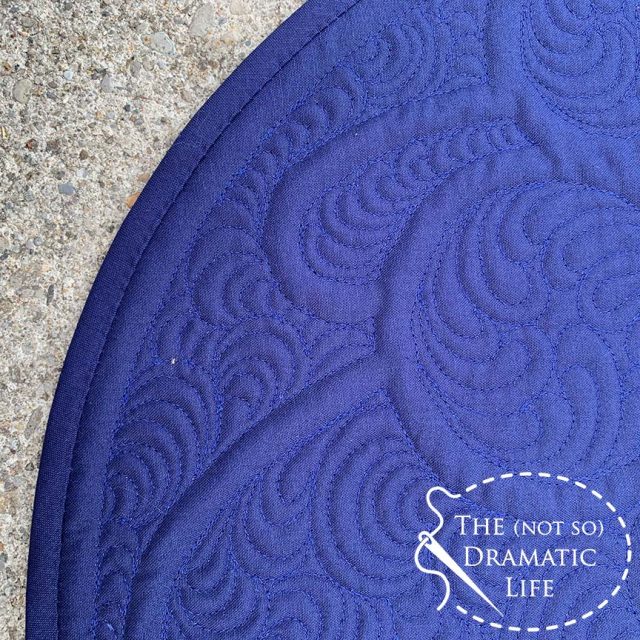
After a lot of knotting and burying of thread tails, I trimmed the mini quilt so the edge of the quilt extended 1/4″ past the outer ring of trapunto. The edges are finished with bias binding to hug the circular edge of the quilt. If it was more practical, I would curve all my quilt edges. I love binding a curve!
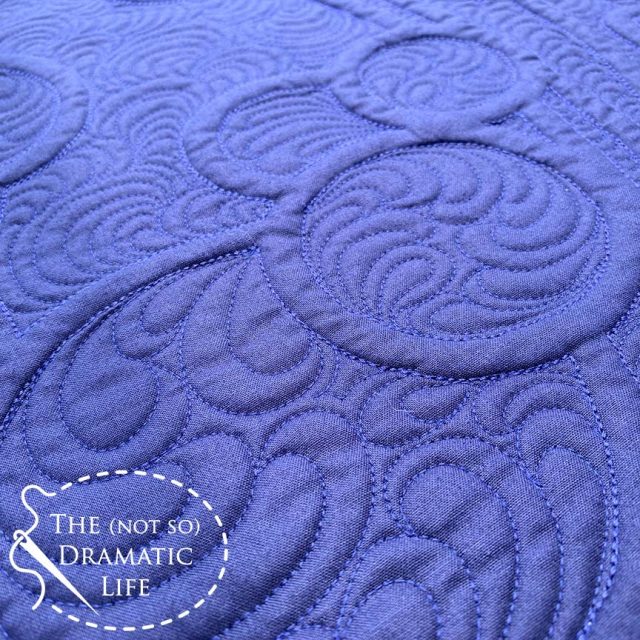
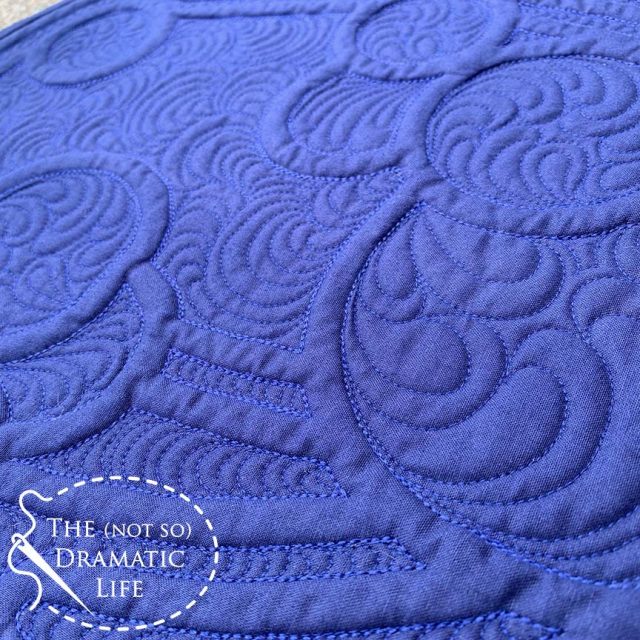
The image above shows the front of the quilt with the 12wt thread defining the areas around the trapunto. Since I used 50wt thread in the bobbin, you can see the difference in the image below. I think the heavier thread makes a huge difference in trapunto effect. What do you think?
Quilt Stats
Title: Whole Circle Whole Cloth
Size: 16″ diameter
Techniques: Whole Cloth
Quilting: Free Motion quilting on an A-1 longarm and walking foot quilting on a Bernina 1008
Fabric: Painter’s Palette Solid by Paintbrush Studios in Midnight
Batting: Black Hobbs Heirloom batting
Thread: Quilted with coordinating 12wt and 50wt Aurifil
Binding: Bias binding, machine stitched to the front, hand finished on the back




10 Comments
Rochelle Summers
August 20, 2019 at 12:43 pmThis is an amazing quilt and I do think the 12 wt thread really does make things pop. I have two questions: Can you a bit about the perk wheel (I did a search and couldn’t find any info) and where did you find the curved bladed scissors. I love the detail of the information you provided on your design and implementation process. It is so helpful to see all the steps you went through to accomplish a lovely finished piece.
Nicole Brisse
August 20, 2019 at 1:01 pmAnother beautiful project. It really is great that you share so much of your process: thanks for all the details (dark batting, using the perk tool to transfer your design, 50wt first then 12wt for the outlines…)
Marilyn Robinson
August 20, 2019 at 6:07 pmReally awesome project!
Mary Green
August 22, 2019 at 5:30 pmJust beautiful.
Mary Green
August 22, 2019 at 5:32 pmJust beautiful. And such clear instructions. Thank you,
E Gayle Schild
August 24, 2019 at 12:53 amFabulous!
Eva
September 13, 2019 at 11:20 amThis is beautiful! Thanks for sharing! I do a lot of free motion quilting by domestic machine. I love this trapunto!
Jenny Russell
October 3, 2019 at 2:25 pmHi – Thank you for sharing your process! Can you tell me where I might find a perk wheel?
Thanks,
Jenny
Carole S.
October 5, 2019 at 4:23 pmWhat a great idea! Thank you for explaining your method. There is definitely a round quilt in my future, but your explanations of making and transferring your pattern will be useful in a lot of applications. Your quilt is beautiful, too!
Sandra
January 29, 2022 at 9:02 pmI wondered about trapunto and you’ve explained it so well. Thanks for the pictures too. The sizes of the two threads really makes a difference in the quilting. Thank you for sharing.