How many decorative stitches does your sewing machine have? Most contemporary machines come preloaded with hundreds of stitches, but how many do quilters typically use? In the past few months, I have set out to see how I can use these decorative stitches in a way that enhances the modern quilting aesthetic, and here are 5 techniques that can help you expand your machine’s potential!
Note: All techniques in this post apply to any machine with decorative stitching capabilities. As a BERNINA Ambassador, a BERNINA 770QE PLUS machine was provided for my use, and all samples shown were stitched on this machine.
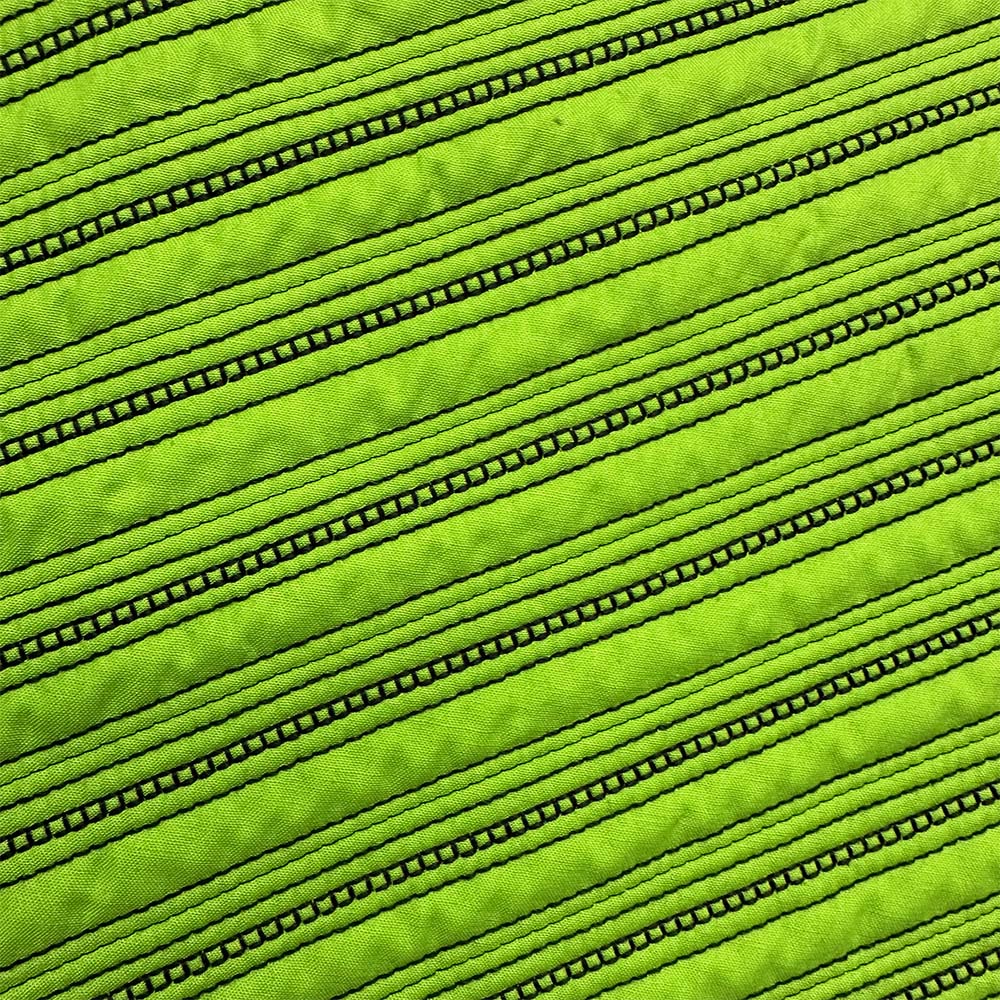
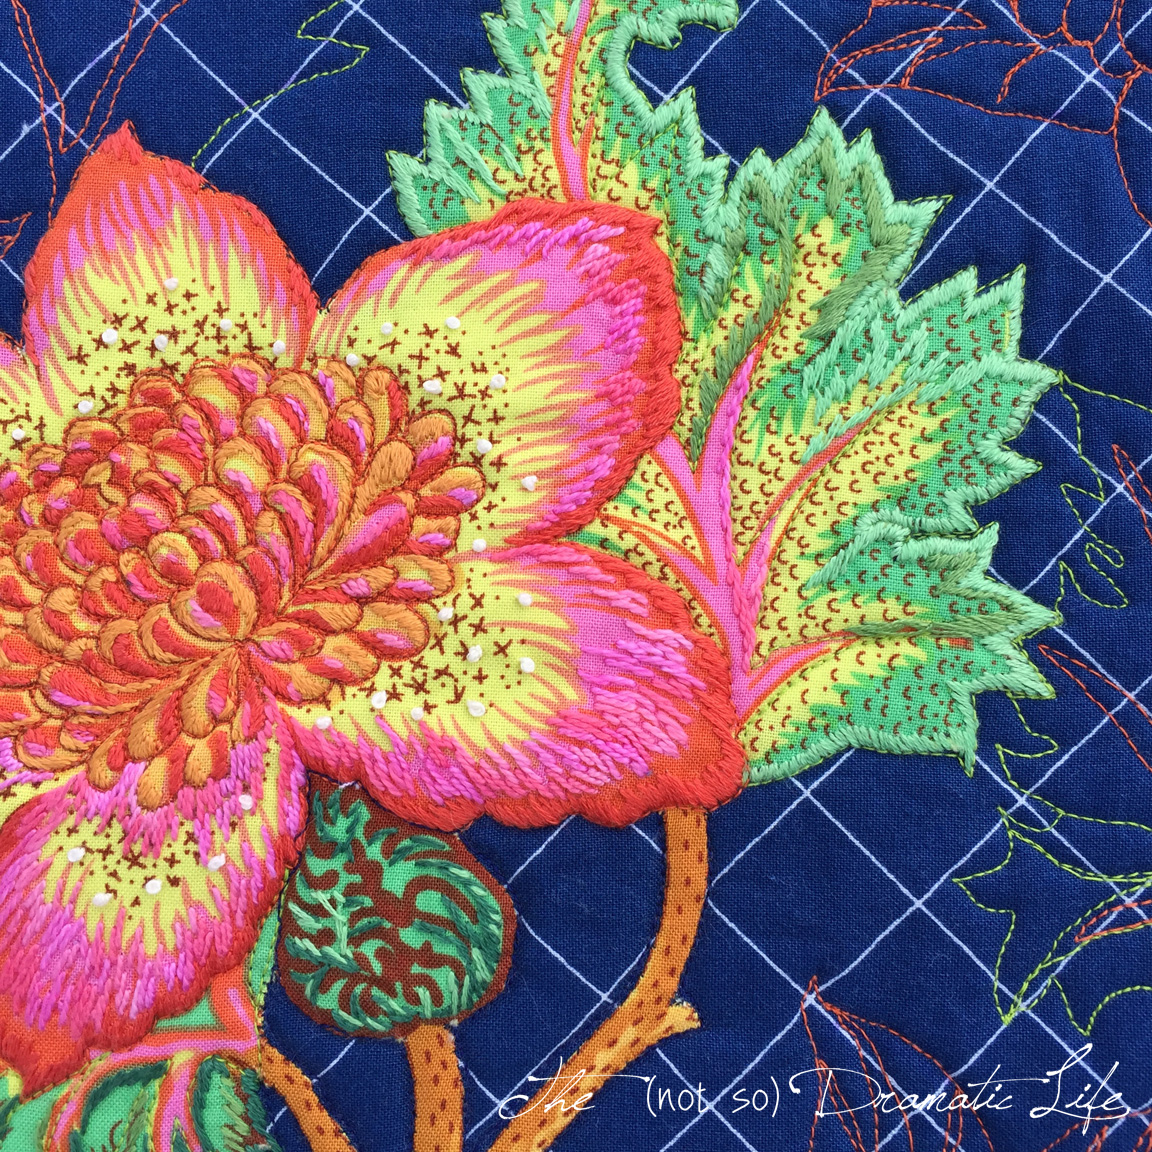
1. Plan where the decorative stitches will go while marking the initial quilting lines.
How wide is the decorative stitch you plan to incorporate? Wider stitches require more space than narrow ones, and some machines allow for wider ones.
Do you want your decorative stitching to meld with an overall design, or should it take on a focal role? You can nest your decorative stitching more tightly with the straight-line quilting to incorporate it with the overall design. By leaving more space on either side of the decorative stitching lines, you give the decorative stitches a chance to take center stage visually.
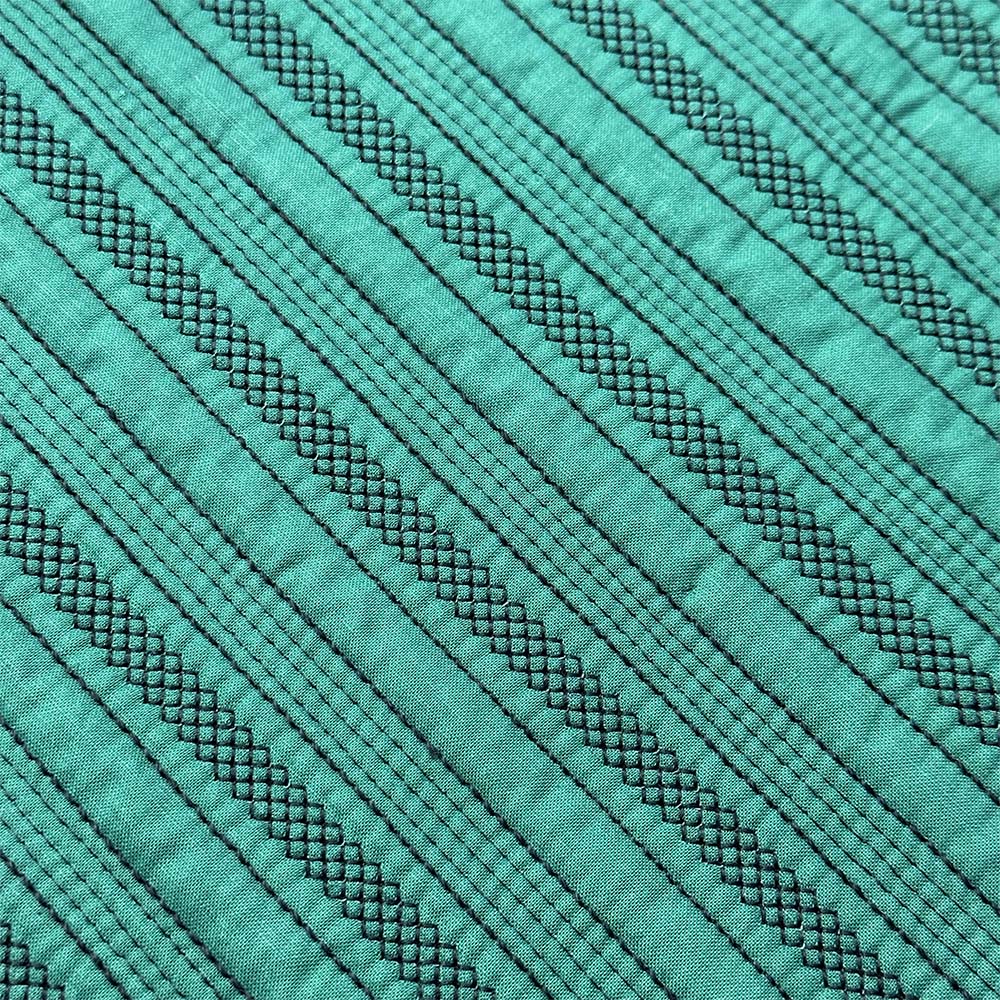
2. Consider thread weight for both the straight-line stitches and the decorative stitching.
I use Aurifil 50, 40, 28, and 12-weight threads. With thread, the smaller the number, the thicker the thread.
Always test potential decorative stitches in thread and fabric to see what they look like. Simple decorative stitches may look great in a thicker thread, but more complex stitches may get lost once multiple layers of thread are used to complete the stitch. Most of my favorite stitches look best in a 40 or 28-weight thread.
When selecting thread for the surrounding straight-line stitching, consider how it will interact with the decorative stitches. Since decorative stitching tends to pull focus naturally, choose a heavier thread for the surrounding straight lines to create balance in the overall pattern.
When your top thread weight changes, you may not need to change the bobbin thread weight. 50 weight bobbins work great when 50, 40, or 28 weight thread is used in the top of the machine. When 12-weight thread is on top, you may achieve better results with 40-weight thread.
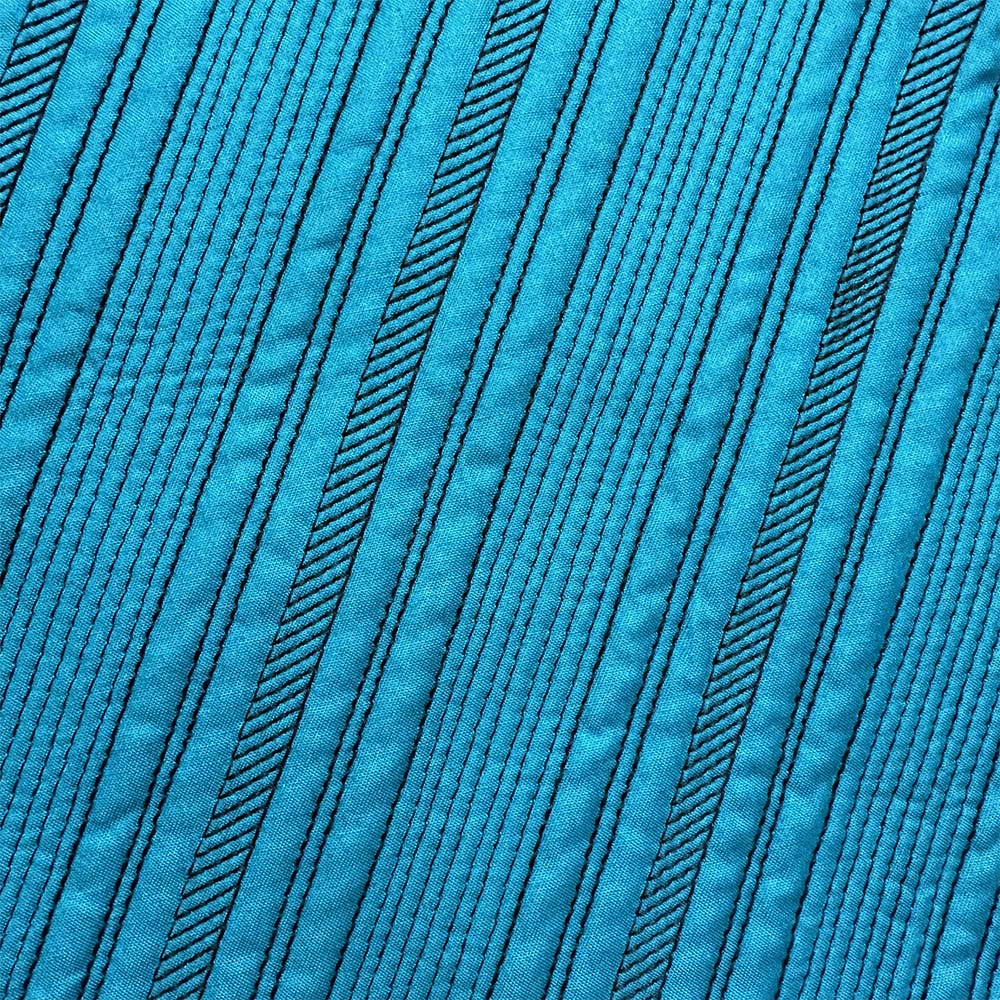
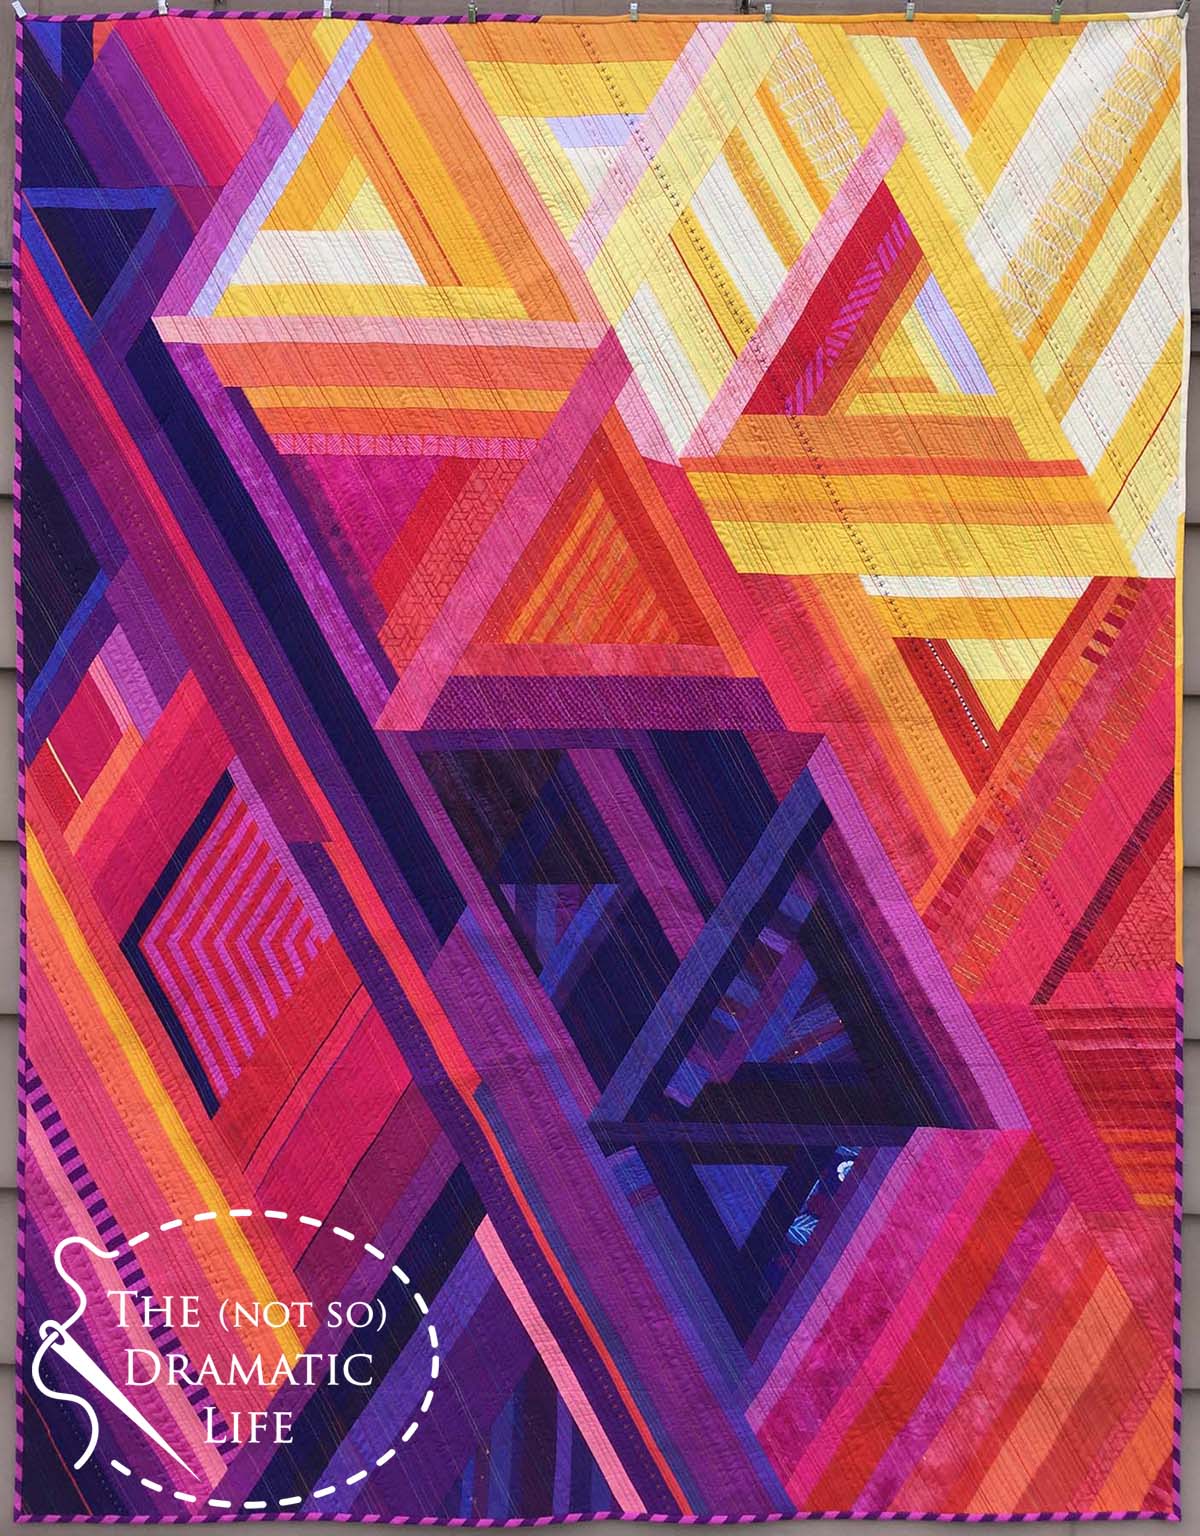
3. Balance the visual weight of the decorative stitches with the areas of straight-line stitching.
How frequently should the decorative stitches appear across the overall area of the quilt space? Narrow stitches may want to be repeated more regularly than wide stitches.
In most cases, I prefer wider sections of straight-line quilting between wider decorative stitches. Sometimes, I use multiple thread weights in those sections of straight-line stitches to add further visual interest. I particularly like heavy thread weights on the outer edges of a stitched area with lighter-weight threads in the center.

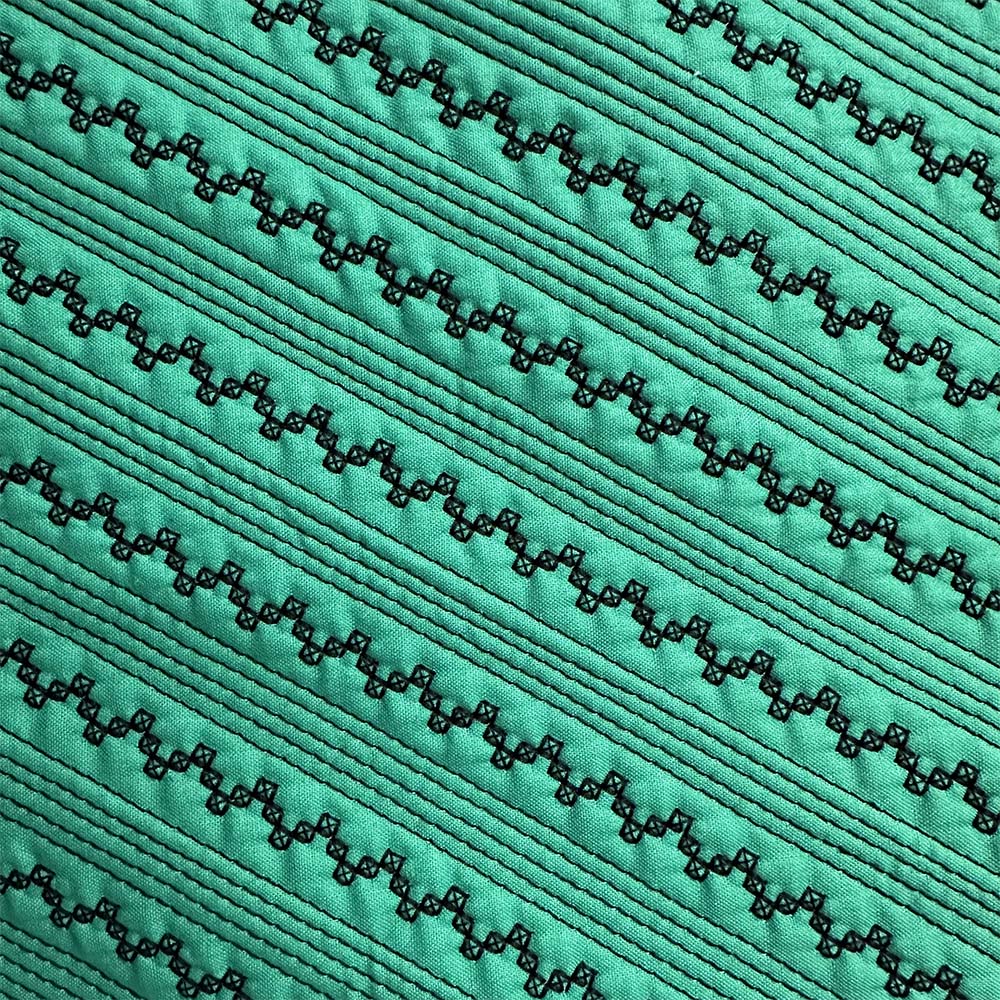
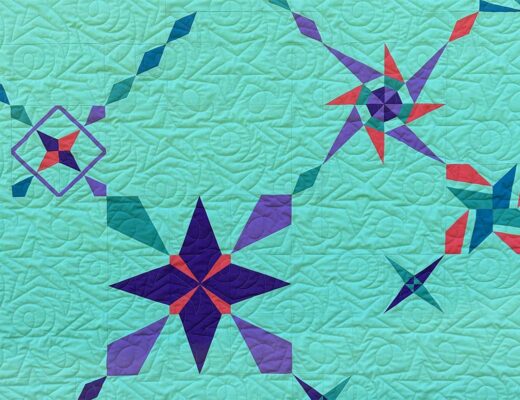
4. Select stitches that enhance the design of the quilt.
This one sounds obvious, right? But sometimes, it’s easier said than done when confronted with hundreds of different stitches to choose from.
For my style of quilting, geometric designs are usually best. The more intricate the stitch, the more critical it is to have a graphic quality. More curvilinear stitches can work with my style, but they are usually best in a simple loop or serpentine stitch.
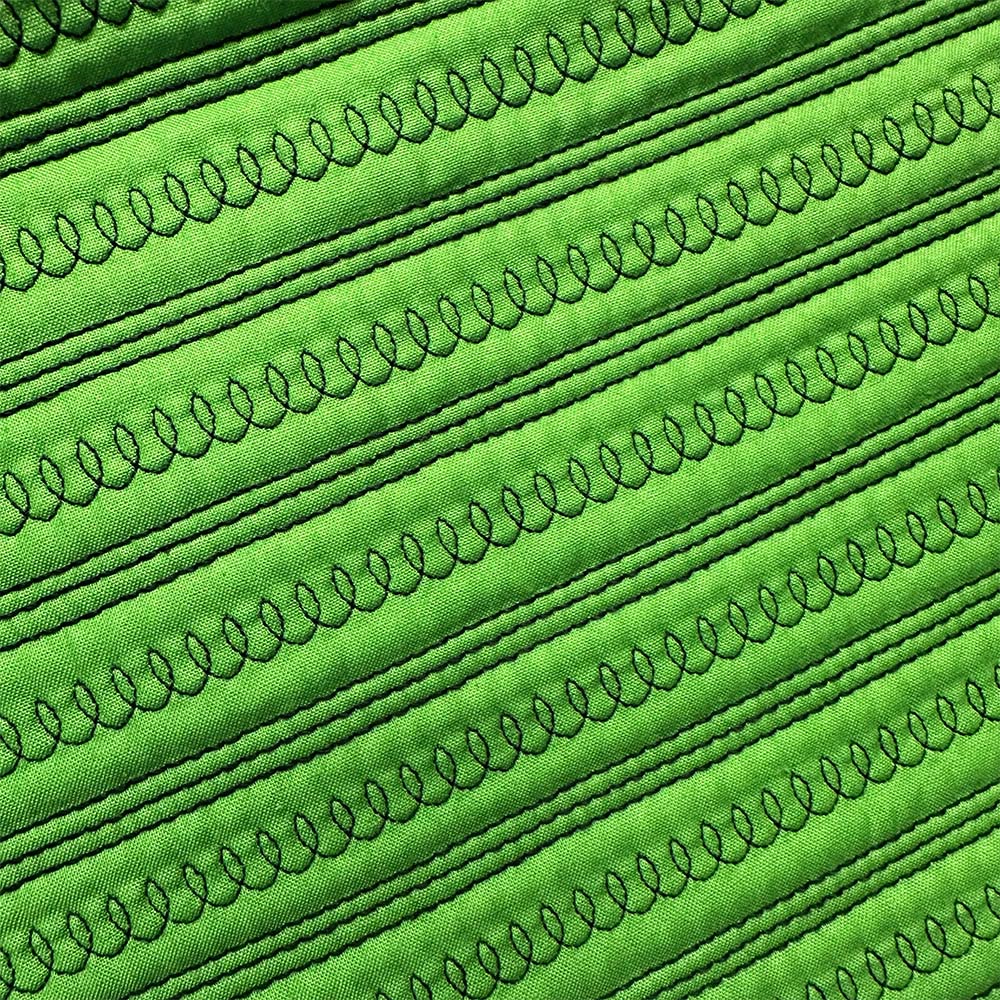
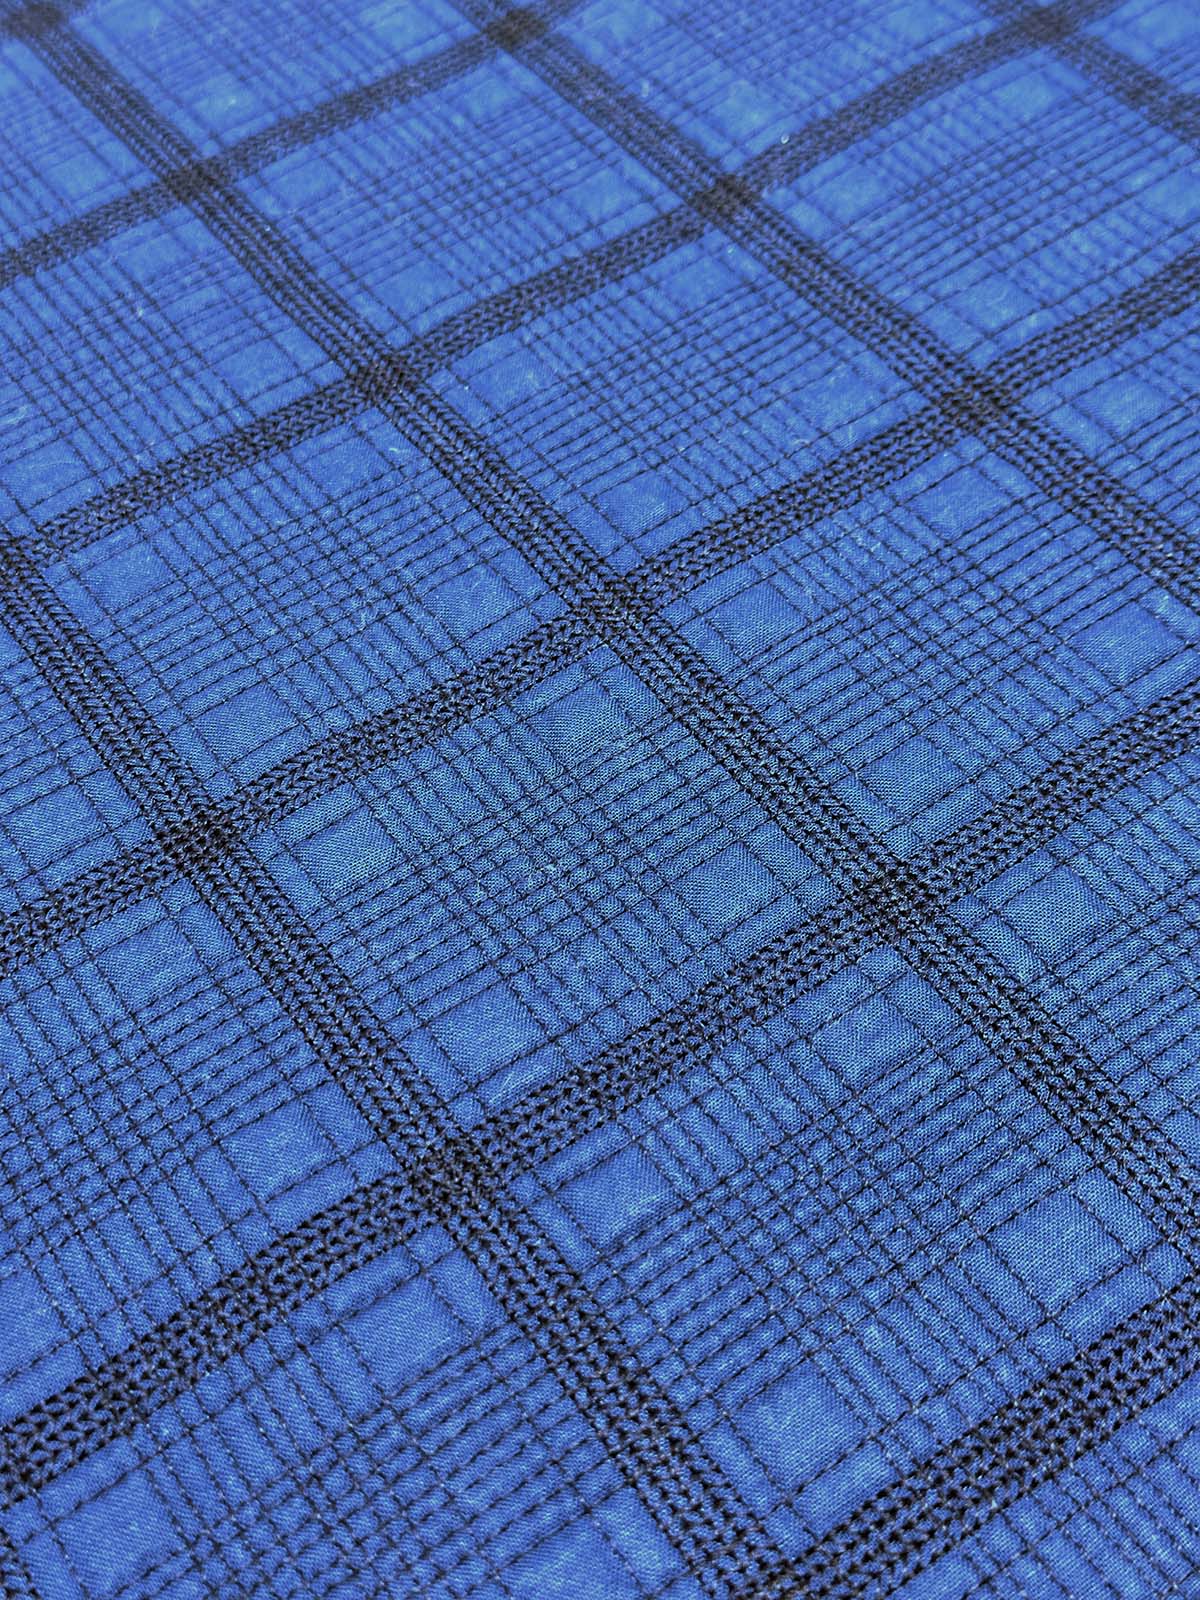
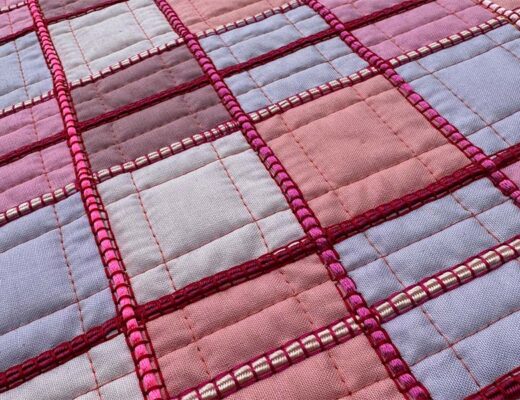
5. Try altering the direction of your quilting to create a new effect.
Stitching in one consistent direction is the bread and butter of walking foot quilting, but feel free to mix it up either by changing directions within a row of stitches or overlapping lines going in different directions.
I love plaid effects, so I enjoy repeating a straight-line motif at a 90-degree angle to develop a quilted plaid motif.
You’ll realize the endless possibilities once you take these tips to your machine and begin experimenting. As you make samples, consider labeling them with the stitch number and thread weight so it’s easy to incorporate them into your next project!
3 Comments
Rhonda
April 18, 2025 at 9:43 amHello,
Love dramatic and Serpentine decorative Stitches gave me new bright ideas how to quilt my quilts on my domestic sewing machine .
Thanks
Pamela Meyers Arbour
July 11, 2025 at 7:20 amIs this part of your current, long term project? How large do you make these quilts? The stitching takes a lot of time and thread. I was just wondering. I am thinking about making some journal covers using your method ., Thanks for sharing.
A Long-Awaited Reveal of a Quilt Made with a Unique Technique – The (not so) Dramatic Life
October 17, 2025 at 12:01 am[…] Read More about Machine Quilting with Decorative Stitches […]