How do you hang a quilt on your wall?
There are several options to display quilts in your home, but the go-to method is making a sleeve for the back of your quilt and inserting a rod to hang it. If you have a quilt heading to a quilt show, a sleeve is required to include your quilt in the show.

What is a Quilt Sleeve?
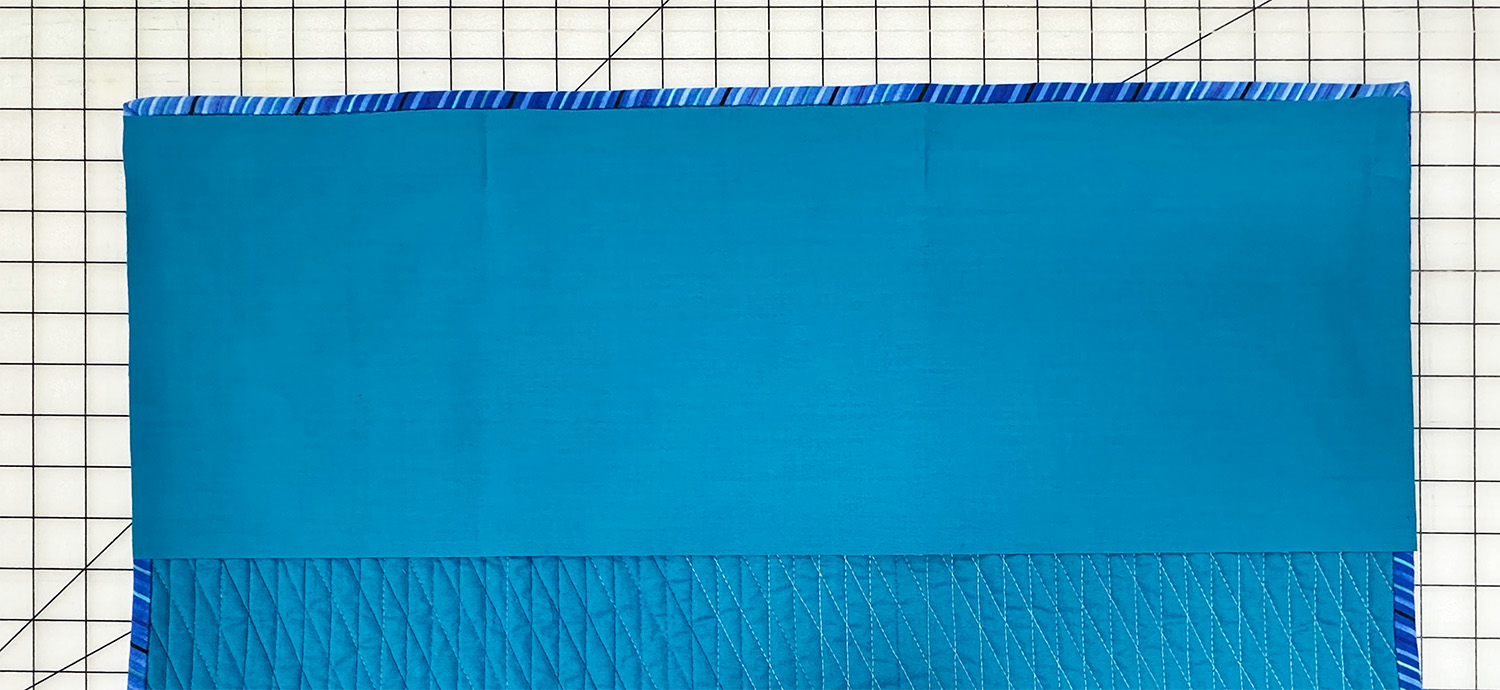
The primary function of a quilt sleeve is to provide a fabric tube to hold a hanging rod. This fabric tube is sewn to the back of the quilt, sits just below the top edge, and is slightly shorter than the quilt’s overall width.
You should always construct your hanging sleeve as a full tube, not just a strip of fabric, because the sleeve protects the quilt from the hanging rod. These metal rods slide against the fabric, and you don’t want the rod to contact the quilt directly. In some situations, particularly at shows where hanging devices are borrowed or rented from a vendor or venue, the hanging rods may be dirty, and you don’t want to get your quilt back with a streak of dirt on the back of your quilt.
Making a Quilt Sleeve
A standard quilt sleeve finishes at 4″ high and extends almost the width of the quilt.
Cutting the Quilt Sleeve
Cut the quilt sleeve at 8-1/2″ x the width of the quilt. You can use scraps of wide-back fabric or piece sections together to achieve the full width for larger quilts.
Why 8-1/2″? You want the sleeve to finish at 4″ high, so you need 4″ for the front of the sleeve, 4″ for the back of the sleeve, and two 1/4″ seam allowances.
4″ + 4″ + 1/4″ + 1/4″ = 8-1/2″
Most of the time, I select fabrics for the quilt sleeve that coordinate with the quilt. The easiest way to do this is to make a quilt back about 10″ longer than you need for the quilt, allowing you to have the necessary sleeve fabric pieced to match any piecing on the back.
Your quilt sleeve doesn’t need to match the quilt itself, so don’t stress if it can’t happen. The most important thing is to construct your sleeve in a way that allows the quilt to hang nicely in the show or on your wall.
Hem the Short Ends of the Sleeve
You cut the sleeve to match the width of the quilt exactly, but you want it to finish slightly narrower than that overall width. Hemming the short ends of the sleeve achieves this goal.
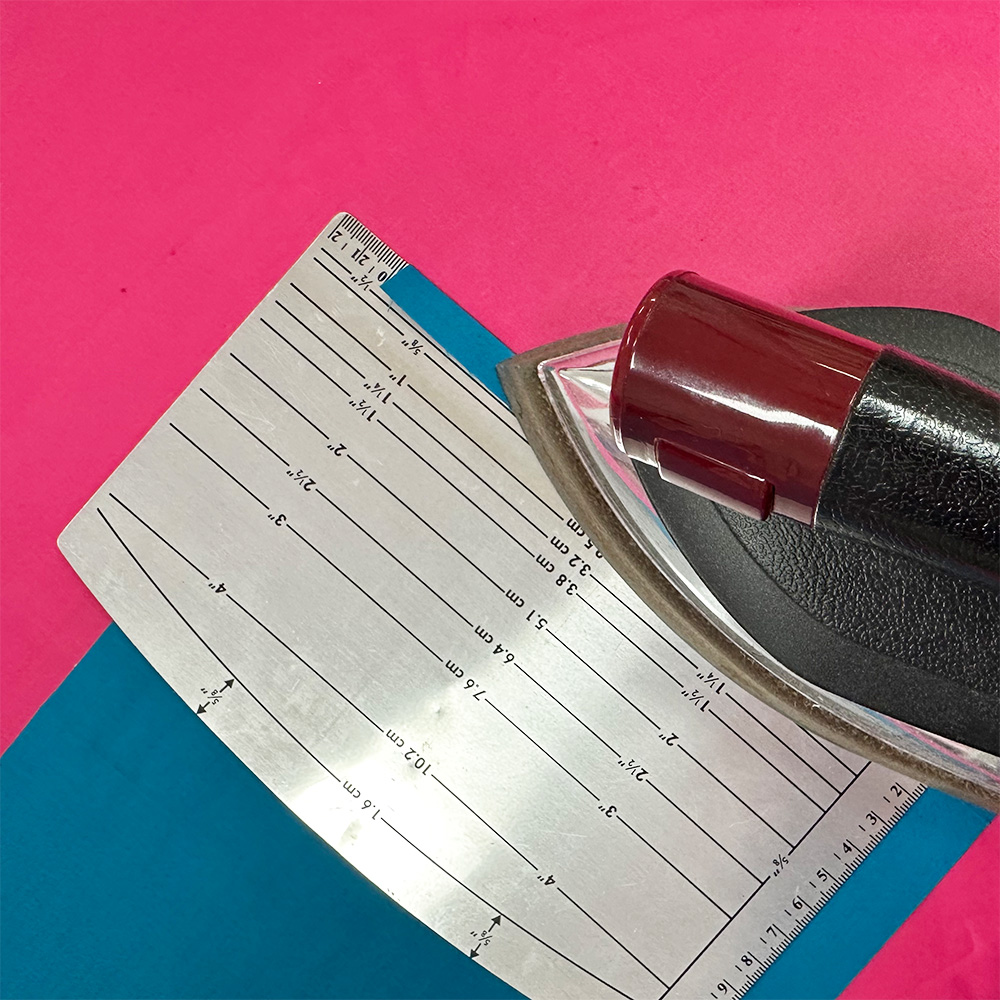
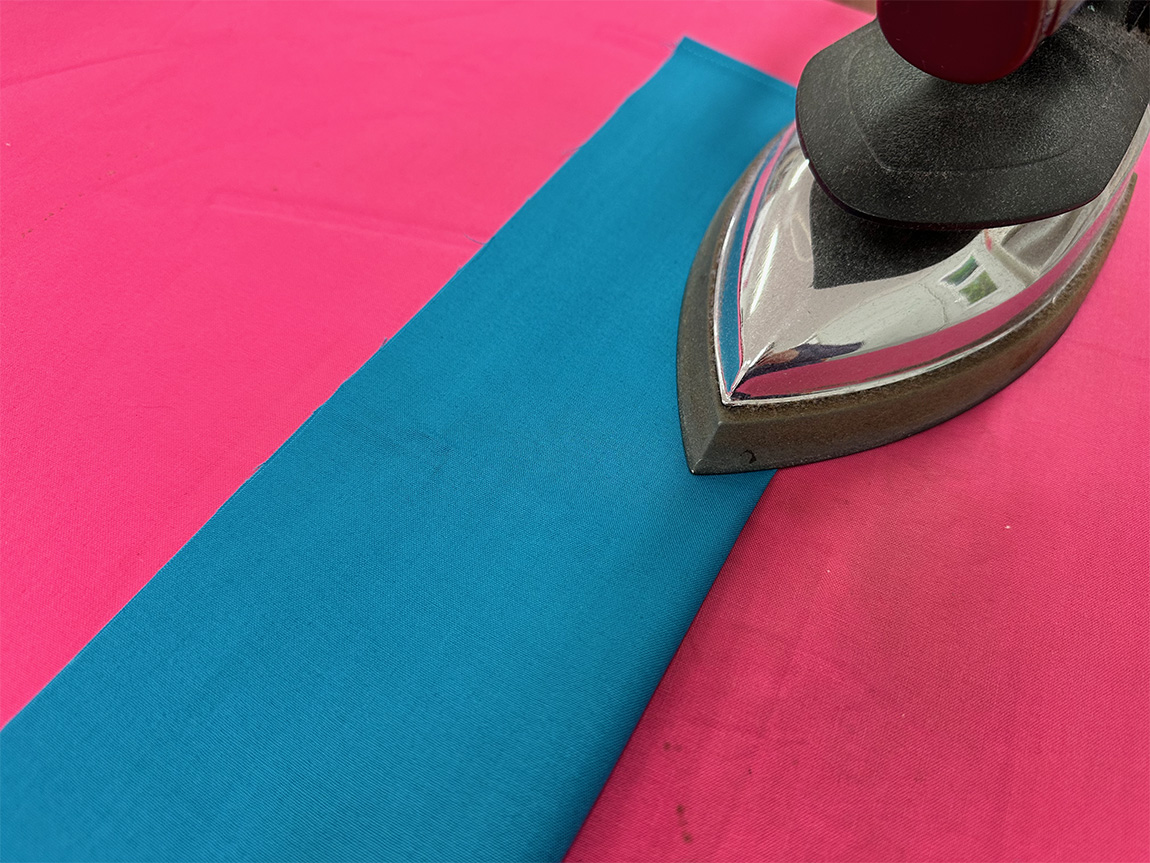
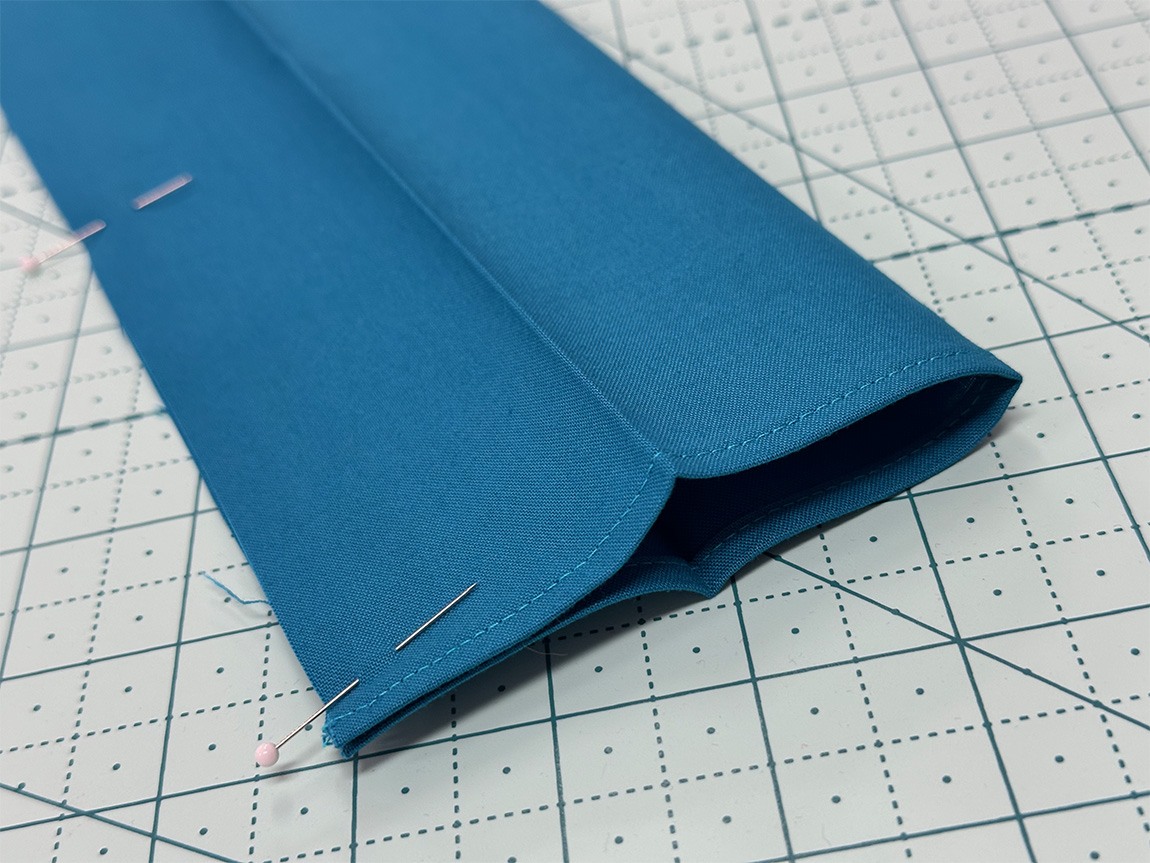
The ideal hem is two 1/4″ folds for a total of 1/2″. Here’s how I achieve this quickly: Place the sleeve on an ironing surface with the wrong side of the fabric facing up. Using a hem gauge or an index card with a line marked 1/2″ from the edge, fold the raw edges of the short ends of the sleeve to the line and press.
Let it cool briefly, then fold the raw edge to the crease line and press again.
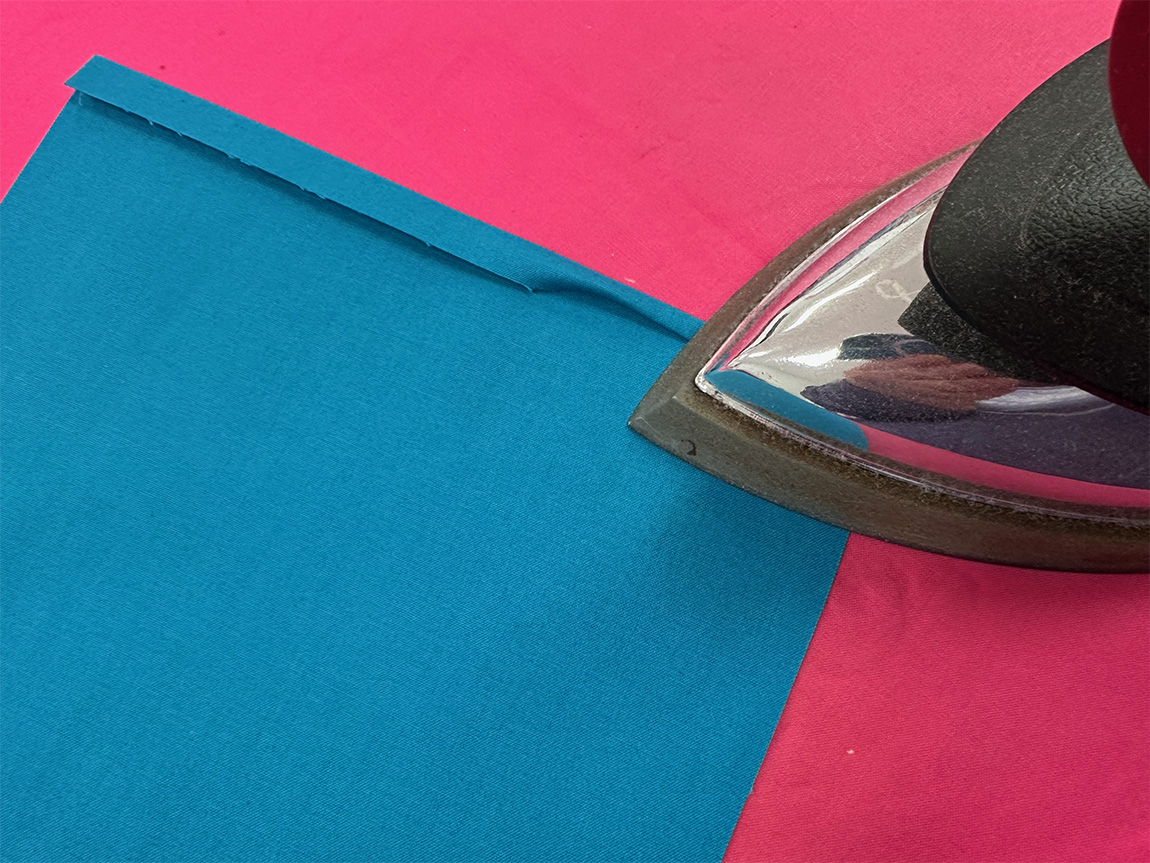
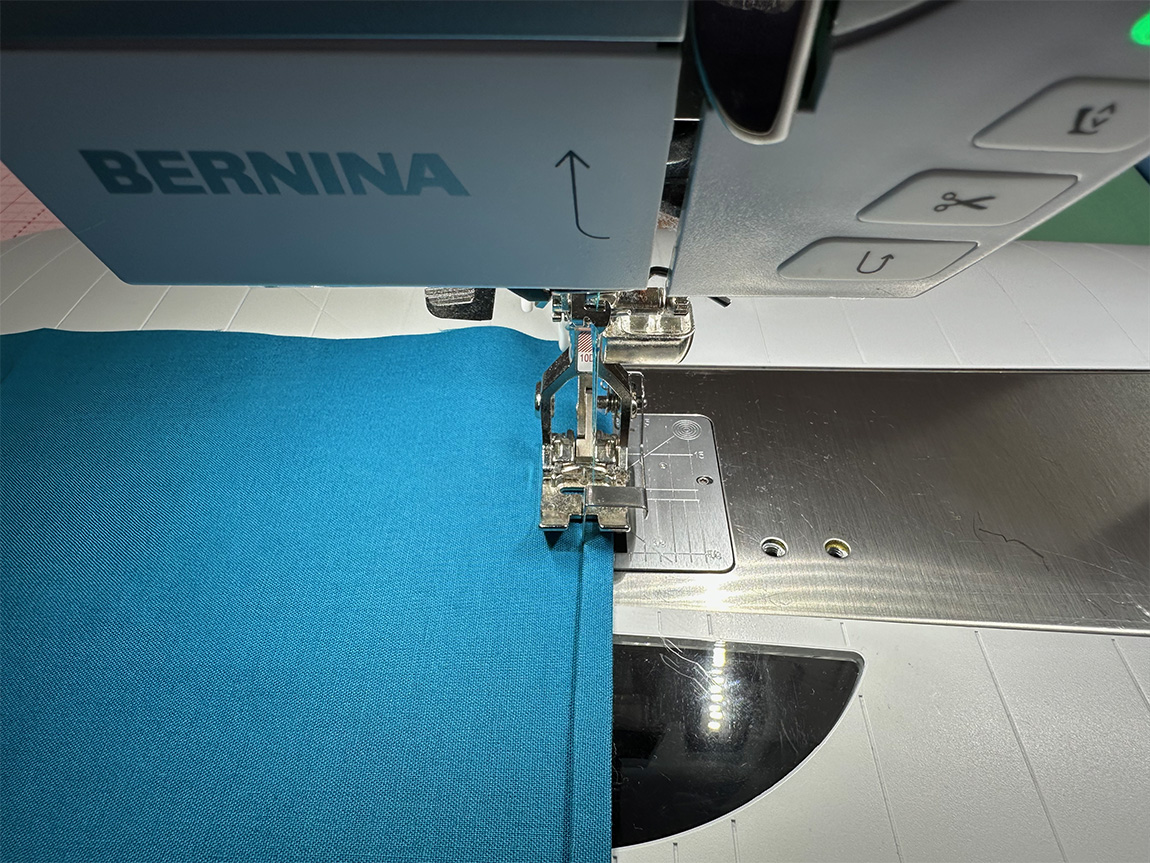
Machine stitch the hems using a straight stitch. If you have an edge stitching presser foot, this is a good place to use it.
Press Creases into the Sleeve
The quilt sleeve does not lay flat against the back of the quilt. You want the finished sleeve to have space to accommodate the hanging rod so the sleeve looks similar to the letter D from the side. This shape is easy to accomplish with careful pressing before you sew the tube.
Fold the sleeve fabric half lengthwise, with the right sides of the fabric facing out, and press in the central crease.
Unfold the sleeve. Fold the raw edge of the sleeve in to meet the central crease line. The raw edge should meet the crease exactly. Press in the fold line to create a second crease. The right side of the fabric is facing out.
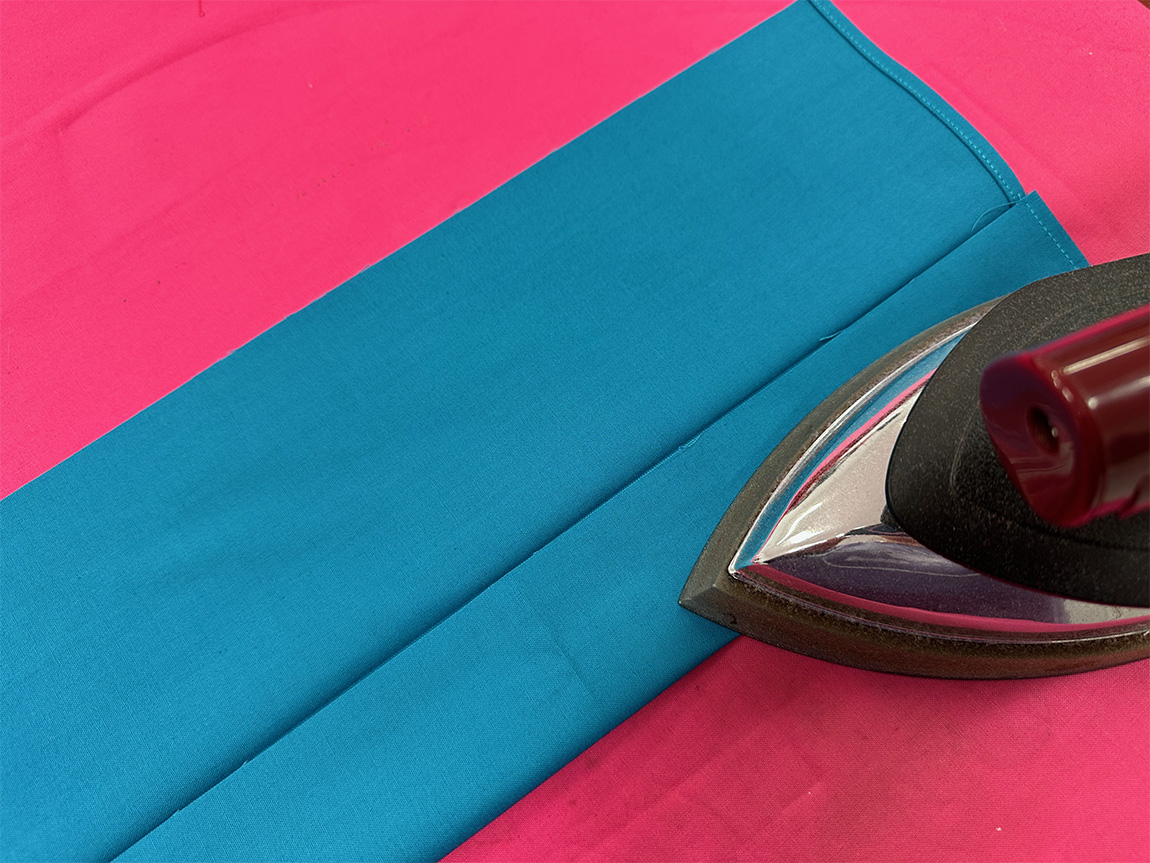
Repeat on the other lengthwise side of the sleeve. You now have a strip of fabric with three parallel, lengthwise creases.
As you make the sleeve, it is critical to keep the top and bottom creases. If necessary, you can press out the central crease.
Sew the Sleeve Tube
Unfold the sides of the sleeve fabric so it is lying flat. Fold the sleeve in half lengthwise, with the right side of the fabric facing out. Pin the raw edges together.
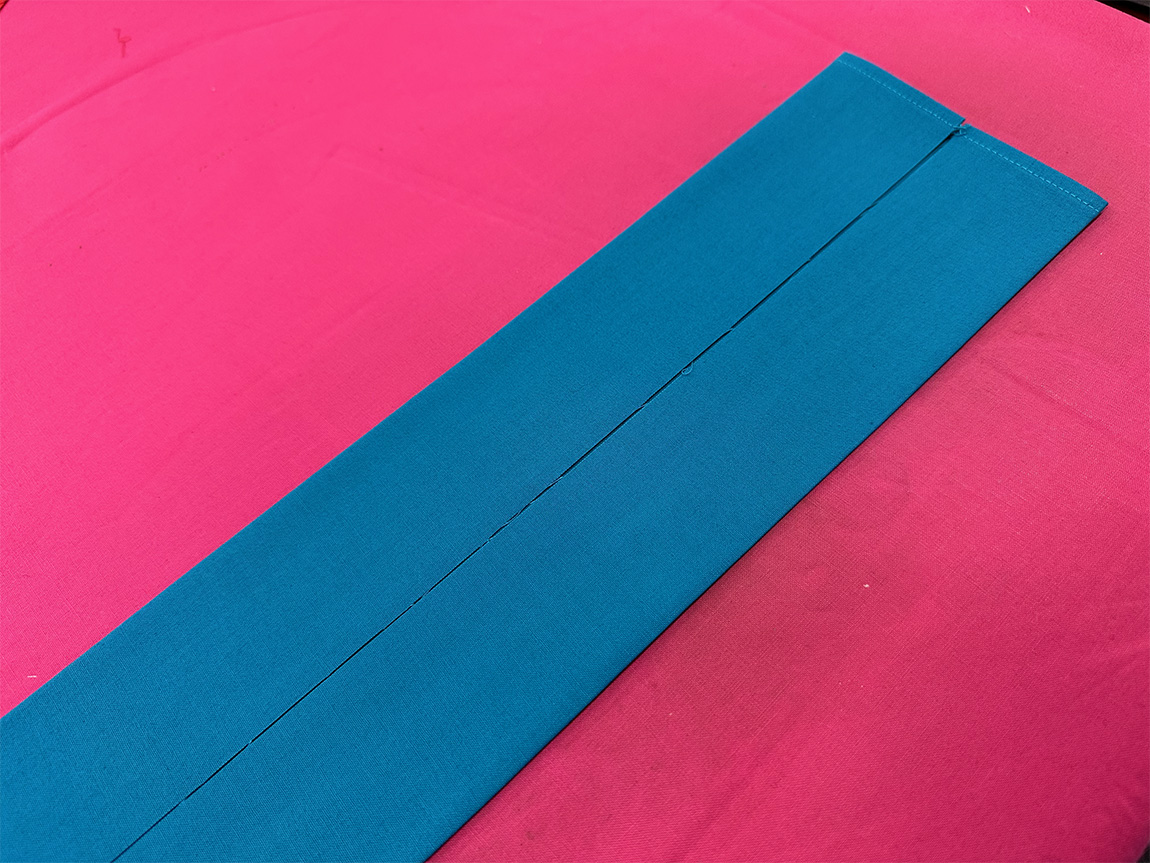
Stitch the raw edges together using a 1/4″ seam allowance.

Press the seam allowance open. It is essential to maintain the side creases in your sleeve. Place the sleeve on an ironing surface with the top crease and surrounding fabric flat. The bottom crease is sticking up, which is fine. Press the seam allowance open, always keeping most of the iron towards the top of the sleeve. When everything is positioned correctly, you are hardening the top crease as you press the seam allowance open and not disturbing the bottom lengthwise crease. It is ok if the central crease is removed at this point since you won’t need it again.
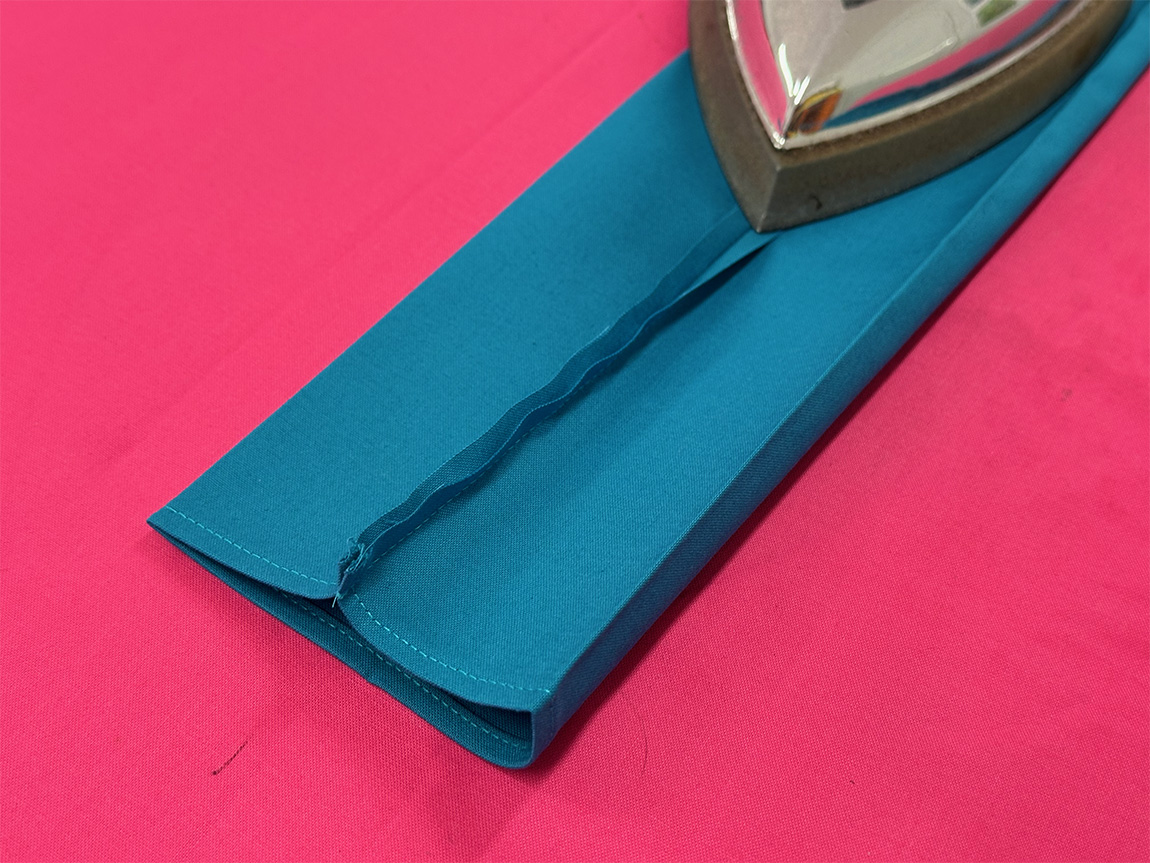
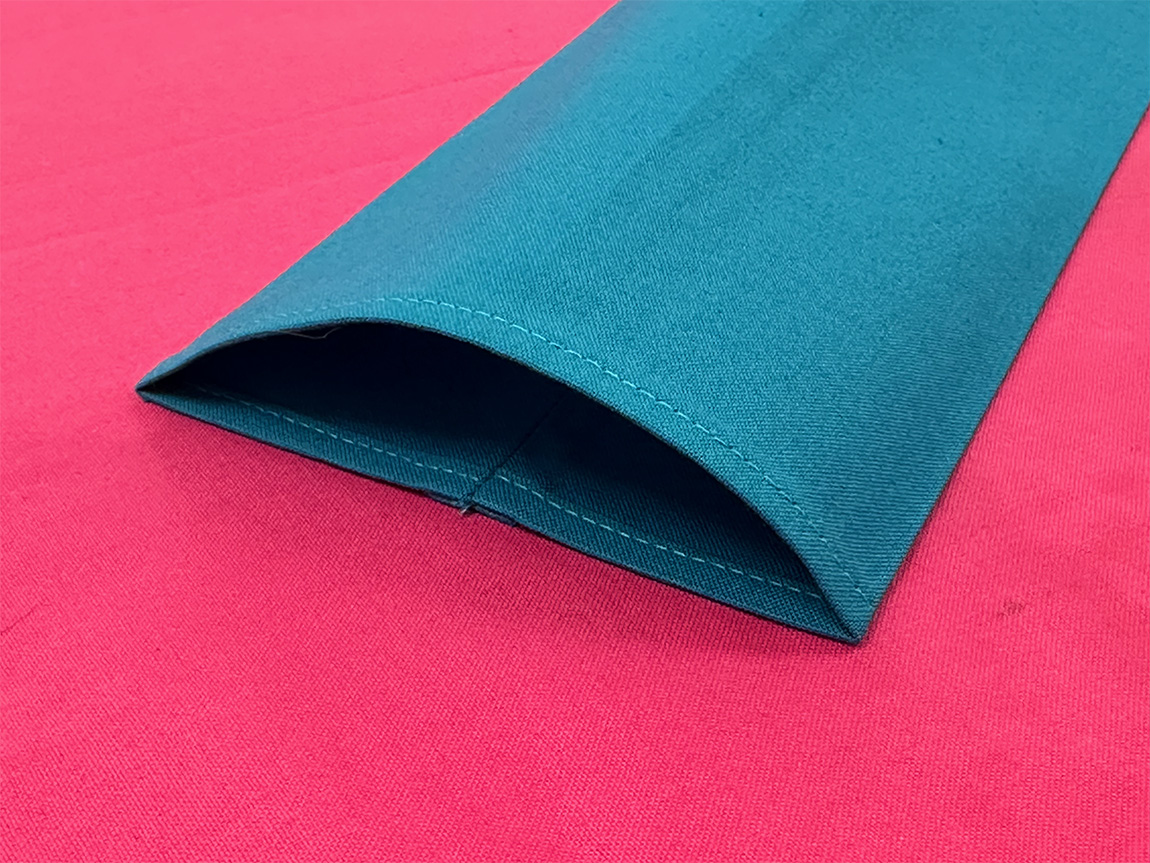
You will notice that the sleeve now forms a sideways “D” shape. This is precisely what you want.
Position the Sleeve
The “D” shape of the sleeve gives a hanging rod some leeway while allowing the quilt to hang smoothly, but this shaping also means that the sleeve must be offset slightly from the top of the quilt to prevent it from peeking out over the binding.
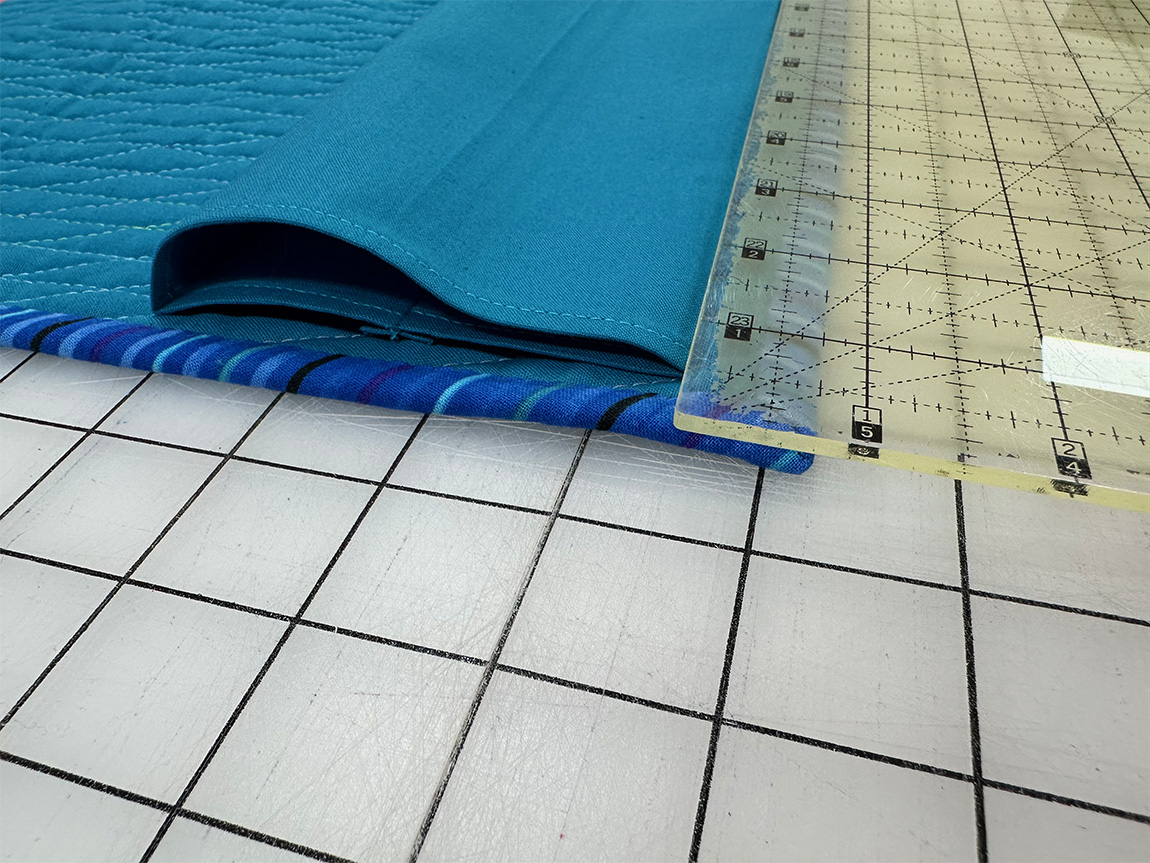
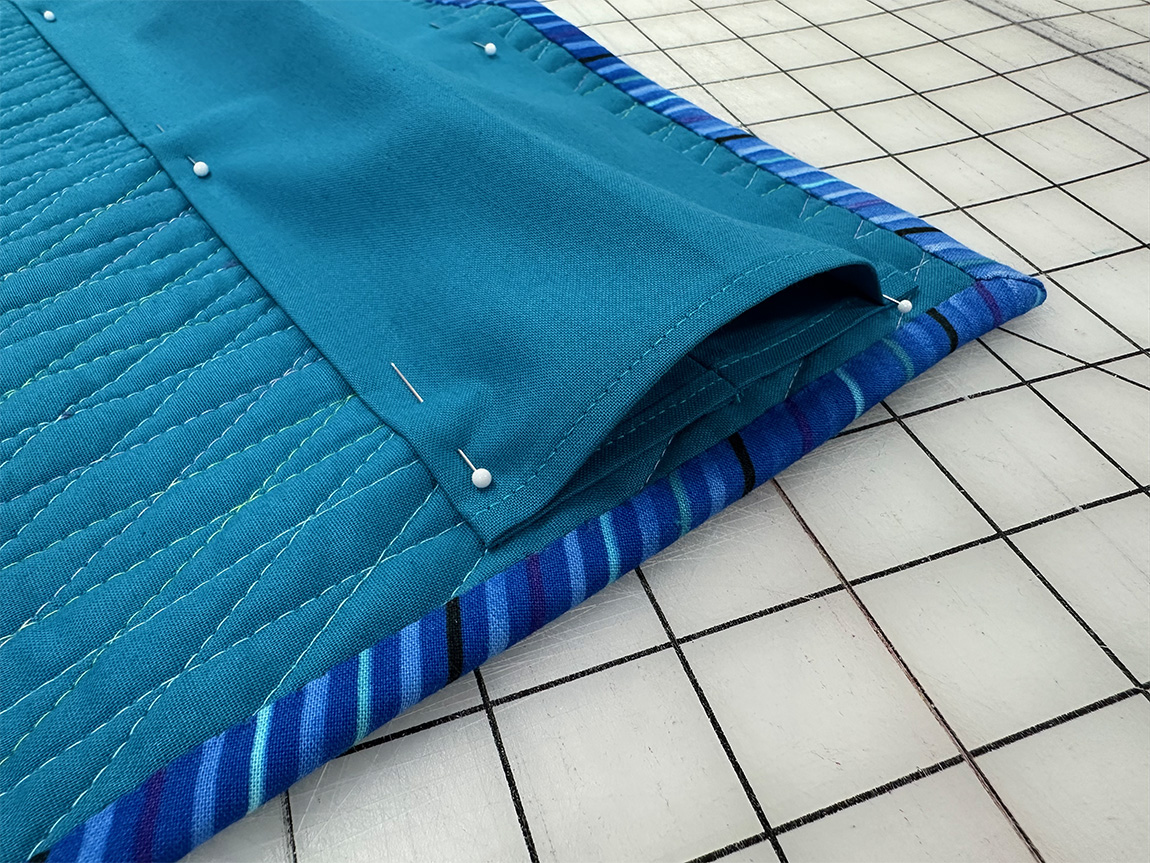
I always offset my sleeve 3/4″ from the top of the quilt. With the back of the quilt facing up, align a sewing ruler to the top of the binding at 3/4″ and position the sleeve with the top crease along the ruler edge. Center the sleeve on the quilt so the sleeve is approximately 1/2″ from either side of the quilt. The sleeve’s flat side with the seam faces down towards the back of the quilt. Pin the sleeve in place along the top edge. For quilts longer than your ruler, you must move the ruler along the top edge of the quilt as you go. Make sure the back of the sleeve is lying flat against the quilt, and pin the sleeve to the quilt along the bottom crease.
Attaching the Sleeve
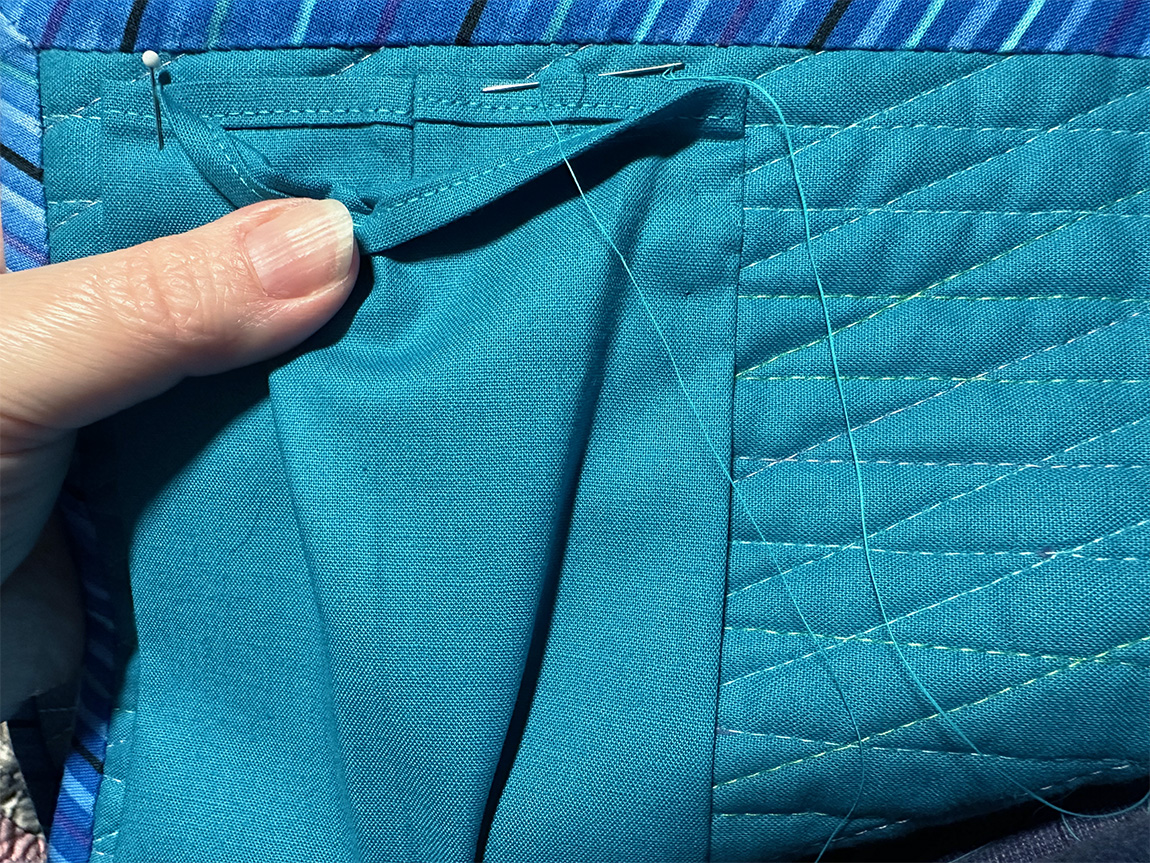
Use a whip or slip stitch to sew the sleeve in place, ensuring you do not stitch all the way through to the front of the quilt. I prefer a stitch that takes a small stitch in the sleeve and then travels forward between the layers of the quilt, similar to how I bind a quilt. I view a quilt sleeve as a semi-permanent addition to a quilt. It will see some wear if it’s traveling to a quilt show and needs to support the weight of the quilt, but it may need to come off at some point, and I don’t want to have it attached so securely that the removal could damage the quilt. I typically sew a sleeve using about four or five stitches to the inch to achieve this balance.
When attaching the sleeve, always stitch the ends of the sleeve down as well as the top and bottom. Having all edges stitched protects your quilts. Especially when your quilt is going to a show, it is easy to accidentally insert the hanging rod in the wrong opening if these ends are not secured.
Considerations for Very Large Quilts
Adding a Second Sleeve
Some quilt shows will require a second sleeve if you have a very long quilt. The additional sleeve is necessary because the hanging bars for each show are a set height, and quilts longer than that height may drape onto the floor without a second sleeve. (Some shows allow quilts to drape on the floor if they have a system to protect the quilt.)
When a second sleeve is added near the top of the quilt, the show will hang the quilt with the top flipped over towards the quilt’s back. If the second sleeve is towards the bottom of the quilt, a second hanging rod is used to loop the bottom off the ground.
Splitting a Sleeve
Sometimes, wide quilts require a third hanging point in the quilt’s center. If you plan to hang your quilt using three points, you will want to create your sleeve in two separate parts to create an opening in the center.

1 Comment
Stacey A
January 20, 2026 at 11:09 amThank you for posting this very detailed tutorial! Super helpful.