Confession: I thoroughly enjoy the hardware store- especially when I can find materials to use in a non-traditional manner. One of the items I like to re-invent is the canvas drop cloth. Canvas is really useful in sewing and craft projects, but tends to be sort of expensive (for what it is) in the big-box craft stores. In the tote bag series I am currently writing, canvas is used to add strength to the project. I thought I would share how I prepare a drop cloth for this type of project.
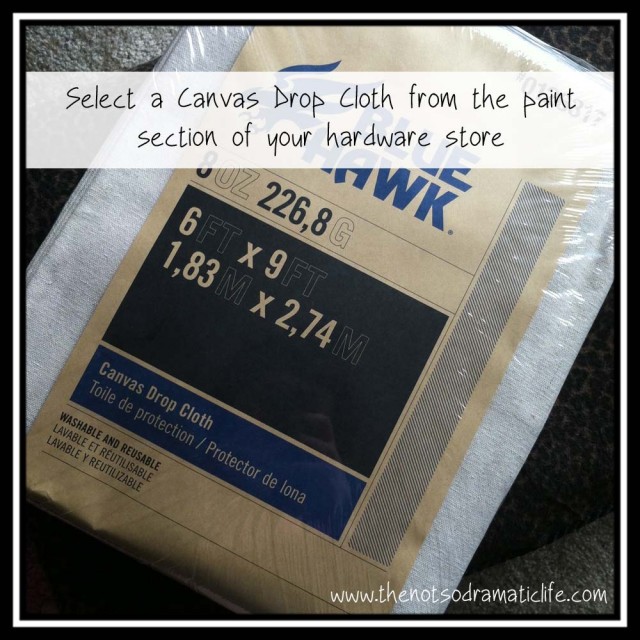
 You will find canvas drop cloths in the paint section of most major hardware stores. I selected the 6’x9′ size because this size fits easily into a standard home washing machine and has no internal seams. The amount of canvas in this drop cloth is roughly equivalent to purchasing 5 to 5 and a half yards of canvas off of a bolt at the fabric store. My experience has been that a drop cloth costs about the same as 1 to 2 yards of plain canvas from the fabric store. This is a good deal, especially for projects that you will never see this fabric.
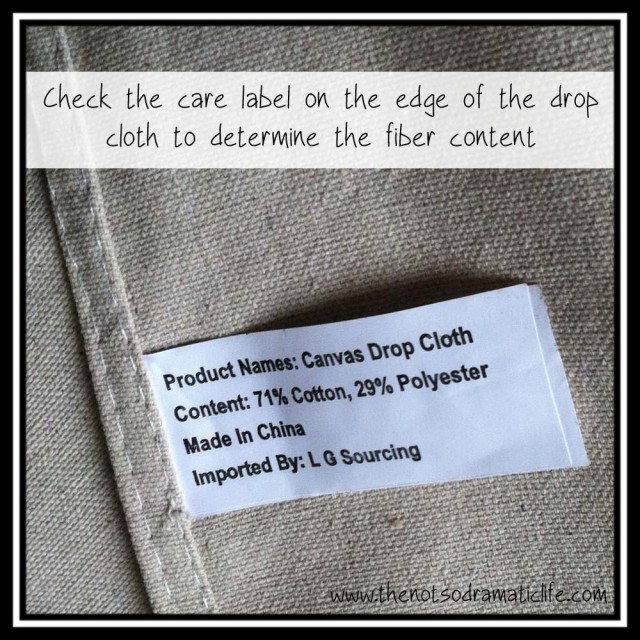
 Take a look at the fiber content. You want something that is mostly cotton, but polyester is fine too. The thing you want to watch for in non-traditional sources is spandex- canvas is a no stretch zone! (Unless I change my mind for a specific project that I haven’t dreamed up yet) The good news is that a drop cloth should never have spandex, so you shouldn’t have to worry too much!
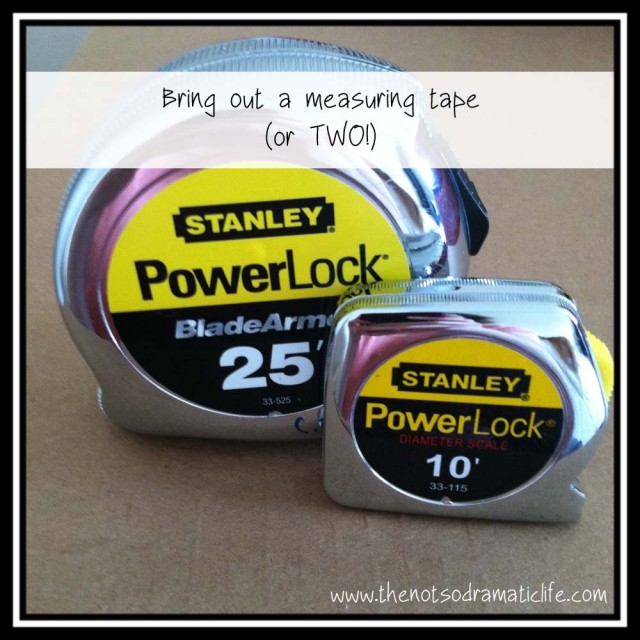
 Lay your drop cloth out flat on the floor (or a table if you are lucky enough to have a surface the cloth can lay completely flat without hanging over the edges). Now get out a measuring tape or two. The metal construction kind is great for this type of thing.
 Next, we are going to measure the cloth to determine a starting measurement. I put a permanent marker “X” in the corner, so I will know which corner my measurements are based from. You can see that this drop cloth is about 107″ x 70.25″ to start with. Make note of this measurement- you will need it later!
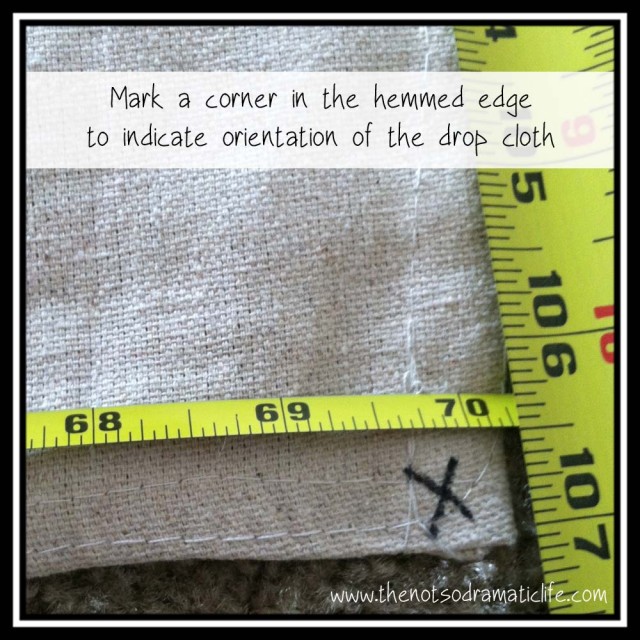 Wash and dry the drop cloth. Use hot water. MAKE IT SHRINK! This is the time you want the cloth to shrink- not when it is inside your super cute tote bag! Lay the cloth out flat and measure it again.
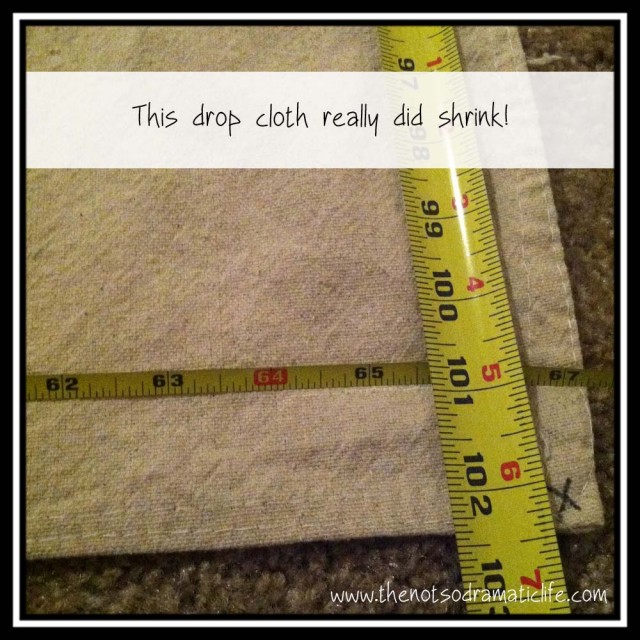 Wow! Now the same cloth measures 102.5″ x 67.25″. That is a big difference. Now wash and dry it again. Use hot water, again. Try to make it shrink again. Measure once more. Did it shrink by more than about a quarter inch? If so repeat the washing/drying process. You want to have two consecutive washings with the measurements not changing. I usually end up doing 2-3 passes through the wash. (Note: Canvas purchased off a bolt at the fabric store will also shrink a lot, so make sure that you prewash that really well, too.)
 Optional Step: Ask your cat to move off of the drop cloth. This may take awhile.
Once you have shrunk your drop cloth you are ready to get rid of those wonky hems on the edges. We are going to rip the edges to make sure that the final piece of fabric is on the grainline. Clip about 3/4″ into the drop cloth. Make sure you cut through the hem perpendicular to the clip. The cut itself should be about 1 inch.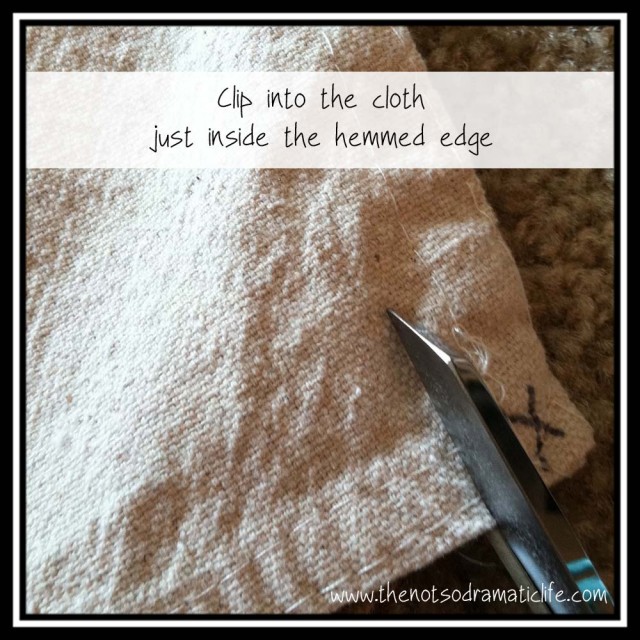 Now rip the fabric, starting with the clip you just made. If the rip runs back into the hem, make another clip 1/2″ to 1″ further in on the edge of the cloth and rip again.
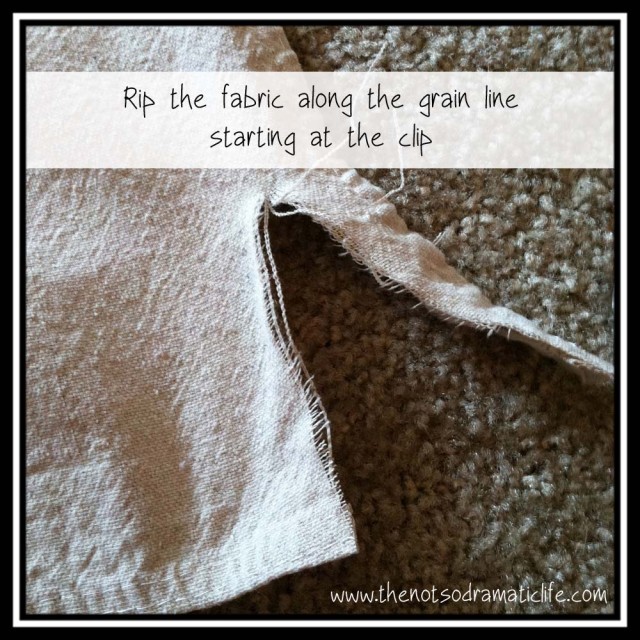 Repeat the clipping and ripping process on all four sides.
 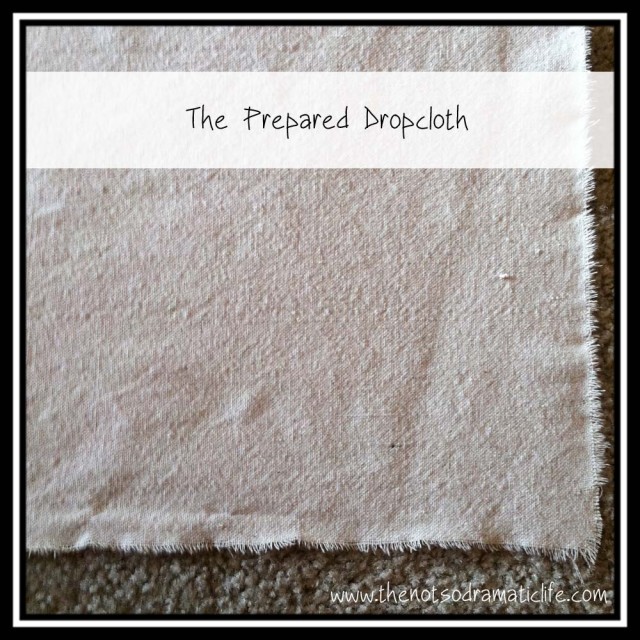 Now you are ready to go! I’m excited- Are you?


17 Comments
Tote Bag Tutorial Part 1: Gathering Supplies | The (not so) Dramatic Life
February 3, 2015 at 11:38 pm[…] 1 yard cotton canvas or cotton duck: You will never see this fabric in the finished bag, but it add structural integrity to the bag. If you would like a less expensive option, I have had success using a canvas drop cloth from the paint section of a hardware store. (I will be posting a tutorial for preparing a canvas drop cloth for sewing projects) […]
Marcia
February 13, 2016 at 12:04 pmI was planning on using these as a backdrop to cover a garage door for my son’s wedding. Any experience in painting these? Might be a mural or one with the table assignments etc.
Thanks,
Marcia
Lonni Wolcott
October 30, 2016 at 12:29 amI painted a cherry tree on a drop cloth for my daughters wedding to hide a hideous wall. I used the lavender of her roses to bring the color up above eye level. I dragged to potted palms for either side and it looked great to everyone and in pictures. Good luck.
VintageD
February 19, 2017 at 4:26 amThank you for the tutorial, note taken about repeated washes till it doesn’t shrink anymore! Your process is terribly lengthy for me, though, for the only reason that I have 5 cats hahaha!
Jo Sargent
May 3, 2019 at 8:59 amThis made me LAUGH OUT LOUD! Cats…am-I-RIGHT!?! 🙂
Dick Waskey
October 8, 2018 at 1:42 pmI would like to make a hunters frock. Do you think drop cloth material is heavy enough? Could I dye it with Walnuts, acorns & Tea?
Annika Lusse
August 27, 2020 at 10:19 pmIs it okay to dry it?? Sorry if I missed that part of I did. And if I am supposed to put it in the dryer, should I not put it on hot?
thenotsodramaticlifeadmin
May 10, 2021 at 11:07 amYou will want to dry it at the highest heat you will plan to dry the finished project. The higher the heat, the more it will shrink, so you want it to shrink now rather than later.
Brenda
January 7, 2021 at 11:00 amI am making a table runner with placemats with my drop cloth. All of the instructions that I read did not suggest to shrink the fabric before use they used it just as is. I’m thinking if I ever need to wash the table runner and I would need to shrink it. What is your opinion
thenotsodramaticlifeadmin
December 6, 2021 at 6:10 pmI generally pre-wash my fabric in the same way I plan to wash it once it is a finished project.
Laura
March 11, 2021 at 2:33 pmI have a cat that likes to sit on my shoulder, nuzzle my head, and ‘help’ me when I’m at my sewing machine. I had to make him his own little fleece bed for the far end of my sewing table so he could nap while I sew. Otherwise he’d bothering me constantly to ‘help’! 😊
Drop cloths are so versatile! You can do so much with them. I’ve often used them in my Sunday school class for tents, backdrops, costumes, etc.
I’ve been sewing for over 60 years and made everything from underwear to wedding gowns. But I’m in awe of people like you who can design and sew theatrical costumes, that takes exceptional talent!
Kathleen
September 22, 2021 at 7:08 amCan clothing be made out of this after its prepared?
thenotsodramaticlifeadmin
December 6, 2021 at 5:59 pmI don’t see why it couldn’t be used for clothing
Diana
July 23, 2022 at 10:25 amI read a couple of other pins that said ti iron the drop cloth before you dry it or the wrinkles will be permanent. Have you ever had that problem.
thenotsodramaticlifeadmin
December 13, 2022 at 12:00 amI haven’t noticed that issue, but I also use an iron that has great steam and gets quite hot.
Carrie
March 12, 2024 at 7:35 amIs it possible to bleach these dropcloths, particularly the Blue Hawk one shown in the photos? The fabric is perfect for my use, but I need white. I understand bleaching polyester is problematic, but it is a relatively small percentage of poly. Thoughts anyone?
10 Brilliant Ways To Upcycle Your Jeans Into Stylish Skirts
May 15, 2024 at 2:04 am[…] make it easier to work with and allow for more precise cutting and sewing. This step is similar to preparing a canvas drop cloth for use in a sewing […]