Improv is one of my favorite techniques, and it was even more fun when we added a group of quilters and some time limits!

Last Fall, one of my local quilt shops offered a Round Robin Improv class that was loosely based on the book, The Improv Handbook for Modern Quilters: A Guide to Creating, Quilting, and Living Courageously, by Sherri Lynn Wood. (I currently have no affiliate links) For the class, we each brought a bin of scraps along with a larger piece of our signature fabric and two other pieces of fabric.

Yardage to mix with scraps for the upcoming improv class
For my signature fabric, I selected the colorful Alison Glass print shown above. I loved the print, and I thought it would be fun to have a piece that held lots of opportunities for fussy cutting and had plenty of colors that would coordinate with a variety of fabric types.
The round robin format meant that we each worked on every quilt top in our group of six. Our scrap bins, along with our other fabrics (except our signature material) get passed around the group in half hour increments. In the first time slot we each worked on our own quilt, using our signature fabric and any of the other materials we brought with us. To make this even more interesting, for the entire day, we weren’t allowed to use any rulers or rotary cutters- scissors or tearing were our only fabric cutting options!
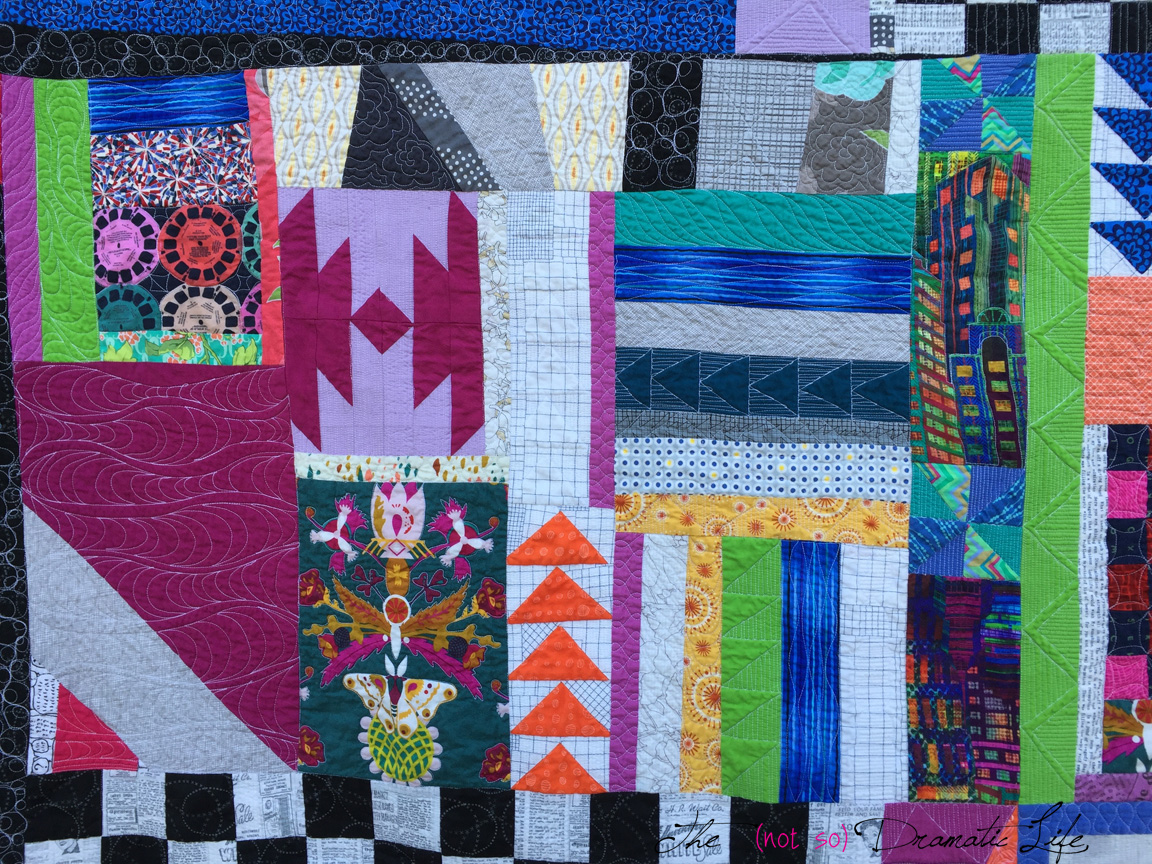
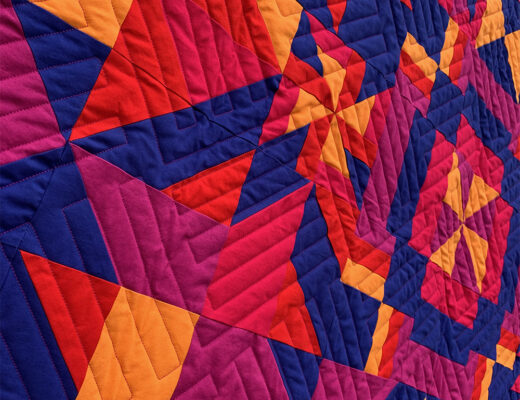
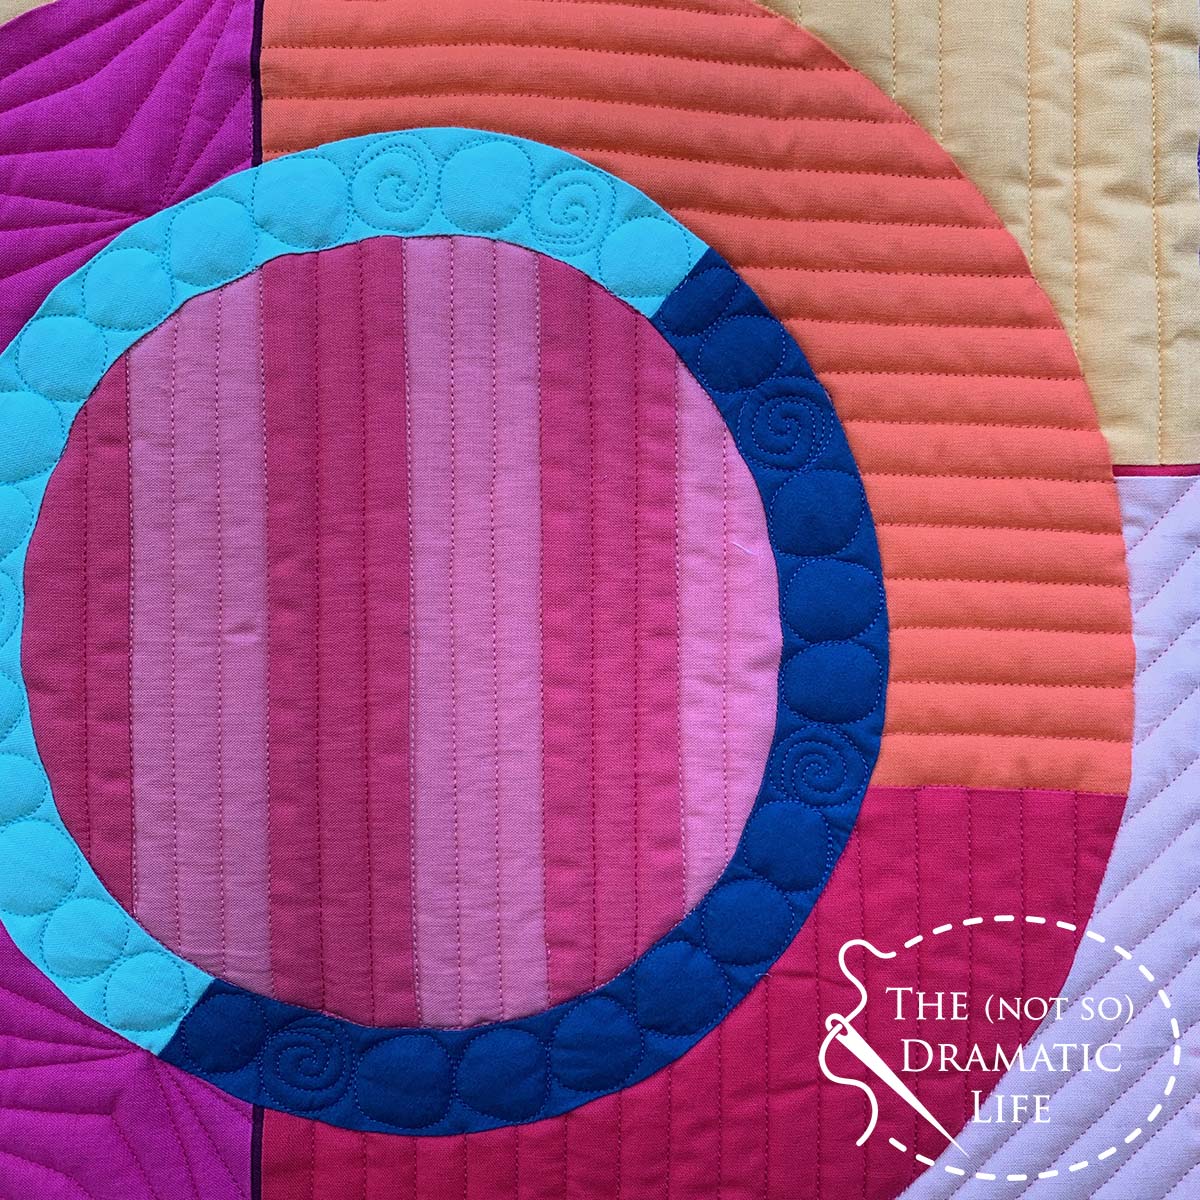
The section of the improv quilt that came out of the class
When the first time slot ended, we passed our quilt top and all of our fabrics (except our signature material) to the next person in the group. The main goal was to incorporate our signature fabric into each quilt and make sure our contribution to the quilt top was attached before the end of the half hour time limit. This is where my background working in theatre may have given me an advantage:
- I am used to working on other people’s designs/projects so I was not afraid that I would “ruin” their work (As a side note- everyone’s quilt tops looked really good, so this fear that a lot of people in the group expressed proved to be unfounded!)
- Time limits are a fact of life in theatre- Over the years I have learned to do the best possible work in the time allowed.
As we went through each top, I fell into a rhythm where I looked through the fabric in the first minute or two and determined how to incorporate my signature print. My signature print went really well with some fabric collections, but not as well with others. Fortunately, we could use any amount of the signature fabric, and my material had lots of different colors that did help it to tie in with various color schemes. I found it really helpful to have a print conducive to fussy cutting because it gave me a jumping off point, and then I could design on the fly for the rest.

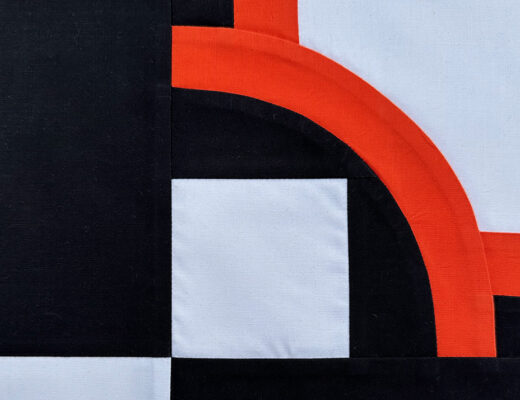
Churn Dash Improv block with my signature fabric fussy cut in the center
My goal was to sew steadily until the final five minutes, then attach what I had done to the main body of the quilt top and press the entire piece before passing it on. My personal goal was to always hand off a piece that was relatively square. We weren’t allowed to cut off anything that another group member added, so I tried to be nice and not give anyone a difficult shape to deal with 🙂
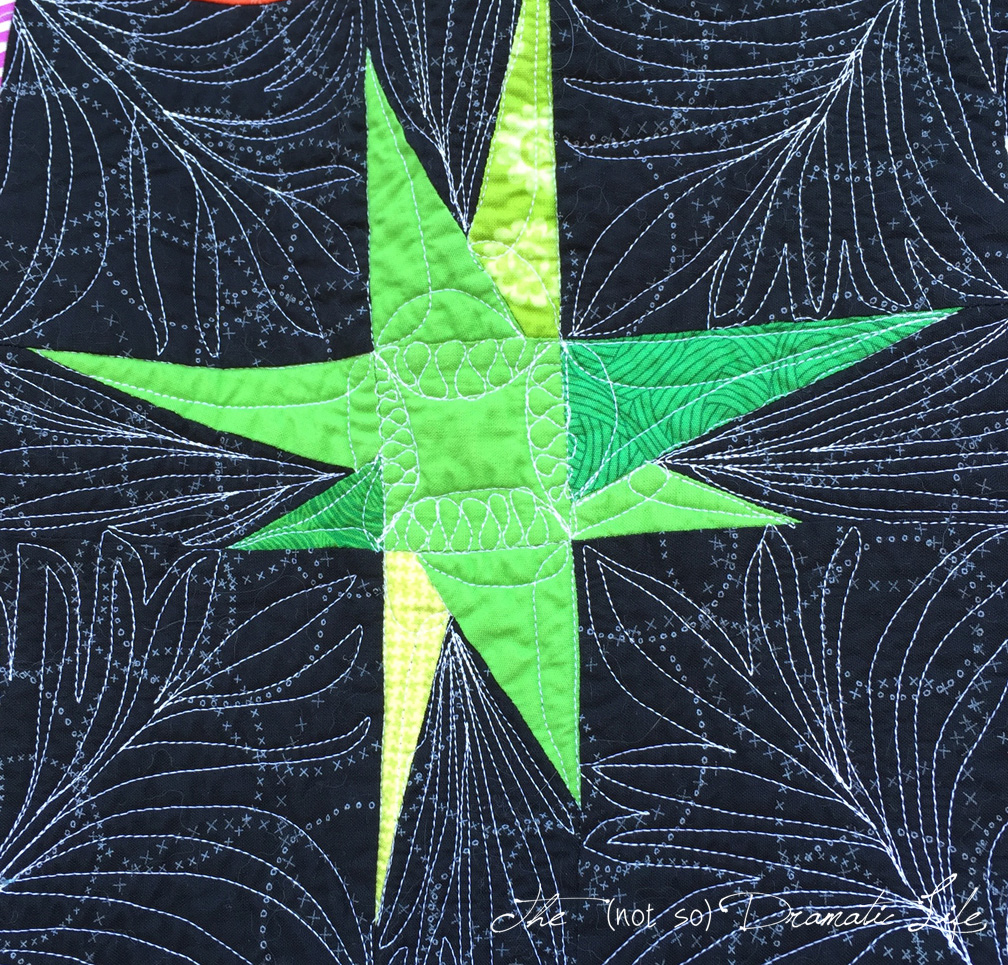
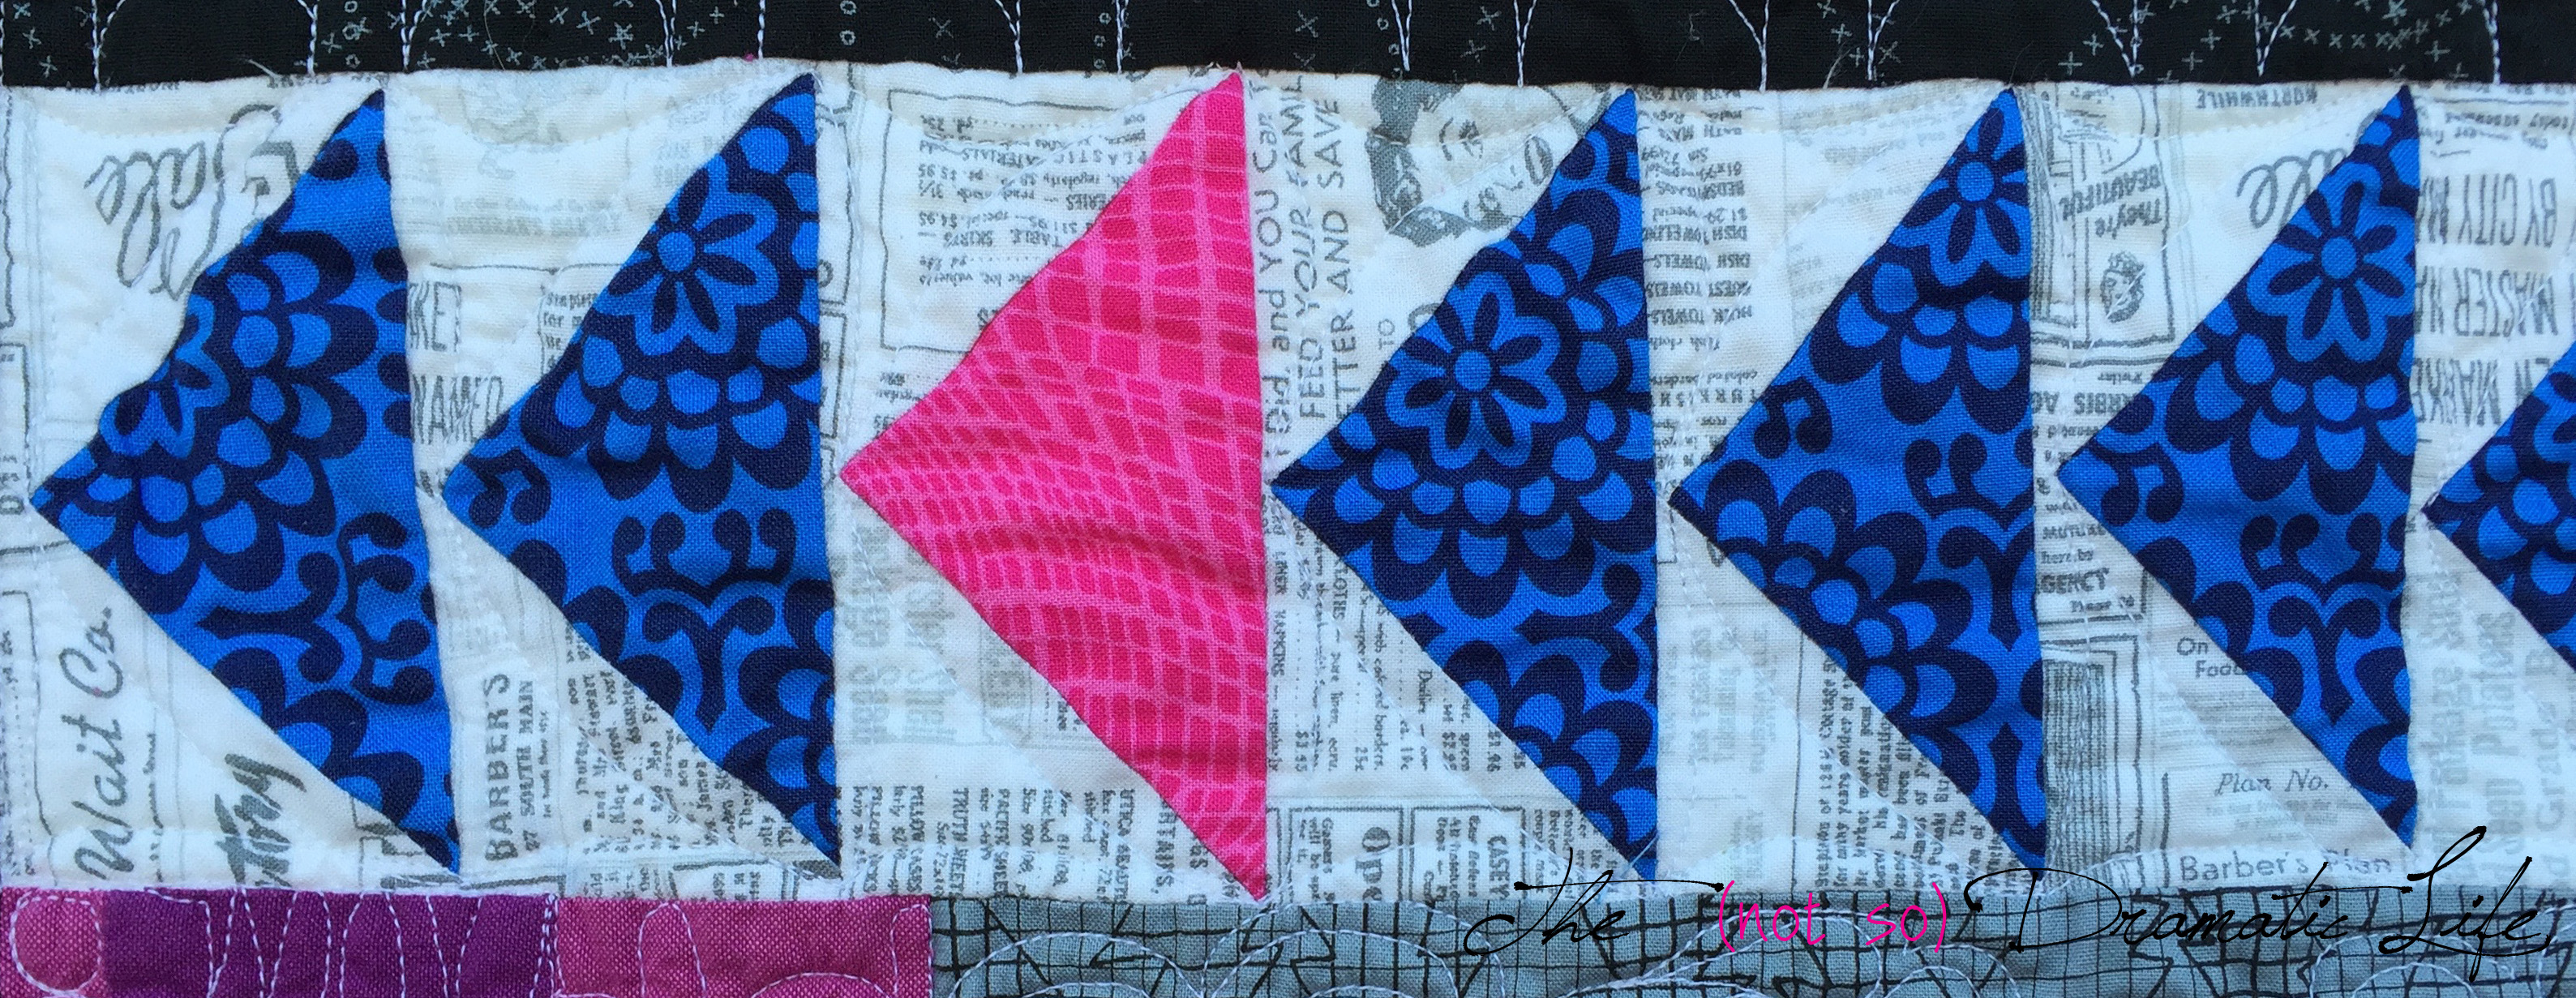
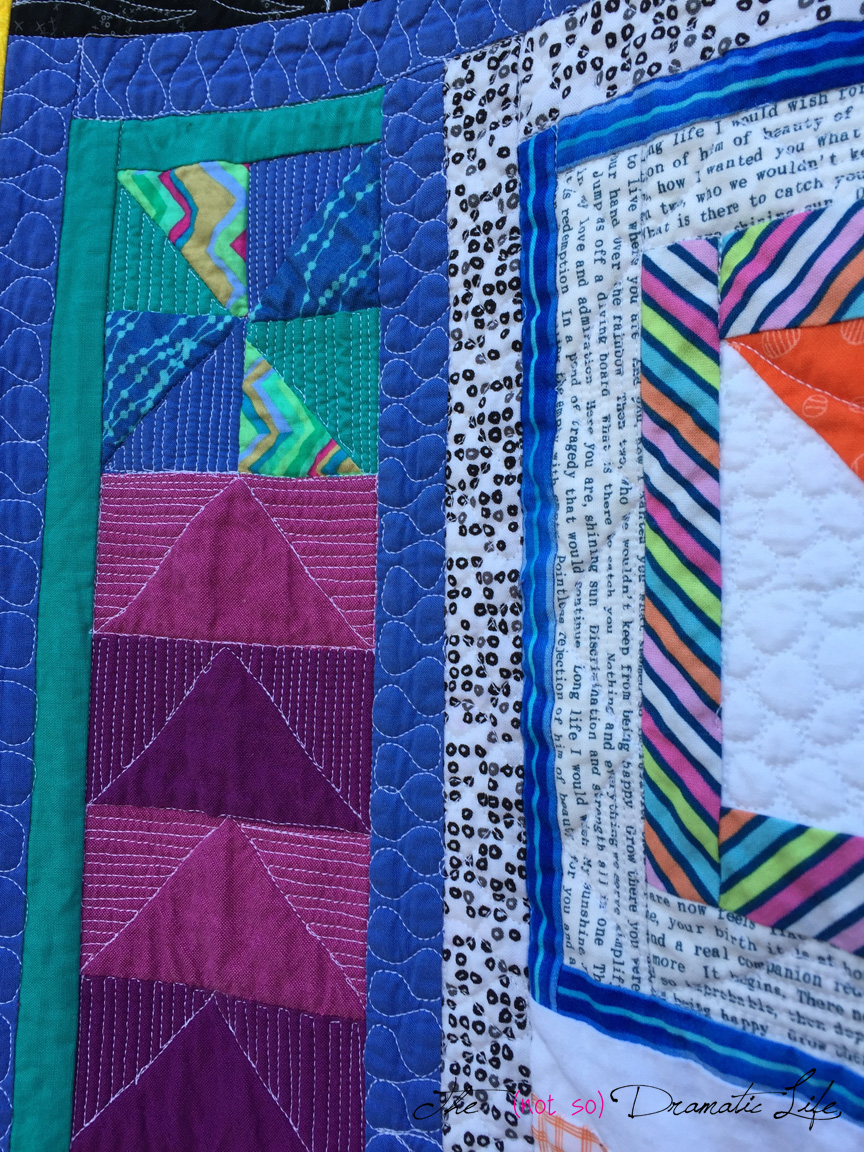
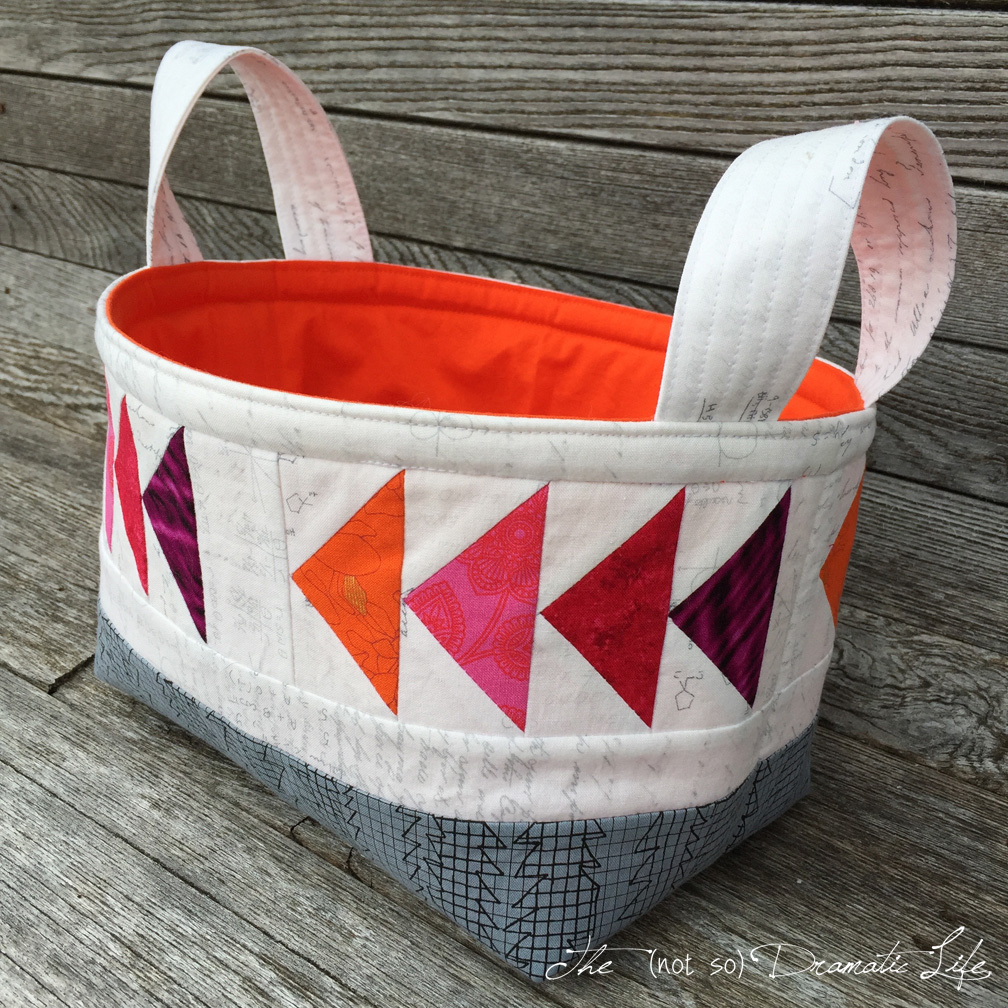
I tried to not let the lack of rulers limit the designs I used. I made half square triangles (HST) by pressing (instead of drawing) a diagonal line across a square and stitching on either side, and made flying geese in a similar manner to how I would normally approach the task. I tried to not let the fact that it wouldn’t be perfect deter me from trying different designs, and I ended up making variations on lots of traditional blocks including log cabins, pinwheels, flying geese, churn dash and wonky stars.
I wish I had taken photos of everyone’s project, but in the heat of the moment, I was much more focused on just getting my contributions finished!
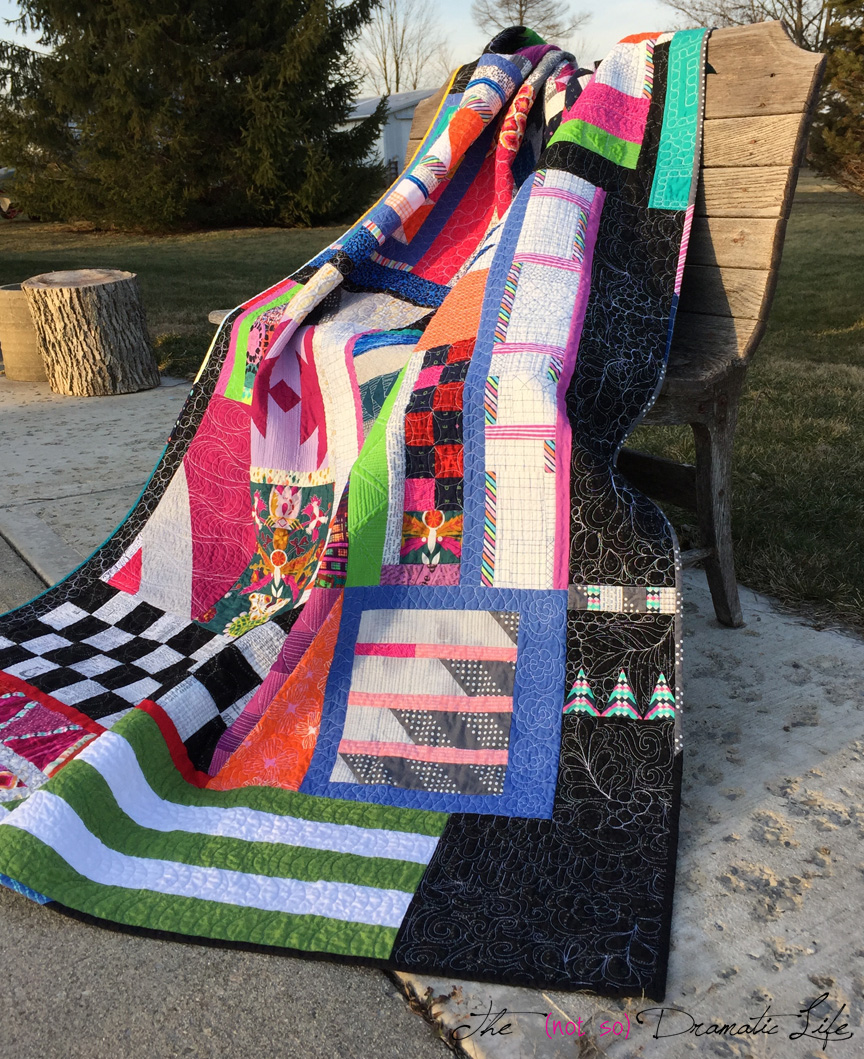
By the end of the day we each had a top that was a bigger than a mini, but smaller than a lap quilt, so I went home and added to mine to create a generous lap quilt. I stuck to the no rulers or rotary cutter rules and tried to work at a similar pace to what I had done during the class.
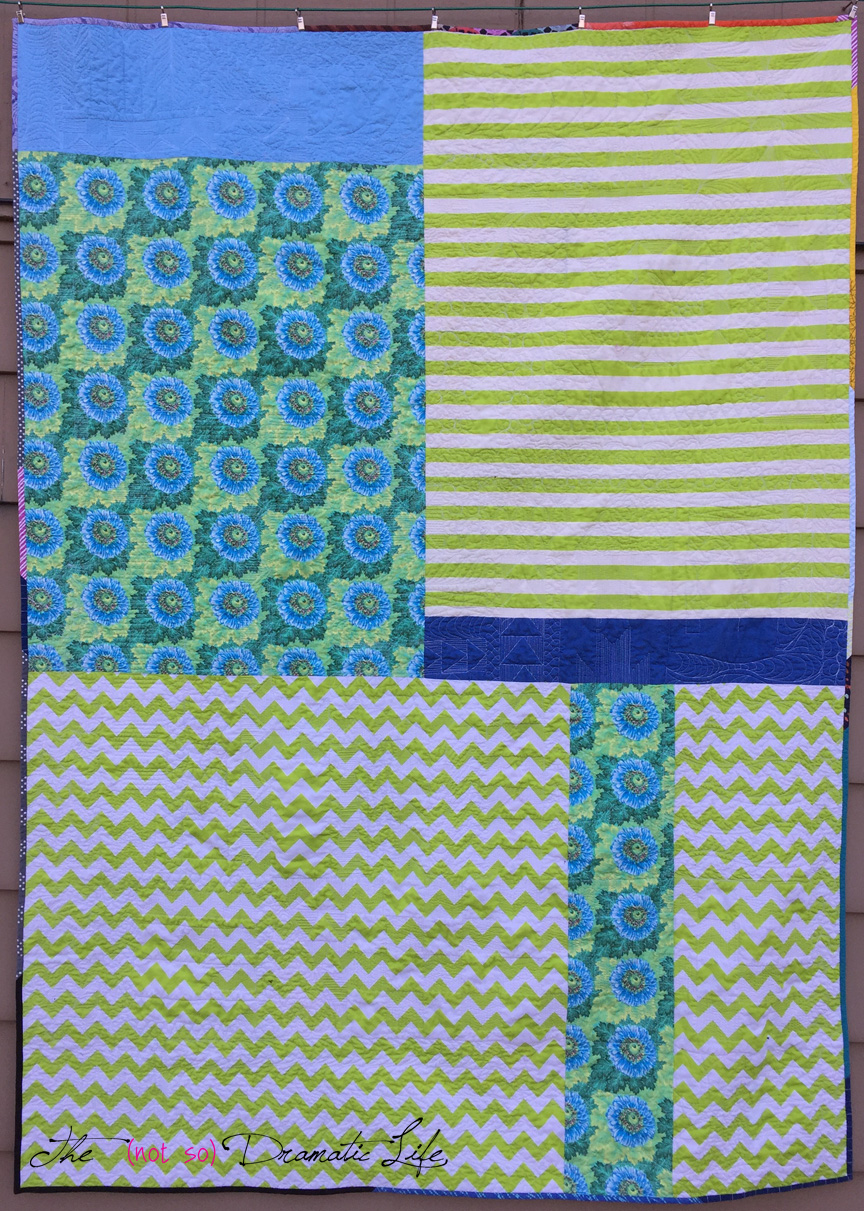
The backing is constructed using several different fabrics, but these were all larger pieces than those used on the quilt top.
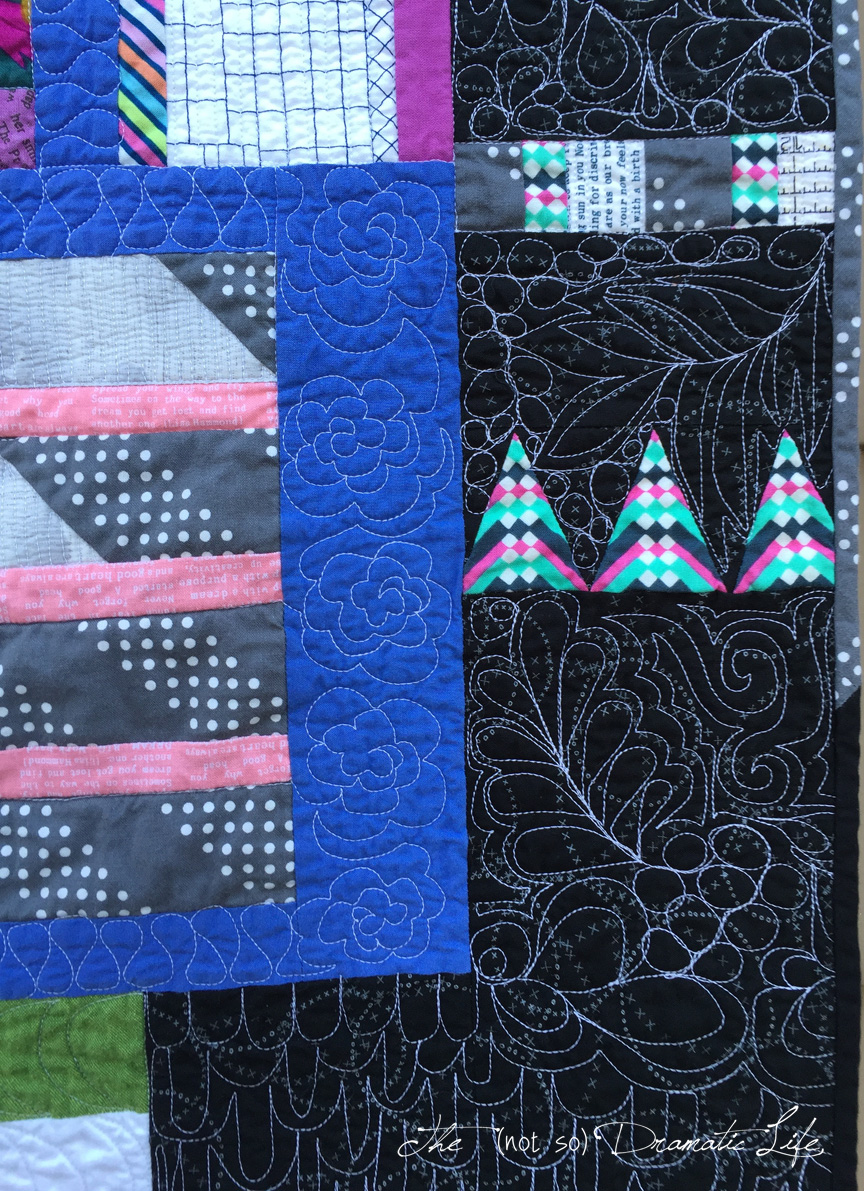
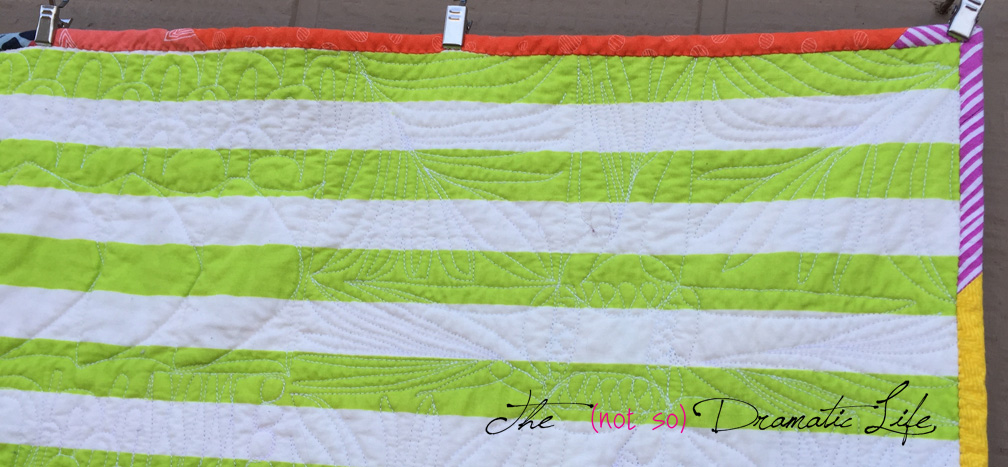
In keeping with the spirit of the class, I did the quilting with no rulers and tried to move quickly while embracing a wide range of designs.
The binding is created exclusively from my collection of binding scraps that I connected randomly and continue the improv feeling all the way to the edge of the quilt.
I cannot recommend this type of class enough- it was so much fun! If you are in the Columbus, Ohio area this class is being offered again in March at Quilt Beginnings. It was a great opportunity to move out of my comfort zone and work collaboratively with a wonderful group of quilters.
Quilt Stats
Title: Modern Improv Round Robin
Size: 53″x71″
Techniques: Improvisational Piecing (no rulers or rotary cutters!)
Quilting: Hand guided free motion (no rulers!)
Fabric: Alison Glass print, two prints from the Zen Chic line, lots of scraps
Batting: Warm and White
Thread: Pieced with Gutermann Mara 100, Quilted with white cotton 50wt Wonderfil
Binding: Scrappy
This was my One Monthly Goal for February:
Goal #2 is Complete!

9 Comments
Yvonne @Quilting Jetgirl
February 28, 2016 at 10:51 amYou describe the method so well, Cassandra. I was lucky enough to take this class from Sherri Lynn in 2014 in Portland. How long did you have to work with each quilt? In my case we each had 20 minutes. I like how you continued the methodology of the process through the quilting and binding, and I think it is a fabulous finish.
Kate Chiconi
February 28, 2016 at 5:12 pmI do admire people who are comfortable with improv. It just doesn’t work well with how my brain functions! It’s a beautiful quilt, and I do love that Alison Glass print you’ve used.
Kathleen
February 28, 2016 at 9:38 pmAmazing and beautiful!!
Paige @ Quilted Blooms
February 29, 2016 at 12:36 amI completed a quilt from the floating squares score and the ‘no ruler’ part is still scarey for me! You and your round robin mates did a great job! Congrats on completing your Feb goal!
Alycia
February 29, 2016 at 10:13 amOh My Gosh!!! How GREAT is that quilt!!! I love it!!!
Cynthia Brunz
February 29, 2016 at 6:29 pmThat class sounds like a fun exercise. If it wasn’t such a long commute I would love to take the class. Your quilt looks so fun. Thanks for sharing with Oh Scrap!
Heidi
March 1, 2016 at 11:07 amWow, this class sounds like a really fun challenge! And a great quilt resulted – love all your quilting!
Nicky
March 14, 2016 at 7:36 amWow – amazing what you can do without rulers etc! I must confess this would make me quite anxious but I can see the value of such a class helping to break us out of our comfort zones! Thank you for linking up to #scraptastictuesday.
June
March 18, 2016 at 1:58 amWow! A terrific quilt – and what a fun class too! Did you know the other students before the class? Your quilting and binding are perfect additions making it all flow…
Congrats!