Welcome to Part 3 in out tote bag series! Today we are cutting out the pieces. This is another super long post, but I hope that it explains the steps pretty well. As always, please contact me with any questions. You may email me or leave a comment, and I will do my best to give you a clear answer!
If you are just joining us, this is a 5 part series. Here are the other segments (links are updated as posts are added):
- Part 1: Gathering Supplies
- Part 2: Drafting Your Pattern
- Part 3: Cutting the Fabric (You’re here now!)
- Part 4: Assembling the Bag
- Part 5: Finishing Techniques
Now that you have drafted a really awesome pattern for your tote bag (see Tote Bag Tutorial Part 2), we are ready to turn our attention to the cutting of the fabric. I always enjoy choosing pretty cotton fabrics to use for the outer fabric and lining, but you can use almost any non-stretchy fabric for this project. The canvas used in this project will never be seen, so you can purchase fabric for this from a fabric store or use a good quality canvas drop cloth from a hardware store. If you use this option, please make sure you read this tutorial on prepping a canvas drop cloth I published recently. Since you will be carrying this bag a lot, I’m sure you will want it to be very washable. It is really important to prewash all your fabrics in the warmest water you ever plan to wash the finished product in.
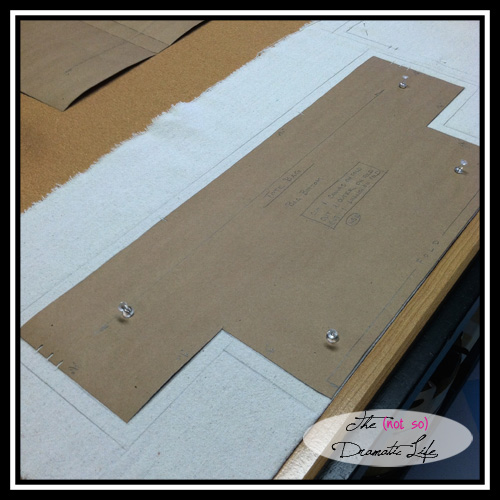
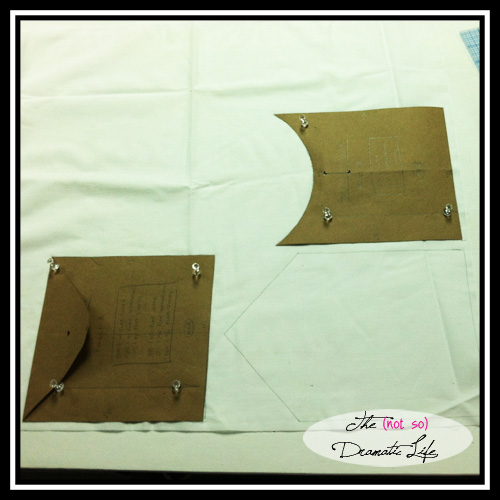
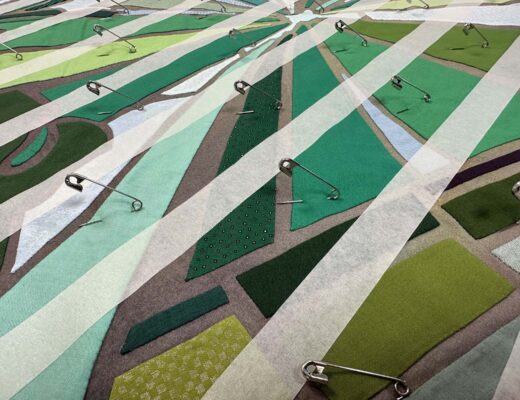
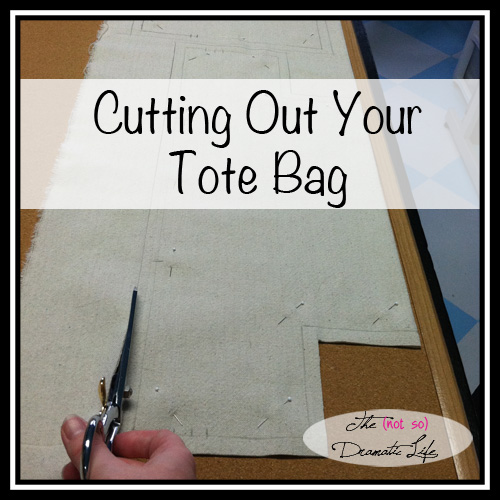 A note on cutting surfaces: On this type of project, I usually cut on a surface of painted, muslin covered Homasote. This surface allows me to use pushpins to hold down my pattern pieces. Since this project is relatively small, a large cork board laid flat on your work surface will serve the same purpose. (See photo above) Another alternative is to use your regular table, and instead of pushpins, use pattern weights or straight pins to hold the paper pattern in place.
Let’s start by cutting the canvas flat lining pieces.
If you are using a canvas drop cloth, rip off a piece a few inches larger than double the size of your upper bag and lower bag pieces. If you drafted your pattern using the same measurements that I did for the large bag, you will need a piece of canvas approximately 48″x25″. Press this section of Canvas as well as your other fabrics.
Fold your piece of canvas in half lengthwise. This will allow you to cut the bag bottom on the fold of the fabric and both pieces of the bag top in one go.
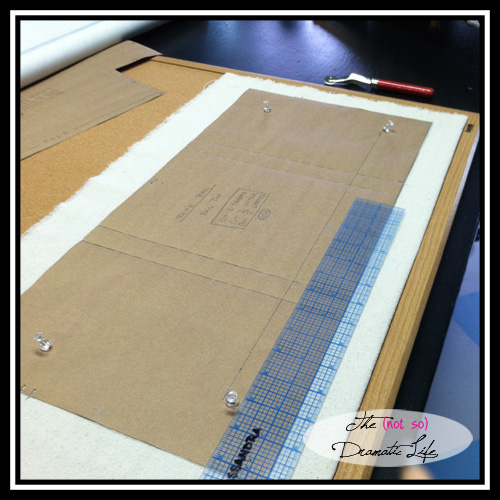
We are going to start with the Upper Bag pattern piece. Place it about 1″ away from the end of the end of the canvas with the longer edge of the pattern piece toward the fold. The goal in placing this pattern piece is to have the grainline on the pattern piece run parallel to the fold of the fabric. To make this as accurate as possible, you will want to place one pushpin in one end of the grainline. Using a ruler measure from the metal shaft of the pushpin to the fold of the fabric. Remember or write down this measurement.
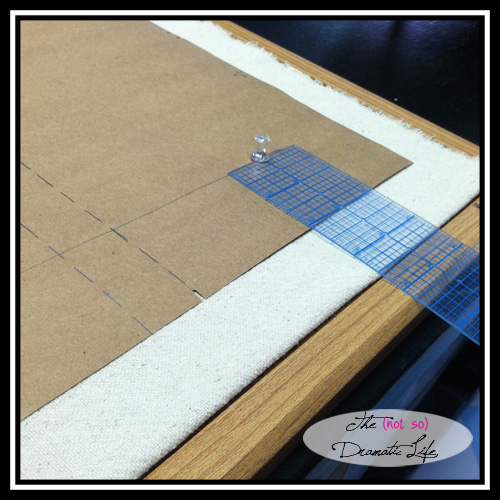
Using the pushpin as a pivot point, gently rotate the paper pattern piece until the other end of the grainline is the same distance to the edge of the fabric as the first. Then place a pushpin in this end of the grainline.
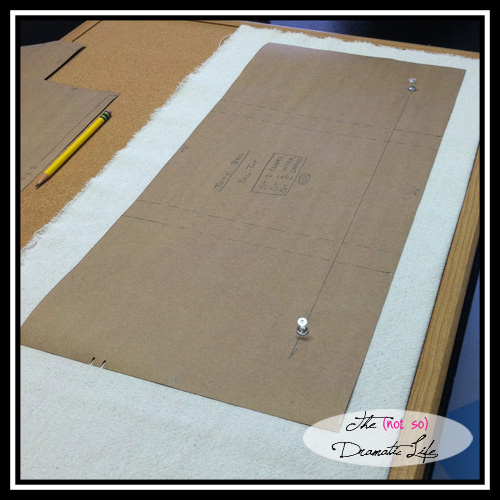
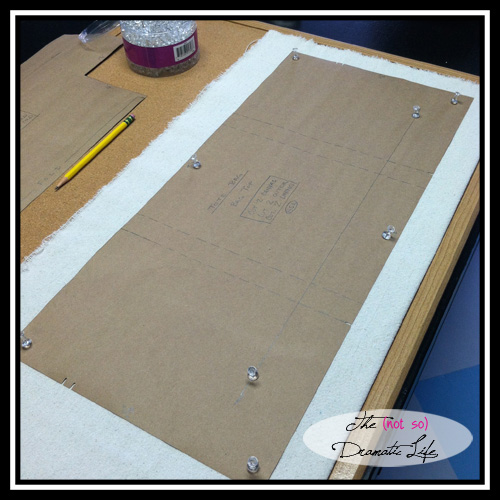
Making sure the pattern piece is laying completely flat, use push pins to hold down the edges of the pattern piece.
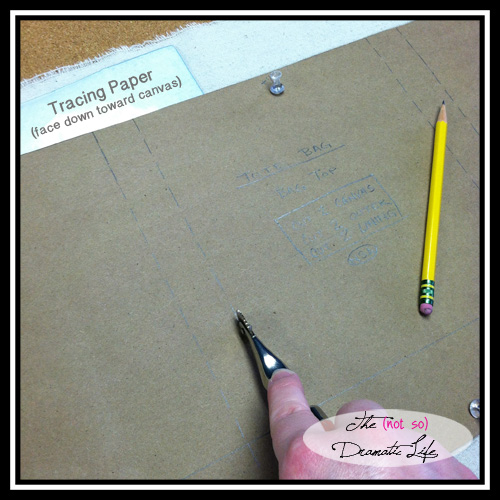
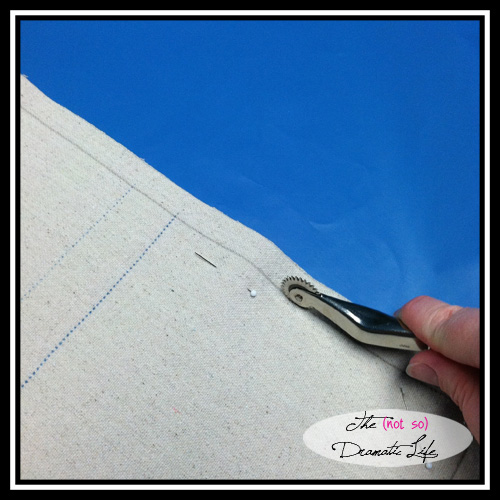
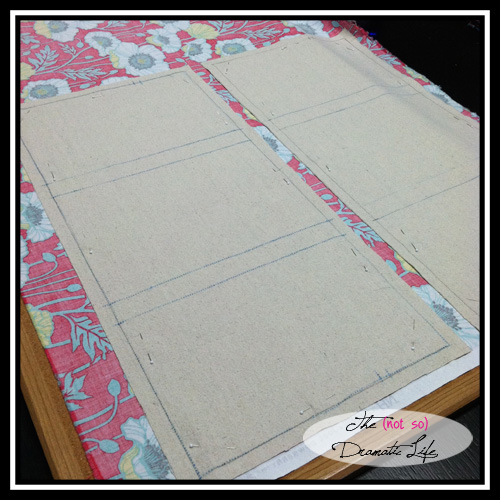
Holding your pencil at an angle (see picture below), trace around the edges of your pattern. This line will be your stitching line.
 Now you will trace the handle placement lines onto the canvas. The easiest way to do this is to bring out your sheet of tracing paper. Pull the pushpins from one half of the pattern and slide the tracing paper (face down) between the pattern and the canvas. Use your tracing wheel to transfer the lines to the canvas. Pin this half of the pattern back down and repeat the process with the handle markings on the other half of the pattern.
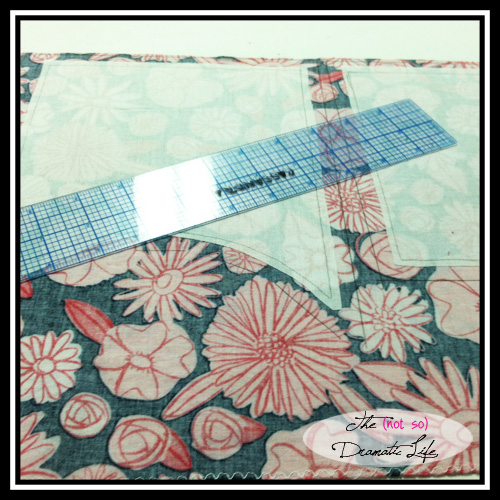
 At this point you are going to add seam allowances. Using a gridded ruler or quilting ruler, measure 1/2″ away from the pattern edge.
 A note on seam allowance
Adding seam allowance during the cutting process allows you to:
- Line up pattern edges to check measurements easily during the pattern making process
- Easily mark precise stitching lines
- Adjust seam allowance widths (Do you want more SA than 1/2″? Go ahead and make it bigger!)
- Know that your finished seams are as accurate as possible, ensuring that your bag will fit together beautifully
The directions for this tutorial are based on the idea that you will be using stitching lines. Are you more comfortable using the seam gauge lines on your sewing machine? No problem! You can add the seam allowance you are most confident using (at least 1/2″) to the paper pattern piece itself to trace around. You could also add the seam allowance while cutting the fabric, but skip the step of drawing the stitching line.
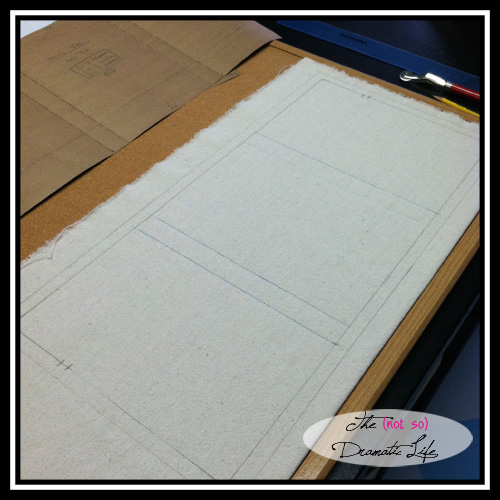
With the bag top all traced out, you are ready to trace the bag bottom. This time, instead of placing the pattern piece using a grain line, you will place the pattern piece with the bottom edge placed on the fold of the fabric. Make sure it lines up really neatly! Stick in enough push pins to hold the pattern piece really flat.
Trace the stitching lines and add the seam allowances to give yourself a cutting line.
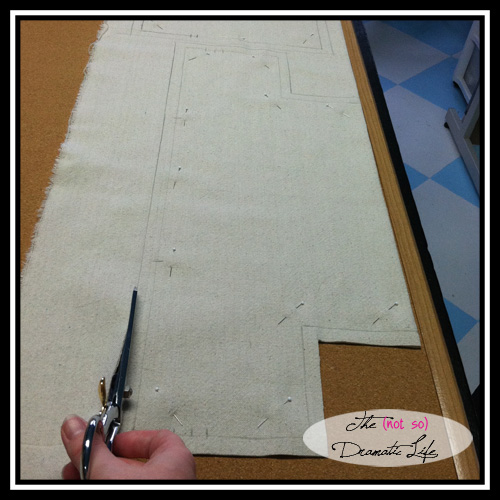
 Go ahead and remove the push pins and the pattern pieces for both the bag top and bag bottom. Use straight pins to pin the two layers of fabric together- we don’t want anything to move around as we cut! Using your nice, sharp, fabric shears cut along the cutting line (outermost line) of each pattern piece.
 To transfer the stitching and handle placement lines onto the reverse side, place your tracing paper right side up and lay your fabric pieces on top of it. Use your tracing wheel to transfer the lines. You can use a ruler if you want help keeping your lines straight.
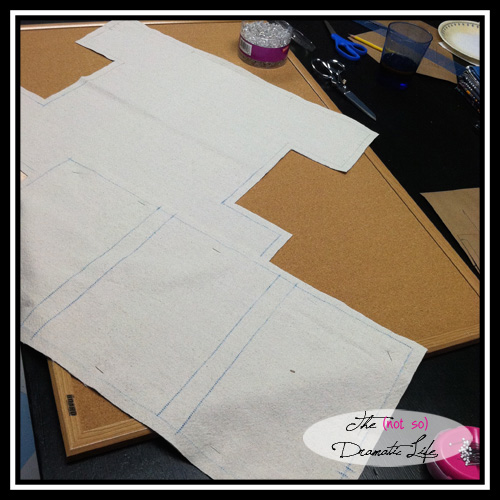
Yeah! All of the canvas is cut! Go ahead and remove all those straight pins.
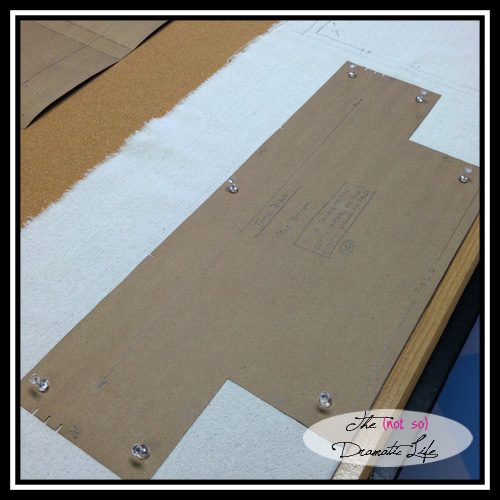
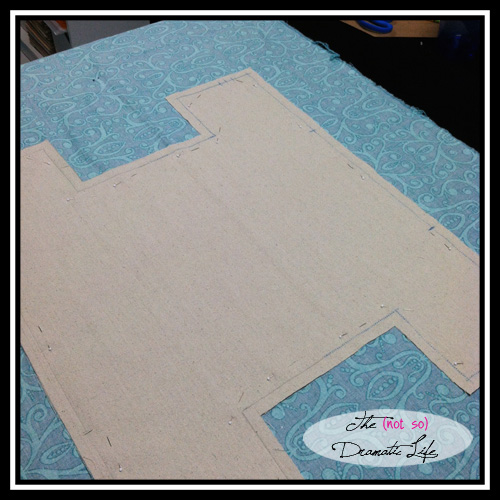
The canvas adds structure to the main part of the bag. Interfacing will add structure to the pockets. I usually use Pellon Shape Flex woven interfacing. This is an iron-on interfacing, so pressing before cutting is out of the question. Lay out these pattern pieces using the grain lines to indicate placement. You will cut one piece for the curved pocket, and one piece of the house-shaped pocket with flap. Once the pocket with flap is traced, remove the pattern piece, fold the flap down to get it out of the way, and trace the rectangle that remains.
 Add 1/4″ seam allowance to the interfacing pieces. The main fabric pocket pieces will have the larger half inch seam allowances, but smaller seam allowances in the interfacing allow us to reduce bulk.

Now we get to cut out our pretty fabrics! You will probably notice several different fabrics in these steps. I seem to have forgotten to take all of my process photos for one bag, so you will get a peak at several different totes! If you have directional prints, make sure you have them in their correct orientation as you begin the cutting process. You don’t want to have anything upside down- unless that is a design decision!
Lay out the outer fabric for the upper bag in a single layer with the wrong side up. Now place the cut canvas pieces on the fabric. I usually eyeball the grainline for the outer fabric, but you can measure to the edge of the fabric using a stitching line as a grainline if you would like. Use straight pins to pin the canvas pieces to the outer fabric. Cut the outer fabric along the cut edges of the canvas.
Now do the same thing for the outer fabric of the bag bottom. Make sure you unfold the canvas piece first!
For the pockets we will use a slightly different process. Take your chosen fabric to the ironing board and lay it out flat with the wrong side up. Place the interfacing pocket pieces you cut earlier on the fabric with the rough glue-y side down toward the wrong side of the fabric. Try to smooth out any wrinkles in the interfacing as best you can without ironing (yet). Try to place the pieces with the grain of the interfacing and fabric aligned. Make sure you leave a small gap between pieces to allow for additional seam allowance. Now press the interfacing to the fabric using the iron and following the manufacture’s directions. When using an iron-on interfacing you want to be sure you are raising the iron up and placing it down again as you work your way around the piece. Don’t try to glide the iron around- that is just asking for problems! Take your time with this step. As tempting as it is to rush the through this part, make sure you get every bit of the interfacing glue hot enough to really bond with your fabric.
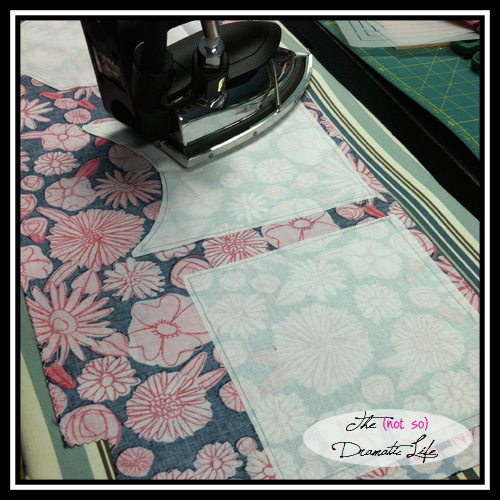
Once you have the interfacing in place, add 1/2″ of seam allowance to the fabric. Measure the 1/2″ from the stitching line (not the interfacing cut line). Now cut on lines you drew.
Note on curves: When adding seam allowance to a curve, make a series of short lines as you work around the curve. You can then smooth out the line either by drawing it it, or while cutting the piece out.
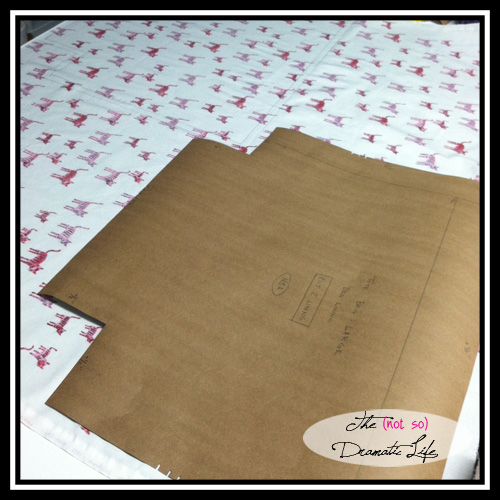
You are almost there! The last piece to cut is the lining. Since the lining does not need additional structure, you will lay out your pattern pieces and draw both stitching and cutting lines directly on the wrong side of the lining fabric. Depending on the size of the pattern piece and the width of your fabric, you may be able to cut the lining with the fabric on the fold. As you can see in the picture below, I had a larger bag lining that I had to nest the lining pieces to make them fit. I also had a directional print, so I had to make sure that all of these cute little critters landed right side up! Once the large pieces are cut, cut out lining for the pocket pieces.
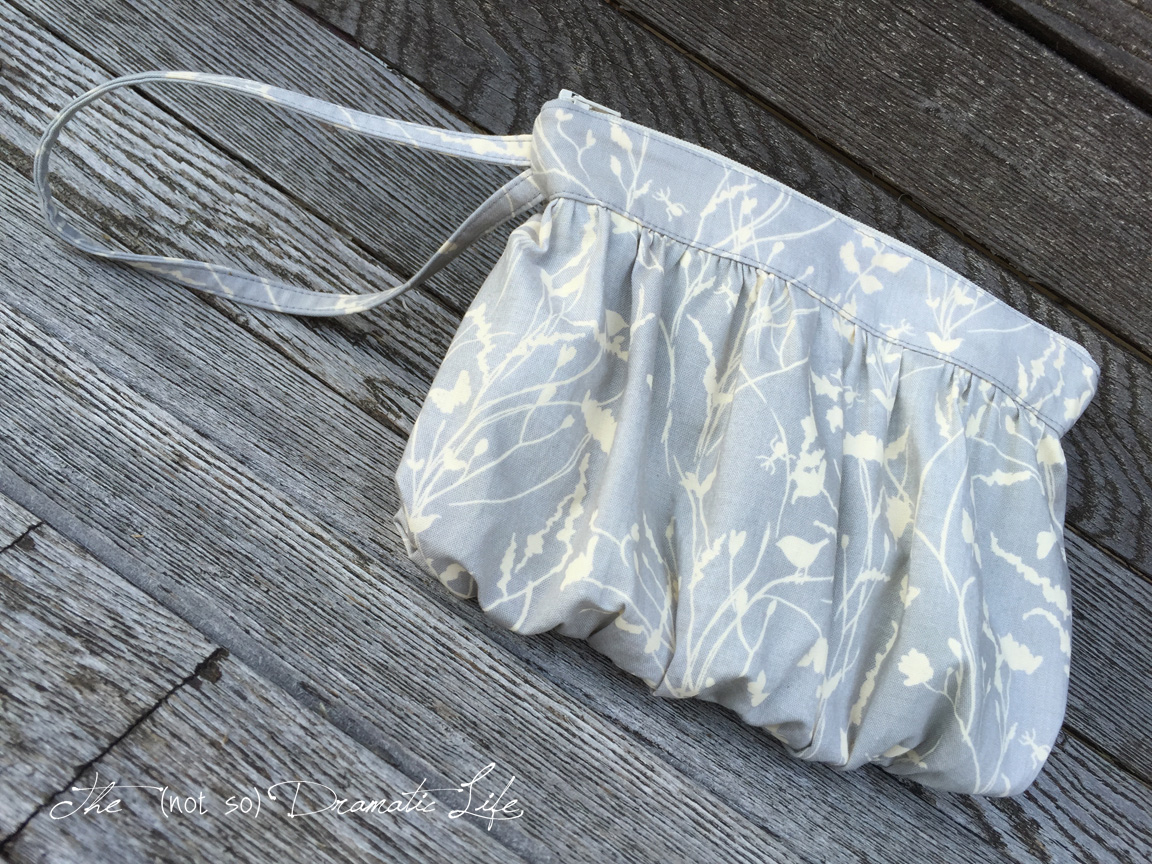
 Congratulations! The bag is cut out, and you are well on your way! Next week we will put this bag together!
I am linking this post up to WIP Wednesday at Freshly Pieced. Please stop by to see the beautiful projects being created!


3 Comments
Tote Bag Tutorial Part 2: Creating the Pattern | The (not so) Dramatic Life
February 3, 2015 at 11:36 pm[…] Part 3: Cutting the Fabric […]
Tote Bag Tutorial Part 1: Gathering Supplies | The (not so) Dramatic Life
February 3, 2015 at 11:38 pm[…] Part 3: Cutting the Fabric […]
Jasmine
February 4, 2015 at 11:11 amYour tutorial is nice and clear. It is always nice to see how other people do things to get ideas. I really like the use of the cork board.