A new sewing space is on it’s way, and with any luck I’ll be moved in well before the end of the year. The new space is a stand-alone building about seven feet from the current studio in the main part of the house.
What We Needed in a Sewing Space
The new building is being constructed in a budget conscience way, so none of the features are over the top, but some design elements were necessary to make it a functional space. A few must-haves for the building were:
- Ceilings high enough to fit up to a 120″ quilt: Do I work that large often? No, but my current design wall from floor to ceiling can’t even fit a full sized quilt, which becomes limiting.
- An area conducive to photography and video creation.
- Separation from furry friends: I love my fluffy babies, but I really want to be able to leave a quit loaded on the longarm overnight. Currently I partially unload quilts each night and wrap them in sheets to protect them from fur contamination. Then I re-load the quilt in the morning, which sucks.
- A large cutting space: I offer kits for select patterns, and having a longer cutting area will help streamline the process for creating these kits.
- Easy access for loading/unloading: I will be vending at more shows, and I take lots of quilts and patterns with me whenever I do live events for guilds, so easy loading in and out of the car is highly desirable.
Building Construction
I’ve been sharing the construction process in my Instagram stories, and those are available in the highlights in my profile. In this post, I’m sharing the abbreviated version of the building process from groundbreaking to having the exterior finished.
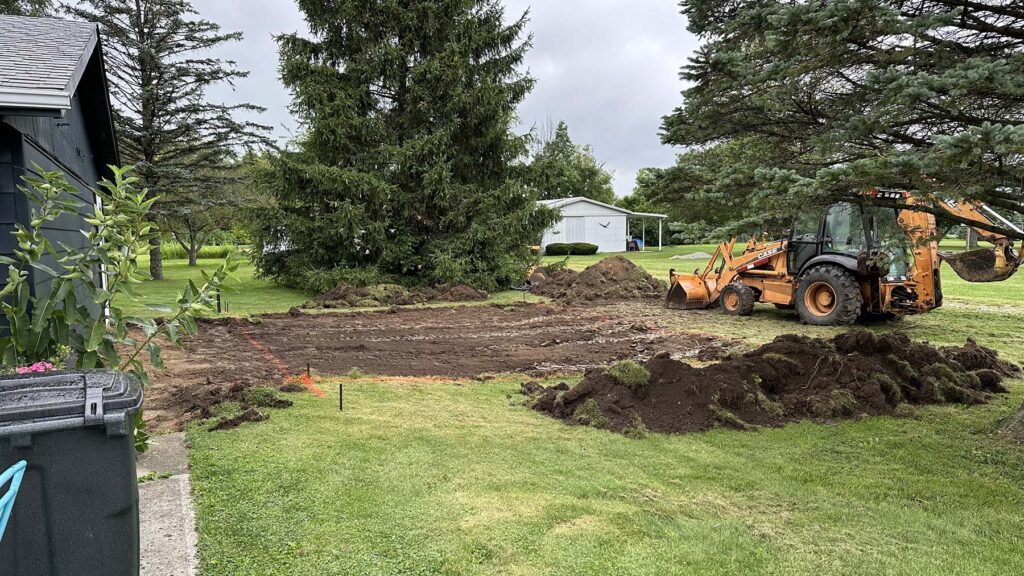
Groundbreaking
The overall footprint of the building is 24′ x 30‘.
Foundation
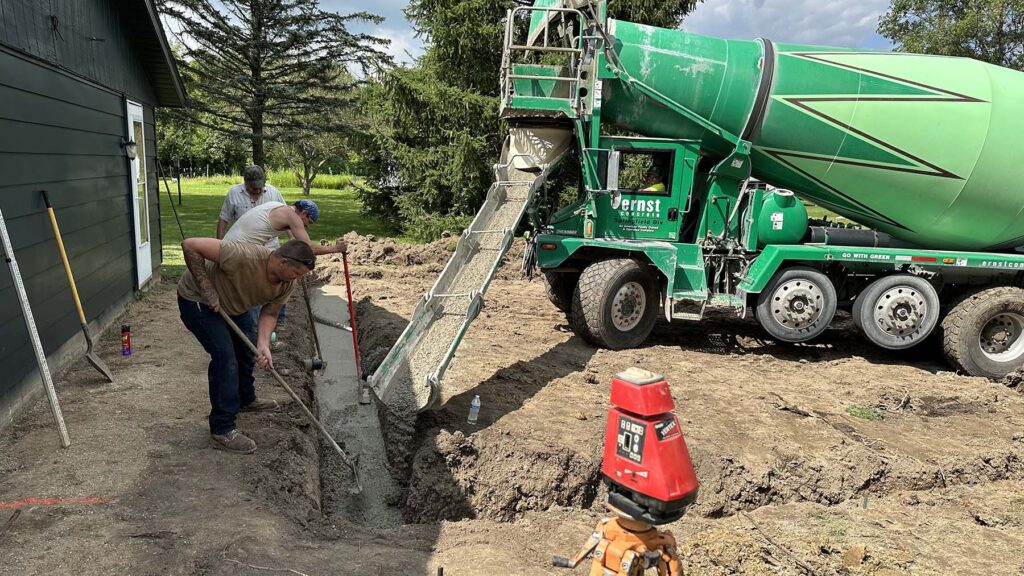
The trench for the footer was dug and the concrete poured.
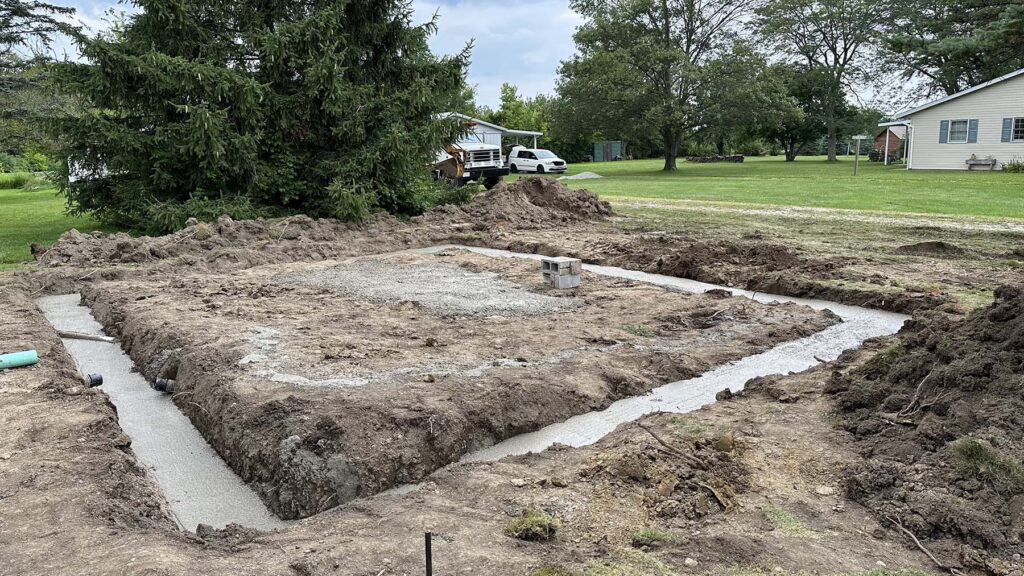
Once the footer cured, the concrete block for the foundation walls were laid. They started with the four corners of the building.
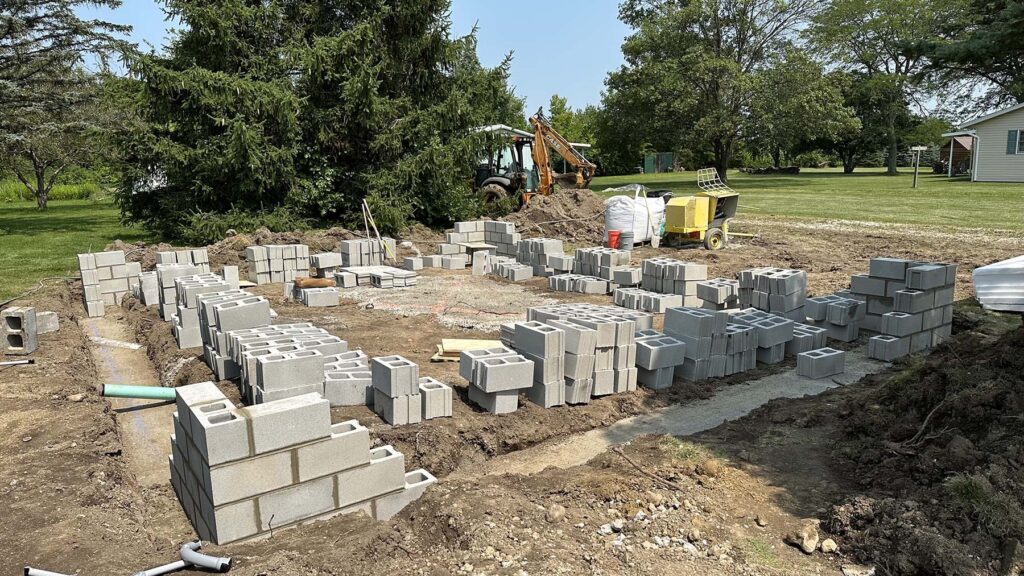
Then the sides were filled in.
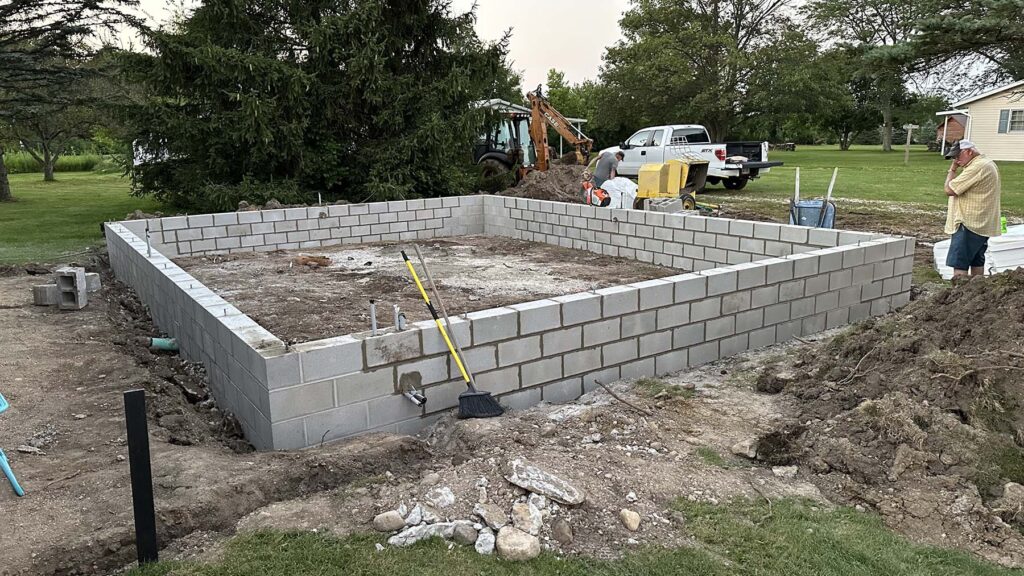
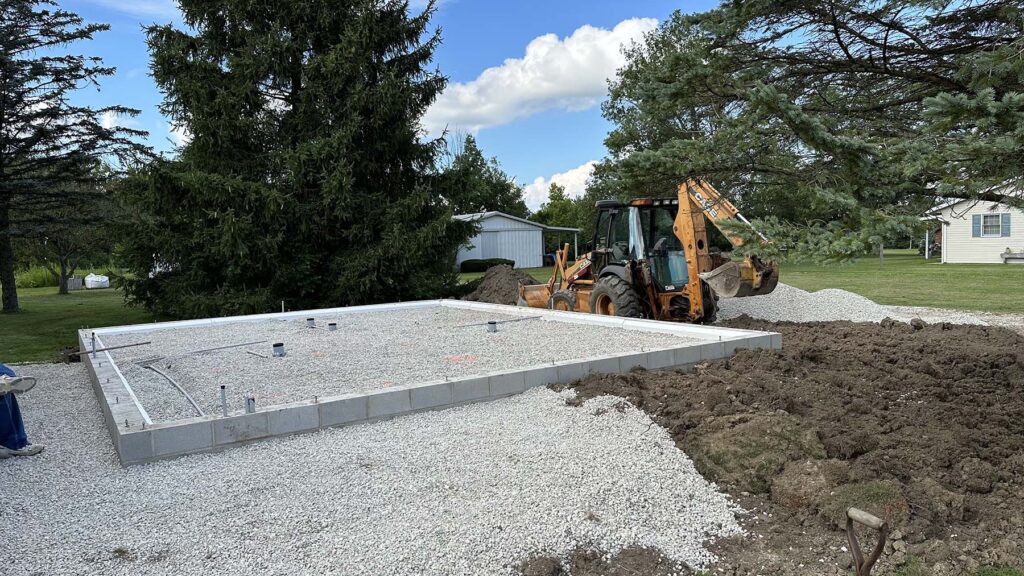
The concrete block is mostly filled with gravel. The grey plastic pieces you see will house the receptacles in the floor. There are four floor boxes that are positioned so I won’t need to trip over cords running from the walls to the middle of the room. This will make a huge difference for the longarm and being able to set up lights for video filming and photography.
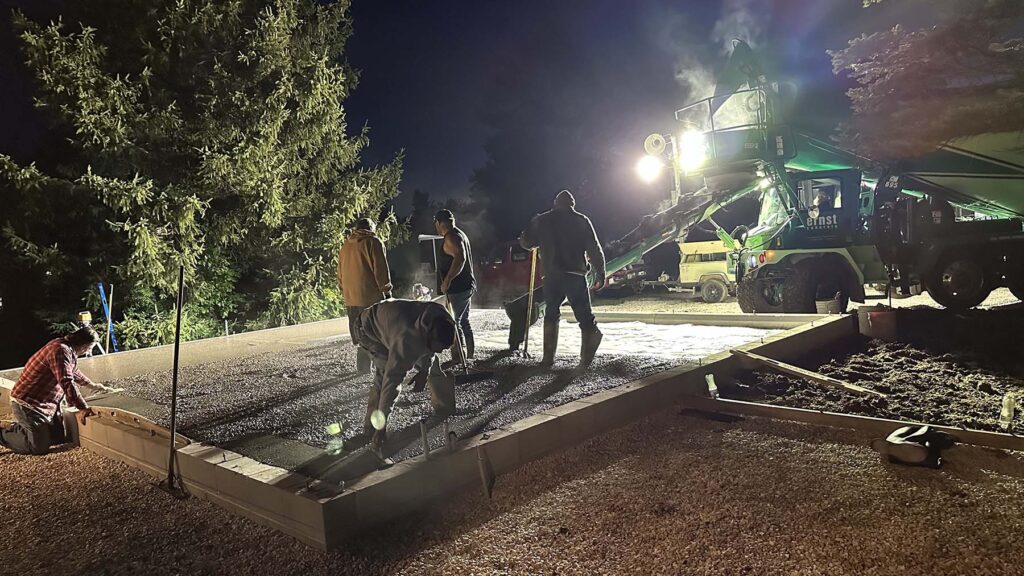
Finally the concrete is poured to complete the slab. This happened really early in the morning, so lights were brought in so everyone could see what they were doing.
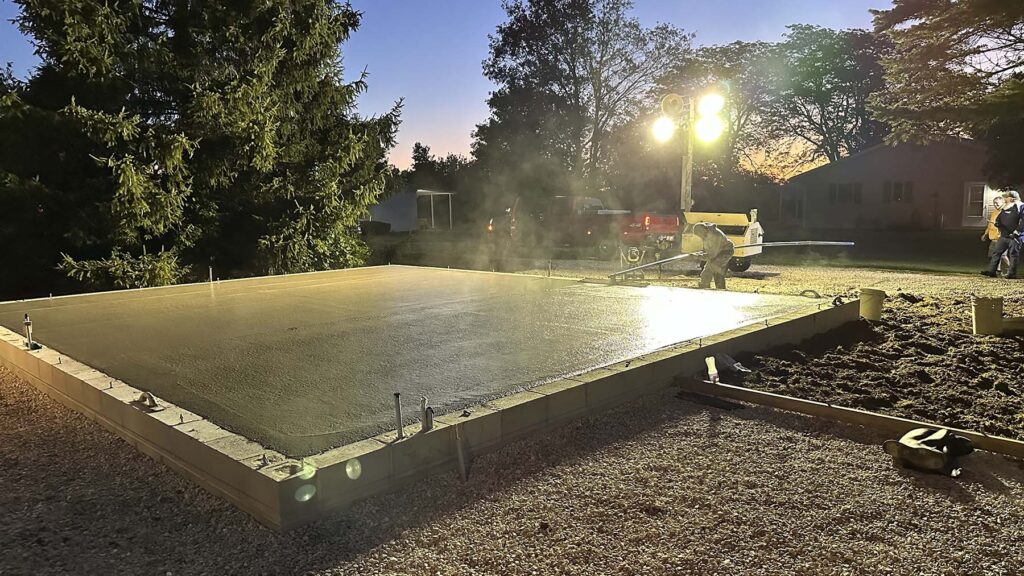
Additional steps occurred over much of the day, but most of the work was completed before sunrise.
Framing the Building
Once the slab had time to cure, it was time for the walls to go up. You can where the doors and window will be placed once they arrive.
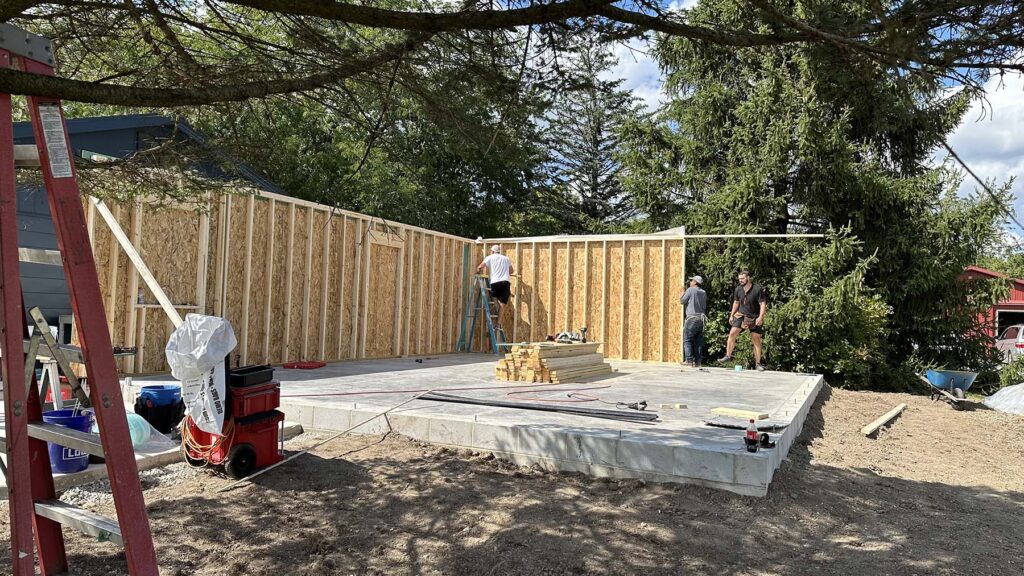
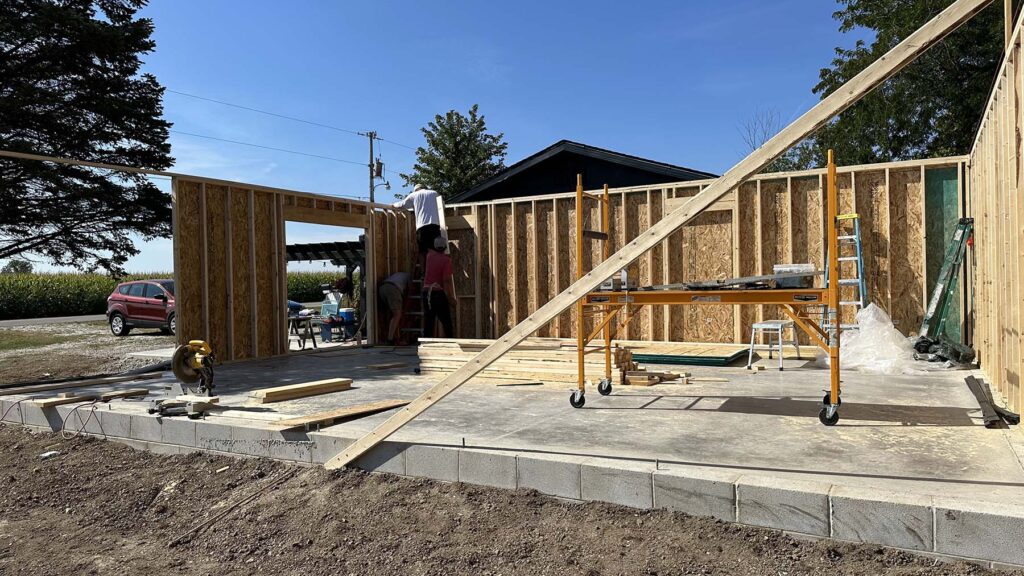
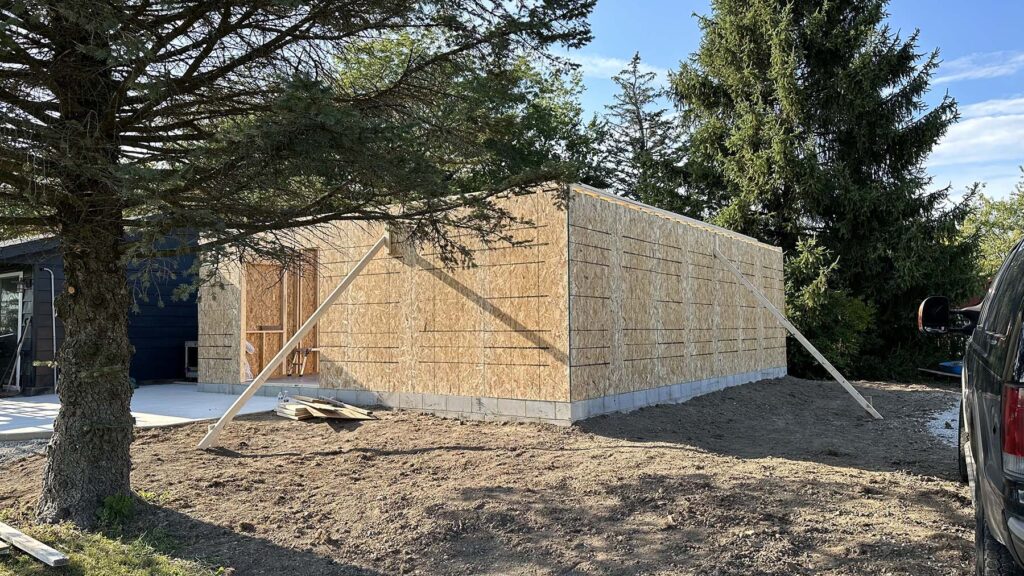
The roof trusses were constructed off site and delivered ready to install.
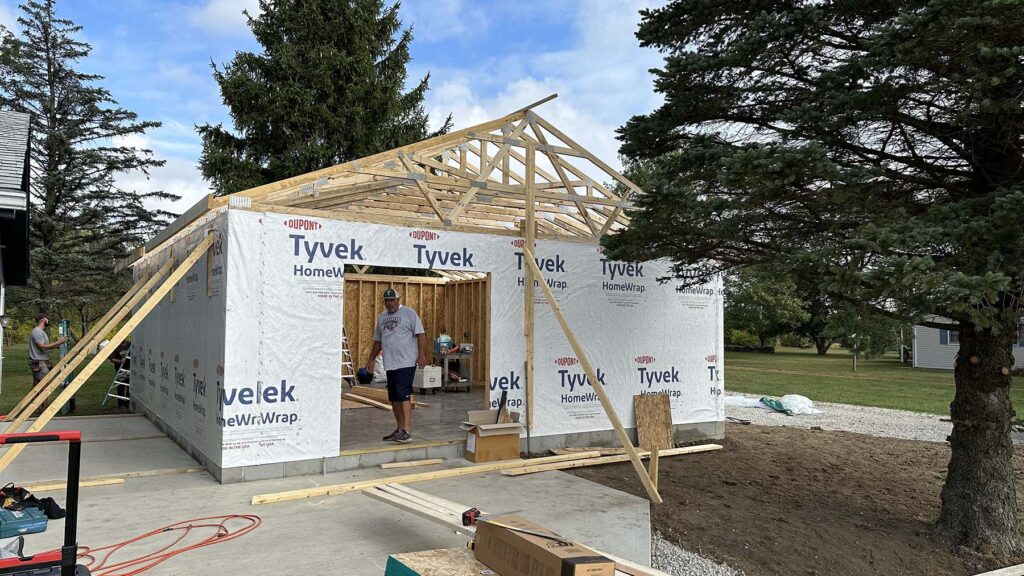
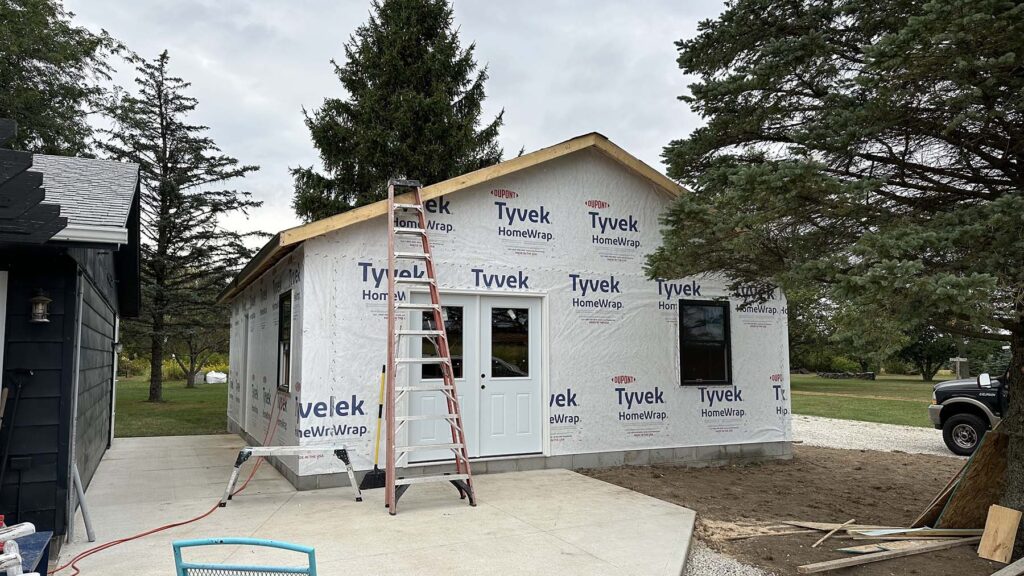
When the doors and windows arrived, the building was enclosed except for under the eaves. The French Doors in the front of the building will be perfect for loading vending and class supplies. It will also make moving the longarm in much easier.
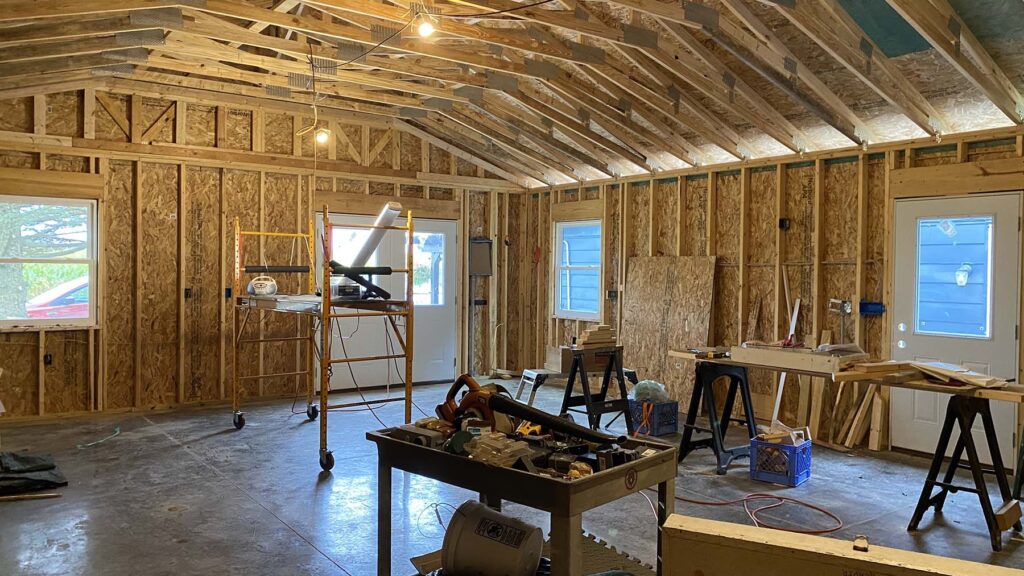
The cathedral trusses make the center of the ceiling 10′ high in the center of the building. In this image you see the front of the building, but the back wall is solid, and will have a giant design wall!
Finishing the Exterior
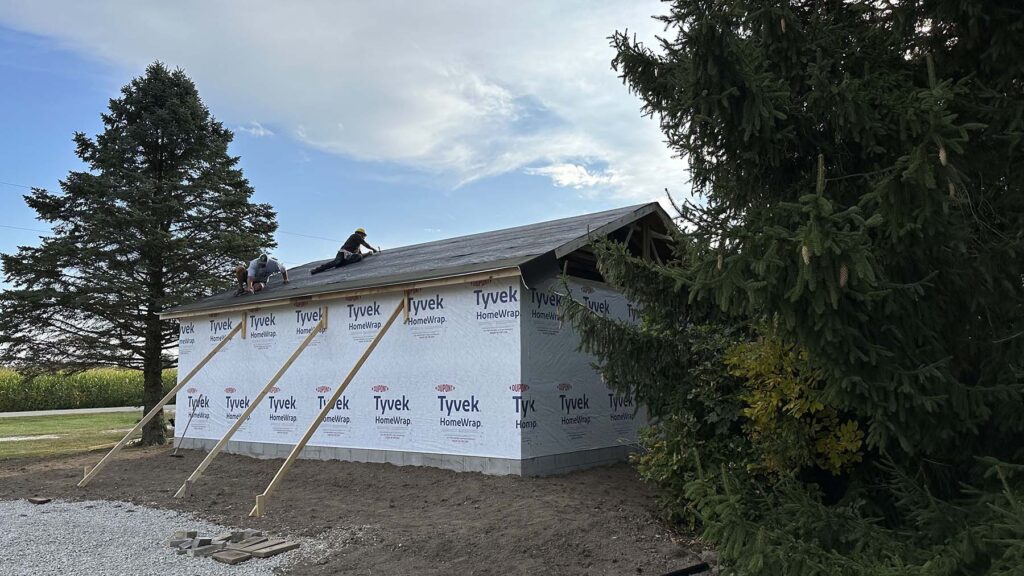
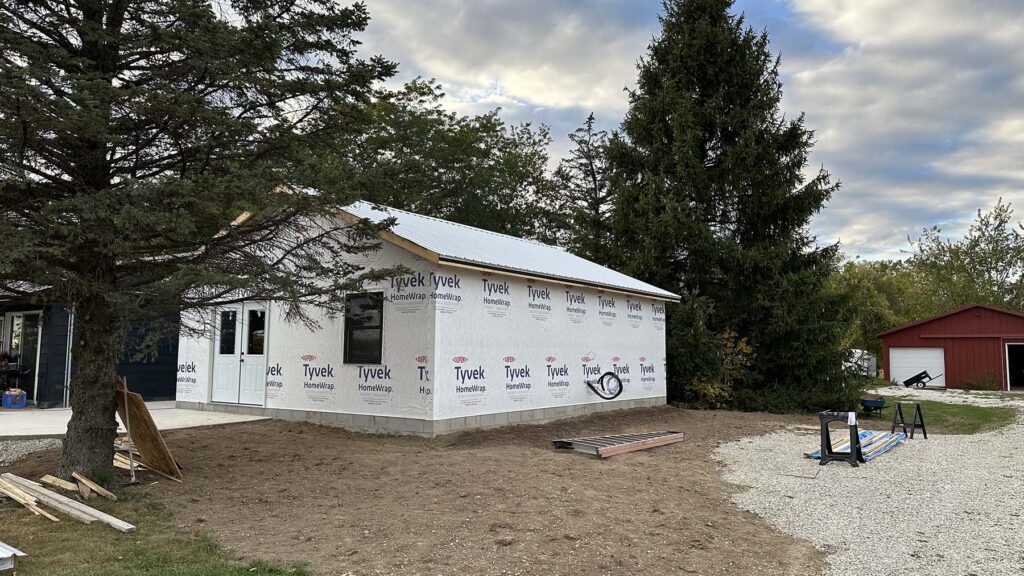
The roof went on first. The roof and siding are the same white metal. Keeping everything white will reduce the amount of heat the building will retain in the Summer. You can see the tubing that has been installed for the mini-split unit that will supply heating and A/C for the building.
The soffits were installed to completely seal off the building.
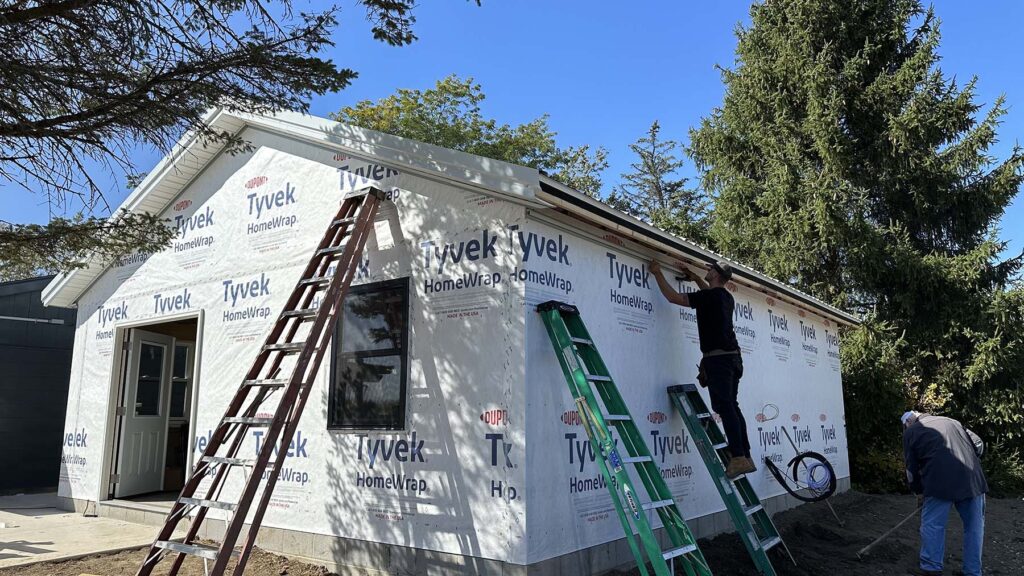
Finally the siding was installed around the building to complete the exterior.
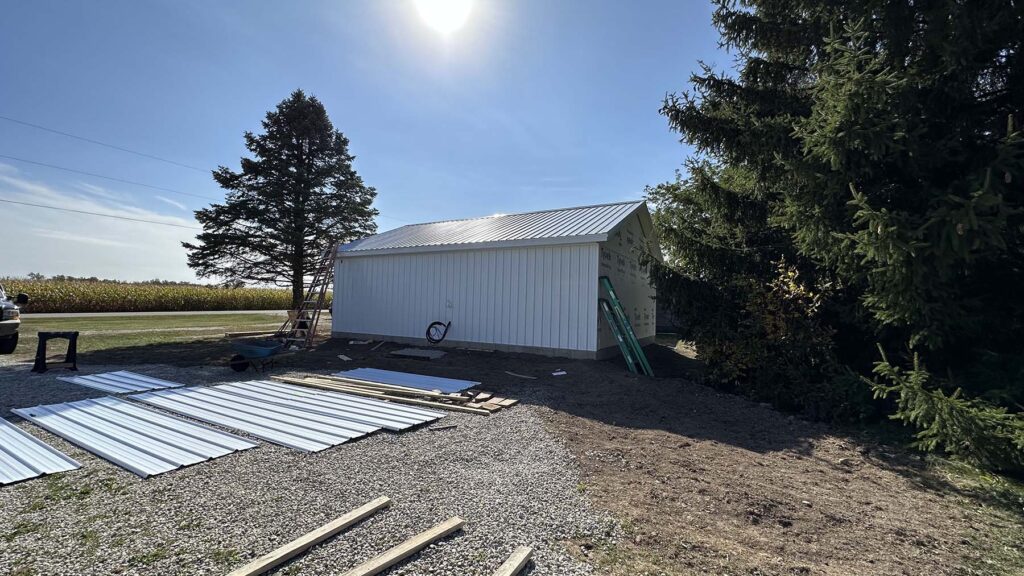
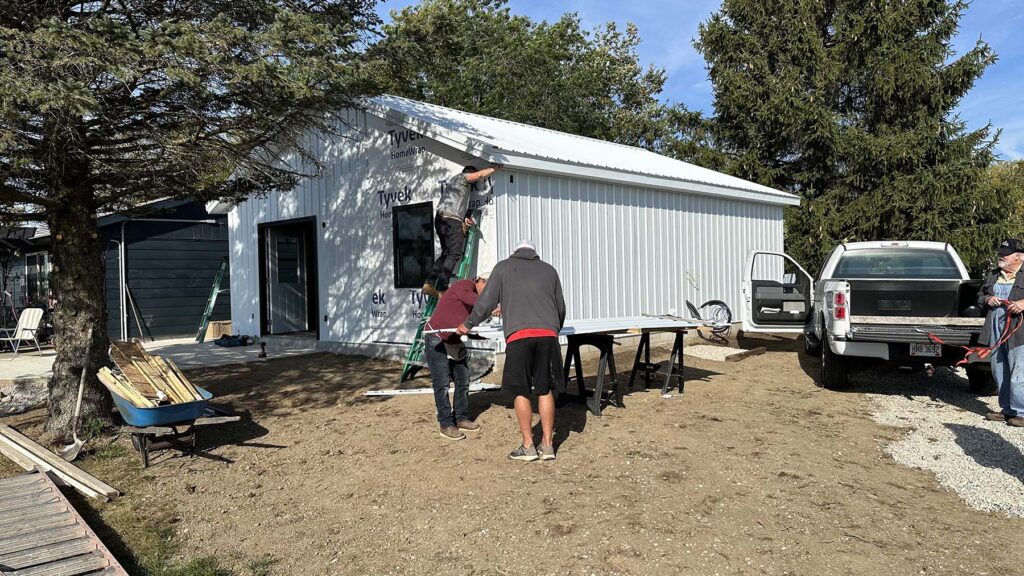
The exterior will get lights, electrical outlets, a doorbell, and the doors will get painted too. We just need to decide on the perfect color of pink!
The interior is still in process, so I’ll share more of that in a few weeks. If you would like to see the progress in (almost) real time, make sure you follow my stories on Instagram.




2 Comments
Nann
October 20, 2023 at 9:57 amI would be sure to include a bathroom — especially in a free-standing building like yours. And a laundry area with a washer, dryer, and a big sink for dyeing or for hand-washing entire quilts.
Frogears
September 20, 2025 at 2:17 pmMy thoughts exactly. Hate to have to run through the raindrops or worse, to have to decide not to go to my studio on rainy/snowy days. For me, I’d probably also make sure to install a coffee maker and maybe tuck a mine-fridge in a corner.
Did I mention how envious and jealous I am? This might be the perfect time for the Hubbs and me to have a long, serious discussion. You’ve done a masterful job!
.