It’s QuiltCon this week! That means there are a lot of photographs being taken of both people and quilts. When it comes time to take those quick quilt photos I use a three step process.
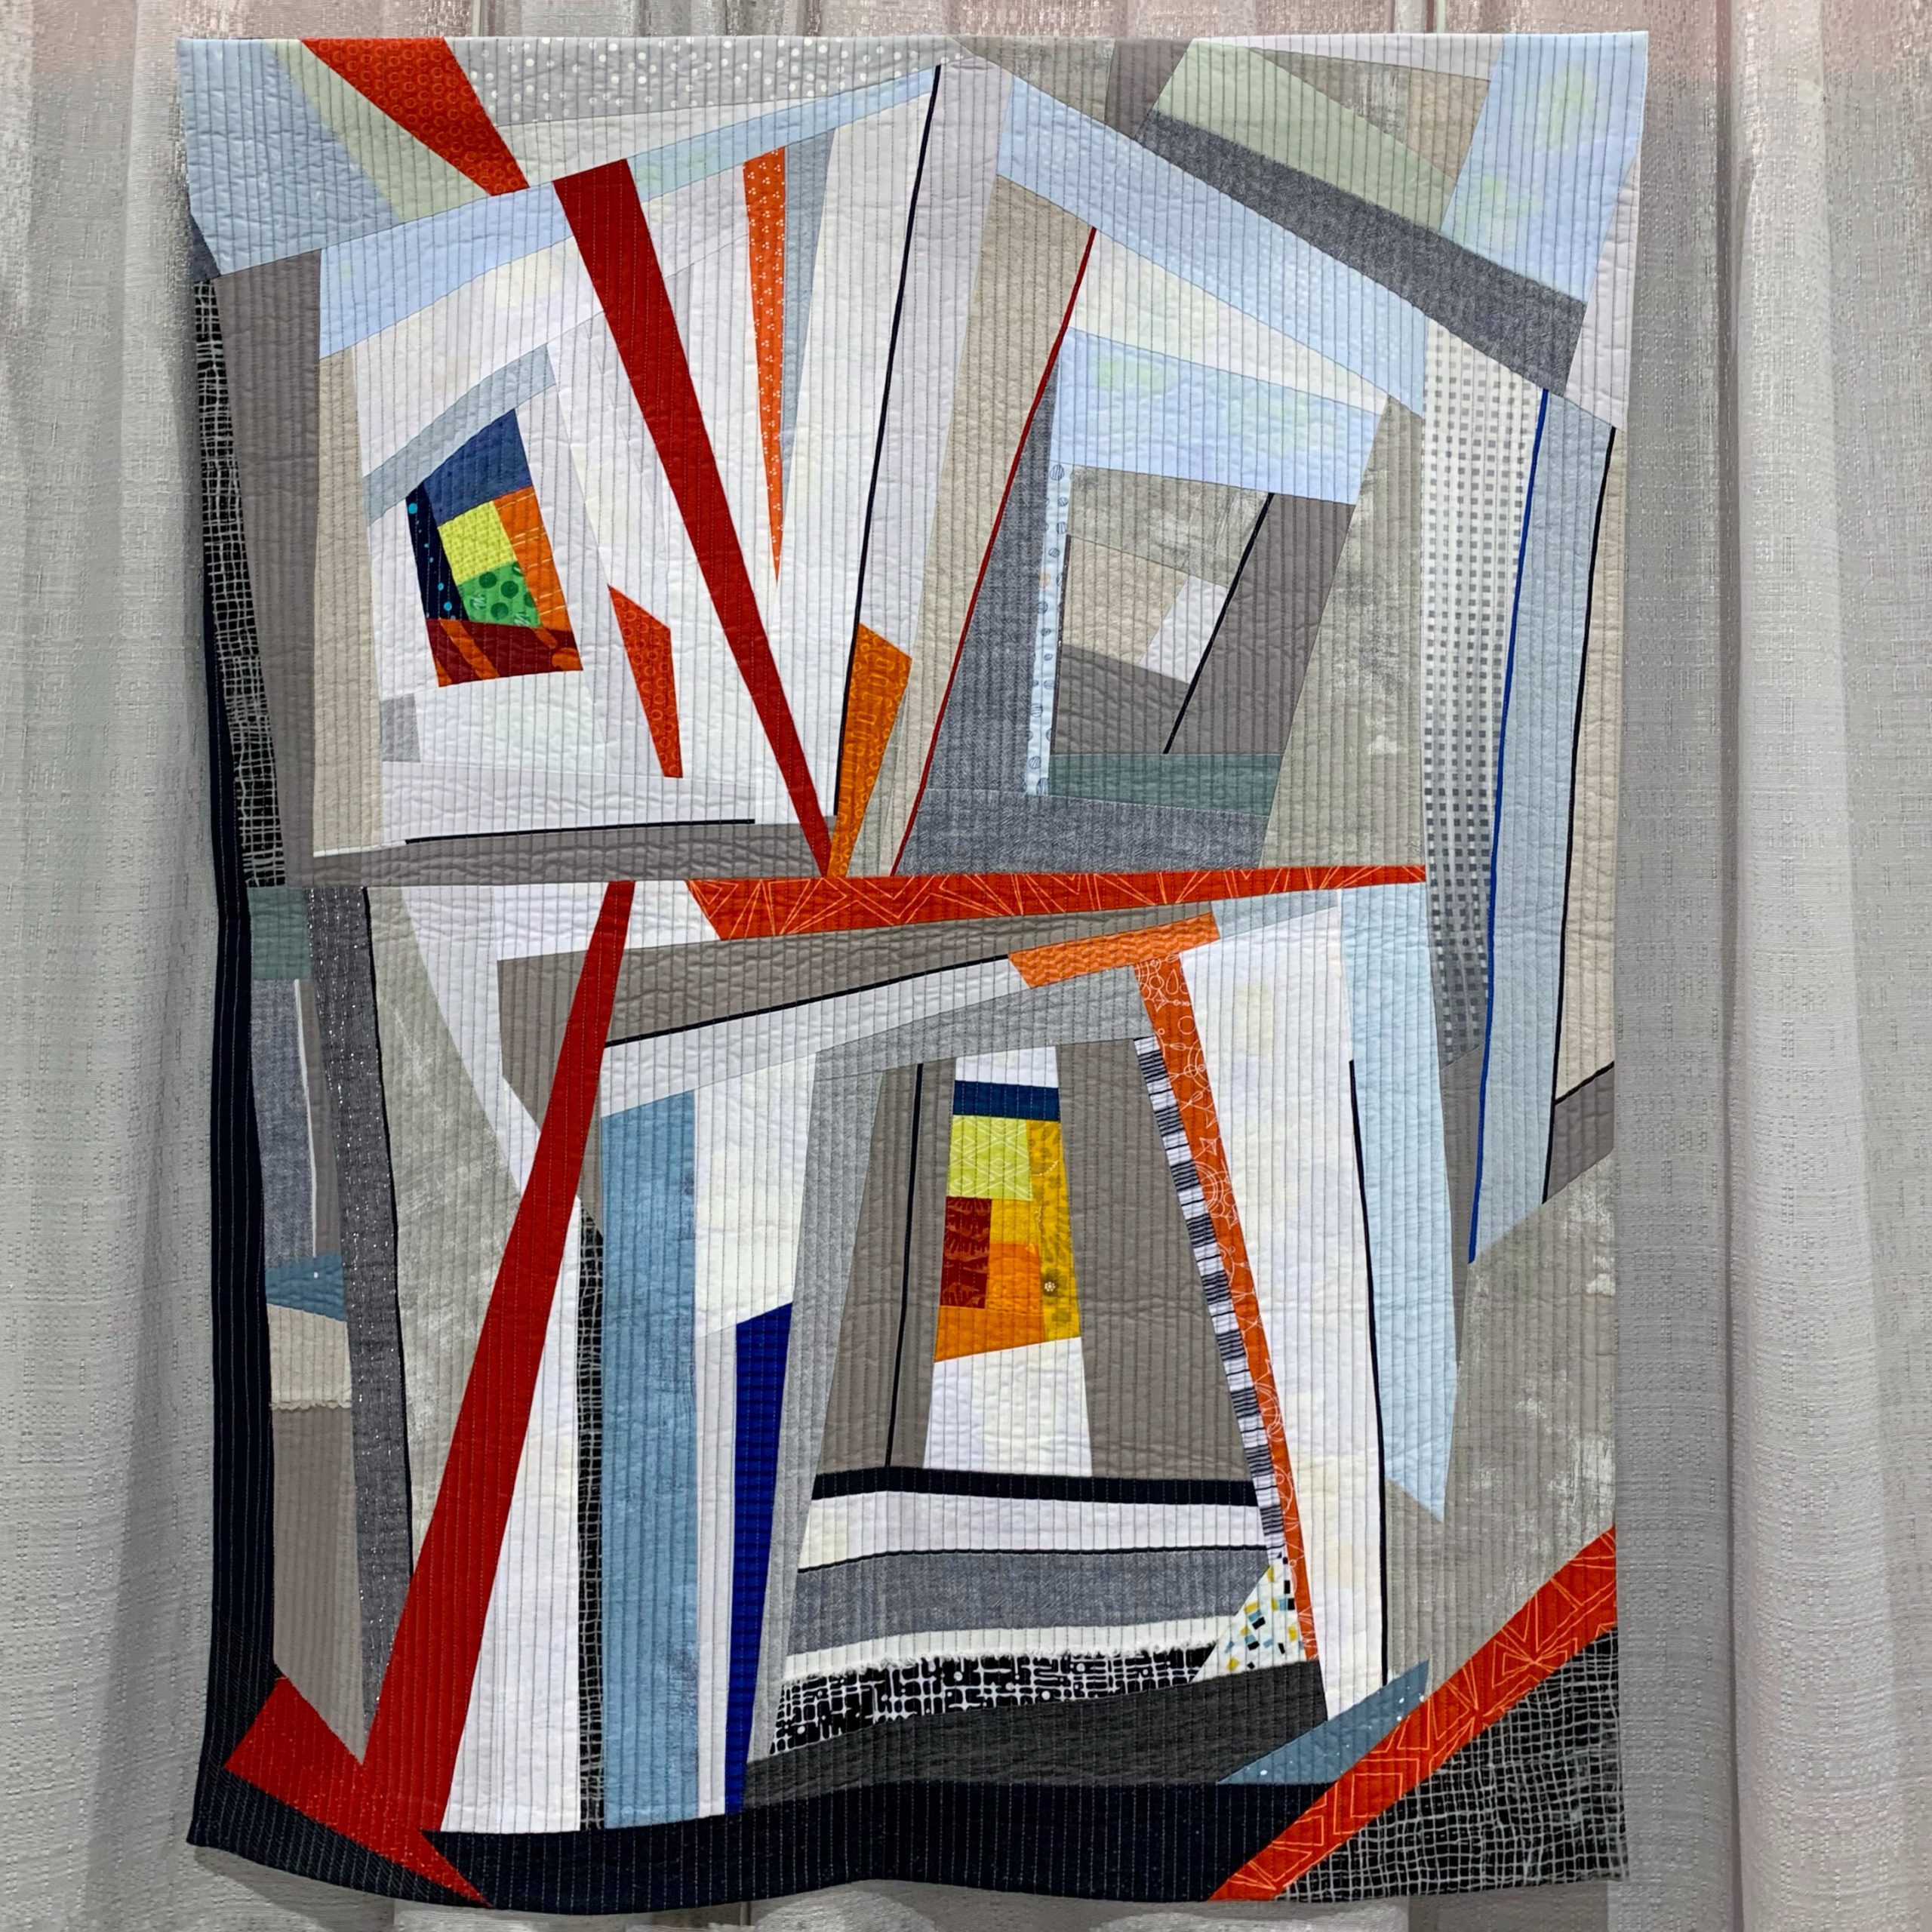
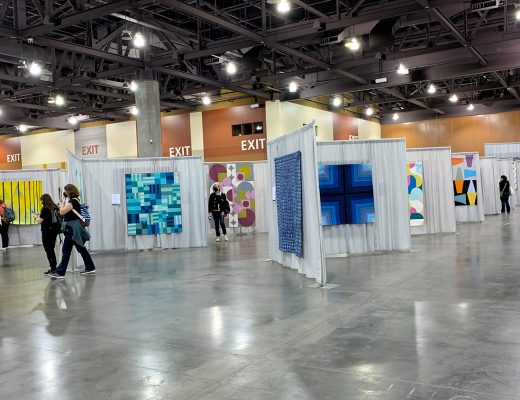
Step 1: Take a full photo of the quilt. I usually do this in a square format so it is ready for Instagram and you can crop the image if you would like to make it rectangular. (The quilt shown here is one of mine since I usually ask permission of the maker before including it in a blog post, and the first day of the show was super busy!)
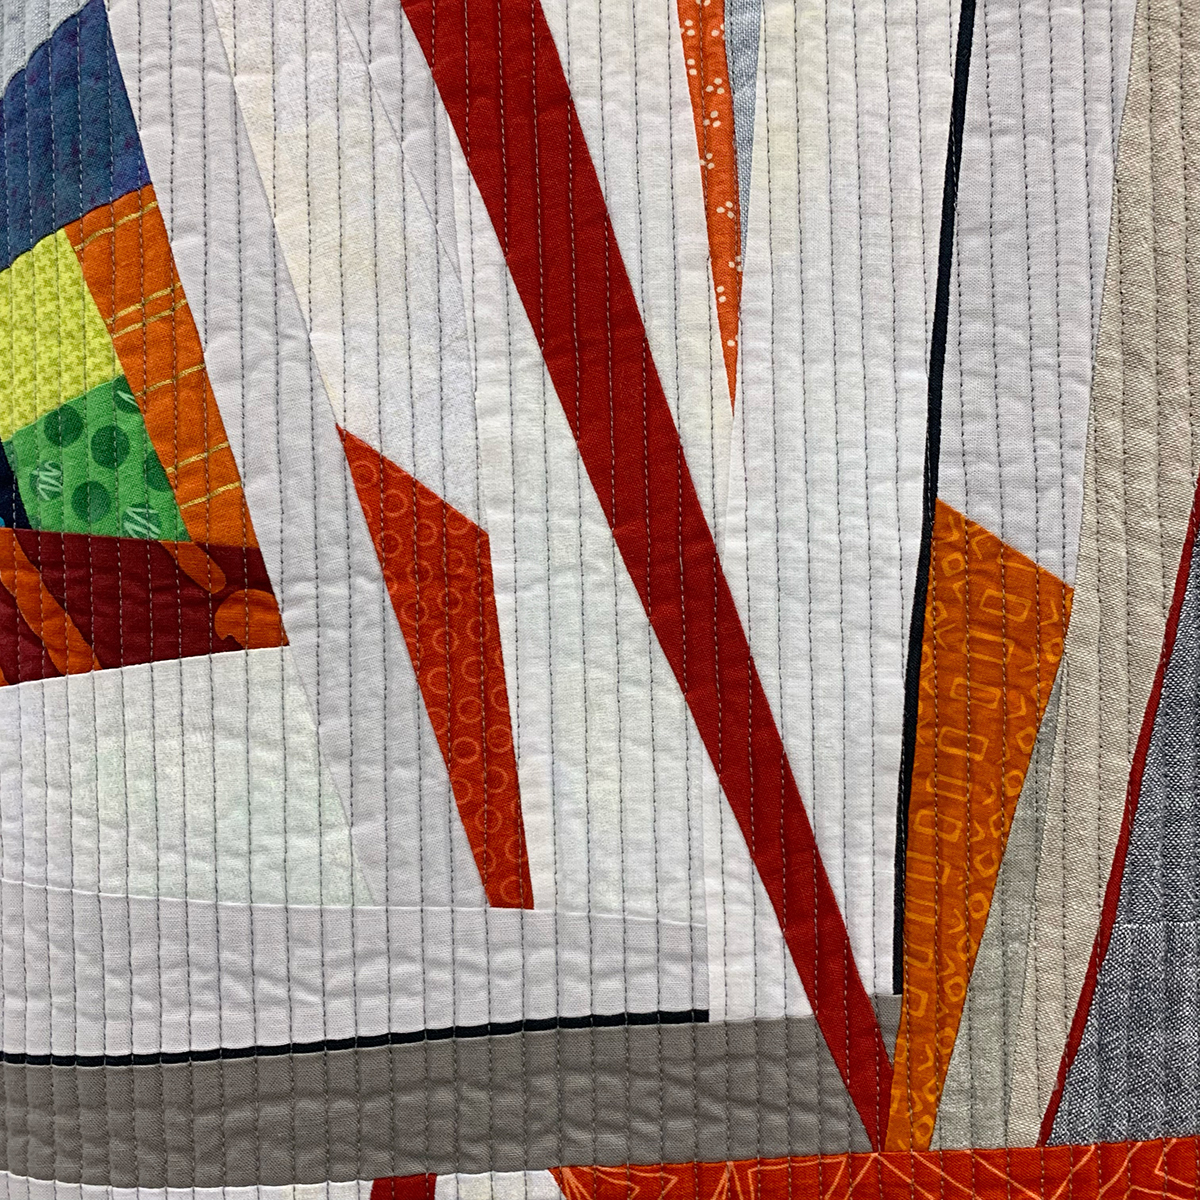
Step 2: Take one or more detail shots. Many show quilts have overall images posted online or published in other formats, but these are almost always full quilt photos. A lot of the time it is the detailing that makes a quilt stand out. I always take at least one detail shot.
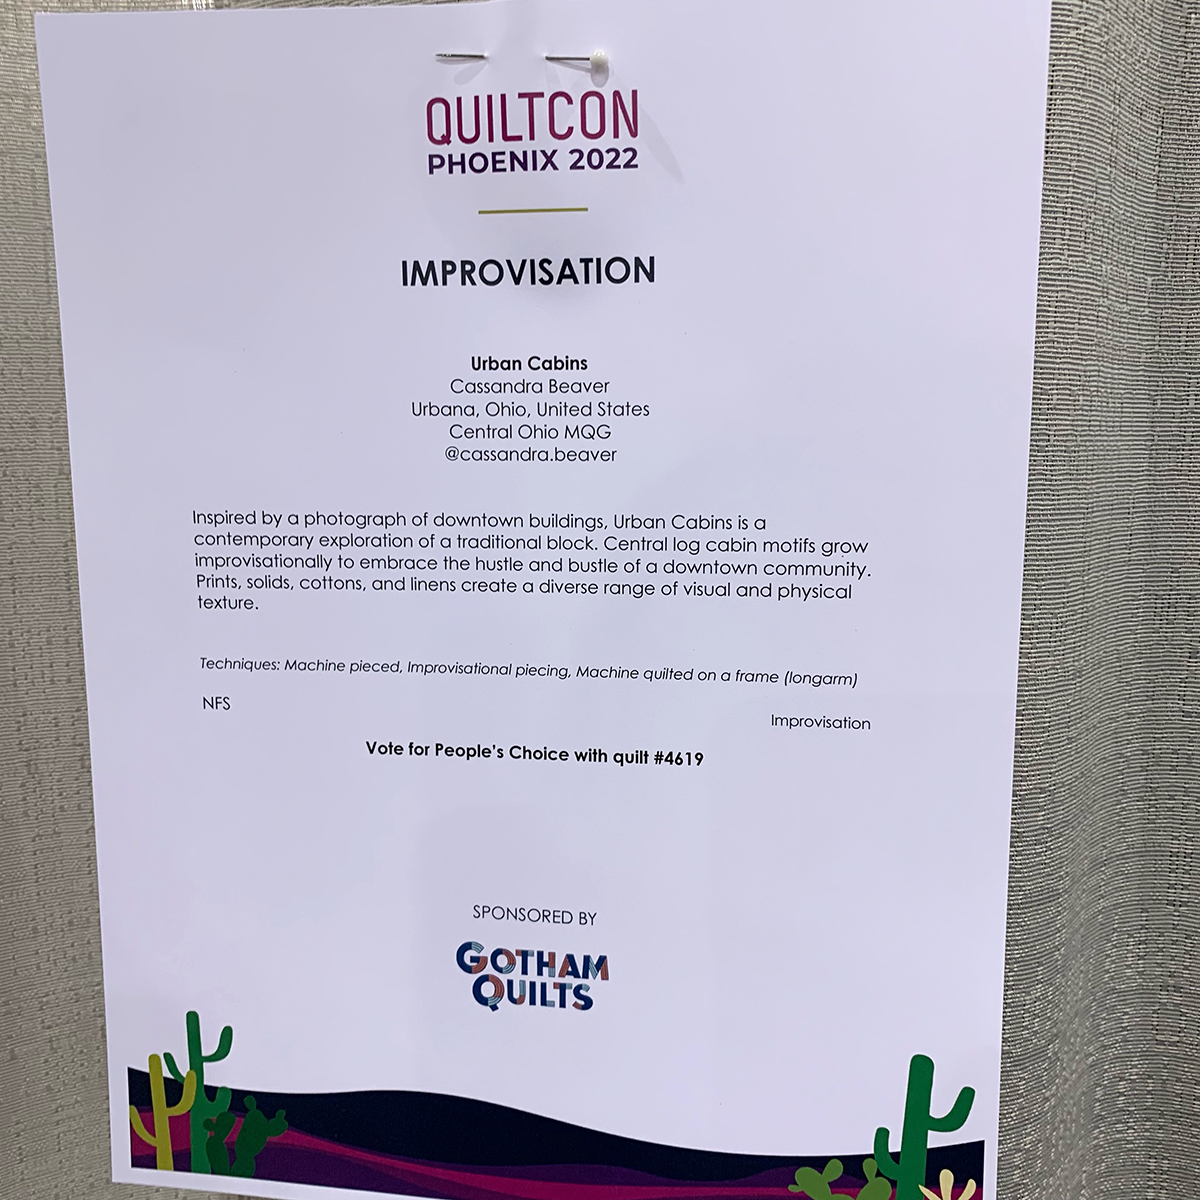
Step 3: Remember the show tag! The easiest way to keep track of the maker of each quilt is to take a photo of the show tag. All quilt shows include the quilt title and the maker’s name. Some shows also include a description. QuiltCon includes all of this plus the maker’s Instagram handle whenever it is available. This makes it easy to tag the maker whenever you post a picture of the quilt to Instagram.
Remember to tag the makers of each quilt! It’s the nice thing to do!


No Comments