How does a large quilt translate into something small? How small? For this project, I distilled the features of a 60″ quilt into a 2″x3″ mini-masterpiece.
Recently, Kristine Lundblad, an editor for several of our favorite quilting magazines, retired, and artists who have contributed to these magazines over the years were asked to contribute an artist trading card as a special going away gift. I was excited to add to the project, and choosing a design to feature that captured my quilting style and translated well into a tiny scale offered a creative challenge.
Choosing the Inspiration Piece
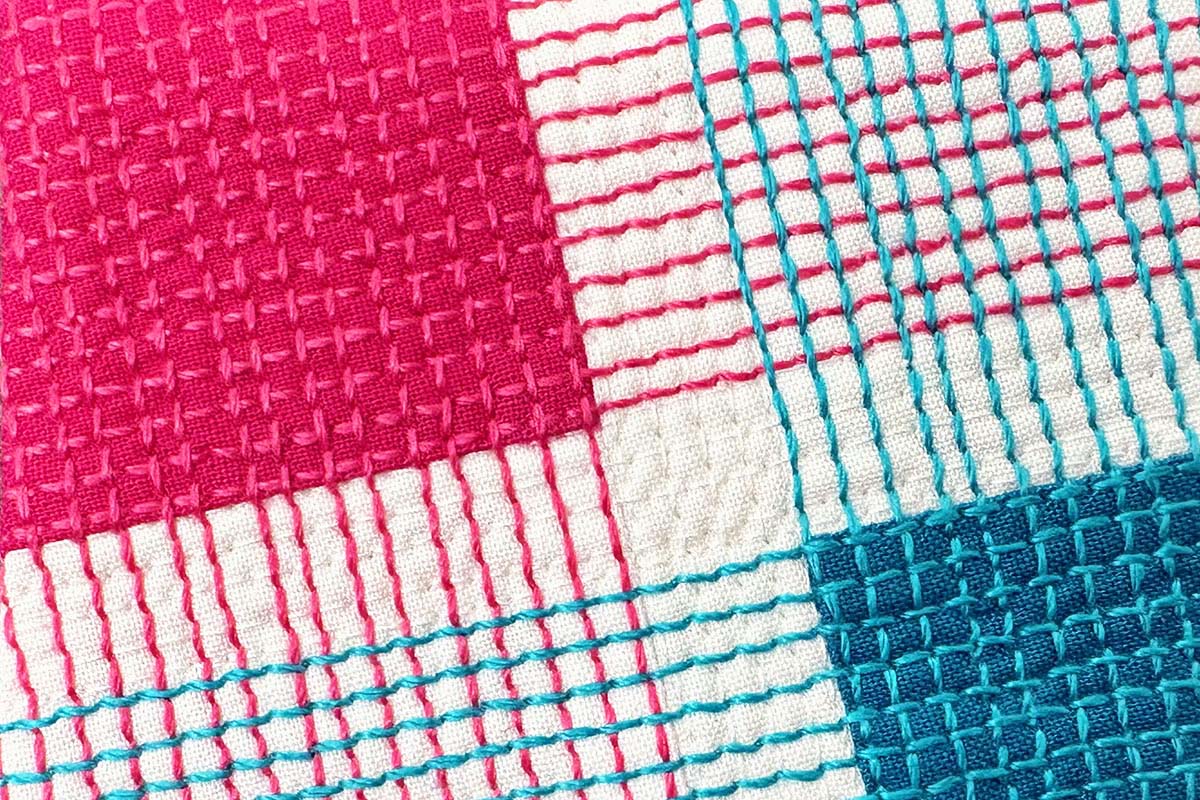
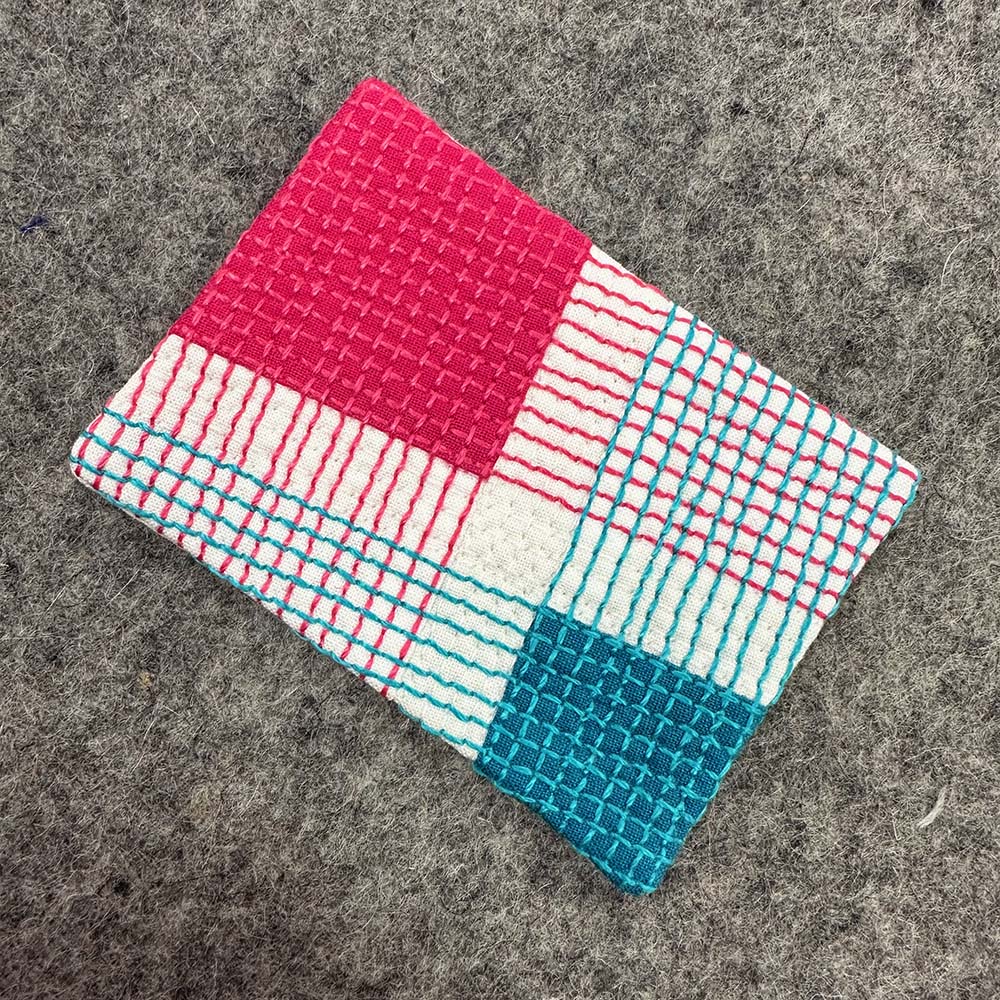
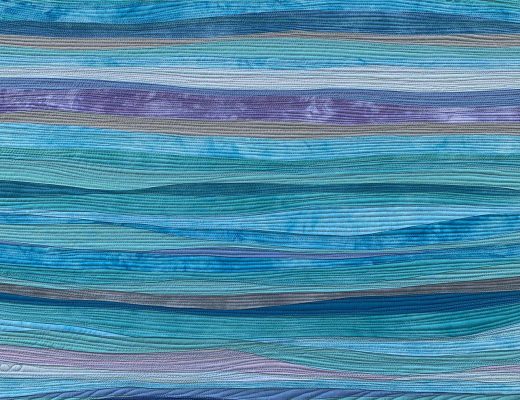
Infused Plaid was one of the first quilts I contributed to Modern Patchwork Magazine. (I miss that magazine!) This quilt features my favorite matchstick quilting technique, using a heavy thread to infuse the negative space with color.
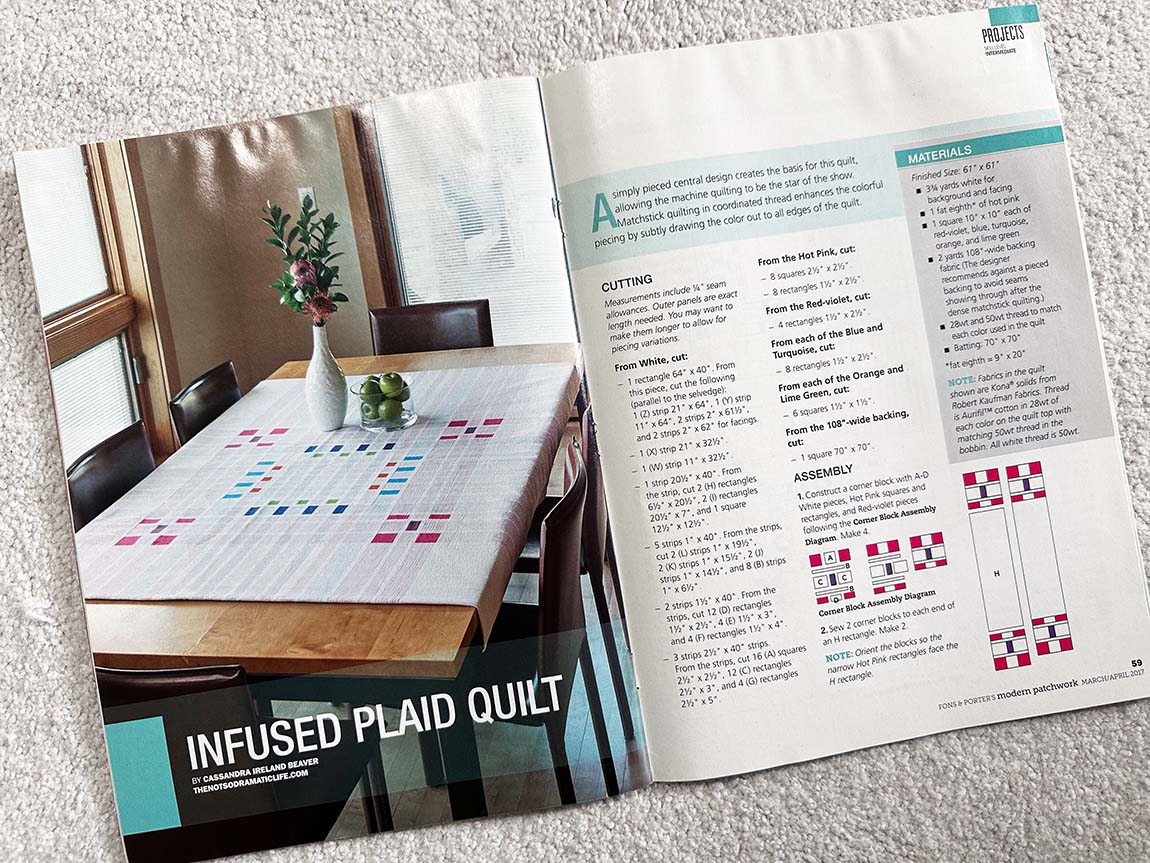
The simple piecing and small scale of the quilting in Infused Plaid made it an excellent candidate to miniaturize for an artist’s trading card.

Making the Card
Since the finished card is only 2″x 3″, I could raid my scrap bins for solid fabrics in colors similar to what I used in the original quilt. Keeping bulk to a minimum is critical at this scale, so I used a layer of 80/20 cotton/poly batting and no backing to create the card.
Early in the design process, I decided to trim the plaid card at an angle, so I made the quilted piece larger, about 5″x 6″, to have plenty of options for trimming. I used matching 12wt Aurifil thread to quilt the colorful sections and 50wt thread for the small areas in between.
To learn more about walking foot quilting, check out this post: How To Do Straight Line Quilting Using a Walking Foot
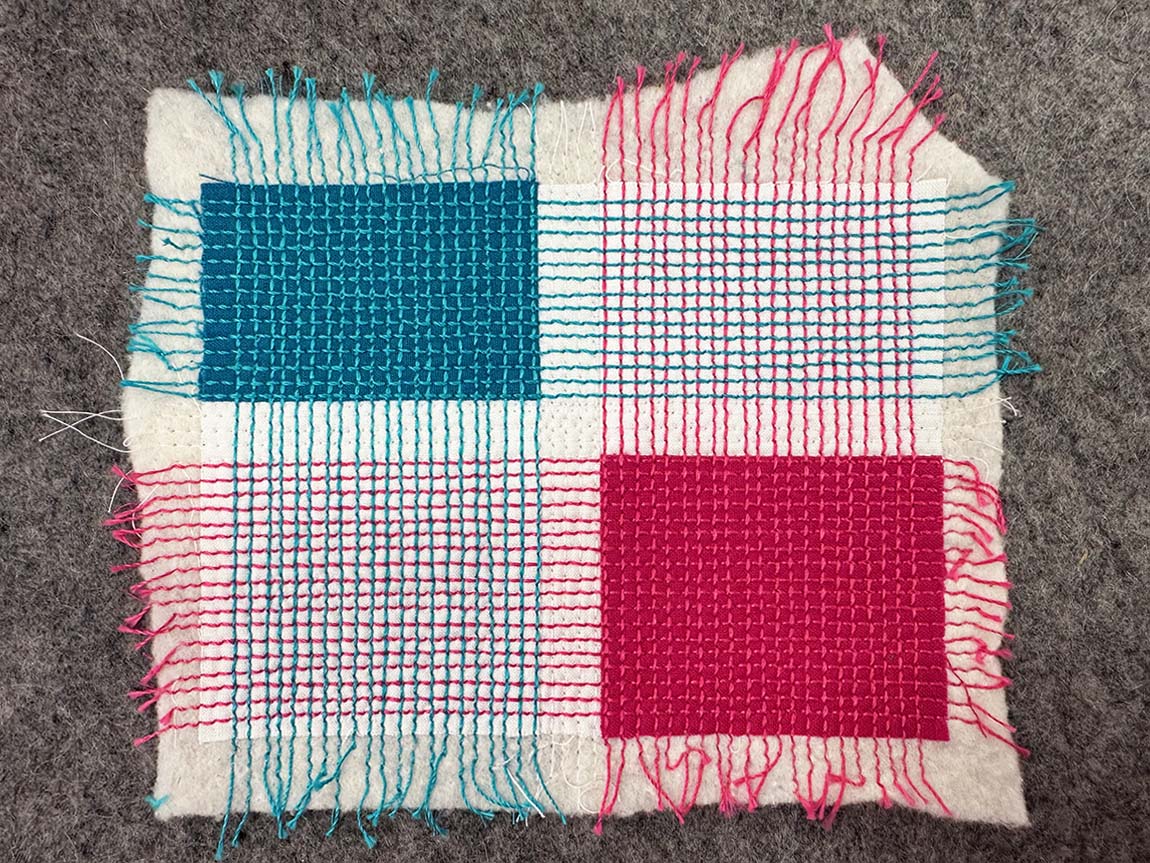
Once quilted, this tiny quilt had plenty of body without extra bulk. I selected an angle for the design and trimmed it to 2-1/2″ x 3-1/2″.
To finish the edges and back of the card, I put a piece of plain white fabric with the right sides together with the quilted section and stitched all the way around the edges of the micro-mini quilt. I trimmed the corners to reduce bulk further, and then it was time to turn the quilt. Since all the edges are machine stitched to ensure the final card is as square as possible, I cut a long slit down the center of the plain backing fabric and turned the tiny quilt through it.
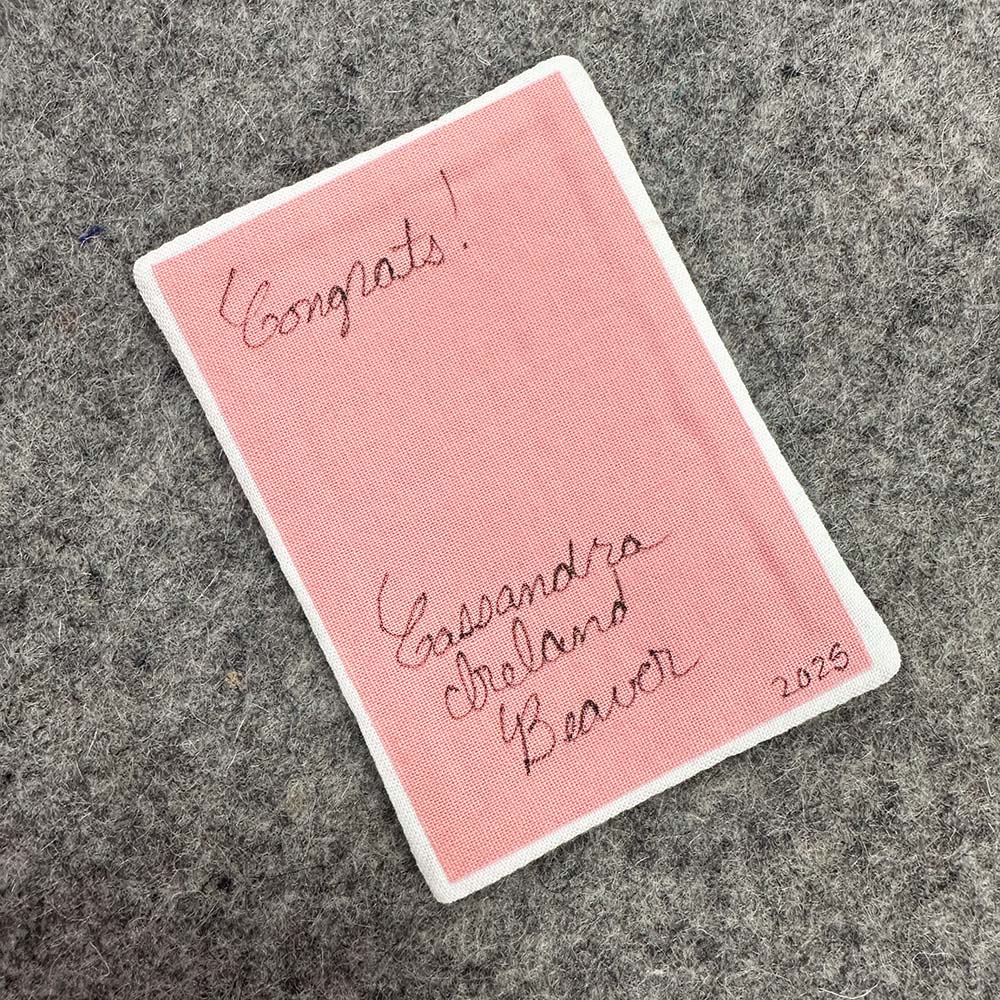
Now, I have a trading card that looks great on the front but has a gash down the back. To finish the back of the card, I used Steam-a-Seam Lite and a piece of light pink fabric cut slightly smaller than the finished card to cover the opening and give me a place to sign and date the finished piece. This trading card was the first time I had tried this backing method, which was terrific for a project of this size. It even had the bonus of adding more stability to the overall card.
This artist’s trading card is my most miniature quilt yet, but there may be more- working at this tiny scale is fast and fun!


2 Comments
Fran
June 13, 2025 at 6:25 amI looks great! I love the plaid look created by the stitching.
Rochelle
June 13, 2025 at 11:42 amA very nice gift. I like the detail and would love to see the 2″x3″ card in real life.