A few months ago, a member of one of my sewing groups brought a stack of upholstery fabric samples to a meeting. We passed around the samples, petting them as we went (some were soft and fuzzy), and the idea emerged for each of us to take a swatch or two to create a gift for our annual holiday exchange.
(This post may include some affiliate links. If you click on an affiliate link and choose to make a purchase, I receive a small percentage of the sale at no cost to you. These funds help keep this blog running and programs like the Quilt Concert FREE for everyone!)
Upholstery Fabric Inspiration
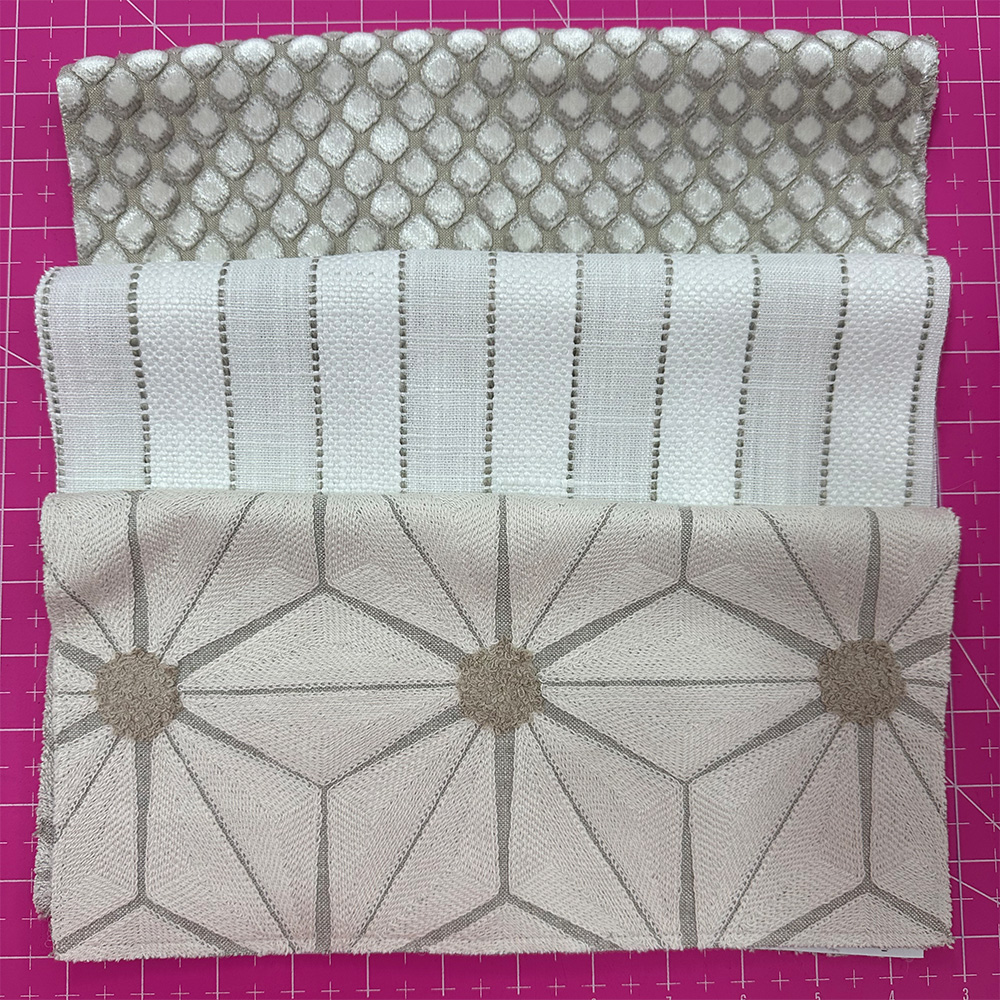
The swatches were approximately 10″ square in light, neutral colors, including white, cream, grey, taupe, and tan. I do little work with tans and taupes, so this challenge was out of my typical palette.
We each got to select our own samples. I chose fabrics representing three different pattern scales in geometric motifs: a small fuzzy diamond, a medium-scale stripe, and a larger diamond print. At this point in the process, I had no clue what I wanted to make, so I decided these would give me the most options for a small project.
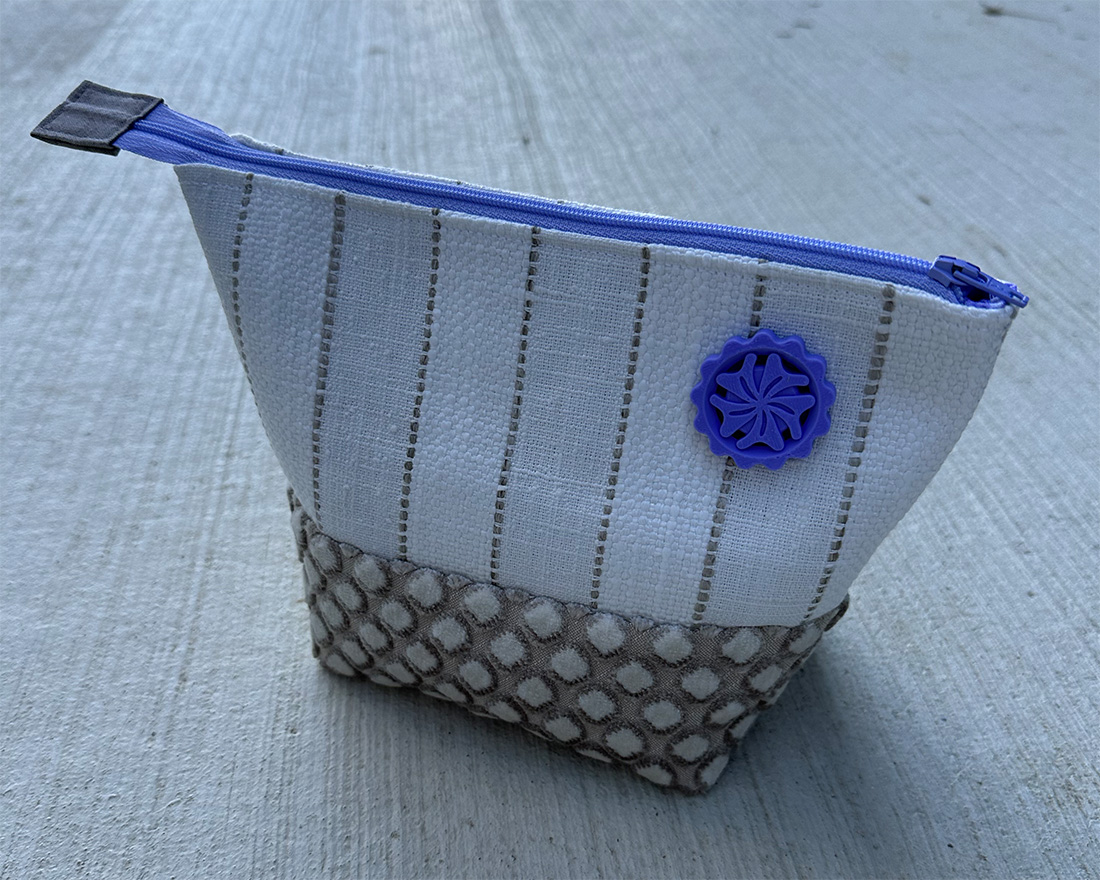
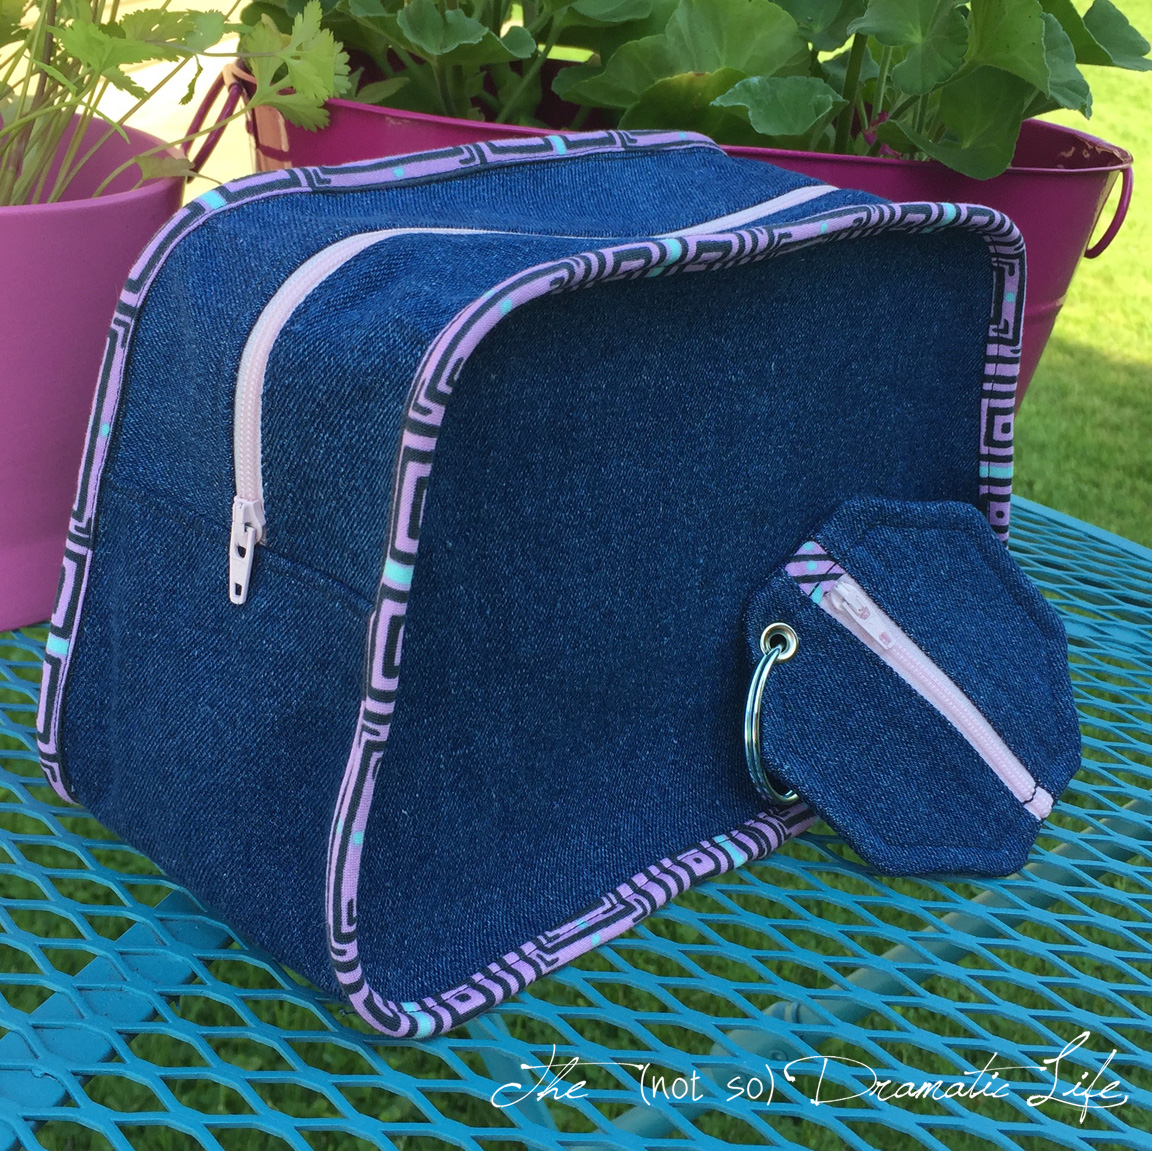
Given the size of the swatches we were using, I decided a small zipper pouch would be perfect for a functional and adorable gift. The design of the pouch is based on the tutorial for the open-wide pouch tutorial from Noodlehead.
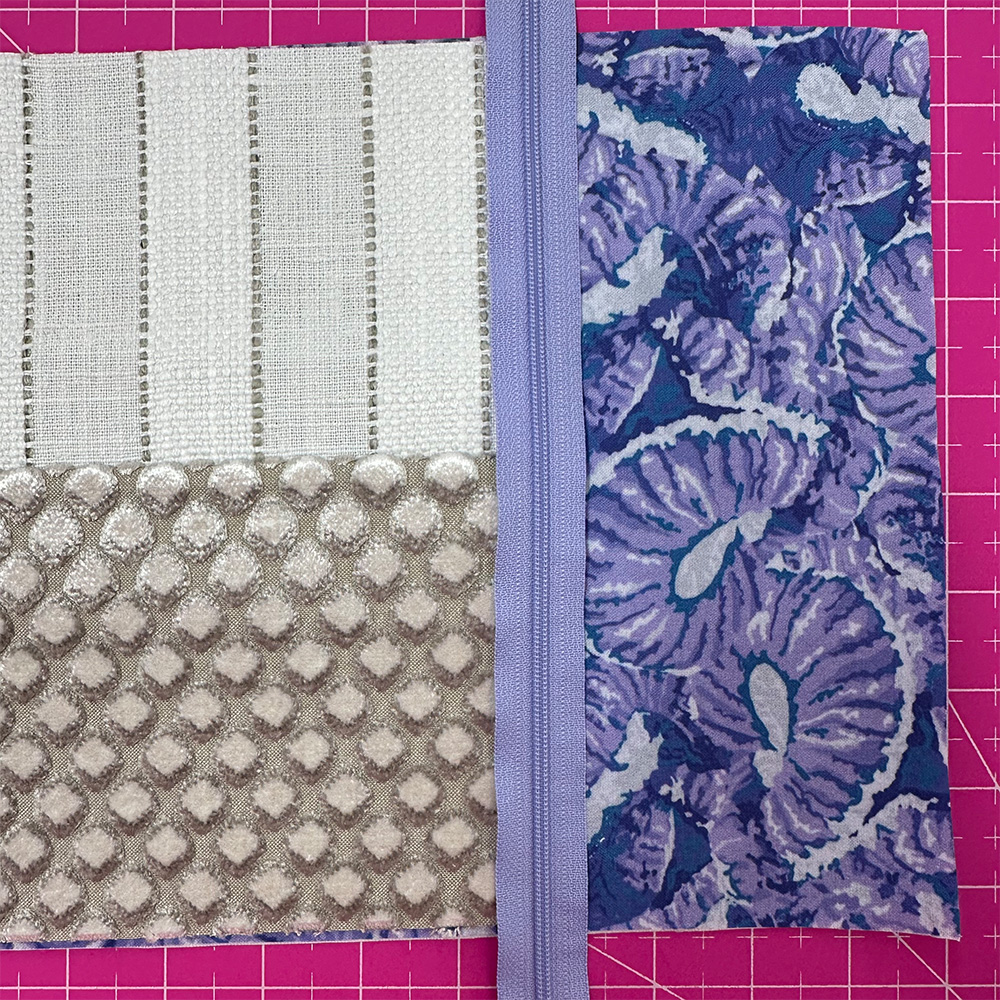
To get the pouch to the size I wanted, I incorporated two fabrics: one on the top and the second on the bottom. The stripe is primarily two different textures of white fabric, so it worked best on the top of the pouch since the bottom was most likely to pick up a bit of dirt over time.
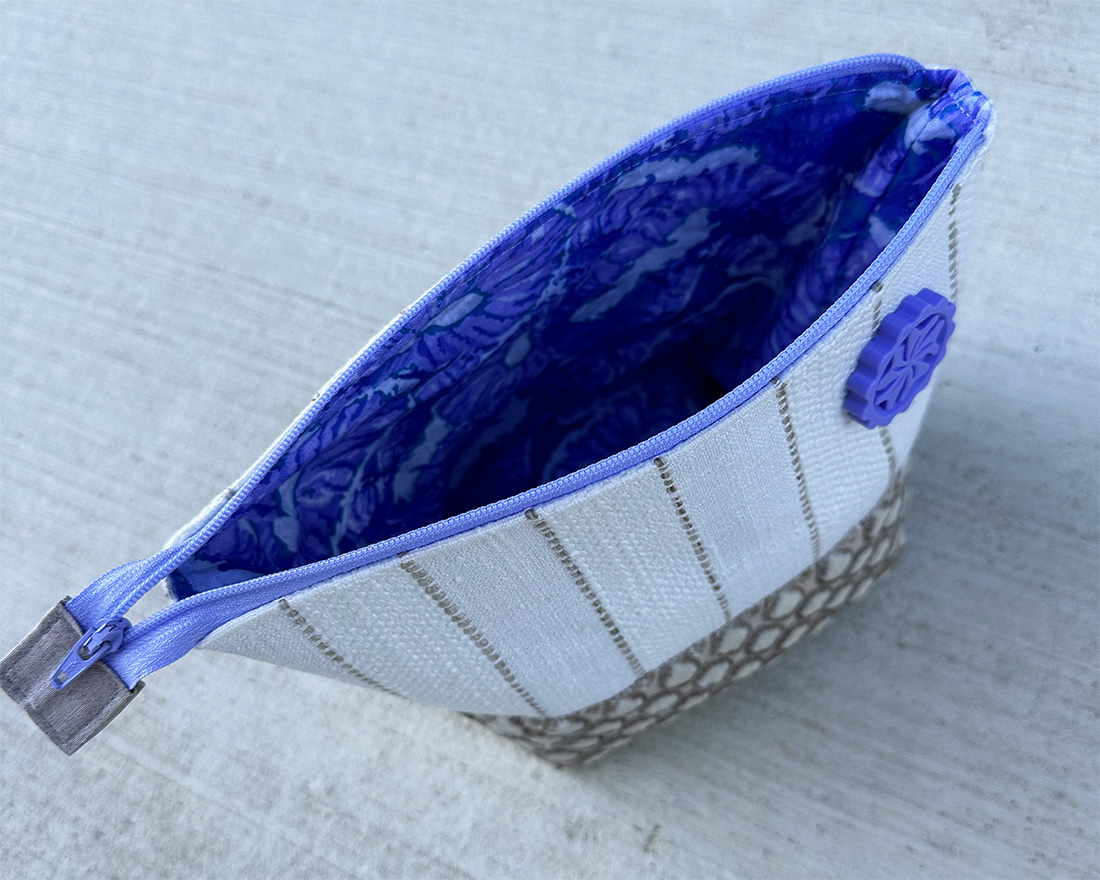
To give the neutral palette a bit of punch, I selected a lavender zipper and a coordinating lining fabric that I had previously designed and printed on Spoonflower.
Preparing the Fabric
The first step when working with upholstery swatches is removing the tags. These labels were easy to work with since the tags were stapled to the fabrics.
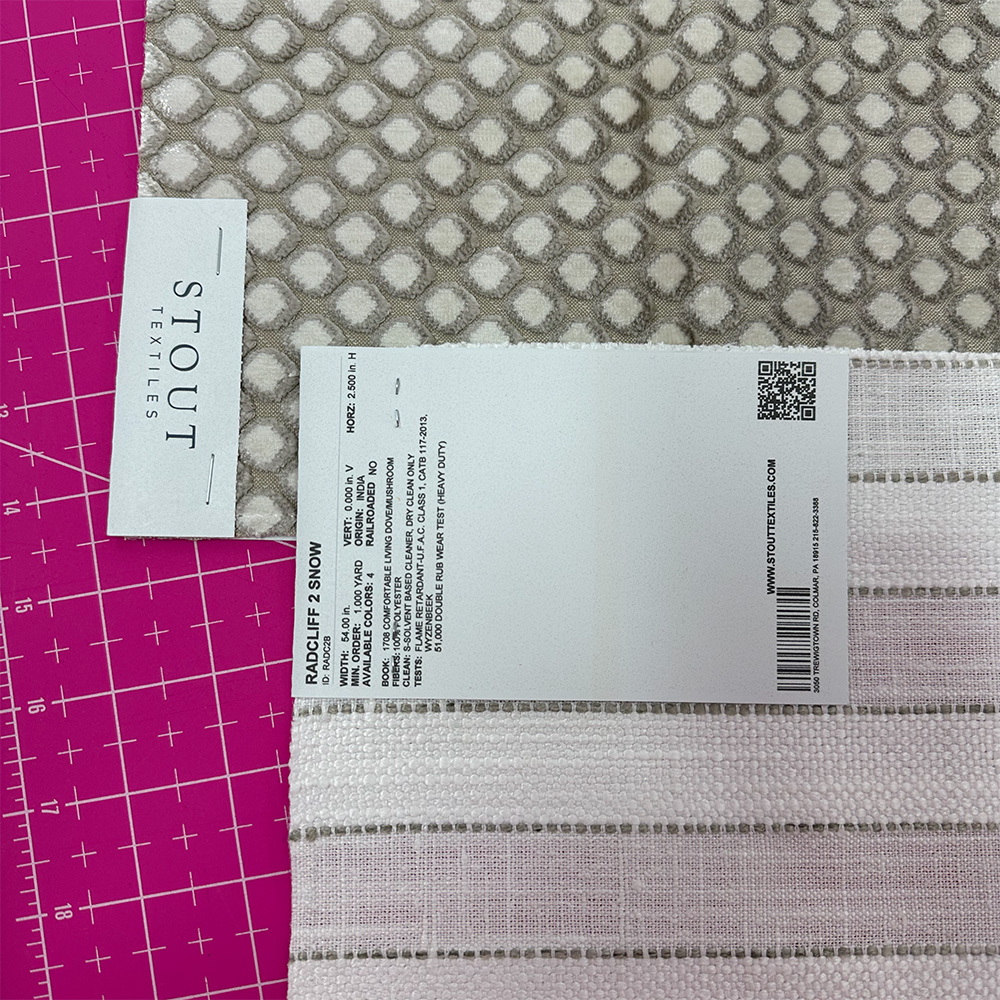
Working with upholstery fabrics can be tricky because they aren’t typically meant to go through the washer and dryer like most fabrics we encounter when making quilts. When using these fabrics in a project like this, they should be okay with spot cleaning and lint rolling for minor cleanup. Dry cleaning is an option if you end up needing a deeper cleaning.
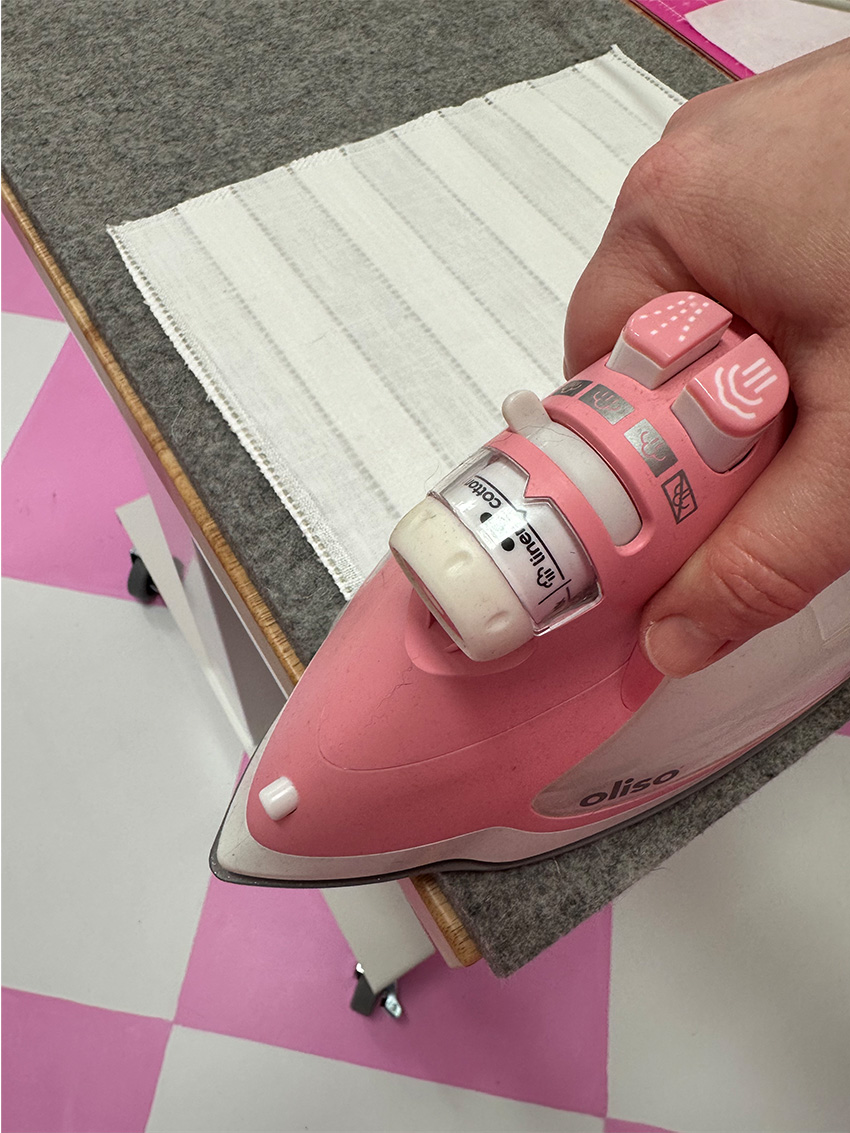
Allow the fabrics to shrink before making your project by pressing with a lot of steam and a pressing cloth. It’s far better to have the fabric shrink before sewing than after. The pressing cloth prevents any weird backing materials from sticking to your iron. If your fabrics have a nap to them, place them nap side down on a thick towel* and use very little pressure as you iron.
*Unless you are lucky enough to have a velvet pressing board, then use that by all means!
I like my bags to have some structure, so after the initial press, I applied SF101 fusible interfacing to the backs of my fabrics before cutting them out.
Cutting the Upholstery Fabrics
The Open Wide Zipper Pouch Tutorial by Noodlehead includes the construction techniques and a sample set of measurements for this pouch style. This post focuses on the use of upholstery fabric in this type of project.
I typically like the top and bottom fabrics on a two-color bag to be approximately the same height. Remember that a significant amount of the bottom fabric ends up on the bottom of the pouch, so it is a smaller proportion of the overall design, even if it is an equal height to start.
When using fabric swatches, the proportions of your zipper pouch are often dictated by the available fabric. That was the case with this bag; almost all swatches went into the project.
With a two-color bag, make sure the height measurements of the cut pieces add up to the overall measurement you want for the bag, plus 1/2″ in height to account for a 1/4″ seam allowance when sewing the two pieces together.
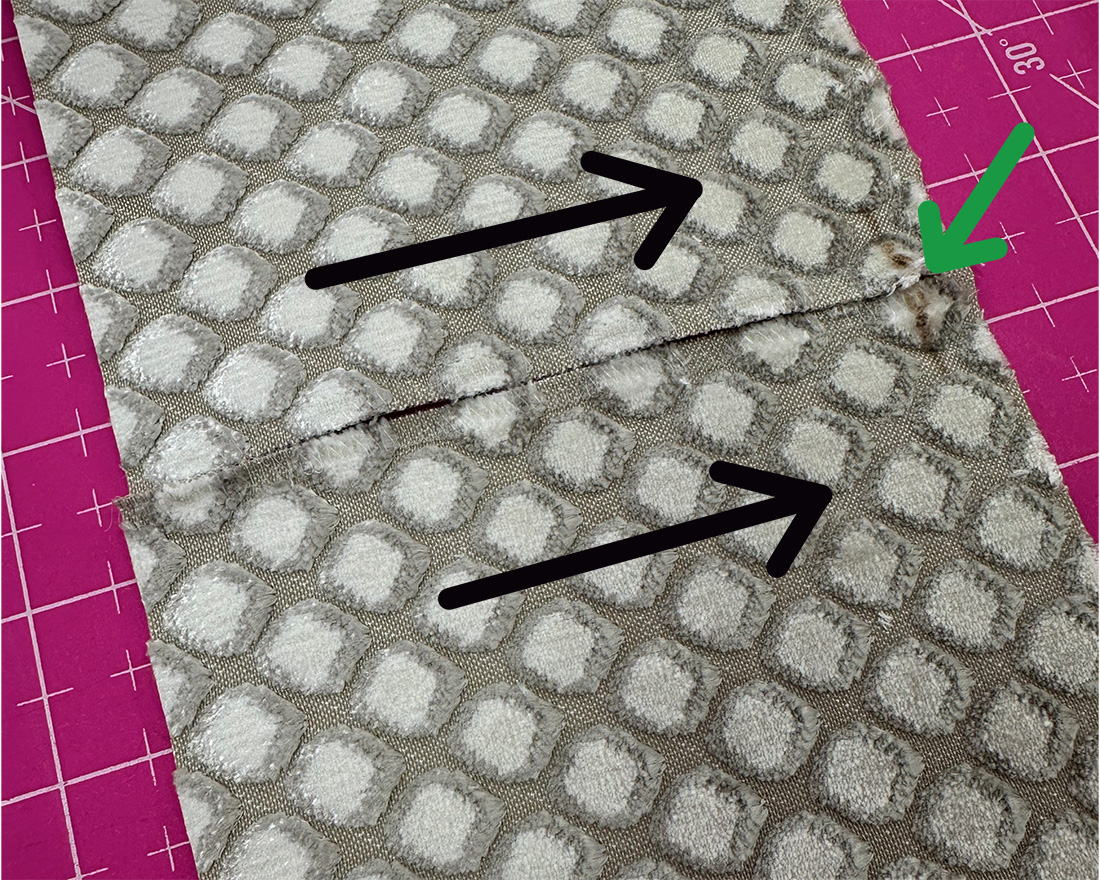
You will have four rectangles to sew together to create the bag front and back. Pay close attention to any materials with a directional pattern or nap. Choose the direction you want for the design or nap, and ensure it is consistent between front and back. (See the black arrows in the image below.) Internal consistency is the key!
If you want the designs to match at the side seams of the bag, find a repeat in the design and cut the fabrics so the pattern will align. (Note the registration mark next to the green arrow.) When working with swatches of fabric, you may not have enough fabric to match the pattern, but whenever possible I like to try!
Constructing the Pouch
Use the instructions from the Noodlehead tutorial to construct the pouch
Pressing
Press carefully as you sew, keeping a towel between the iron and any fabrics with a nap. Upholstery fabrics can be stubborn when convincing them to hold a crease, so a clapper is your friend. Press your fabrics, typically with steam, then hold the seam down with the clapper as it cools to help set the seam into a crisp fold.
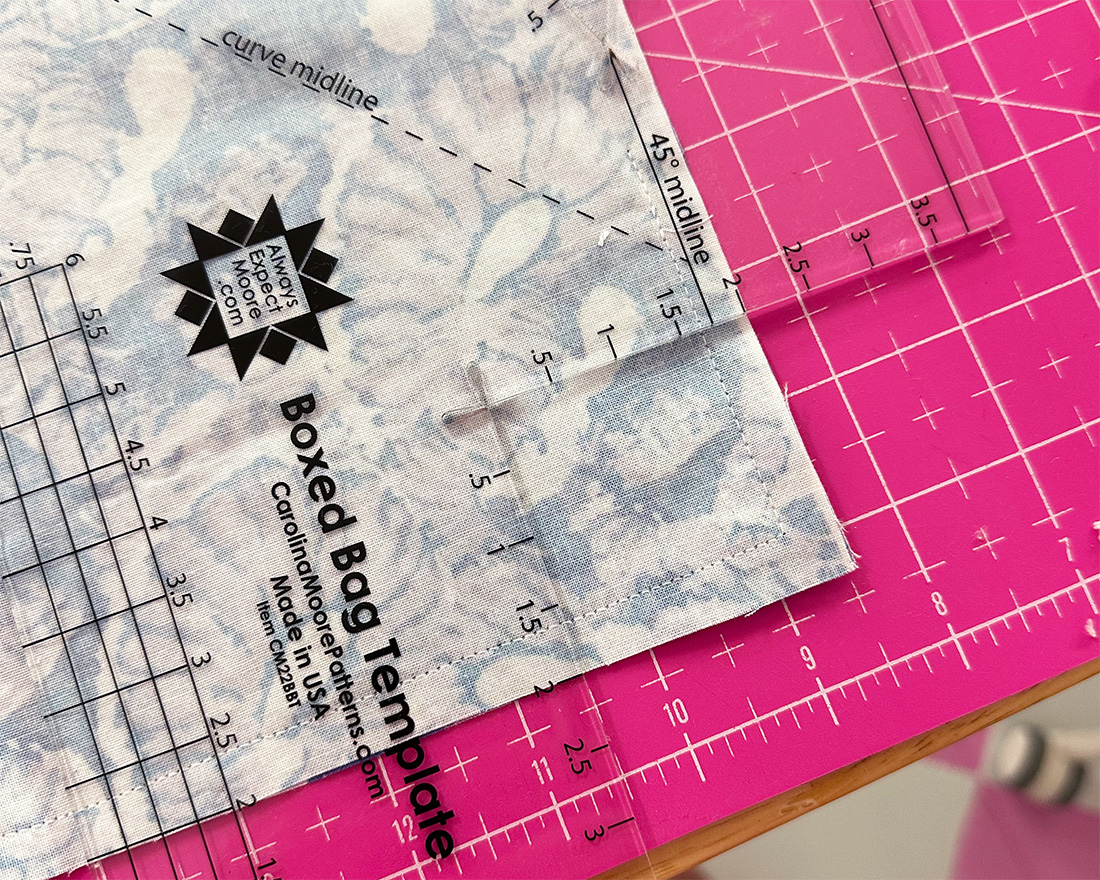
Cutting the Corners for the Box Pleat
You can use any ruler to cut the box corners for the patch, but I have recently fallen in love with the Boxed Bag Template. It is easy to align and helps keep you from cutting too far into the main body of the fabric.
To finish off the zipper pouch, I gave it a little “jewelry” in the form of a needle minder in the same color as the zipper.

For the fabric tab at the end of the zipper I found a coordinating quilting cotton in my stash. The thickness of the upholstery fabrics created a finish that was too lumpy for the look I wanted.
Three Tips for Using Upholstery Fabrics
- Upholstery fabrics can shrink at unexpected rates. Prepare the fabrics for use by pressing with lots of steam. If you think you project will ever get washed, prewash the fabric before construction.
- Many upholstery fabrics have a nap. If your’s does, make sure it is running the same direction throughout the entire project.
- Press carefully throughout the construction process. Many Upholstery fabrics don’t hold a crease easily, so whenever possible, us a clapper to help flatten the seams. If the fabrics have a nap, press with the nap against a thick towel to help prevent crushing of the texture.

3 Comments
Marjorie
January 5, 2024 at 8:19 amHi, Cassandra:
I make cloth purses with upholstry fabrics all the time! When they need cleaning I hand wash them and let them drip dry.
Marjorie
Diane R
January 5, 2024 at 8:29 amSomeone was very lucky to receive this lovely gift. You did a beautiful job in the selection of fabrics as well as the construction. The needle minder in the perfect accent. Thanks so much for sharing all the details for working with upholstery fabrics.
Michelle Pandzik
January 5, 2024 at 7:54 pmI love your monthly newsletter! I have been a fan since you came and talked to Miami Valley Quilting Guild in Enon. You also did a workshop that I attended. I was the President of the Guild last year, and you were, by far, our best presenter.
Your newsletter is so full of ideas and I love that you so openly share your space, time, craft, and personality. Thank you for all you do!