
Whether you love, tolerate, or avoid it at all costs, hand sewing comes up in the quilting process from time to time.
We tend to lump all types of hand sewing together, but key techniques can make it easier. However, nuances between stitching styles and techniques may mean you need different tools for your most common methods. If you love hand sewing, you may do English Paper Piecing (EPP), hand appliqué, or hand quilting. If you merely tolerate hand quilting, you may stick to hand-finishing the occasional binding. And those of you who avoid it at all costs probably only hand-sew a hanging sleeve or a label from time to time. Regardless of your style, three key tips can make hand-sewing easier.
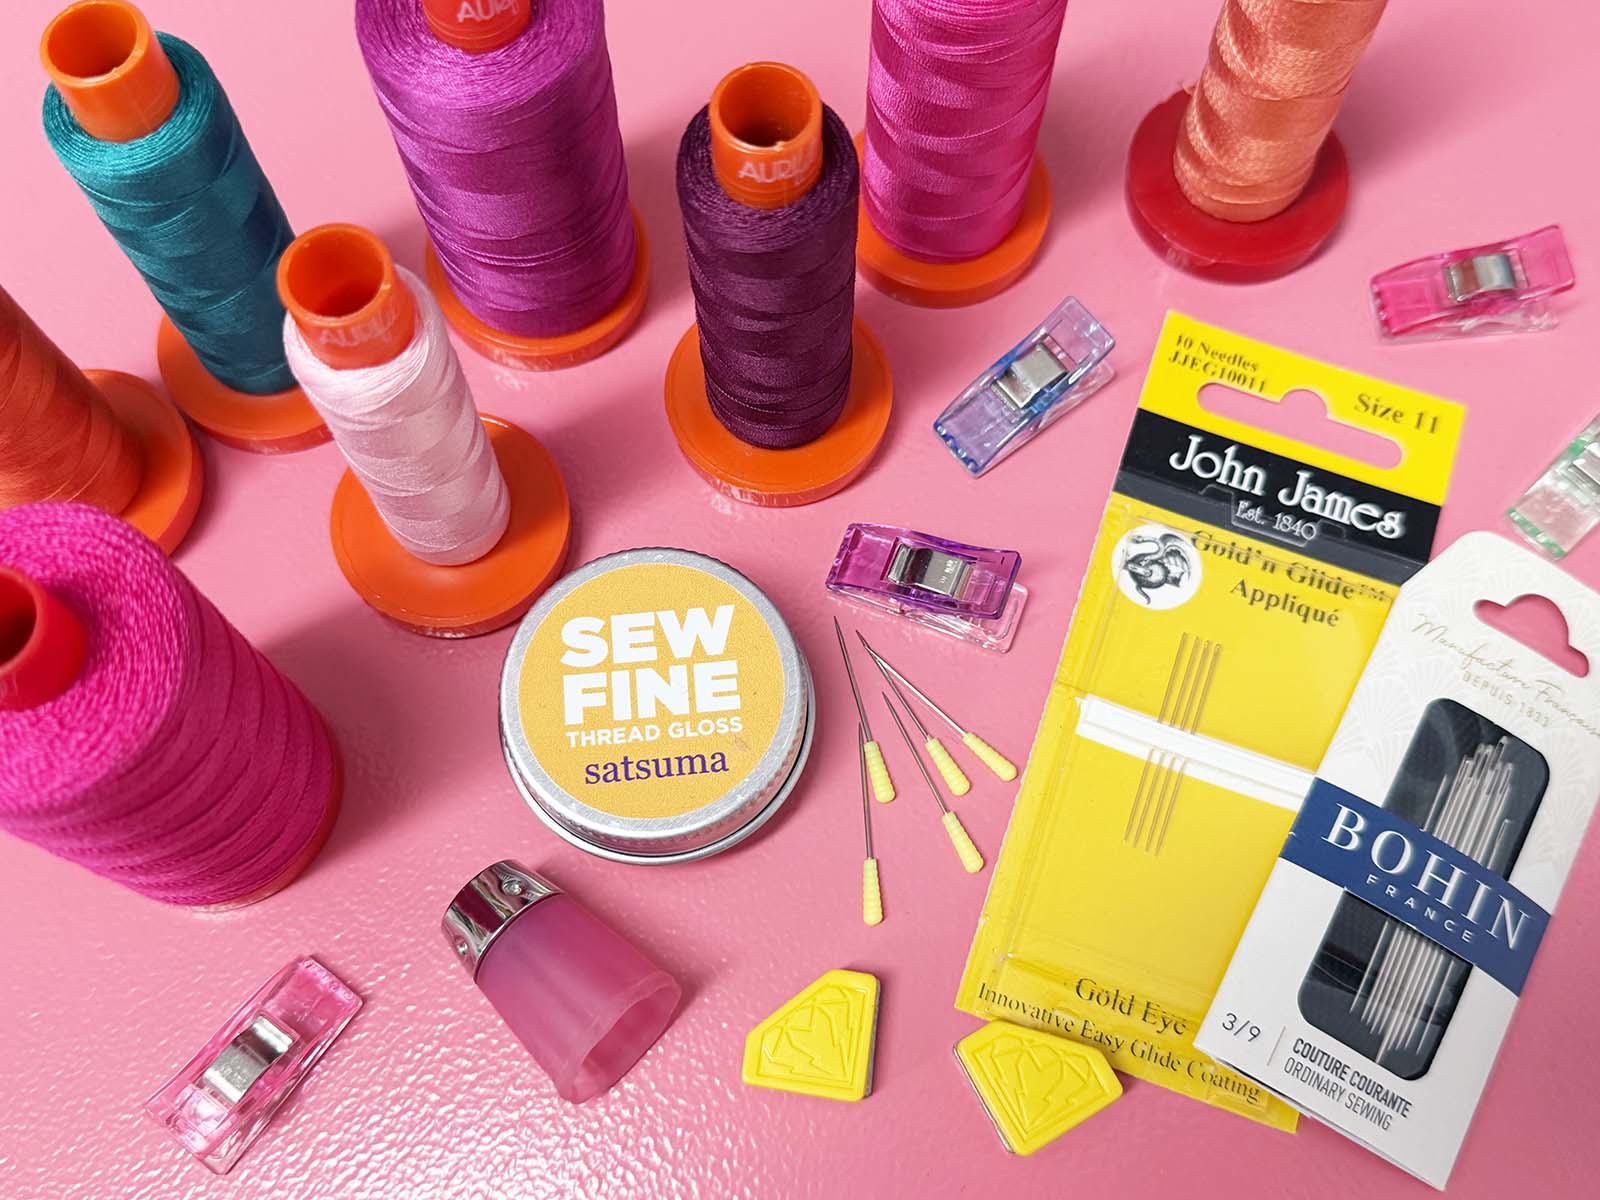
Three Tips For Hand Sewing Success
1. Take Care of Your Hands
As creators, our hands are two of our most important tools, so we need to do everything we can to keep them working for years to come.
Use a Thimble
Using a thimble not only protects your fingertips from unnecessary pokes, but it can also speed up handwork. Most thimbles are worn on the middle finger of your dominant hand and come in a wide range of materials, including metal, silicone, and leather. When choosing a thimble, try on several styles and sizes to ensure the best fit.
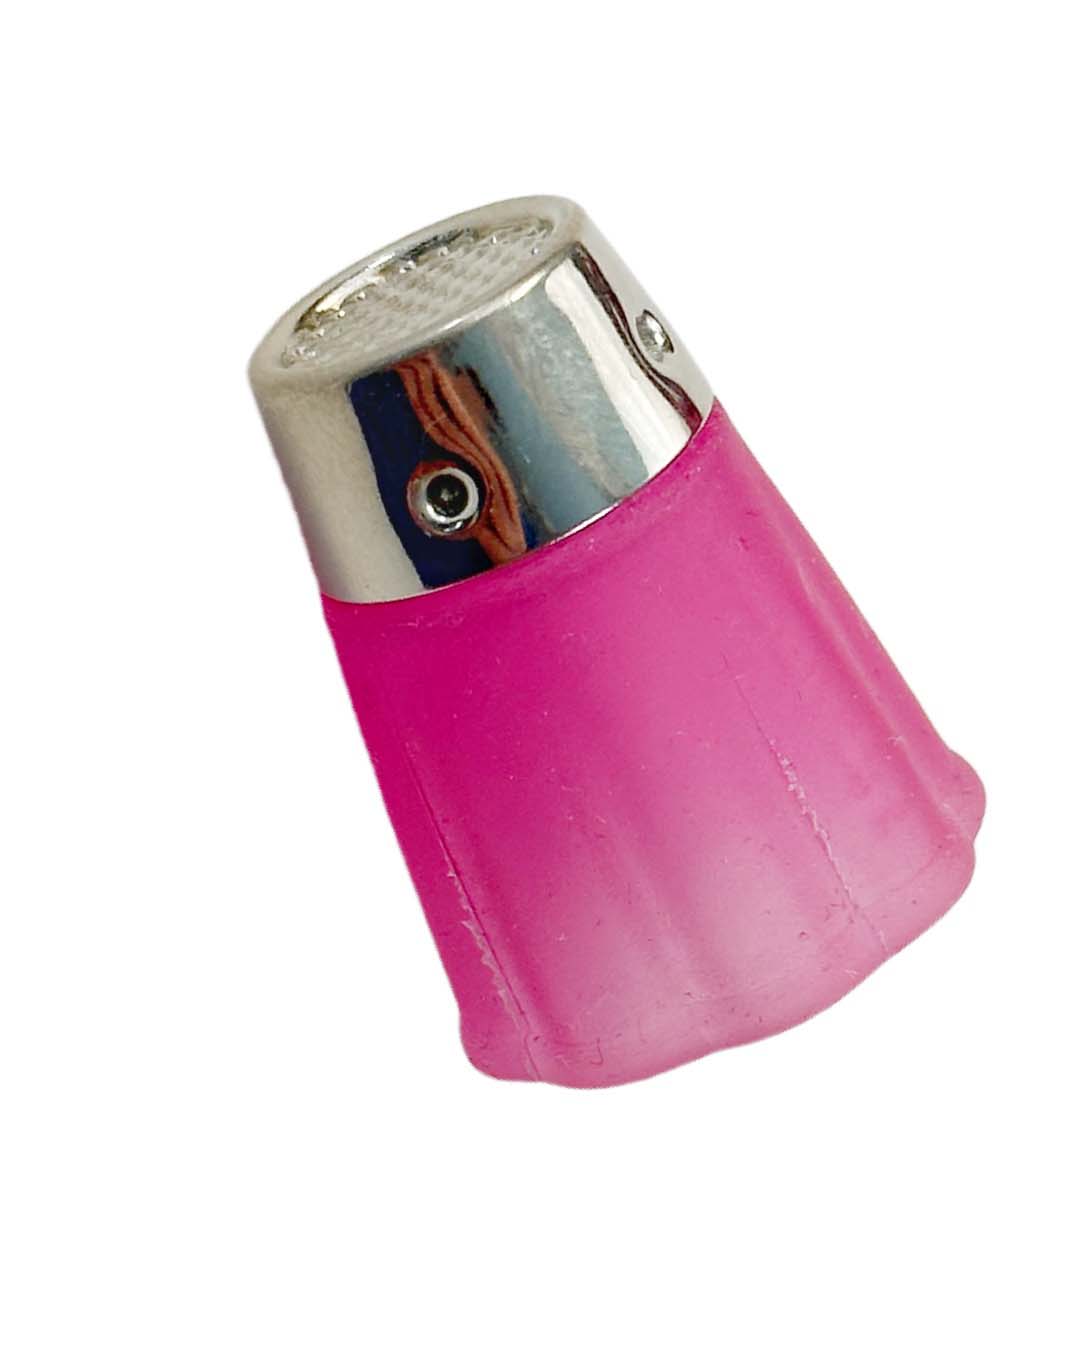
My favorite thimble is fluted silicone with a metal tip. The metal tip functions like the all-metal thimbles I grew up using, and the silicone is comfortable to wear. The fluting allows air circulation and slightly adapts the fit to different finger sizes and shapes. For particularly stubborn stitches, you can even take the thimble off your finger and use the silicone part as a needle-puller.
Stretch
Our hands do a lot of work for us, and taking a few minutes to take care of them makes a big difference in both the short and long term. Repetitive movements can strain your hands, fingers, wrists, and arms. Heidi Parkes’s simple hand yoga break is a great, fast way to keep your hands happy and ready for more stitching.
2. Match Your Materials to the Work
Needles
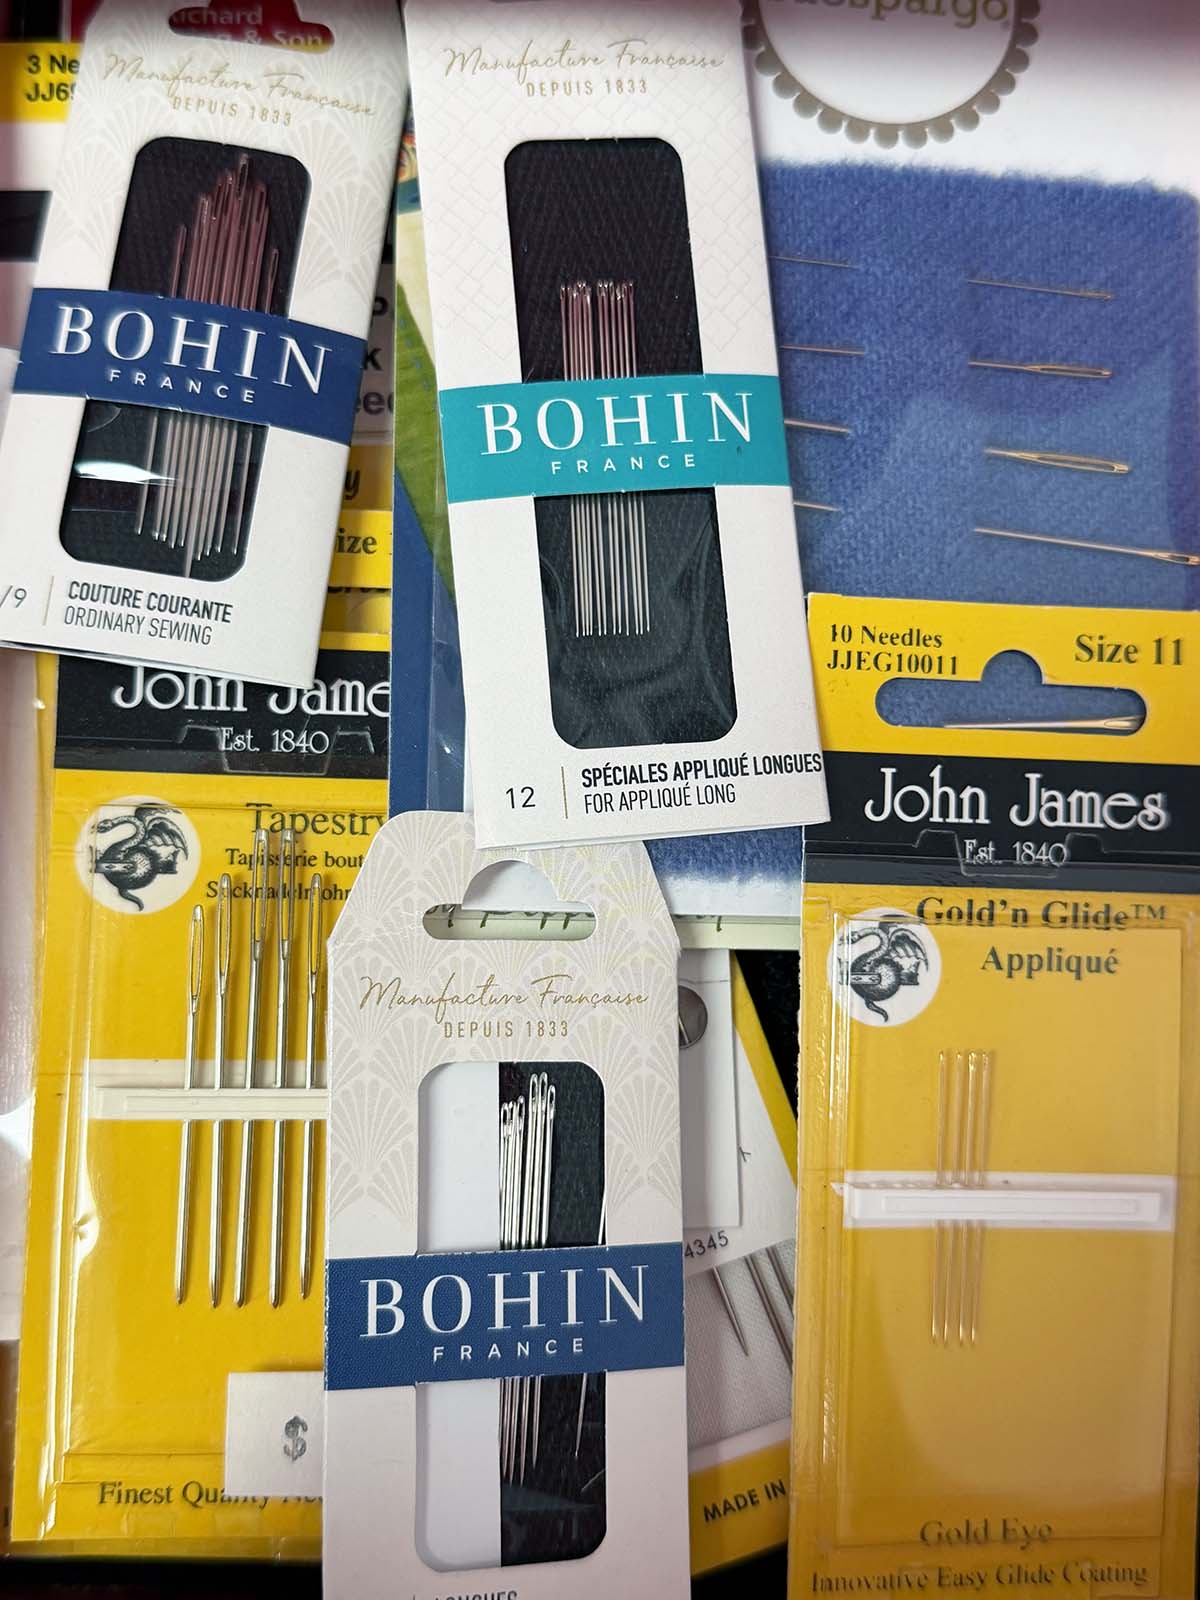
It’s easy to grab the first needle you see in your sewing bag or pincushion, but different needles work best for different types of work. To some extent, needle selection is a personal preference, but keep a few tips in mind when you select a needle for your project:
- Needles are sized so larger numbers indicate smaller needles, so a size 3 needle is much larger than a size 10. However, needle length varies by type and even by manufacturer. For instance, a milliner’s needle (traditionally used in hat making) is inherently longer than a between needle (traditionally used for hand quilting).
- Match the needle eye size to the thread type. Heavier threads need a larger eye, not just for easier threading, but to reduce wear as the thread moves along the needle while you stitch.
- Thinner needles are usually easier to stitch with and are less likely to leave marks on your fabrics.
- Your control over your stitching often (but not always) improves with a shorter needle. When you’re starting, a larger needle may seem easier to handle, but that may not always be the case, so try a variety pack of sizes to find what works best for you.
- Quality matters. Inexpensive needles are almost always harder to sew with. A well-made needle glides through your fabric differently than the needle that came with a hotel sewing kit.
- If your thread keeps snapping at the needle eye, replace the needle.
Thread
Use good-quality thread and match the thread thickness to the correct needle eye size. Matching your thread to your fabrics helps the stitching blend in, while contrasting threads can become a highlight in the overall design.
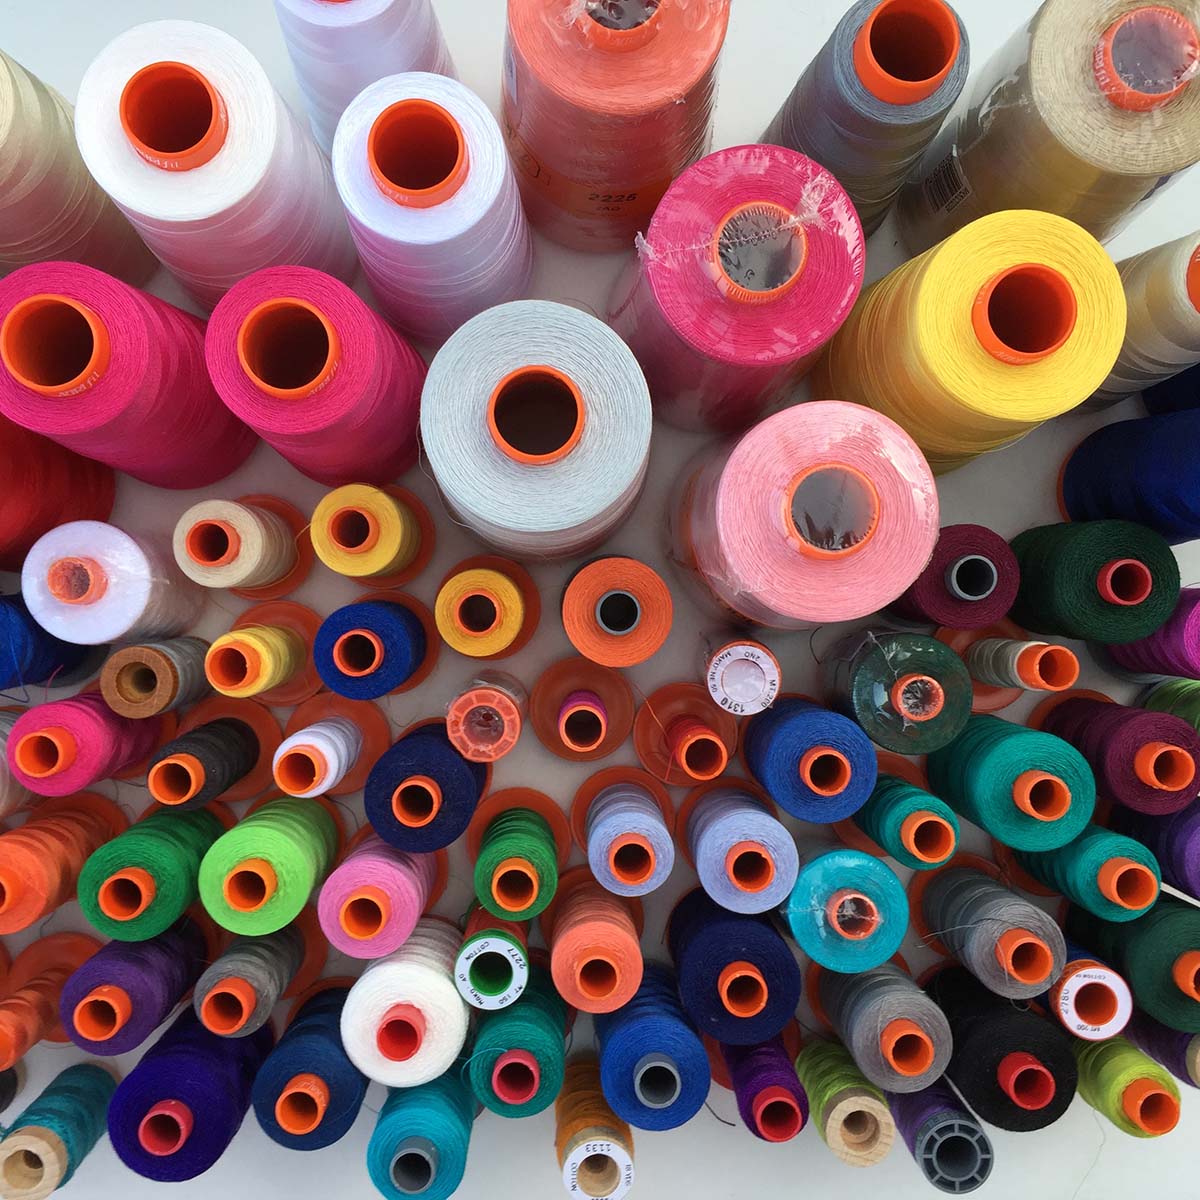
It is always better to use shorter lengths of thread for hand sewing. Thread wears a tiny bit each time you pull it through the fabric. A very long thread is weaker at the end of a line of stitching than it is at the beginning. Most threads work well with a length about fingers to elbow plus a generous tail.
To reduce tangling, thread the needle on the end of the thread that comes off the spool first. Then cut your thread to length and knot the end you just cut.
Here’s more information on threading a needle and tying a knot.
Thread Gloss
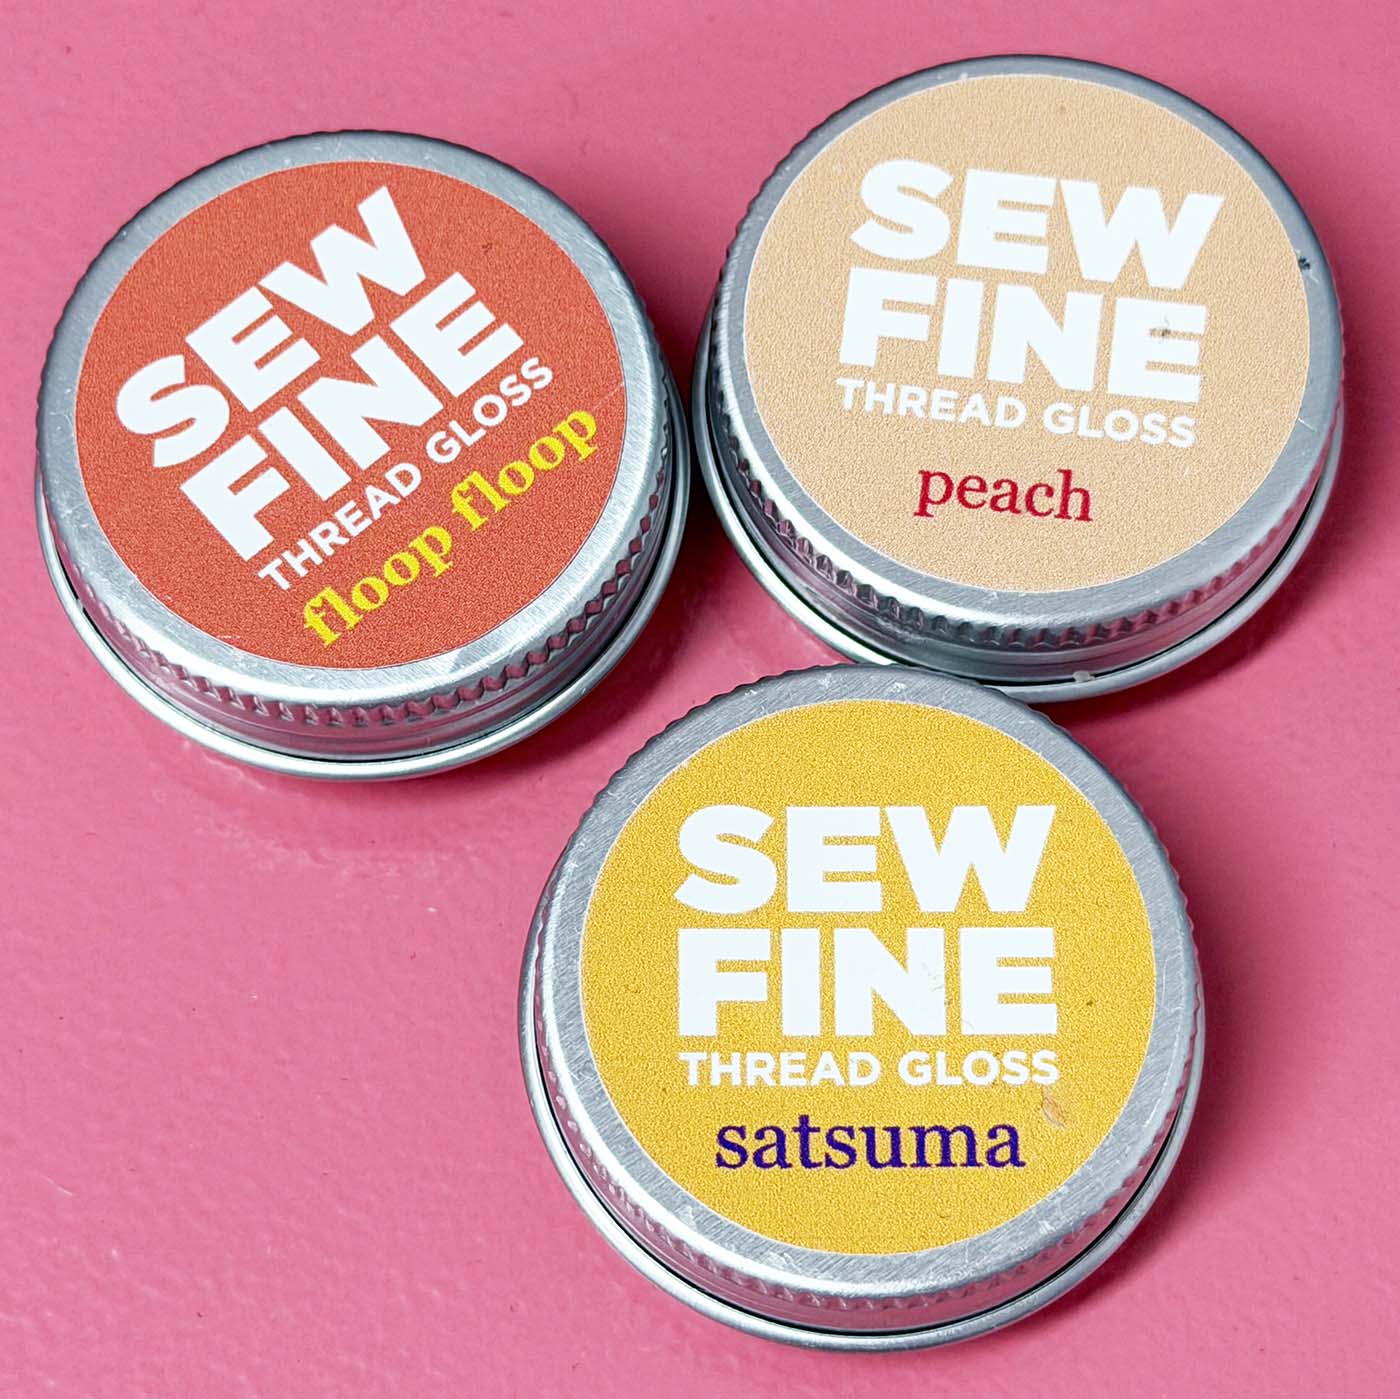
Thread gloss smooths your thread, reducing the risk of tangling and decreasing wear as it passes through the fabric. Natural wax-based thread glosses and synthetic options are available. My personal favorite is Sew Fine, which is wax-based. To use thread gloss, pull your cut thread through the gloss a couple of times, then pinch the thread and pull it through your fingers. If you’re dealing with particularly stubborn thread that tends to tangle, try waxing it, then place it between layers of a press cloth and iron to set the wax.
3. Hold Your Fabric In Place Before You Stitch
Accurately positioning your components for sewing is critical, especially with hand-sewing. It’s bad enough if something shifts while sewing by machine, but it really stinks when something moves while hand-stitching; nobody wants to undo all that hard work!
Pins
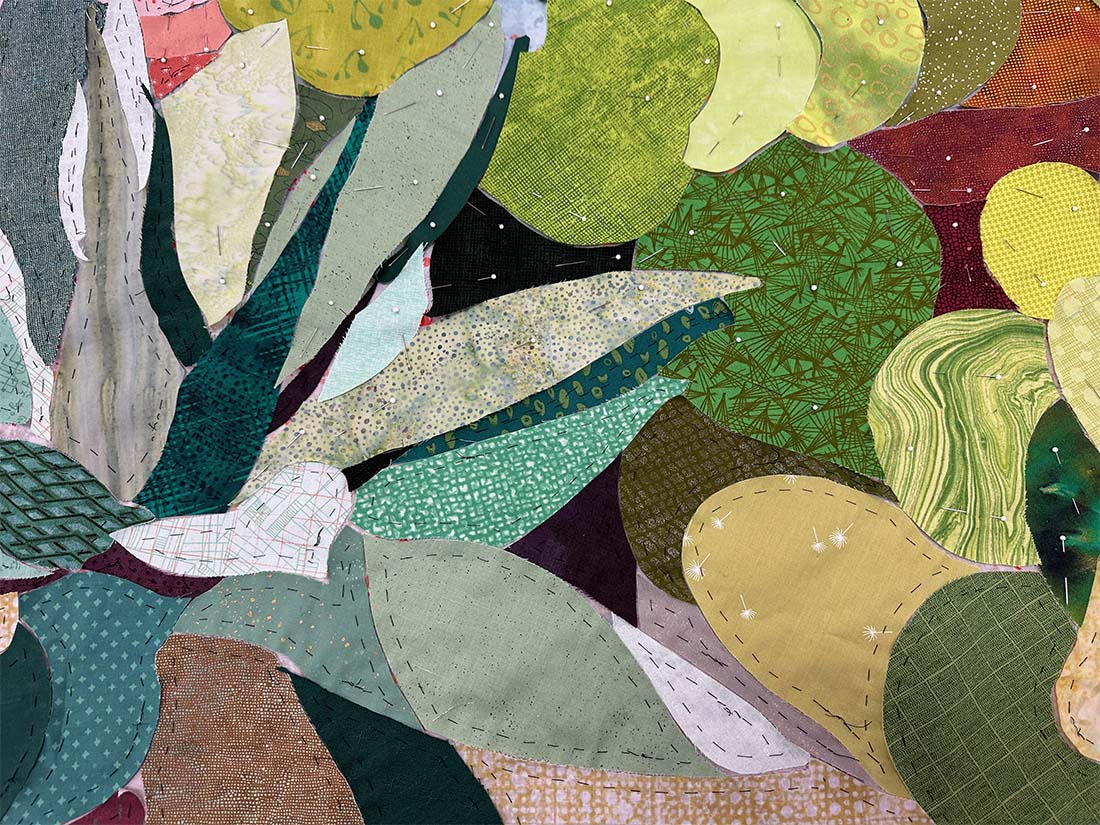
Pins are the most versatile option for holding components together for stitching. It is my go-to method for holding a quilt sleeve in place for hand stitching. I also use pins to hold appliqué pieces in place until I baste them. The downside of pins is that holding a project covered in pins feels like cradling a porcupine on your lap, and they can potentially slip out before you want them to.
Clips
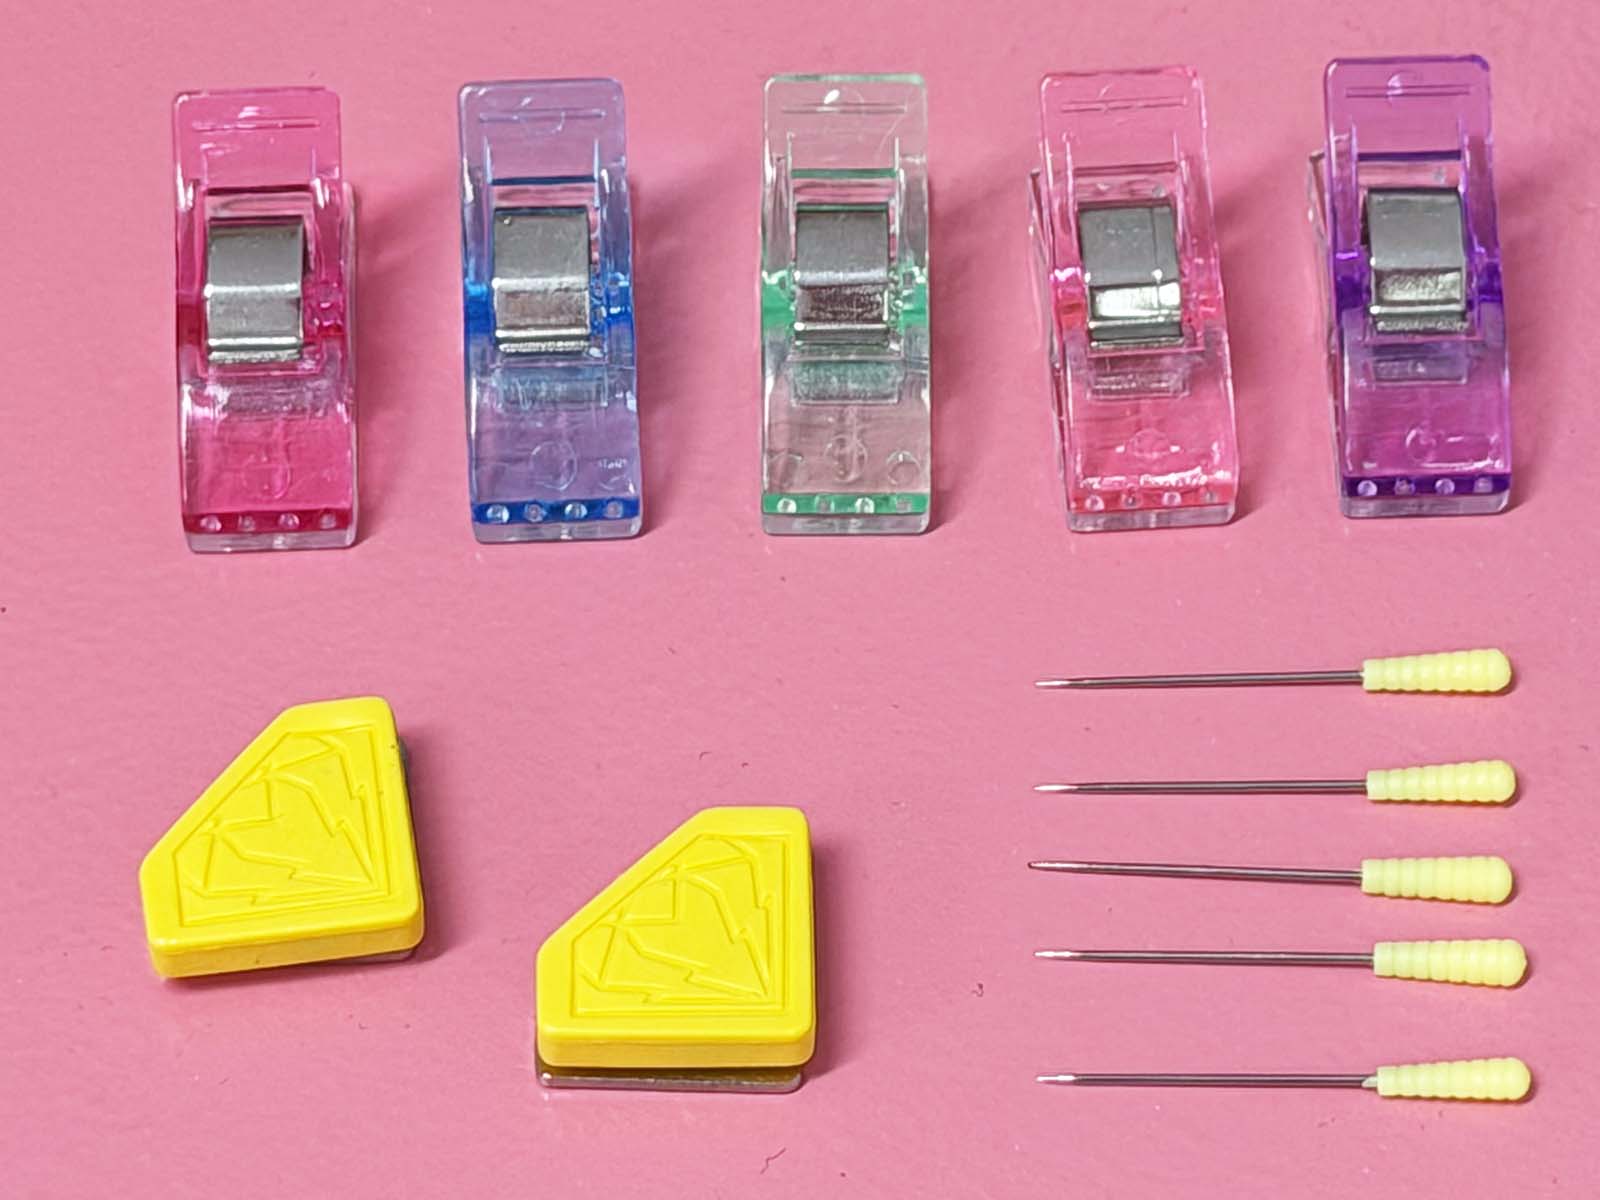
Clips, such as Clover Clips, are great for binding and holding EPP components together.
Magnets
Magnets, such as Sew Tites, hold EPP components together beautifully.
Are You Ready to Do Some Hand Stitching?
If you would like some hand-sewing inspiration, check out these tutorials:



No Comments