Most traditional quilt blocks are built using similar components in different arrangements and proportions. Some of these components, such as squares, rectangles, half-square triangles, and flying geese, appear frequently, and most quilters have included them in at least some of their projects.
Other block components appear less frequently, but knowing how to work with them adds options to your quilting practice. Recently, I’ve shared options for constructing half-rectangle triangles and square-in-square components. Today, I have two options for creating the Cat’s Cradle components I used to make a Spinning Tops mini quilt.
(This post includes some affiliate links. If you click on an affiliate link and choose to make a purchase, I receive a small percentage of the sale at no cost to you. These funds help keep this blog running and content FREE for everyone!)
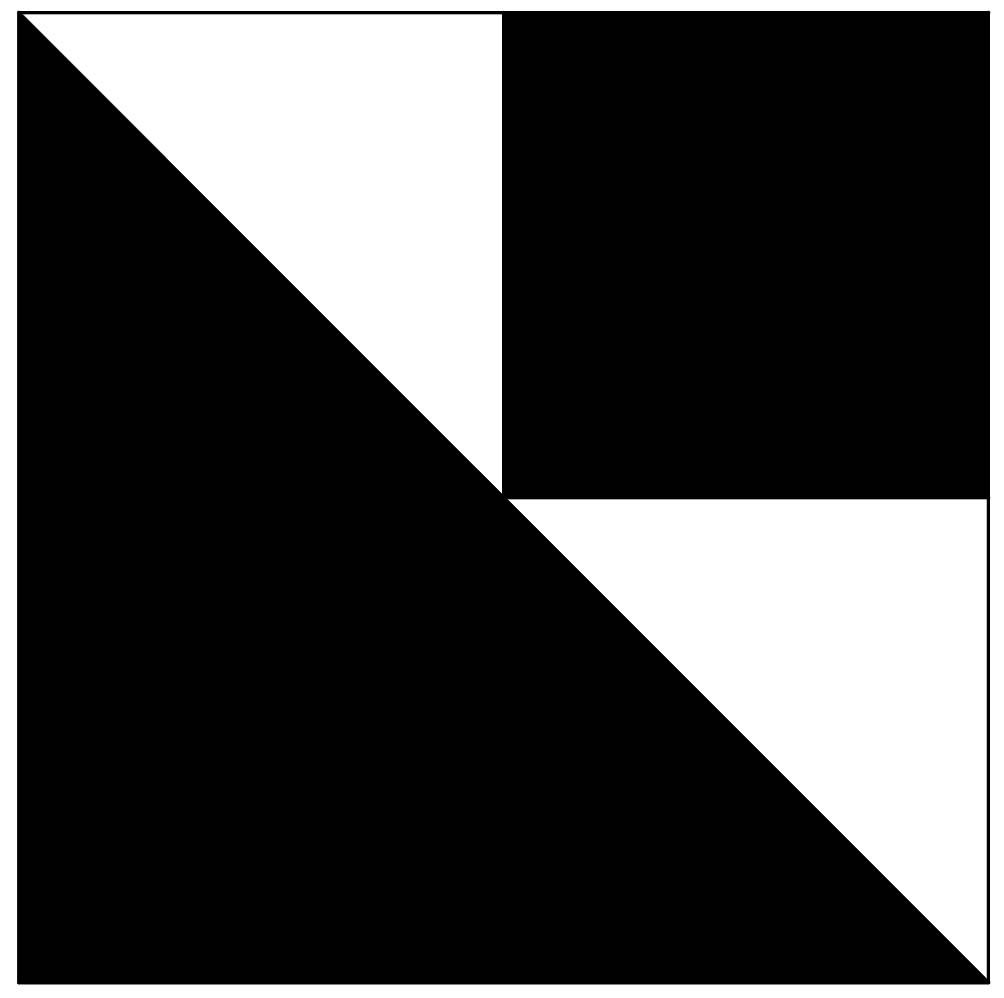
The Cat’s Cradle Component
A single Cat’s Cradle Component is a square with a half-square triangle on one side, and the other half has a small square in the corner flanked by smaller triangles on either side.
Traditionally, quilters made this block component with templates, but most contemporary patterns use either foundation paper piecing (FPP) or a specialty tool to guarantee accuracy when piecing this block component.
FPP Option
FPP for this type of block component is straightforward if you have used the technique before. (If you haven’t done FPP, check out this video tutorial with a FREE pattern to go with it!)
If you want to try FPP for the cat’s cradle component, you can download this free template to piece a 4″ component.
Cat’s Cradle Tool
Another great way to create Cat’s Cradle block components is through a specialty tool. This method is more efficient if you plan to make a lot of blocks incorporating this component or want the flexibility of making your blocks in a range of sizes.

For the mini quilt I’m sharing today, I used the Non-Slip Cat’s Cradle Tool, designed by Deb Heatherly for Creative Grids. This tool made quick work of creating the block components. Best of all, this method allows you to construct the entire block using only squares and rectangles!
You can see the tool in action in this video:
Missouri Star Quilt Company supplied the Cat’s Cradle Tool I used for my project. If you click the link below and spend at least $50, they will offer you 20% off this tool and almost anything else they carry.

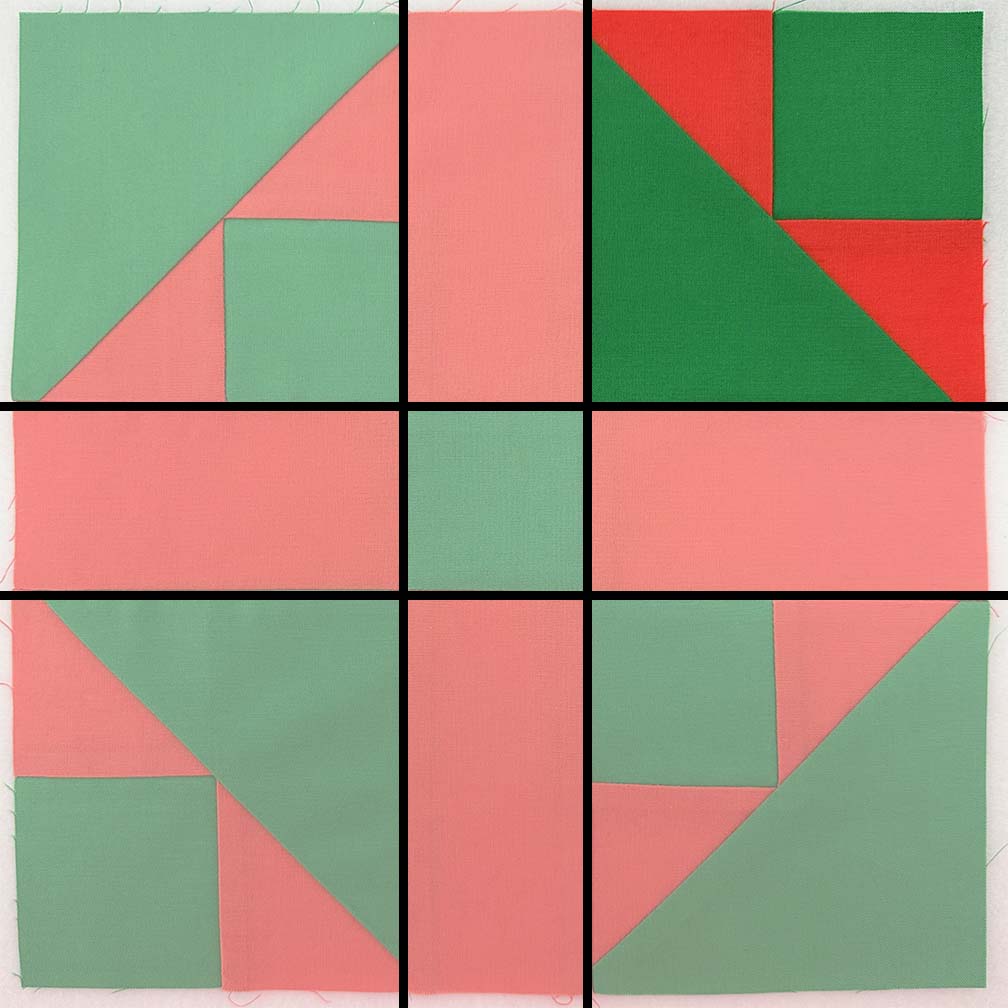
Blocks Using Cat’s Cradle
How can you use Cat’s Cradle components? Many traditional quilt block components combine beautifully with the Cat’s Cradle. Below are a few of my favorites.

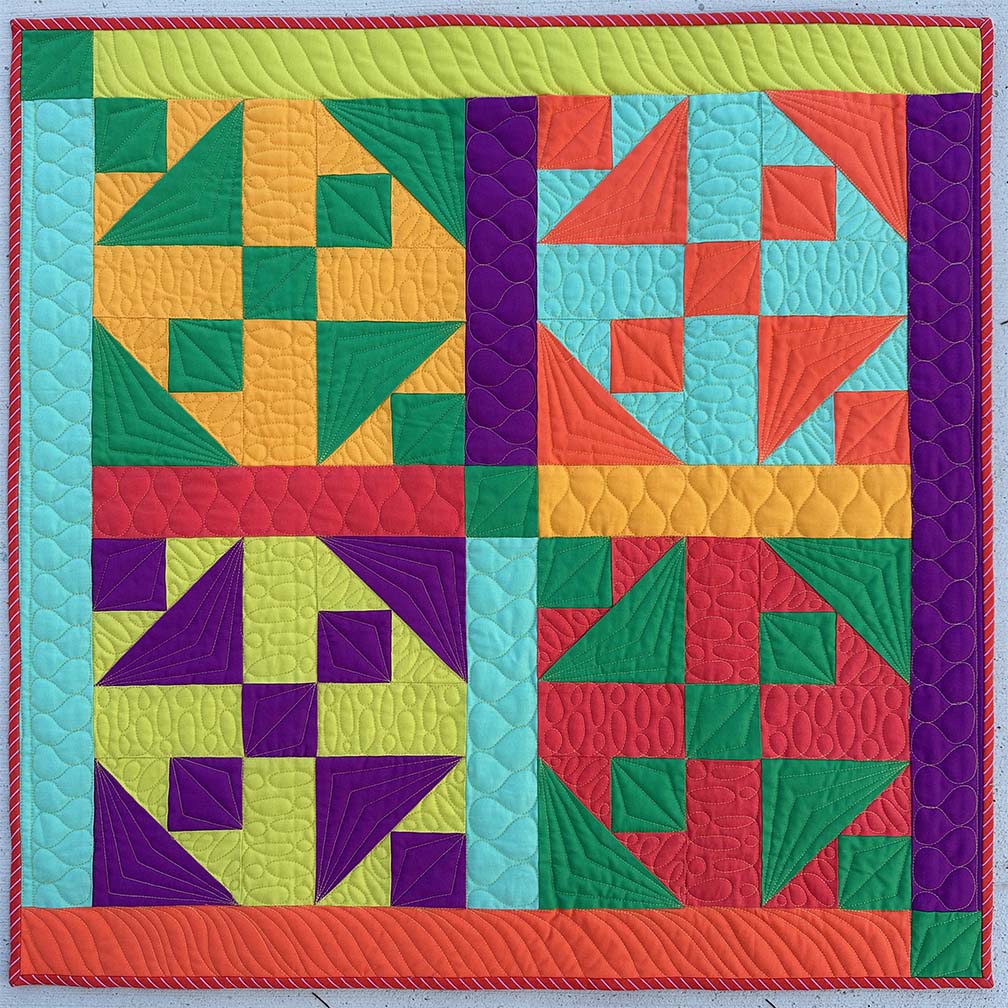
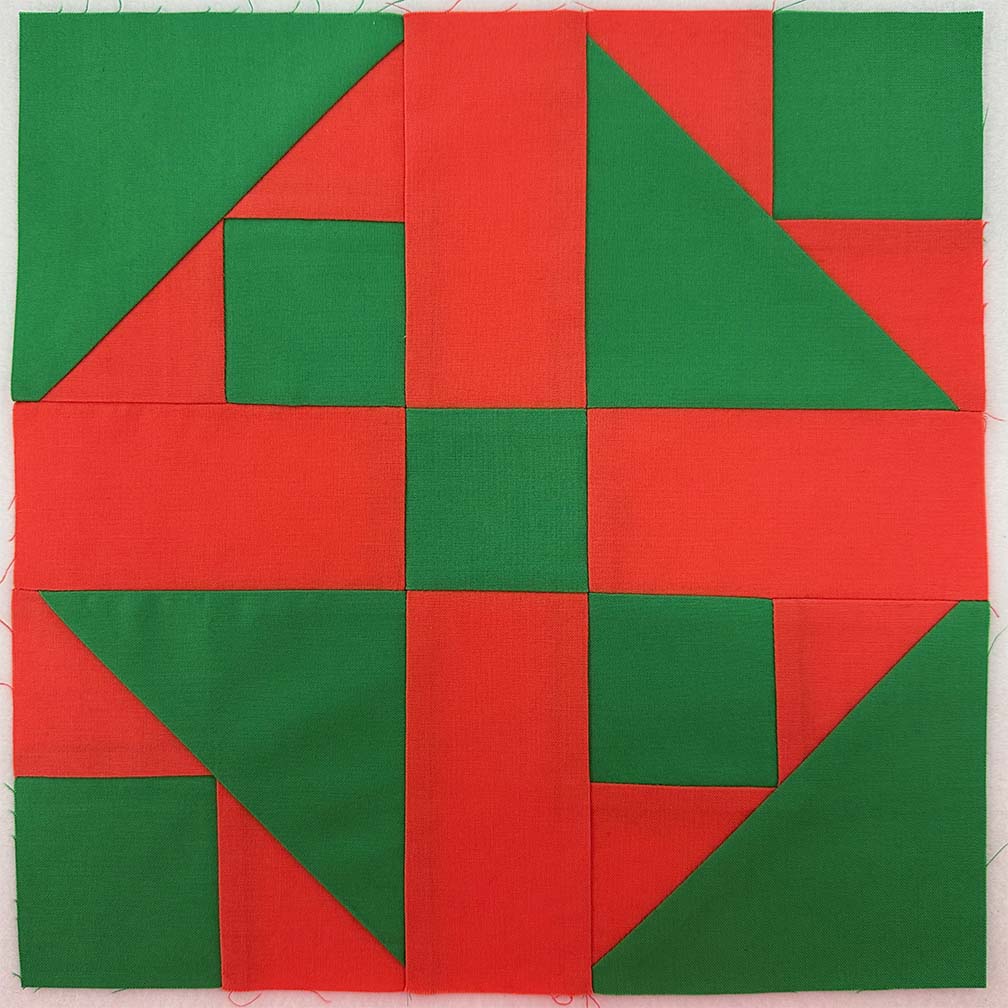
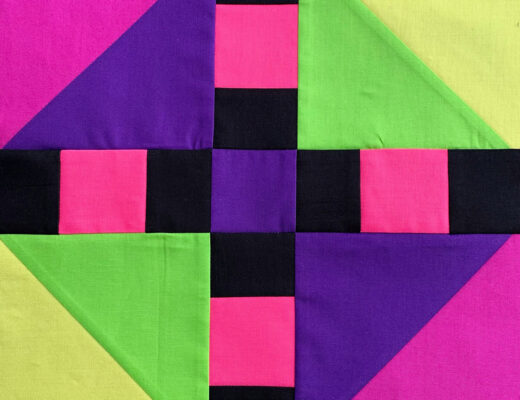
For my mini quilt, I selected the block on the far right, which has an uneven 9-patch construction. Each corner features a Cat’s Cradle component, with rectangles between the squares and a central square.
Making a Mini with Cat’s Cradle Components
Piecing the Top
For the Spinning Tops block, the Cat’s Cradle components finish at 4″ (4-1/2″ unfinished), the dividing rectangles are cut at 2-1/2″ x 4-1/2″, and the center component is cut 2-1/2″ square. Using these proportions, the finished block is 10″ square.
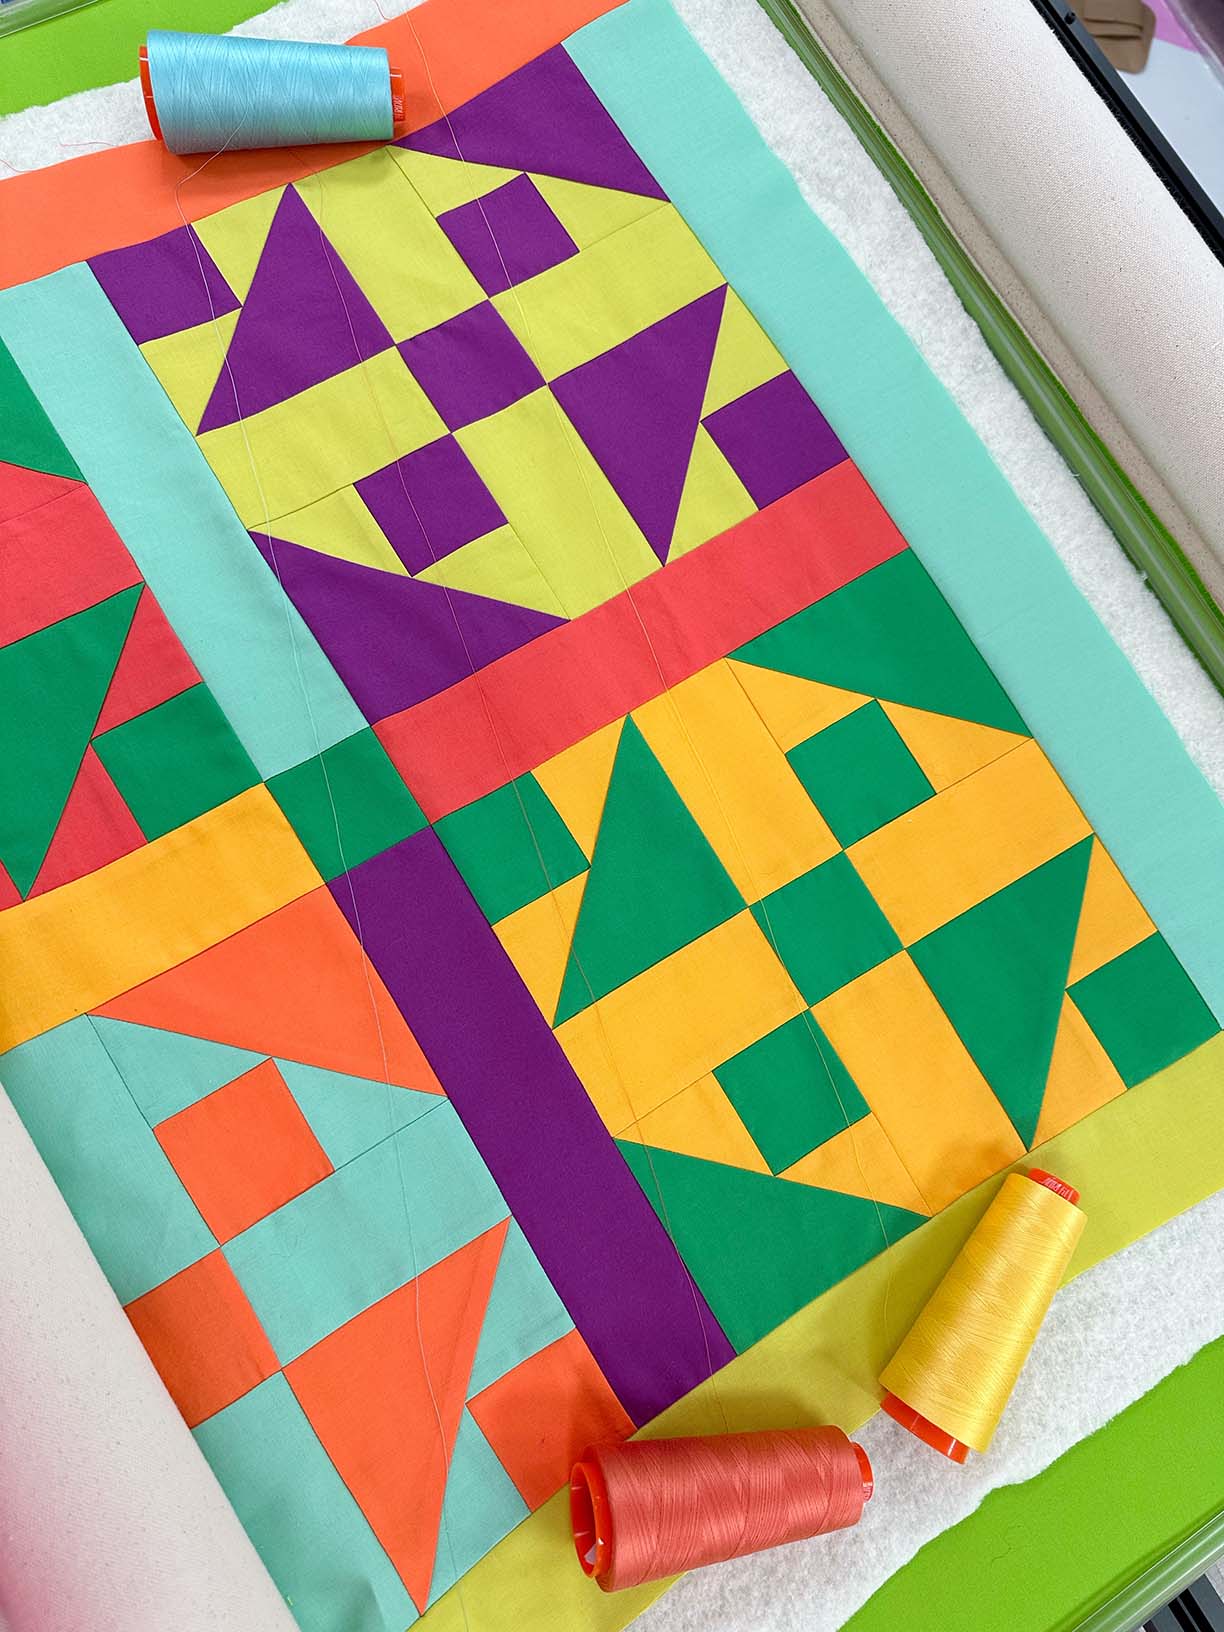
I selected different bright, solid fabrics for each of these two-color blocks and featured emerald green in two blocks to help draw your eye across the quilt. I didn’t overthink color placement when I started because I wanted to push my visual limits with colors featuring a sharp contrast and see what would happen when the unexpected colors came together.
Once all the components were in place, I assembled the individual blocks like a standard nine-patch, creating three rows and then stitching the rows together.
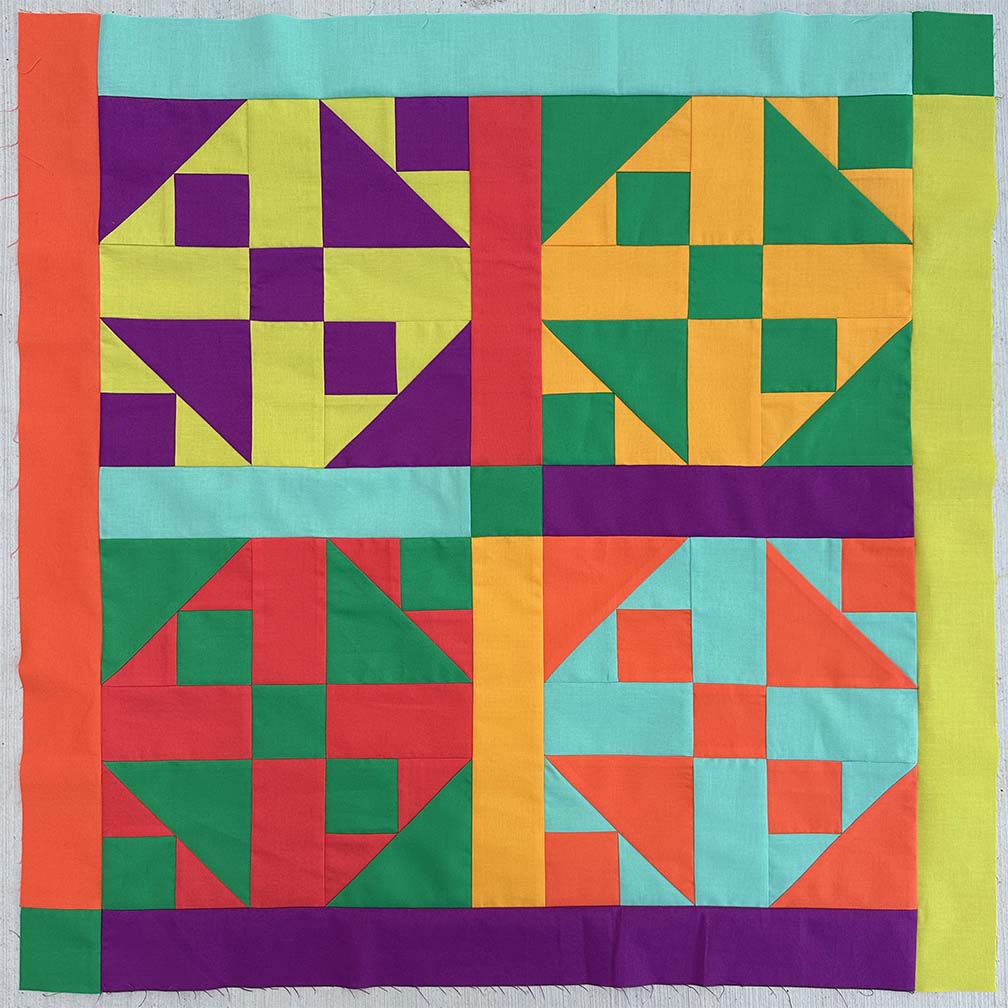
To complete the piecing of the mini quilt top, I decided to add sashing between the blocks and a border around the edges. For my block piecing and the construction of the overall quilt top, I pressed my seam allowances to the side using a spinning seams technique.

If you would like to try this method, check out this video:
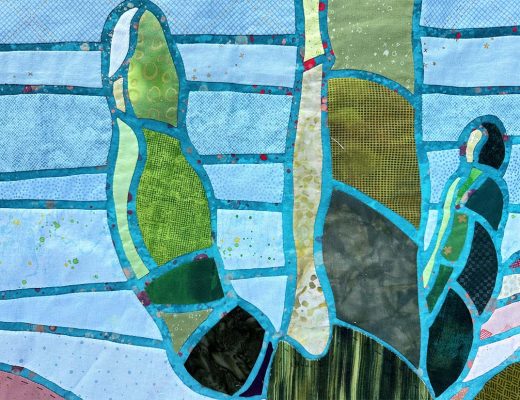
Quilting
This quilt was small, and since I haven’t done much custom quilting lately, this would be the perfect project to practice on. I created a few parameters for myself in an attempt to keep the project fun and reasonably quick:
- Use only one color of thread for the entire quilt (no thread changes)
- Continuous quilting lines are required! (moving around the quilt is done with quilting motifs and stitching in the ditch)
- Stitches only get ripped out if the issue is structural, like tension.
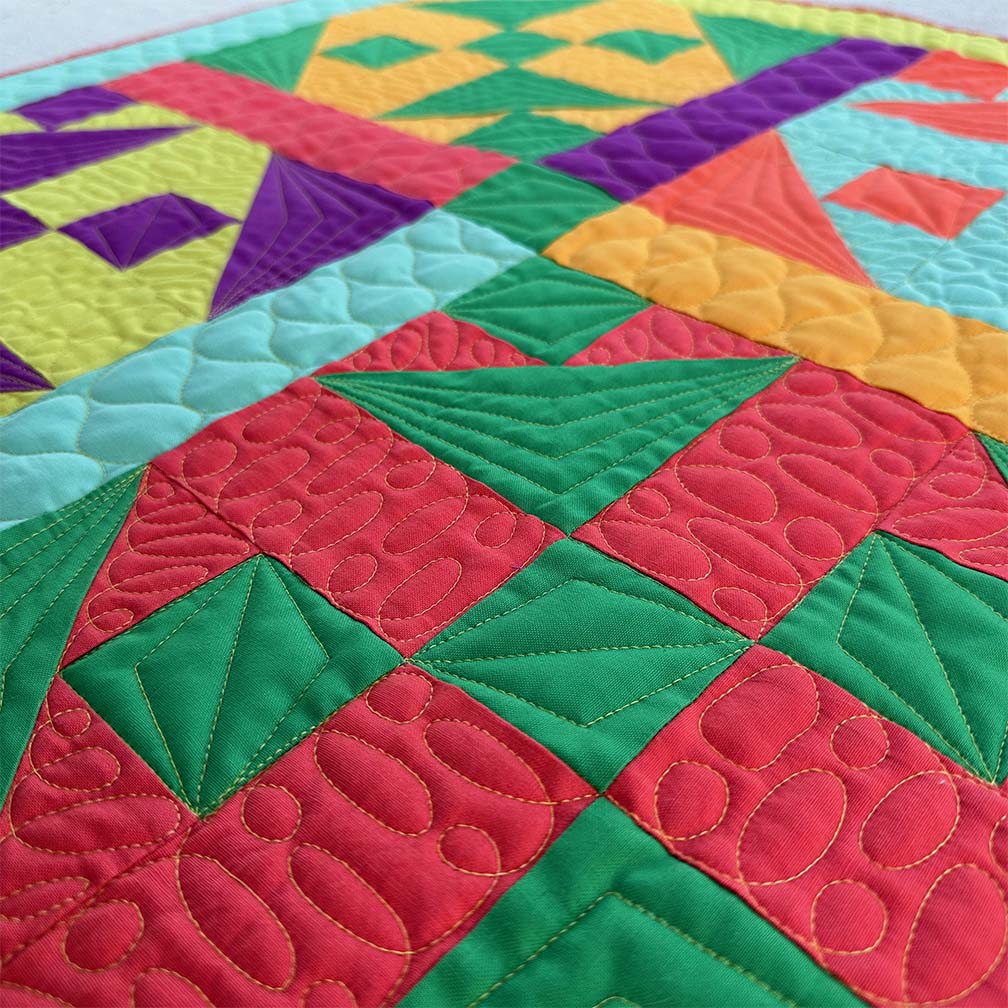
With all of these bright colors, choosing another bright color for quilting was fun. When I was pulling thread options, I thought I would end up with orange, but I fell in love with the look of yellow and ended up going with it!
The quilting on this piece is a mix of free-motion motifs and a bit of rulerwork.
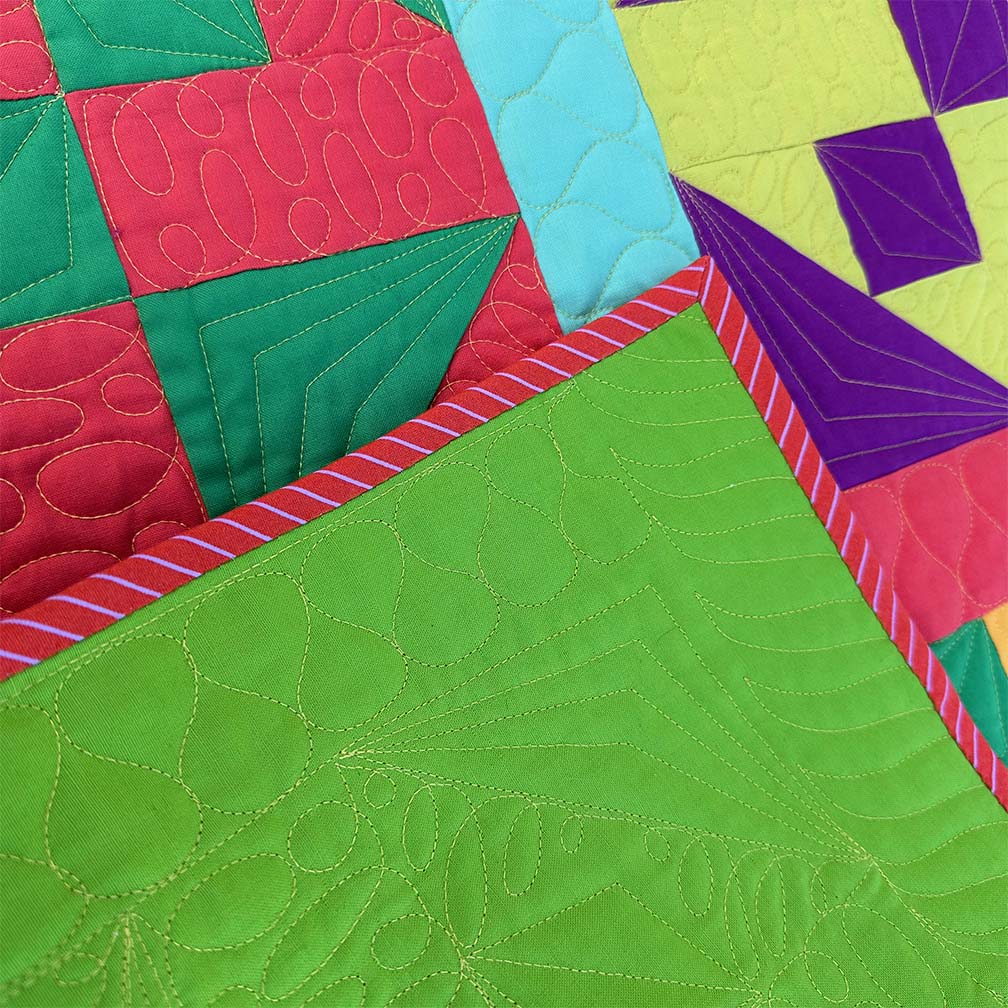
Binding
I keep a stash of bias binding made up and ready to go on any project that needs it, so I rarely make specific binding for small quilts, although I will if they need it. For this project, I had several strong options and ended up with this narrow stripe made from Tula Pink fabric.
Quilt Stats:
- Title: Spinning Tops
- Size: 26″ x 26″
- Techniques: Traditional machine piecing with blocks trimmed using the Creative Grids Cat’s Cradle Tool
- Quilting: Free-motion and ruler-work on a longarm machine
- Fabric: Solid fabrics from my stash, mostly Painter’s Palette Solids from PBS Fabrics
- Batting: Hobbs Heirloom Premium 80/20 Cotton/Poly Blend
- Thread: Aurifil 1135, Pale Yellow
- Binding: A narrow stripe designed by Tula Pink, cut on the bias, and pulled from my binding stash.

No Comments