There are lots of tools to streamline foundation paper piecing (FPP), but what do you need? Do you have to go out and buy specialty tools to get started?
No!
Extra tools can streamline the process, but beyond your basic sewing kit, there is only one thing you need to foundation paper piece. And that item is most likely already in your house.

(This post includes some affiliate links. If you click on an affiliate link and choose to make a purchase, I receive a small percentage of the sale at no cost to you. These funds help keep this blog running and programs like the Quilt Concert Series FREE for everyone!)
Foundation Paper Piecing Processes
The best part of Foundation Paper Piecing is that the basic technique is always the same, regardless of how complex a design appears. Some designs just require you to repeat the same steps more times than others!

There are four basic processes in foundation paper piecing, and most can be accomplished with tools already in your sewing kit.
- Placement: where to place each piece of fabric so it will cover the appropriate section of the template
- Sewing and Pressing: Stitching on the printed line and pressing the fabric
- Trimming: Cutting the seam allowances to an appropriate width
- Removing the Papers
What you need for Successful FPP Fabric Placement:
- A way to fold the templates along the stitching lines
- Light source
Tools for Folding
This is where that ONE TOOL I mentioned comes into play
A piece of thin card stock or cardboard such as a greeting card, postcard, strip of poster board, Bristol board, etc.
In order to position your fabric to cover the appropriate section of the template, folding the template on a printed line is necessary. The easiest way to do this is to have a thin, yet sturdy straight edge to lay along the printed line that helps you get a nice fold in the paper template. (Keep reading to find an instructional FPP video with free templates to practice!)
Want to Upgrade?
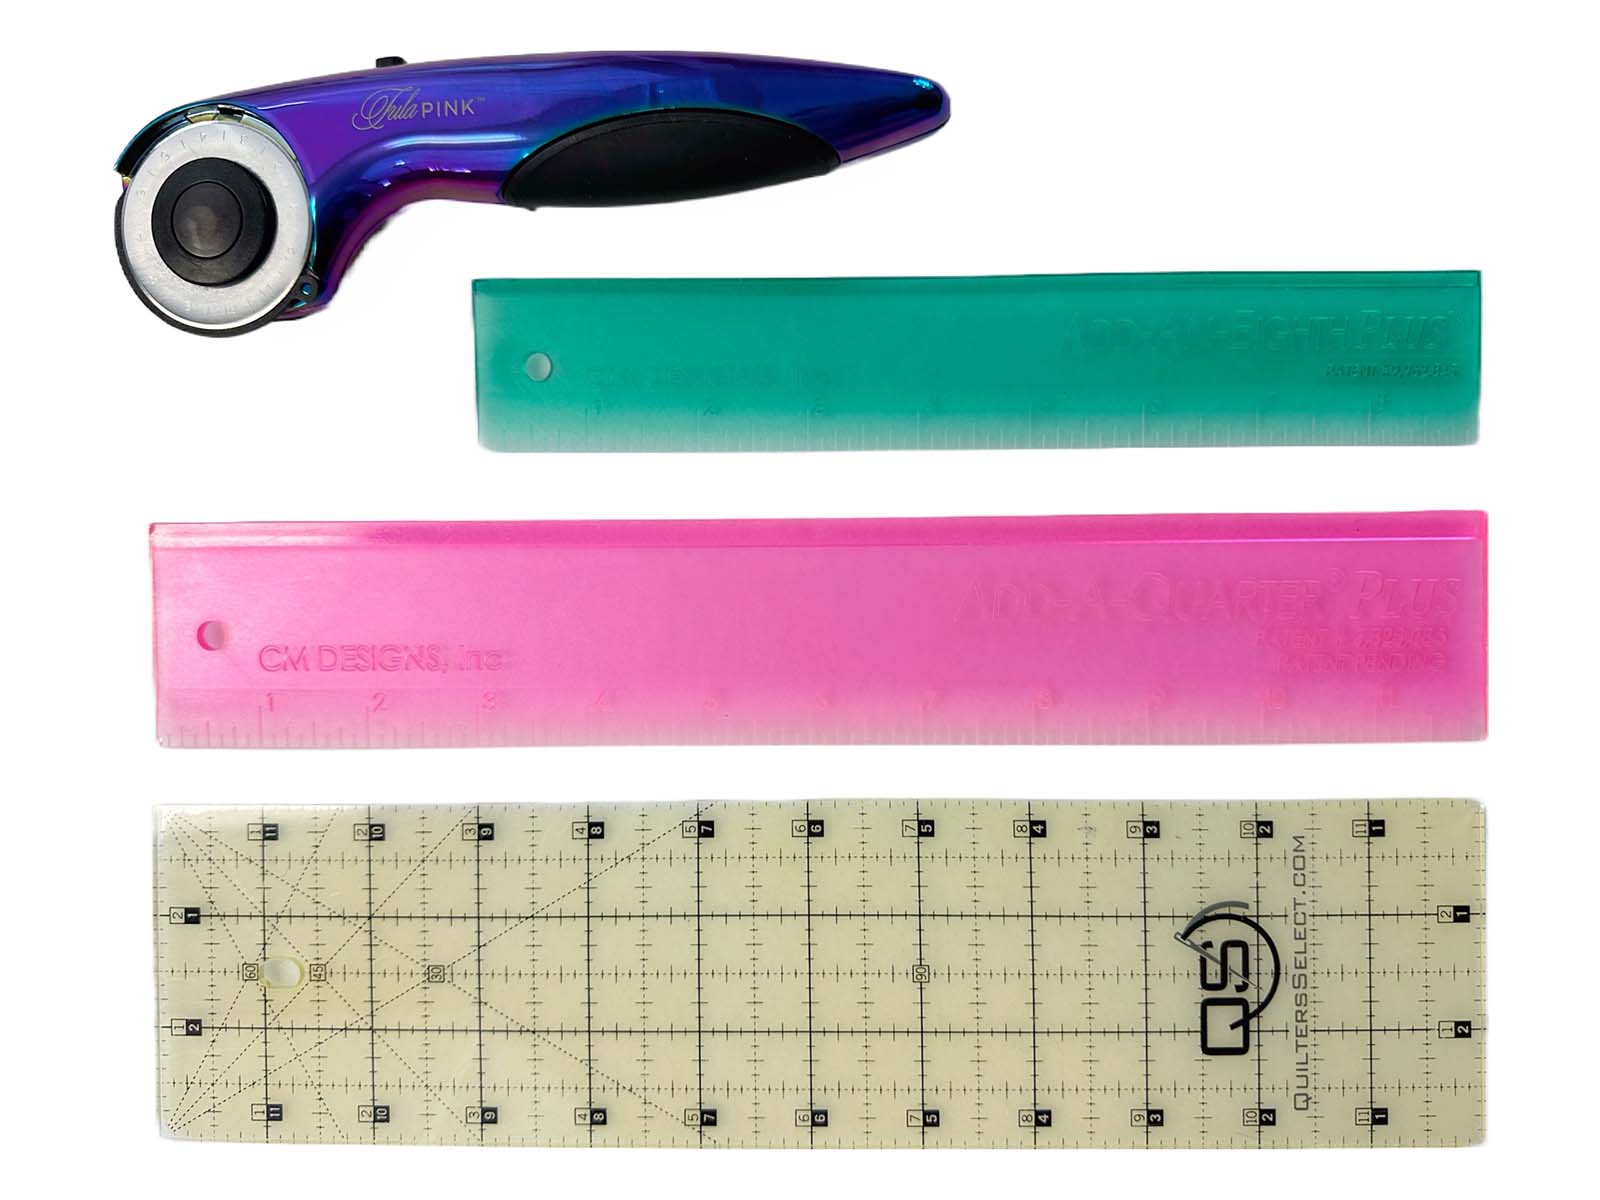
If I could only have one specialty FPP tool, it would be the Add-a-Quarter Plus ruler. It comes in 6″ and 12″ lengths. The Plus version of this ruler includes a tapered edge that you can use to fold your template papers and a 1/4″ ridge that you can use for cutting, but more on that in a moment.

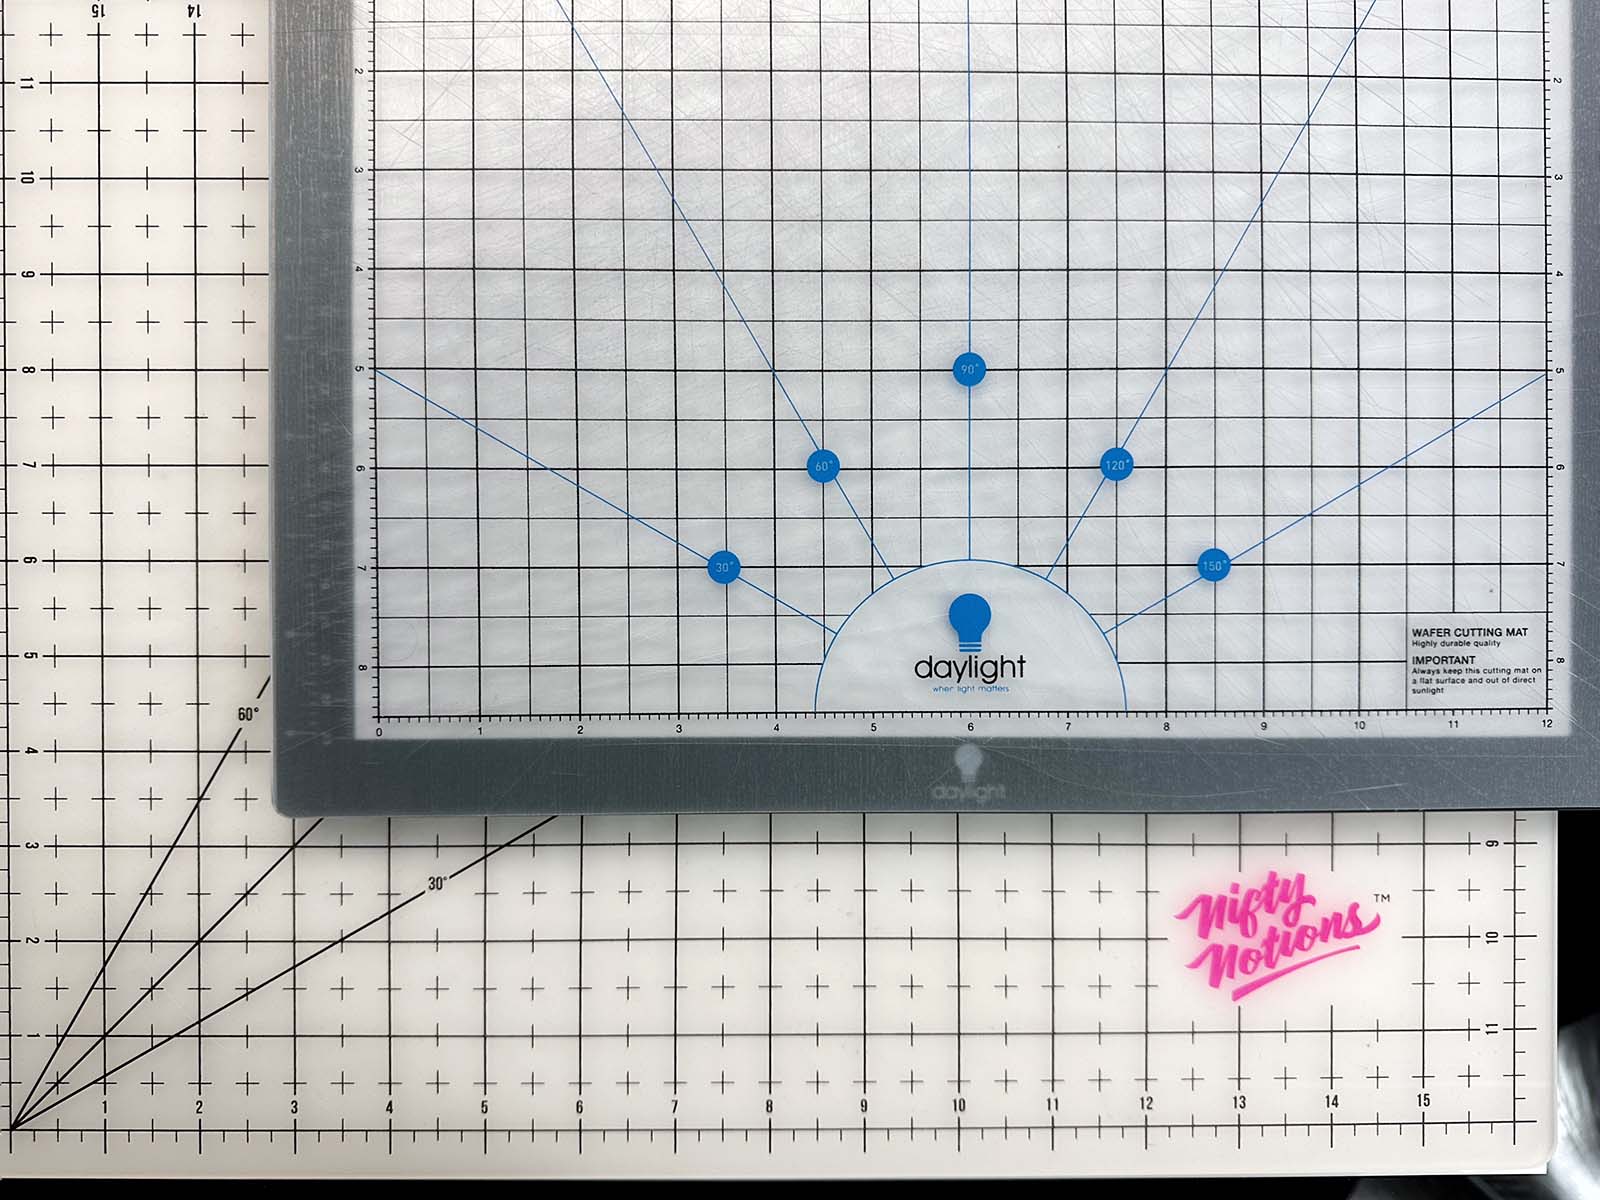
Light Source
A strong light of any type will greatly assist in fabric placement. You will hold your folded template up to a light source to help you position your fabric. (More in the instructional video below!)
Upgrading your light source
If you do much FPP, a Lightbox with a cutting surface is a terrific upgrade. With this tool, you don’t have to hold your template and fabric up to a light source, but can keep it flat on you work surface.
Do you NEED a Lightbox? No. I did FPP for years without one.
Would I want to give it up now that I have one? NO!
FPP Sewing and Pressing
Sewing
Foundation Paper Piecing requires a sewing machine that does a short straight stitch. I typically set my stitch length to between 1.5 to 2 and use a universal size 12 needle.
Pressing
The Pressing Basics
The iron and ironing surface you already use to sew is perfect for foundation paper piecing.
Upgrading your pressing
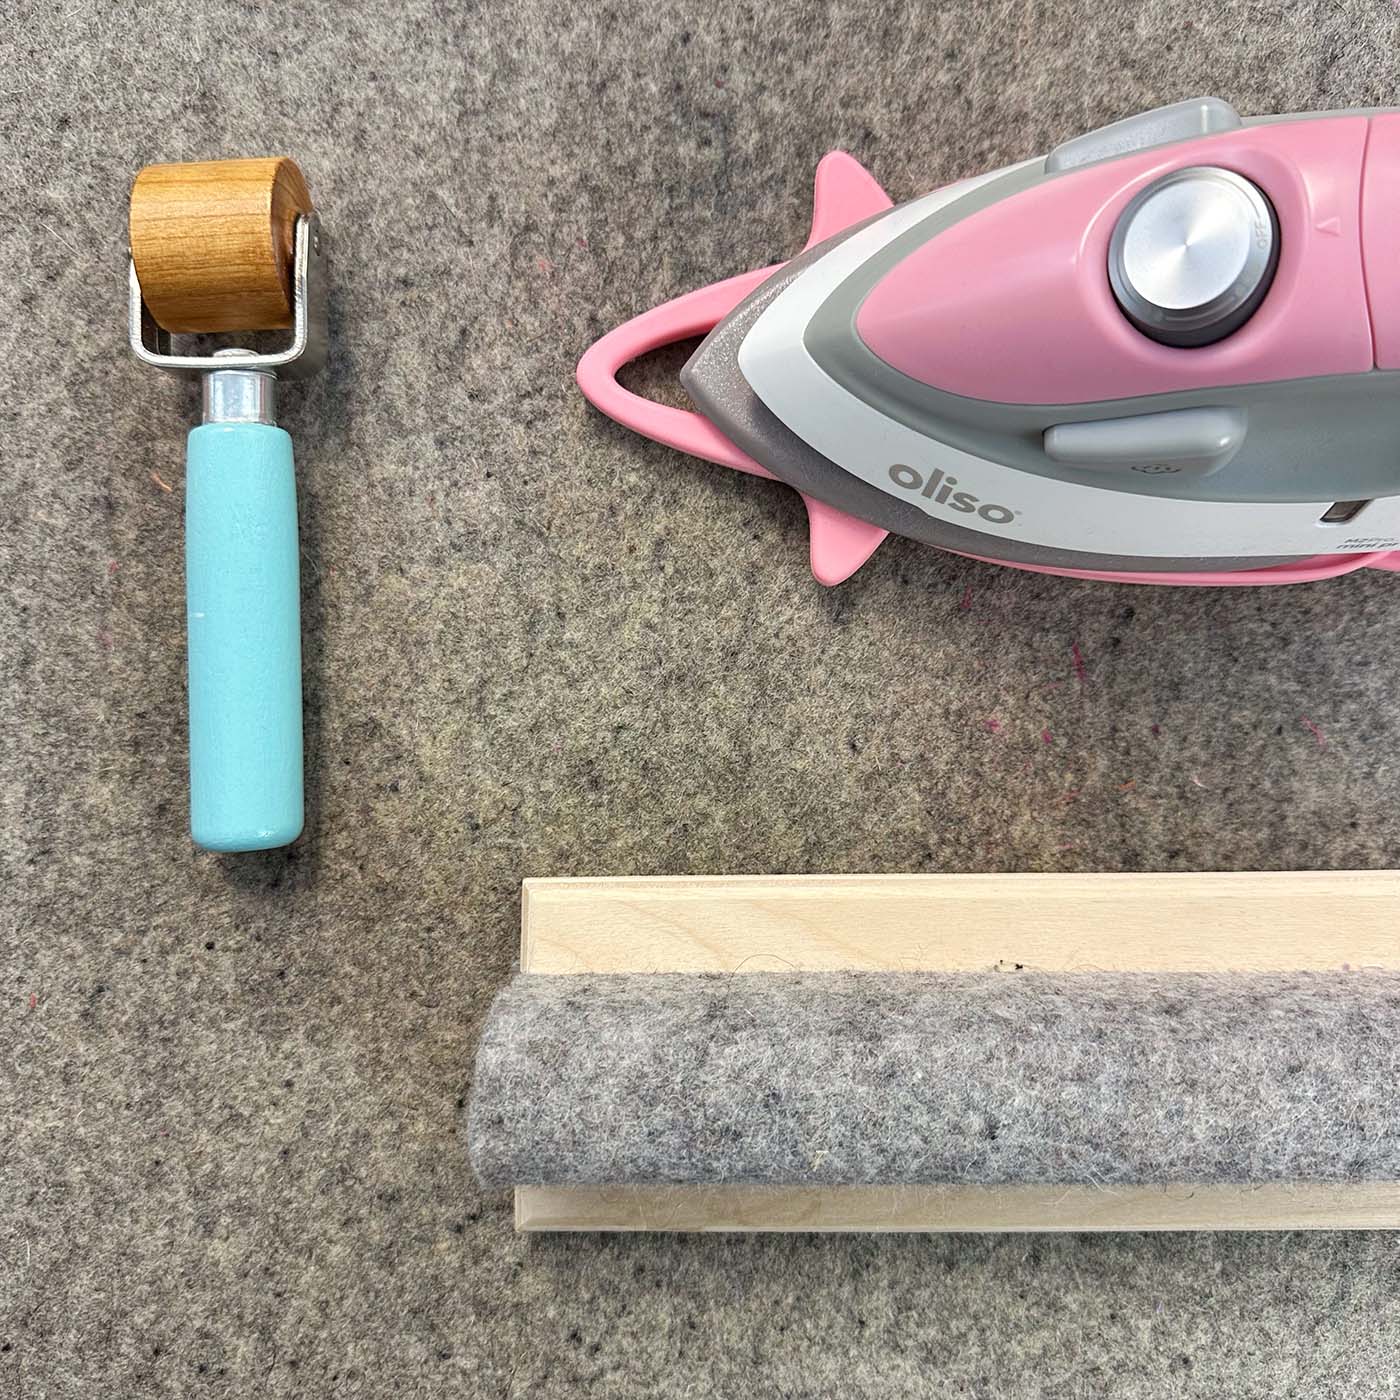
FPP is a repetitive process (place, sew, trim, press, place, trim, sew, press, place, trim, sew, press). Having a means of pressing right next to your sewing machine can really help streamline your system. I like this mini Oliso paired with a wool ironing mat.
If you don’t want an iron right next to you, I have had good luck with this seam roller on most seams.
A wool pressing mat is nice for any sewing, and a pressing bar is great to press open seams when joining bulking FPP segments together. It also can do double duty as a clapper to help set those seams against a wool pressing mat.
Tools for FPP Trimming
The Basics
Seam allowances for FPP are typically trimmed to 1/4″ wide either before or after a seam is stitched, depending on the exact FPP technique used. Some quilters use scissors for this, but most use a rotary cutter with a ruler and mat.
I’m a rotary cutter kind of quilter and all of the basic cutting tools you already own work just as well for FPP. I do like trimming with a somewhat smaller rotary ruler that has a non-slip backing. Nobody wants a cutting oops! when working with relatively small FPP components! When selecting your ruler, make sure you will be able to easily line up the quarter inch line of your ruler to get an accurate 1/4″ cut.
Upgrading the Trimming Game
The Add-a-Quarter Plus ruler has a 1/4″ ridge built into it that makes trimming your seam allowance accurately an easy process. If I were to only have one specialty tool for FPP, this is it- folding and trimming help all in one tool!
If you get into smaller scale FPP designs, or struggle with “shadowing” as you get more into FPP, the Add-an-Eighth Plus ruler is terrific for staggering or grading seam allowances (stay tuned for an upcoming post on using this ruler!)
Removing the Papers
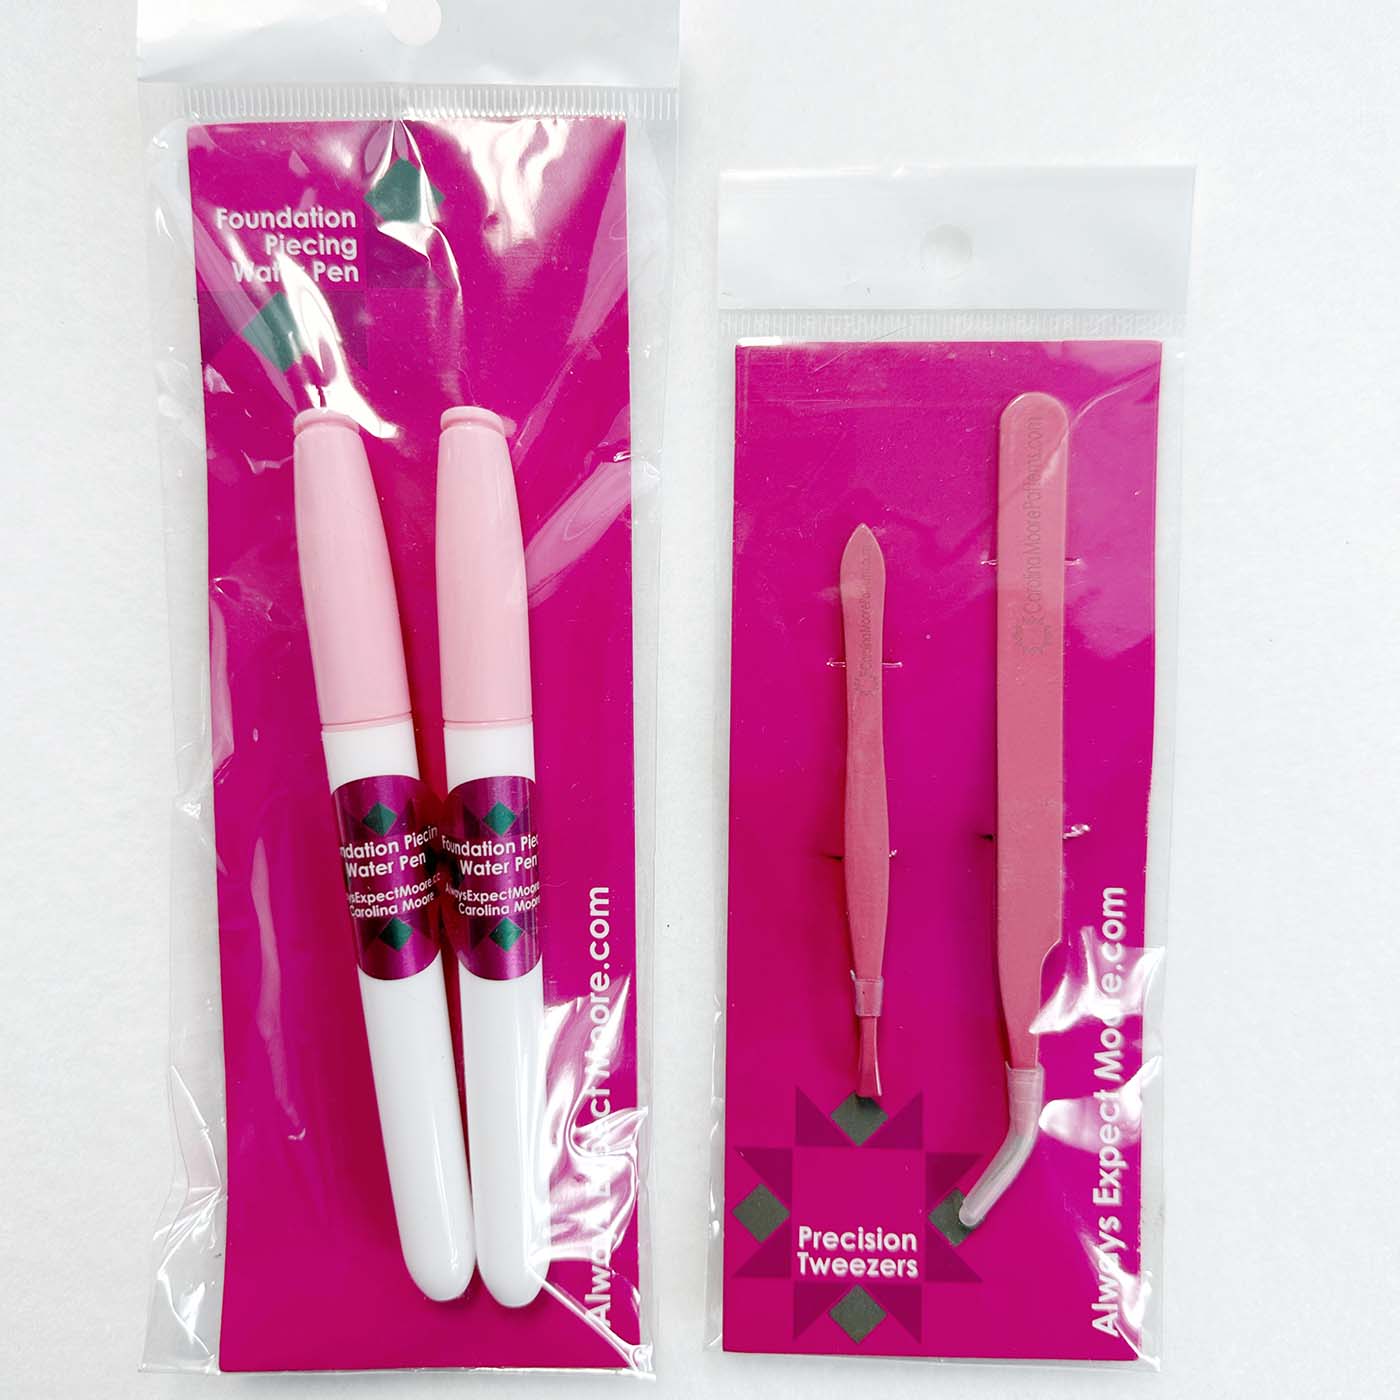
Probably the most annoying part of the FPP process is removing the papers at the end. Tweezers have always been a helpful tool, and recently I have started using these water pens that you run along each stitched seam to make the papers easier to remove.
How to Foundation Paper Piece
Want to give FPP a try? Check out this step by step video for a how-to, and then sign up for my newsletter to receive the accompanying templates for FREE to try out the process. Remember that all you need to get started are some basic sewing supplies and a postcard!
Want to Do More Foundation Paper Piecing?
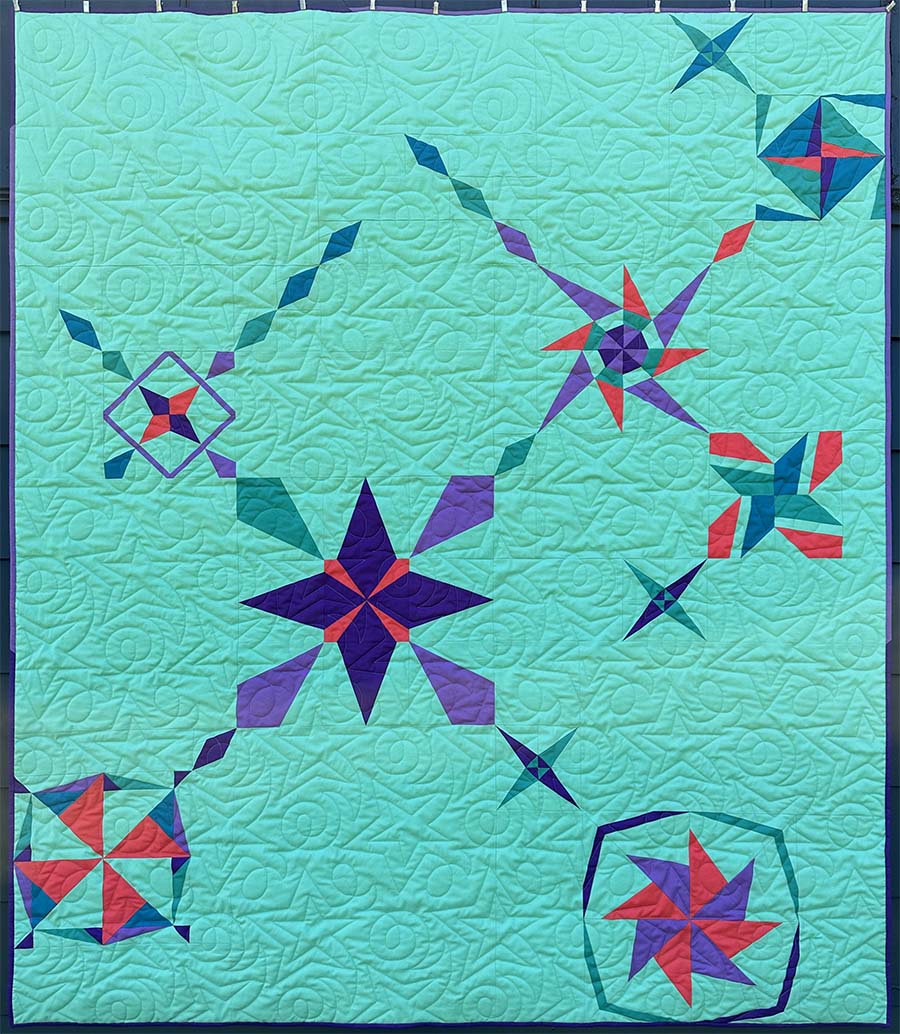
Join us for Quilt Concert 2023: Twinkle Twinkle! This Summer Quilt-Along focuses on foundation paper piecing and is free to join when you follow along each week! Each week a video tutorial accompanies the block pattern, so it’s great if you are still getting comfortable with FPP.
Seeing this after the quilt along? The full pattern is available here:


1 Comment
Pamela Meyers Arbour
June 16, 2023 at 6:23 amThat was an excellent and thorough post about FPP. You have some very good tips. Right now, I am struggling with the Sentimental Stitches weekly sew along. I hope to go back and read your post again more carefully before I continue on my current FPP project. Thanks for doing this sew along. The finished quilt looks fabulous. I hope to join the quilt concert next year when I have my UFOs under control.