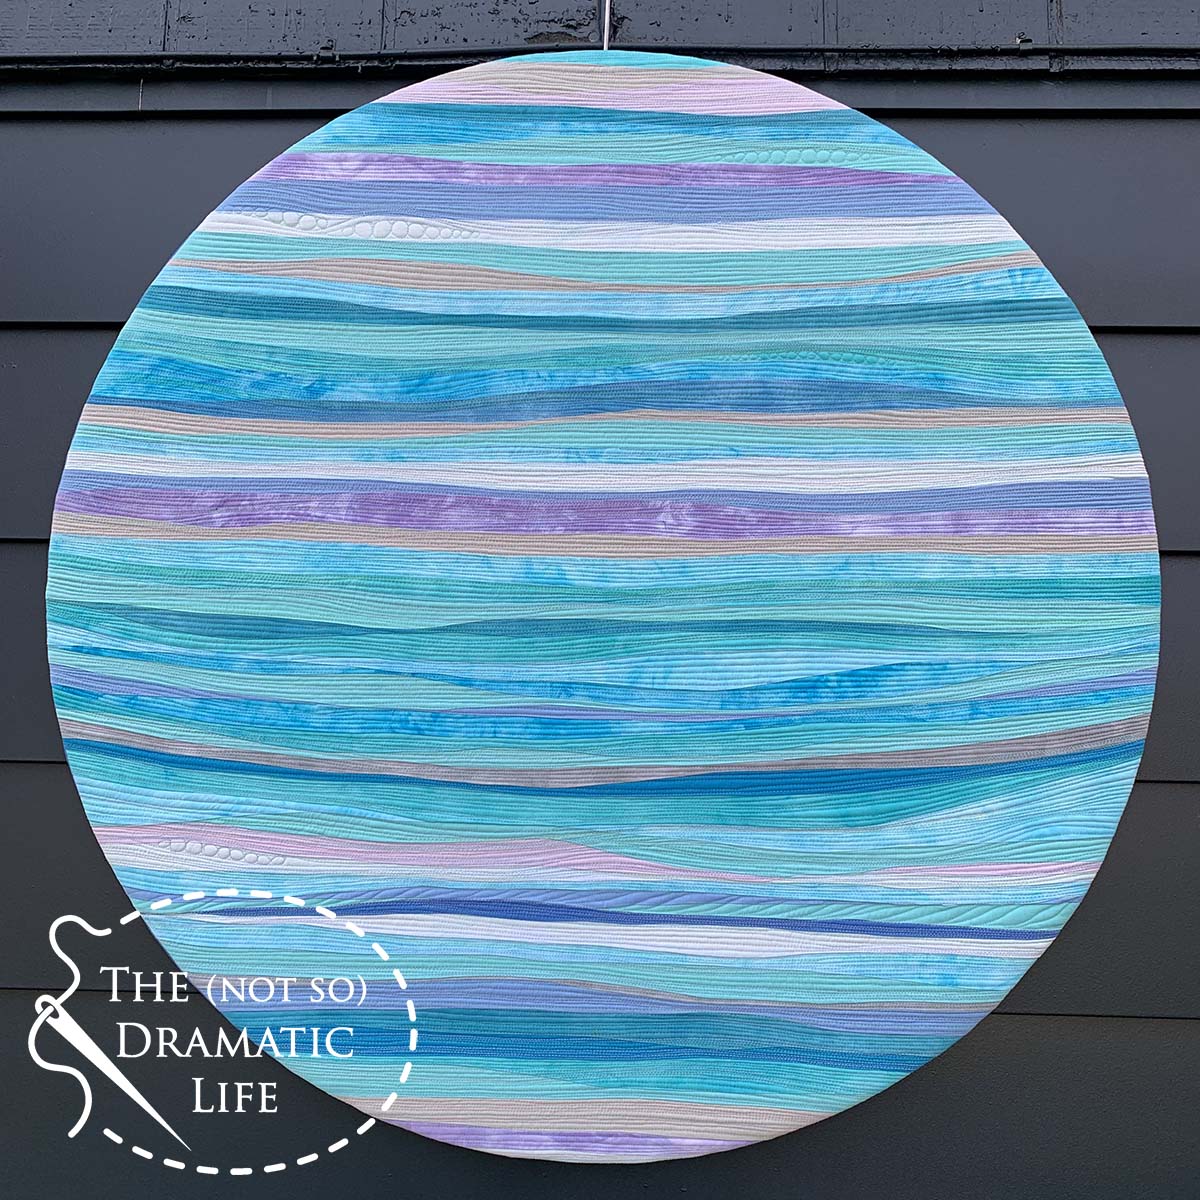
2020 was the year that almost everything was canceled, but I did have one phenomenal experience that summer- An artist residency on Mackinac Island in Michigan. As part of the residency, each participant donates a piece of their Mackinac inspired work to the art museum on the island. Since this quilt is now at it’s forever home, it won’t be seen at any shows, so I am excited that I can now share the finished piece with you!
Mackinac Island is situated in the Great Lakes between the Northern and Southern sections of Michigan. There are no cars permitted on the island, so you arrive by ferry and then walk, bike, or take horse-drawn carriages around the island. Since I have a clumsy streak, bicycling after not doing it for decades sounded like a poor choice, and being in a carriage with other people during a pandemic didn’t seem to be a good choice either, so I walked all over the island. If you would like to see a layout of the island you can see a Mackinac Island map here.
In the three weeks that I was there, I went to almost every outdoor point of interest on the island. The spot I kept coming back to was Arch Rock. It was one of the first places I visited, and I went back every couple of days. The view was incredible, and if I got there early in the morning (before 9, but the earlier the better), I was often the only person around.
The rock formation is marvelous, and I soon realized that this was most likely the place that would inspire my final art piece. The formation is amazing, but I was even more drawn to how beautifully the formation frames the water view.
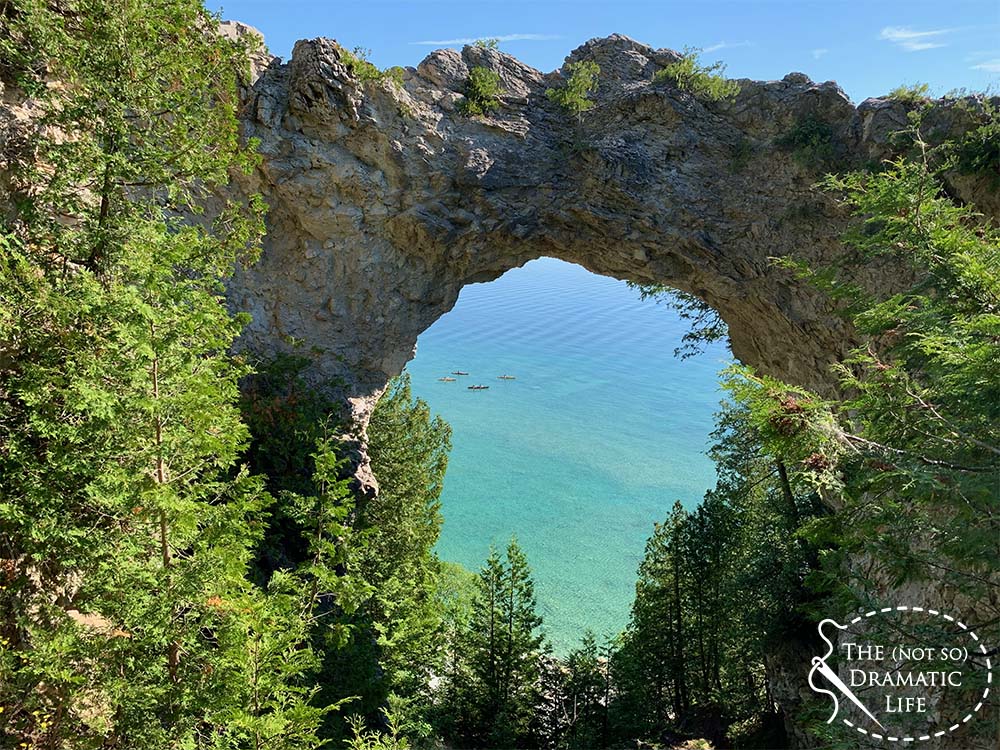
I had never realized that lake water could look that turquoise in color, and I loved visiting on different days to see how the color of the water altered with even slight weather variations. I took this video on the other side of the island, but it gives you a sense as to the water movement and the changes in color that comes with it.
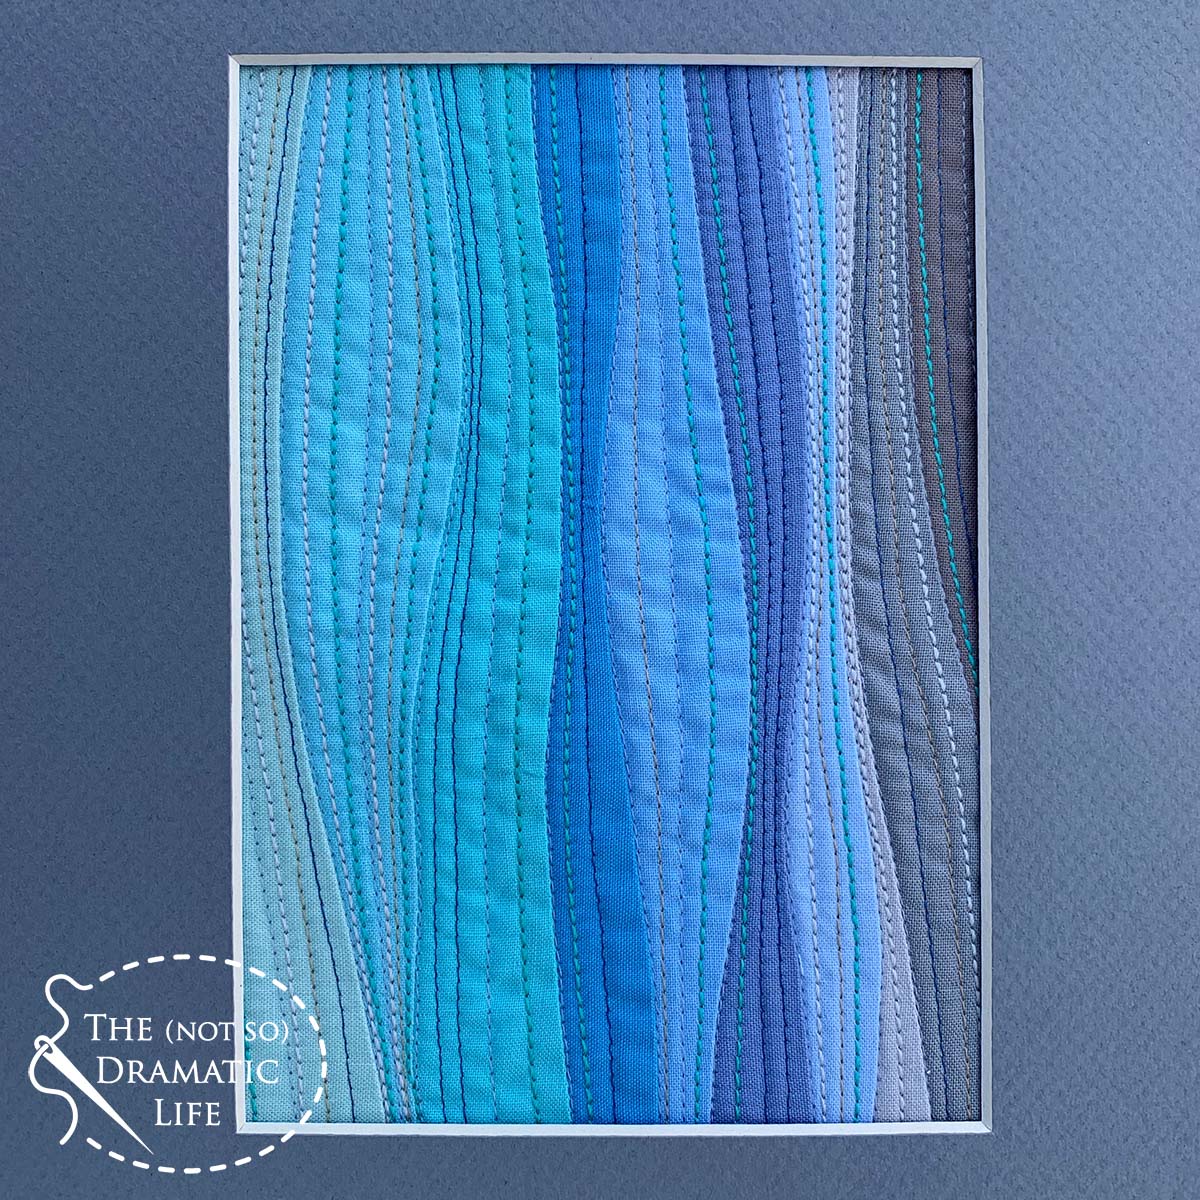
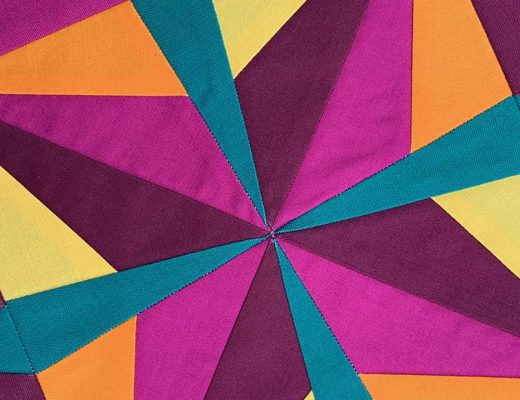
I made several small sketch quilts while I was on the island using mostly solid fabrics that I had brought as my working palette. This sketch used improvisational piecing for the organic waves and the multiple thread colors captured the feeling of the highlights where the sun hits the water.
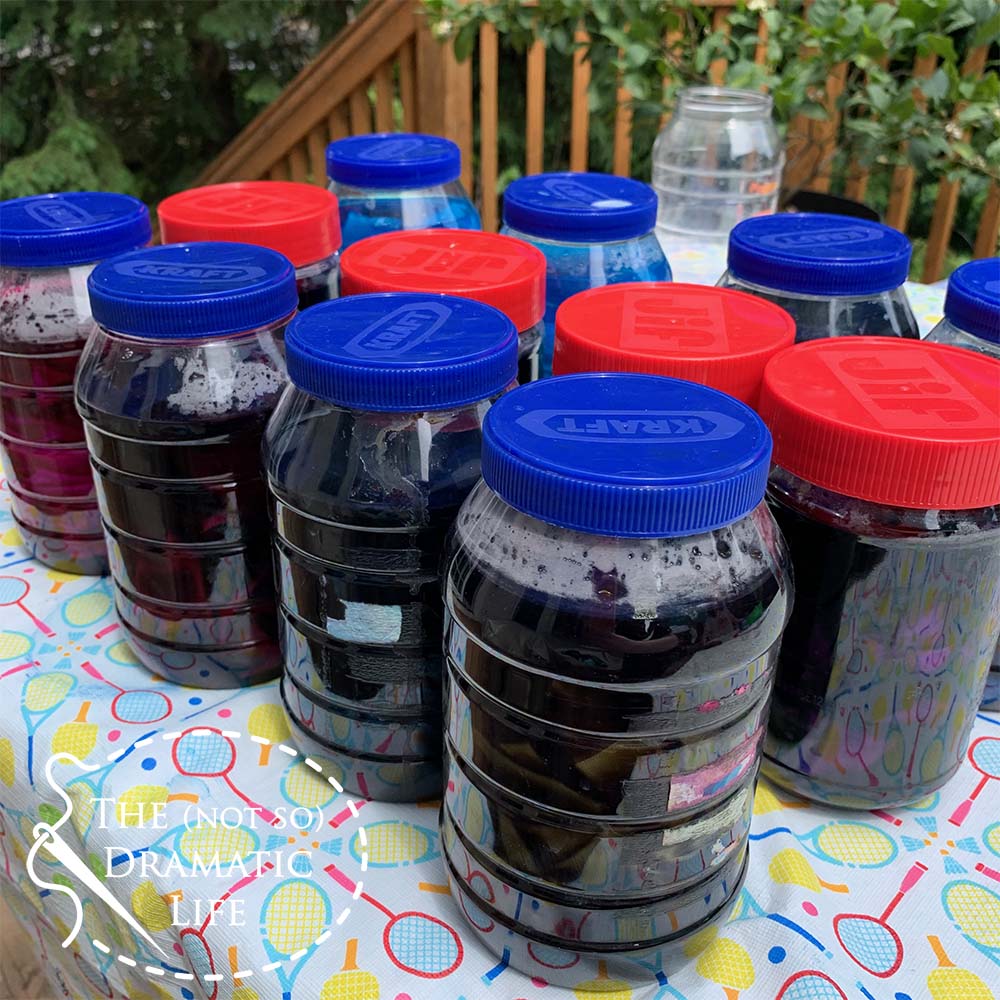
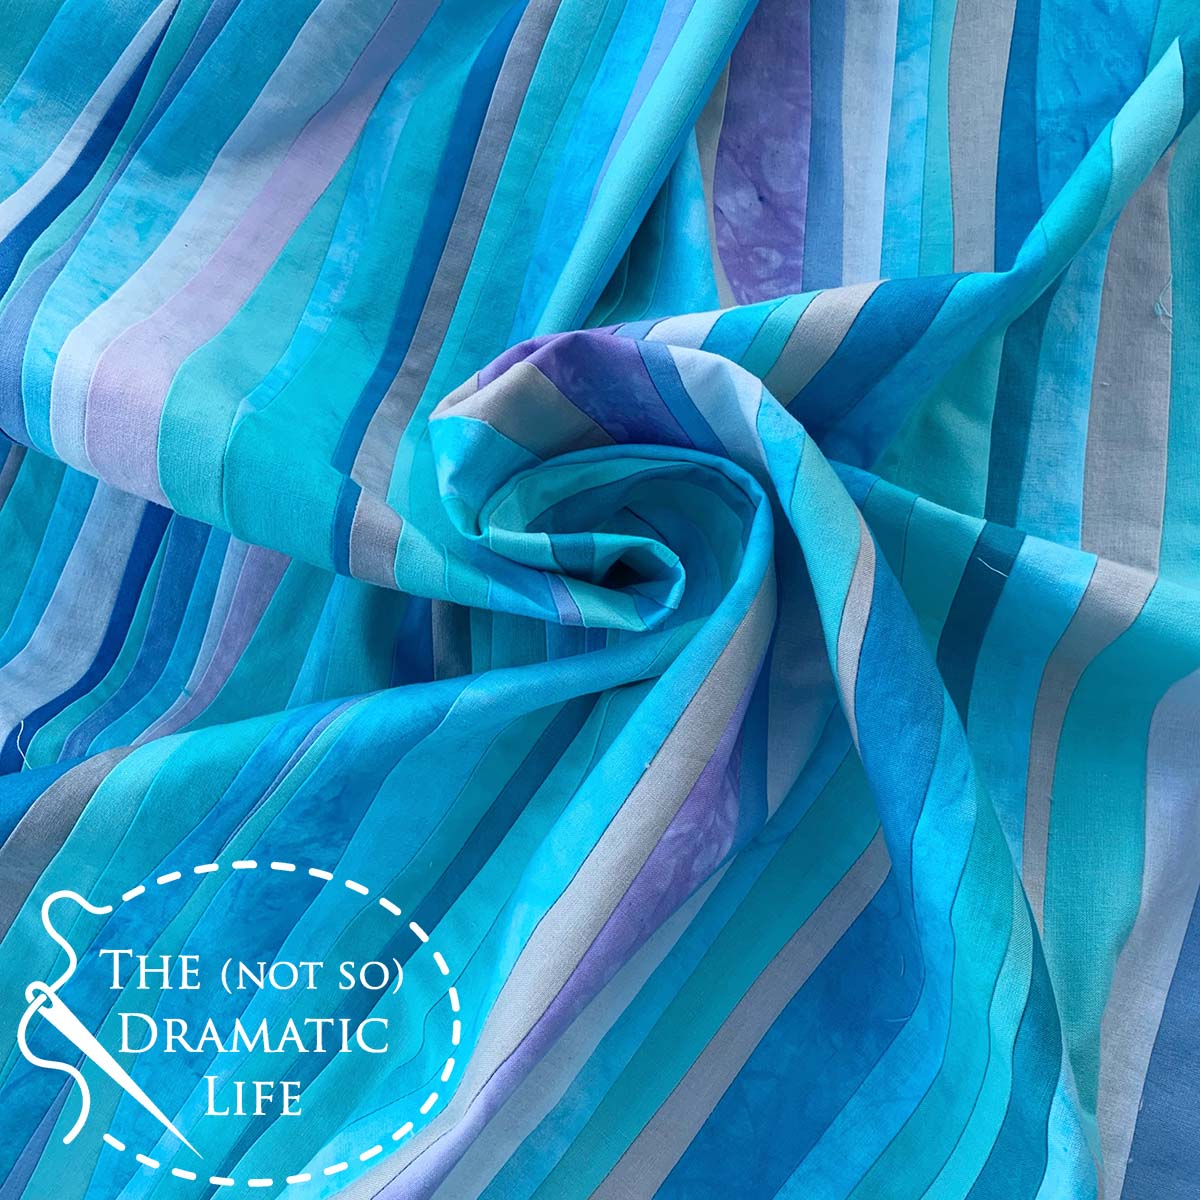
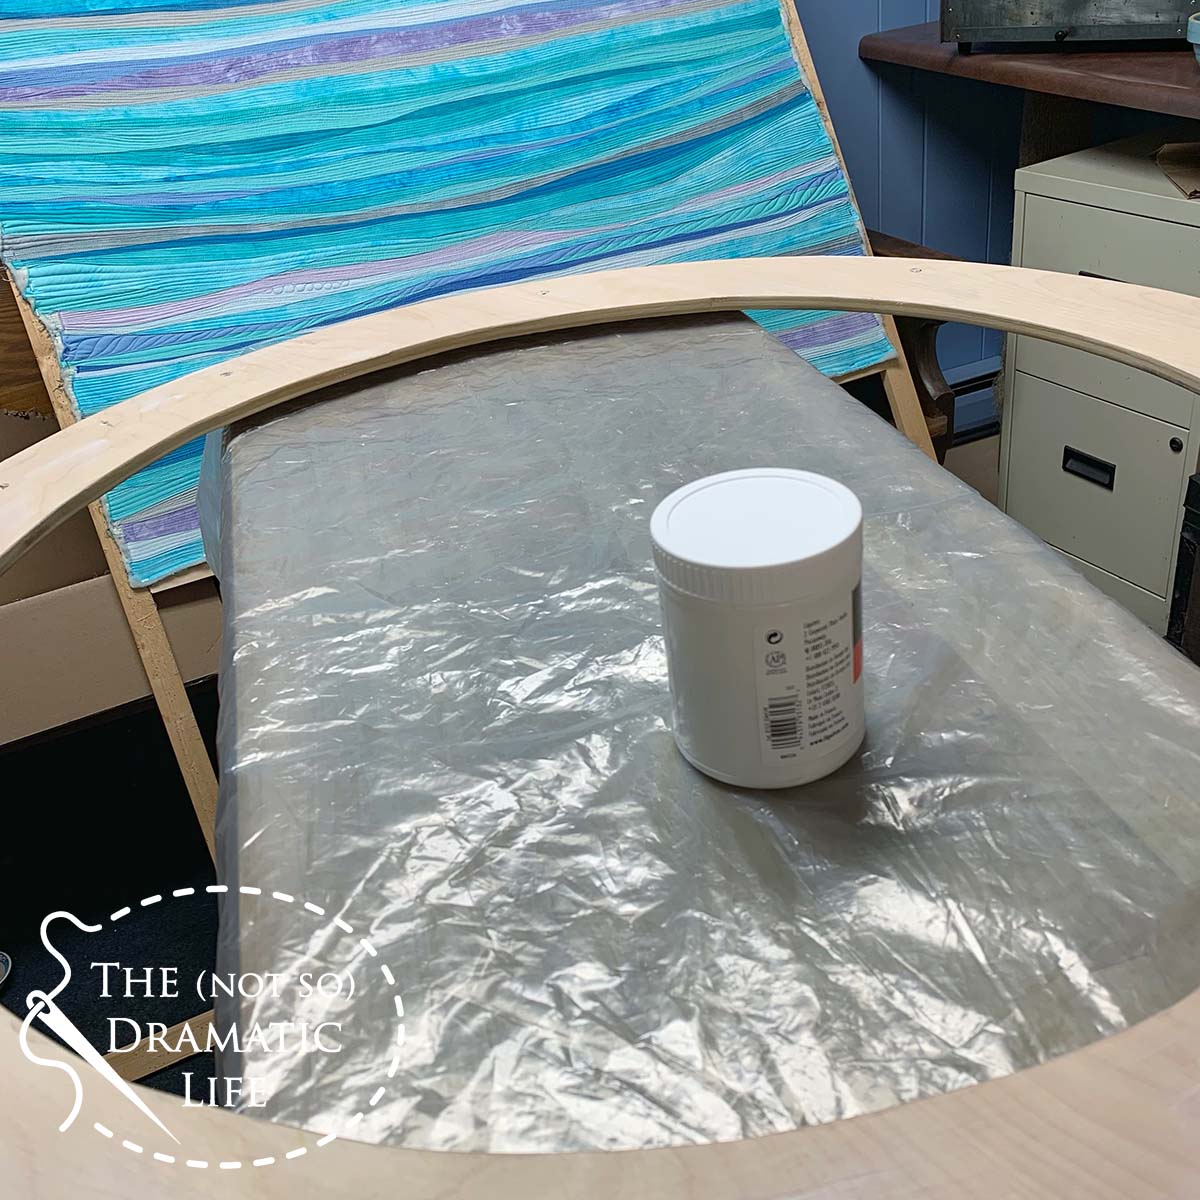
The sketch using all solids worked, but I wanted to include a bit more visual texture in the final quilt. To achieve a more organic look, I did some scrunch dying where my half yard pieces of fabric are dyed in the space of an empty peanut butter or mayo jar. By limiting the fabric movement during the dye process, you get a textured look because some areas of the fabric absorb more dye than other areas.
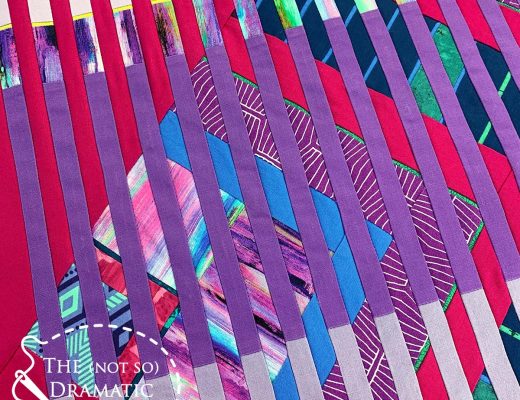
The piecing of the quilt was done with improvisational curves. To help keep the quilt top a manageable size, I created a few individual improv panels and then pieced those panels together to finish the project. In the photo below, you can see two panels overlapping. To cut the edges I was about to stitch together, I overlap the pieces of fabric then cut an organic line through both layers at the same time. In some instances I would add a few pins to keep the layers aligned. Since there is a slight bubble in one of the layers, this was probably a time I used some pins. (Just make sure you don’t try to cut through your pins!) Once the cut is made, I pin the pieces right sides together in a few key places and ease in any small amounts of fullness. After a good press with lots of steam it was laying mostly flat.
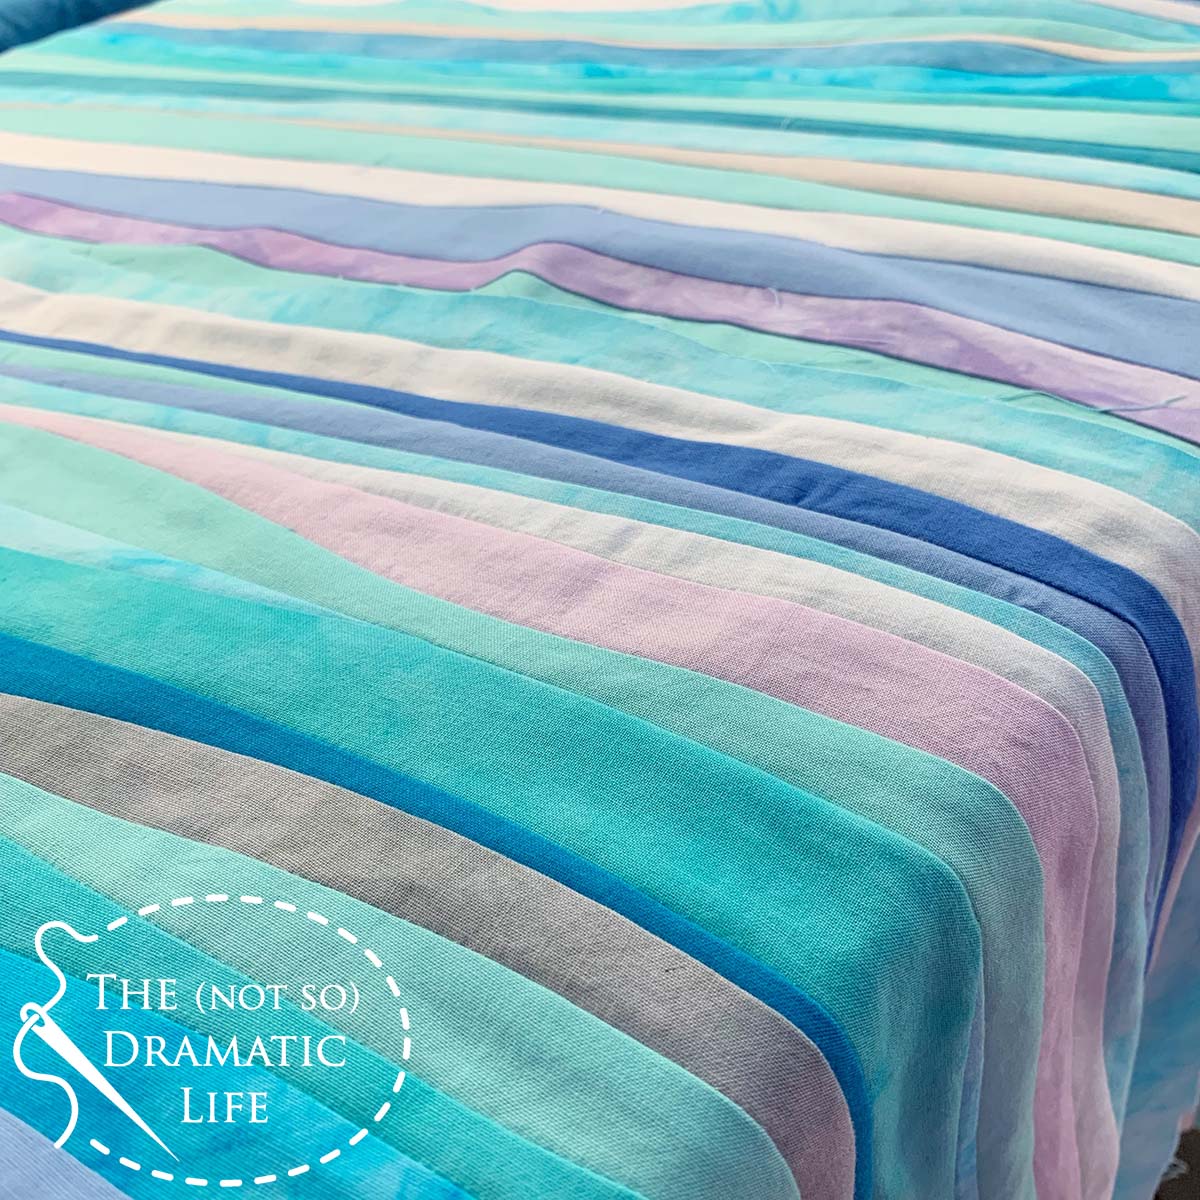
The combination of commercial solids and hand dyed colors adds a lot of texture to the quilt top.
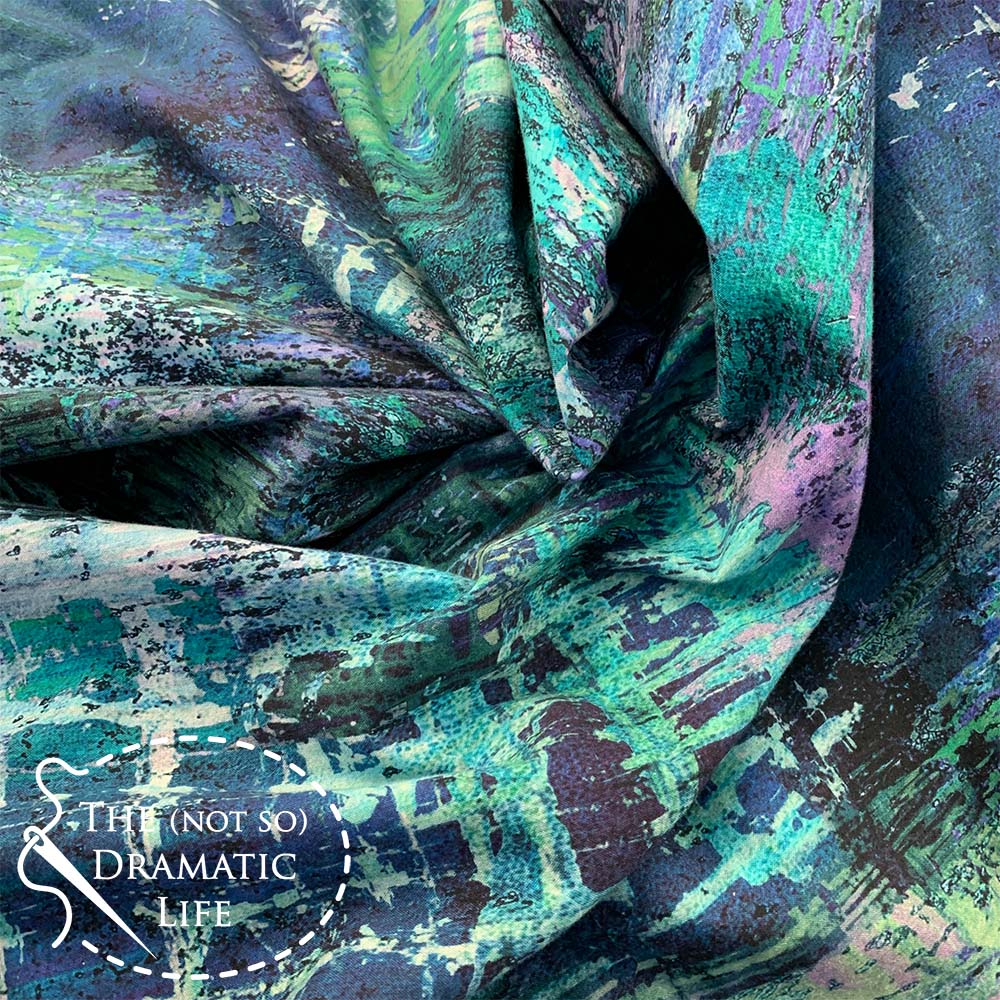
For the backing I selected a wide back from P&B textiles. I believe the print is called Off the Grid.
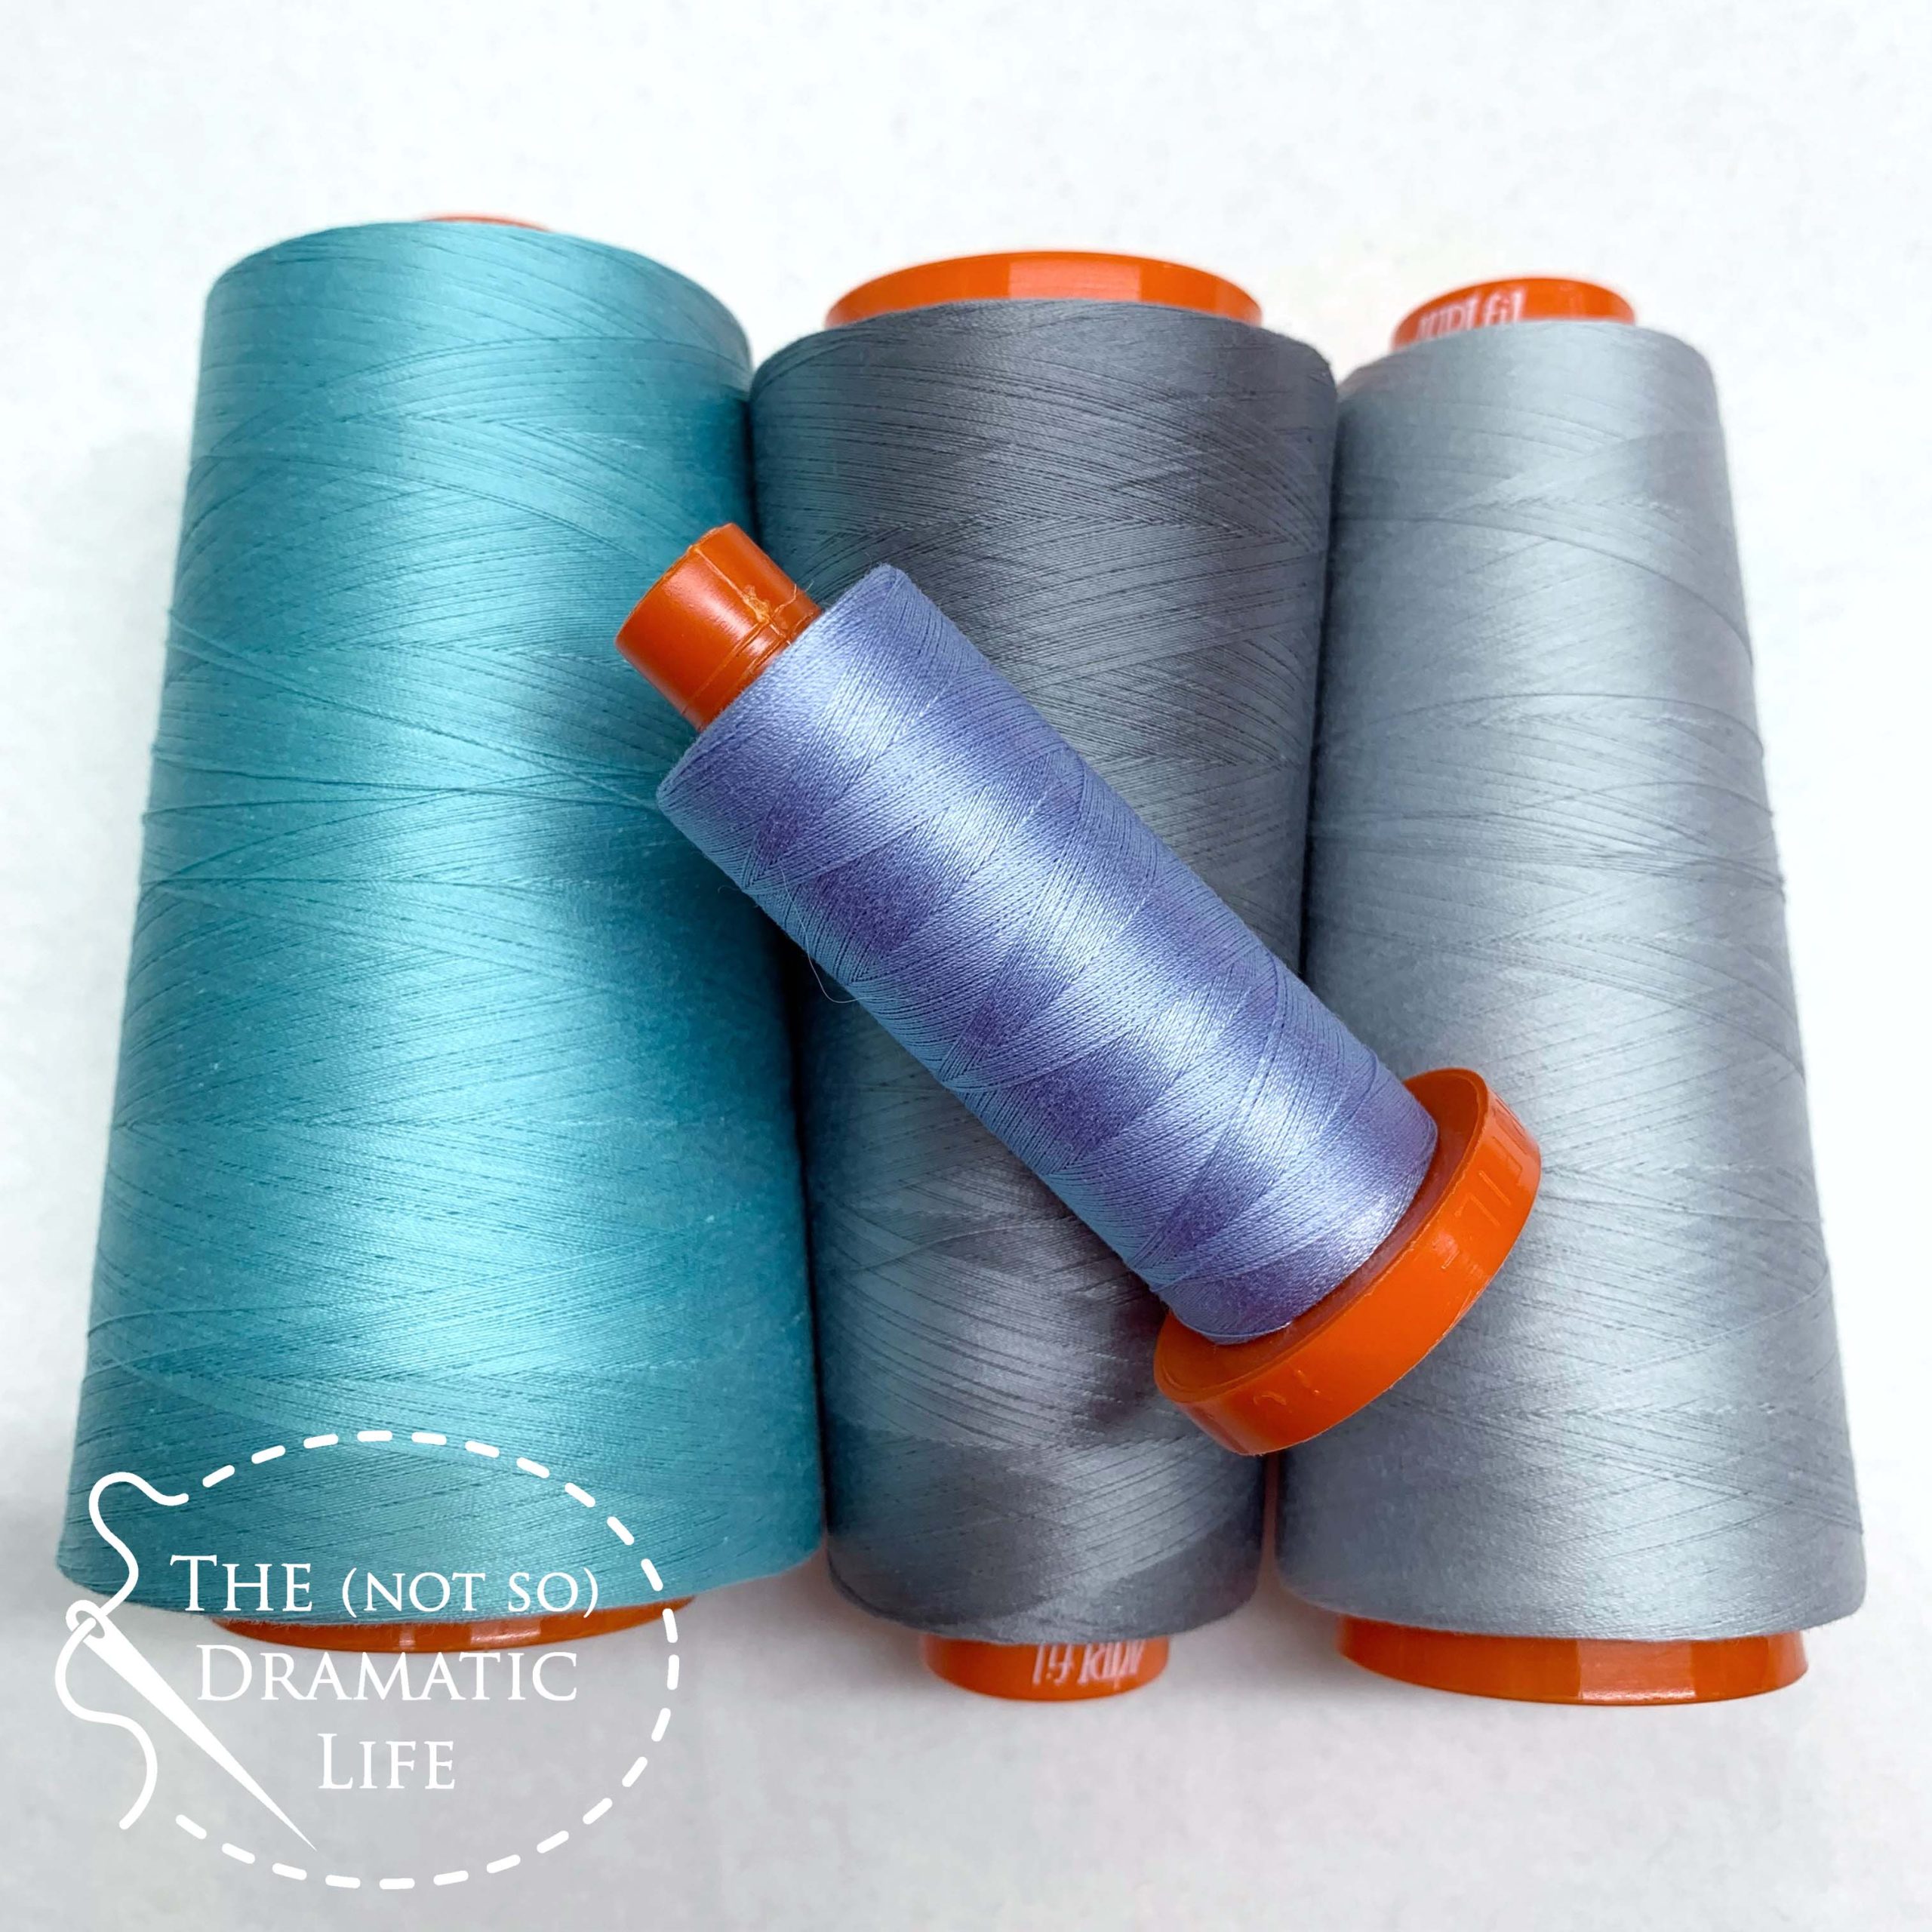
I did the quilting in two stages. For the first round I loaded the quilt on the longarm and used the four 50wt threads shown below to do organic lines about a half inch to an inch apart and added in a few sections of free motion pebbles and waves.
This is how the quilt looked as it was ready to come off the longarm.

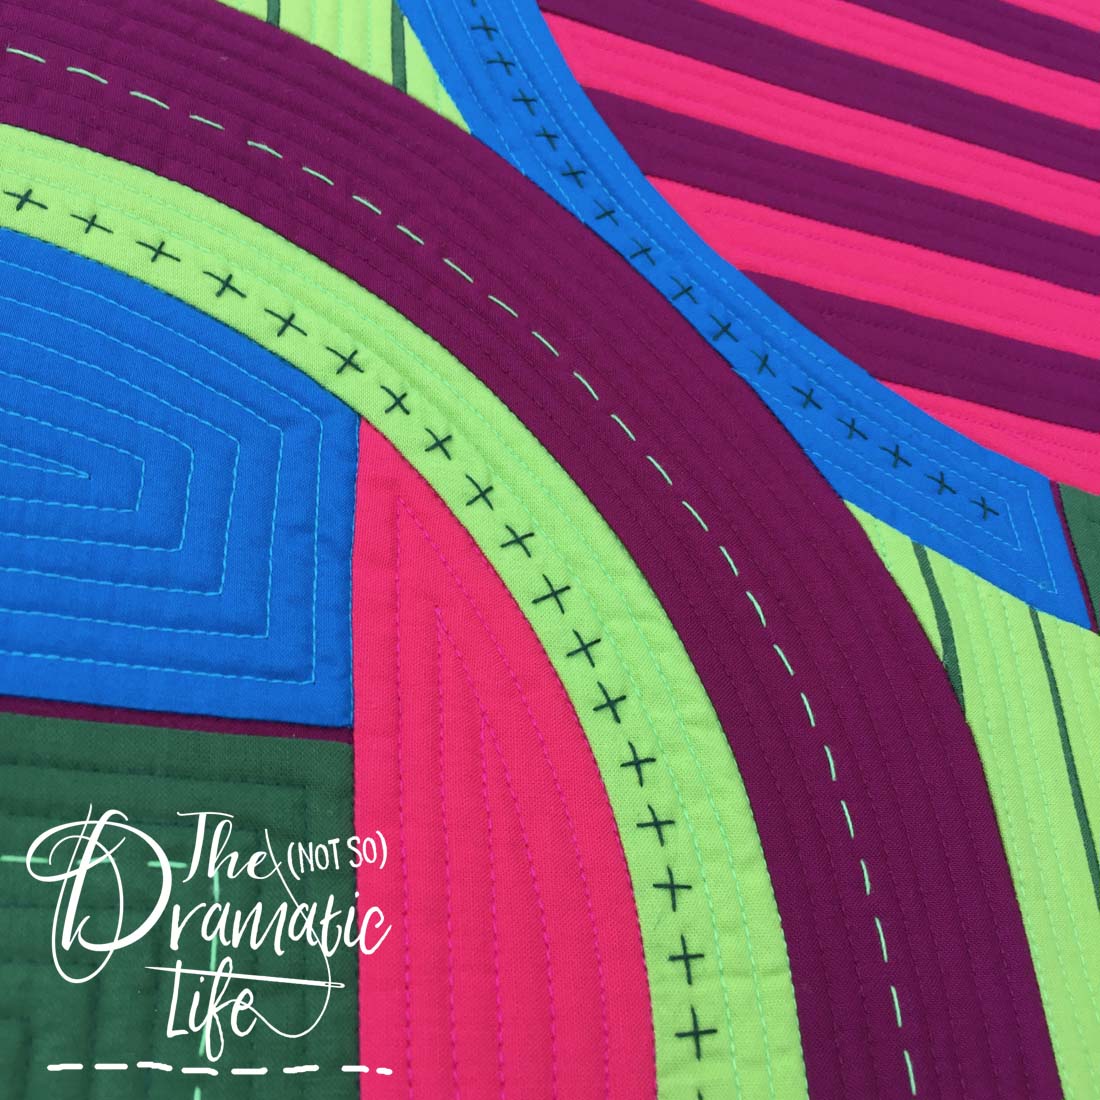
By doing the first part of the quilting on the longarm, I didn’t need to baste before quilting on the domestic machine and the quilt was already laying fairly flat. On the domestic machine I added the majority of the quilting using one color at a time and working my way across the quilt. When doing organic lines, I find it easier to maintain fairly equal spacing using a domestic machine with a walking foot. The foot itself has several increments marked and because the initial lines are perpendicular to me as I sew, I can better gauge the placement visually.
The photo below shows the quilting when it was nearly finished. The colorful thread additions in both 40wt and 50wt adds a lot of visual interest.

When I quilt a project larger than a mini quilt on a domestic machine, I almost always block the quilt to make sure it is flat and square. For blocking, I wet the quilt down and spin it out (don’t let it agitate!) in the washing machine to get rid of most of the excess moisture. Then I staple it to a frame to let it dry as you can see in the video below.
This quilt focuses on the framing of the negative space formed by Arch Rock, so the overall shape of the quilt is circular. In order to maintain that circular shape, the quilt is stretched over a wooden frame. My dad built the frame using two layers of Birch plywood. The back layer is up in the photo below. The second layer has the same outer circumference and a larger beveled center opening. This stair step effect helps prevent the edge of the frame from showing through the front of the finished piece. I was concerned that over time the wood could stain the fabric, so I used a few coats of an artist grade clear matte medium to seal the frame before placing the quilt on it.
Once the frame was finished, I trimmed the quilt to be 1/4″ larger than the frame on all sides to allow for seam allowance when attaching the edge fabric. It was very important to me to have a smooth finish on the edges, so I cut a wide strip of bias and folded it in half before sewing it to the edges of the quilt.
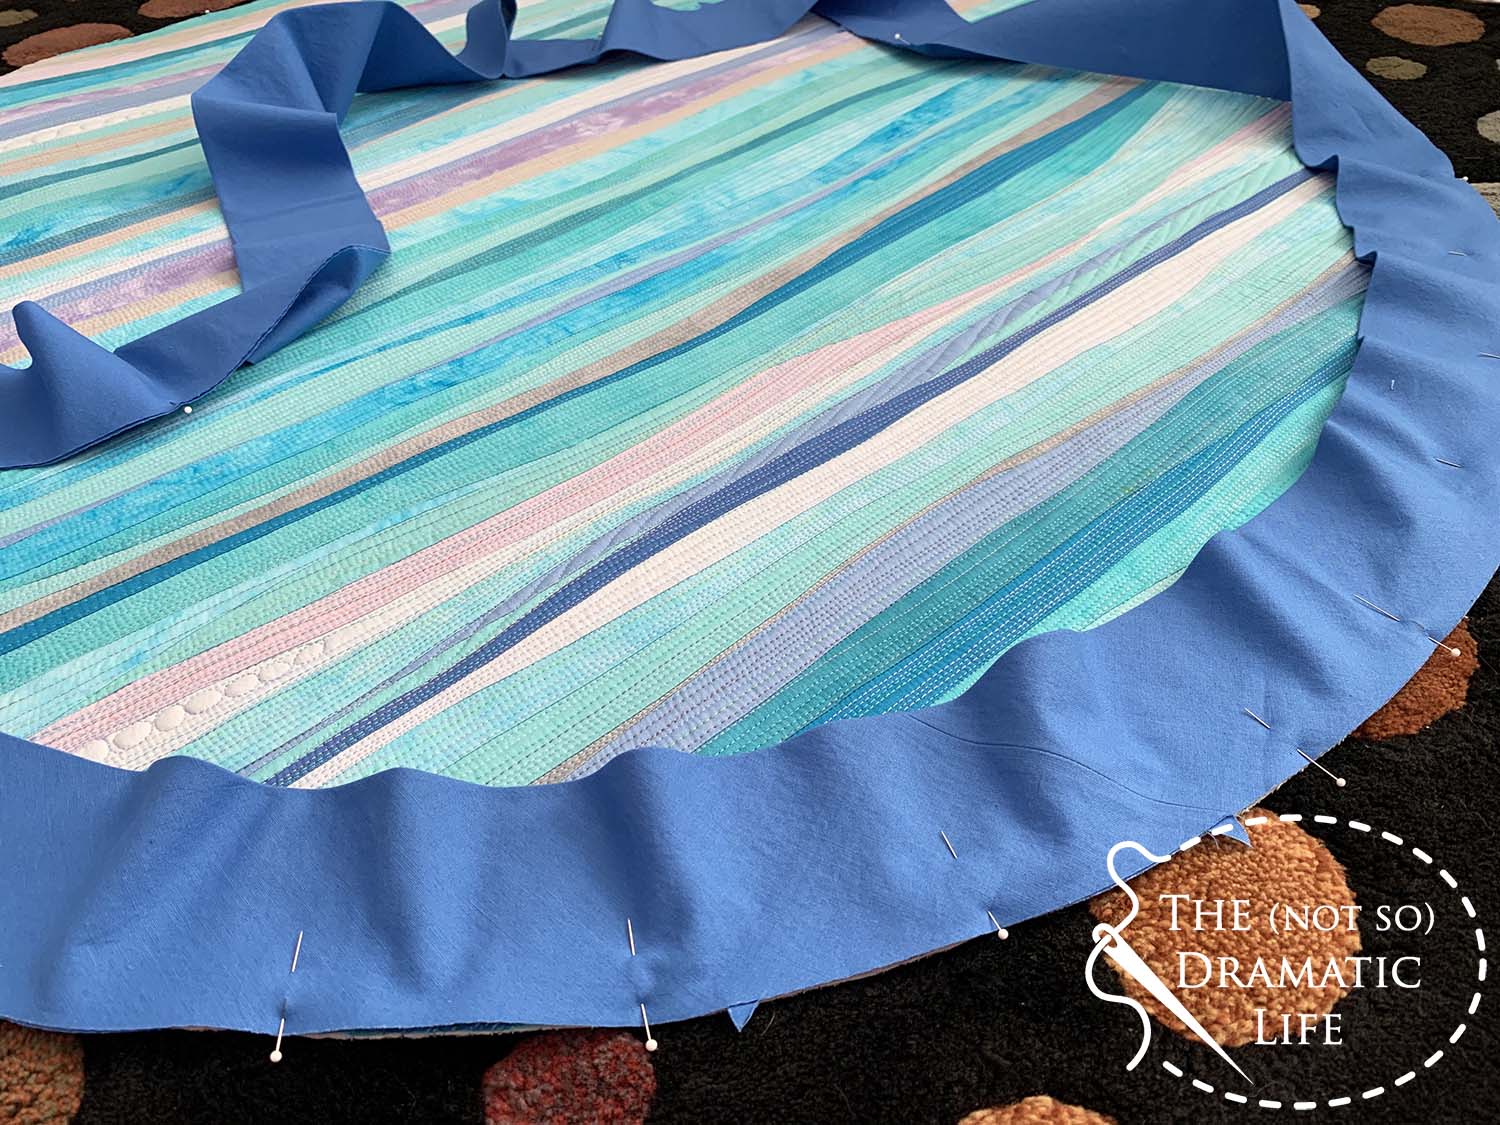
To finish the piece, I pulled the excess fabric to the back and stapled it in place.

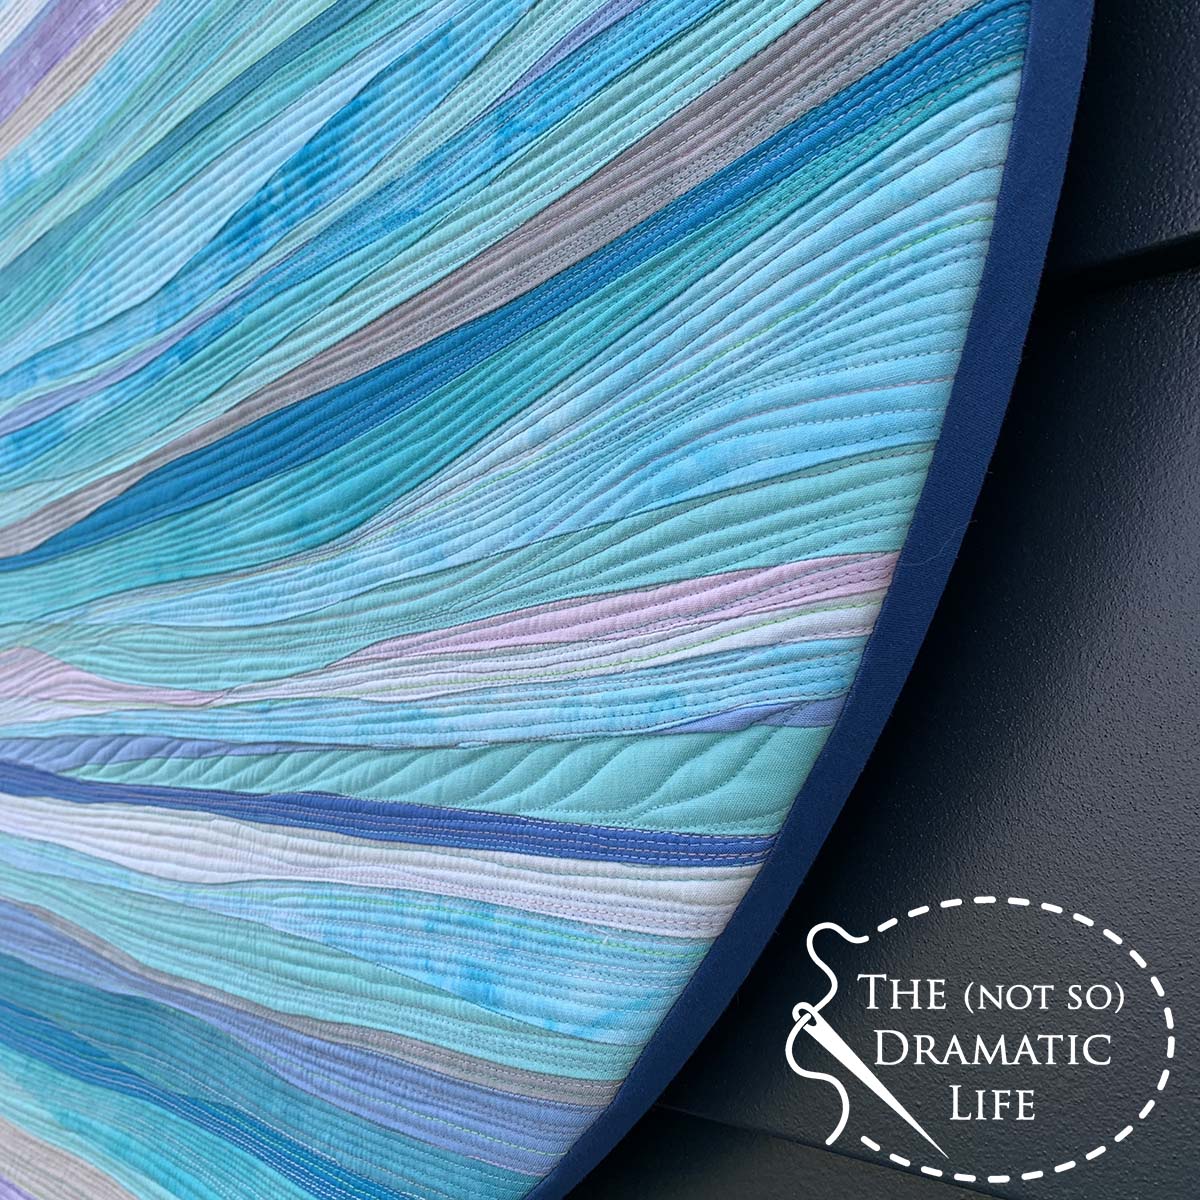
From the side you can see how the extra layer of plywood helps the quilt to appear to float above the surface of the frame.

From the sides the edges remain smooth due to the bias cut edge finishing.

This quilt now resides at the Richard & Jane Manoogian Mackinac Art Museum.
Quilt Stats
Title: View Through the Rock
Size: 38″ Diameter
Techniques: Improvisational curved piecing
Quilting: Organic lines and free motion done on an A-1 Longarm and with a walking foot on a Bernina 1008
Fabric: Painter’s Palette Solids and hand dyed fabrics
Batting: Hobbs Tuscany Wool
Thread: Aurifil 50wt and 40wt threads in multiple colors
Binding: Bias cut fabric attached to the quilt edge, wrapped around the edge of the frame, and stapled to the back
20 Comments
Linda M
January 21, 2022 at 6:47 amThe quilt is stunning! Someday I want to learn how to do that organic curved piecing.
vivian383
January 21, 2022 at 8:03 amThis is both beautiful and inspirational. Thank you so much for sharing.
Donna
January 21, 2022 at 8:29 amBeautiful! Thanks for sharing your process to make and complete the quilt! Inspirational!
Patty
January 21, 2022 at 9:13 amThat is absolutely gorgeous! Thank you for sharing so much about your process.
Susan
January 21, 2022 at 9:16 amBrilliant – truly a work of art!!
Susan Geraci
January 21, 2022 at 9:18 amThank you for sharing this work of art and your techniques. Very inspiring.
Rosey
January 21, 2022 at 9:31 amIt is a work of art. I love this quilt. Mackinac island is a special place. What a great place to leave it for others to see.
Vivian Oaks
January 21, 2022 at 9:33 amI thoroughly enjoyed reading through your process of designing and creating your quilt. It was not only enjoyable, but educating as well. 🙂 Thanks!!
KL
January 21, 2022 at 10:42 amIt is beautiful! Fun to see your process!
Nikki Moshier
January 21, 2022 at 11:03 amGorgeous. Thank you for the great description of your thought and creative processes.
Stephanie
January 21, 2022 at 11:51 amThank you for sharing about your stay there and your process, very cool to read about!
Denise Newman
January 21, 2022 at 3:27 pmI really enjoyed getting a glimpse into your artistic process. Thank you. The quilt is stunning.
Ruth Y
January 21, 2022 at 10:54 pmAmazing . So beautiful
Terri Hayes
January 23, 2022 at 9:53 amJust beautiful! Thank you for sharing the techniques through words and photos of the artistic process. My heart is feeling a road trip in the near future.
Debbie
January 23, 2022 at 12:39 pmThis is so beautiful and I appreciated reading about the inspiration and execution both. What a wonderful piece to gift back to the island.
Harneen
January 23, 2022 at 10:27 pmBeautiful piece, and thanks so much for sharing your inspiration and process. Truly wonderful.
Patricia Dobbie
February 2, 2022 at 7:50 pmTwo years ago I made your “Zoo Family” quilt, which I love! If you ever make another quilt like this one Please let me know. I will be first is line to buy it.
Stay safe and warm in our beautiful Ohio weather,
Pat
Gina Reiley
February 5, 2022 at 7:36 amLove this!!!
Quilted Scraps Driving You Crazy? Make Them into Easy Framed Art! – The (not so) Dramatic Life
May 17, 2024 at 12:01 am[…] I created this circular quilt to reflect how arch rock, one of the island’s most significant natural features, frames the view of the lake. You can read more about the finished quilt and the process behind it here. […]
3 Ways to Create Dynamic Quilt Designs Using Research Images – The (not so) Dramatic Life
June 26, 2025 at 11:28 pm[…] View Through the Rock, I captured my favorite spot on Mackinac Island. I created multiple iterations of this piece before […]