
crappy Monochromatic is one of the special contest categories at QuiltCon 2027, and I hadn’t been this excited for a challenge in years. I already had a concept kicking around in my head that was very close to this challenge, so it was the perfect opportunity to enter a specialty category.
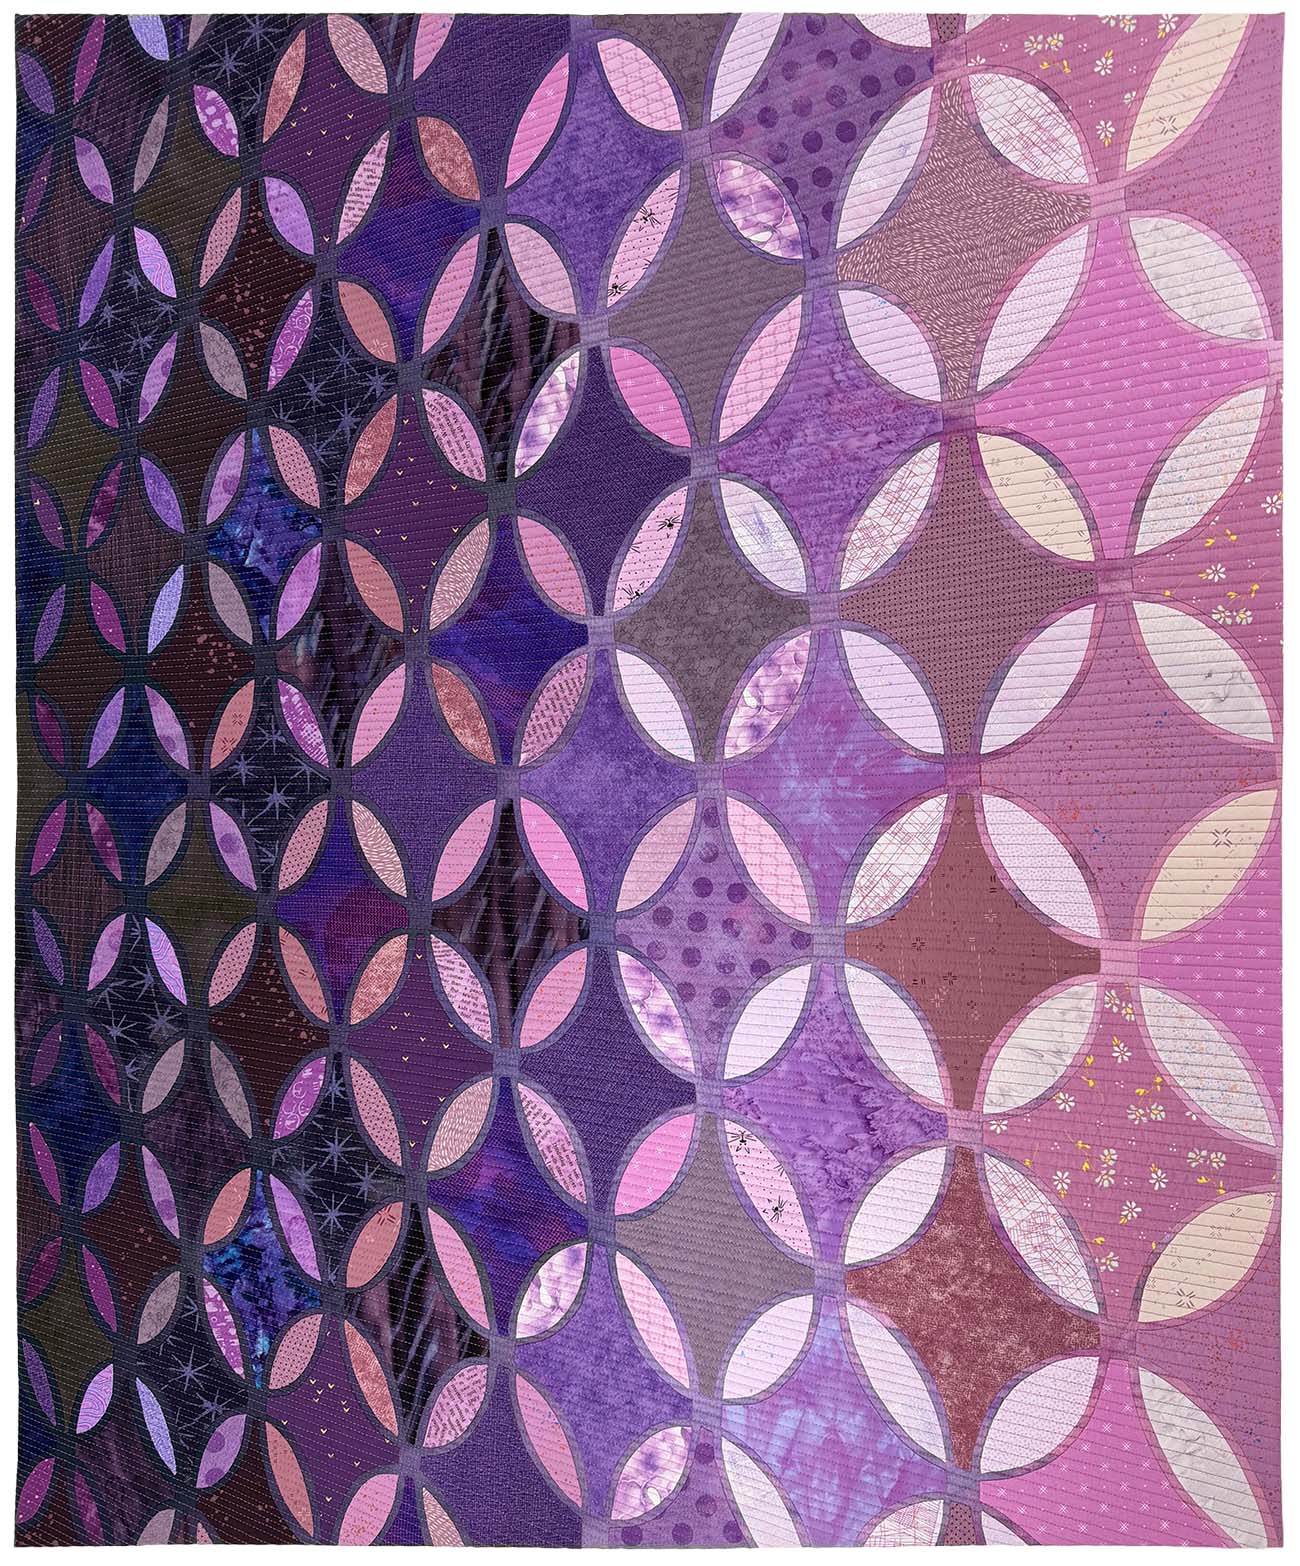
Several weeks ago, I shared the first part of creating this quilt, including developing the design, selecting fabrics, and cutting the components.
Today, I’m sharing the appliqué, basting, quilting, and finishing, along with the information I included in the quilt show entry.
Appliqué
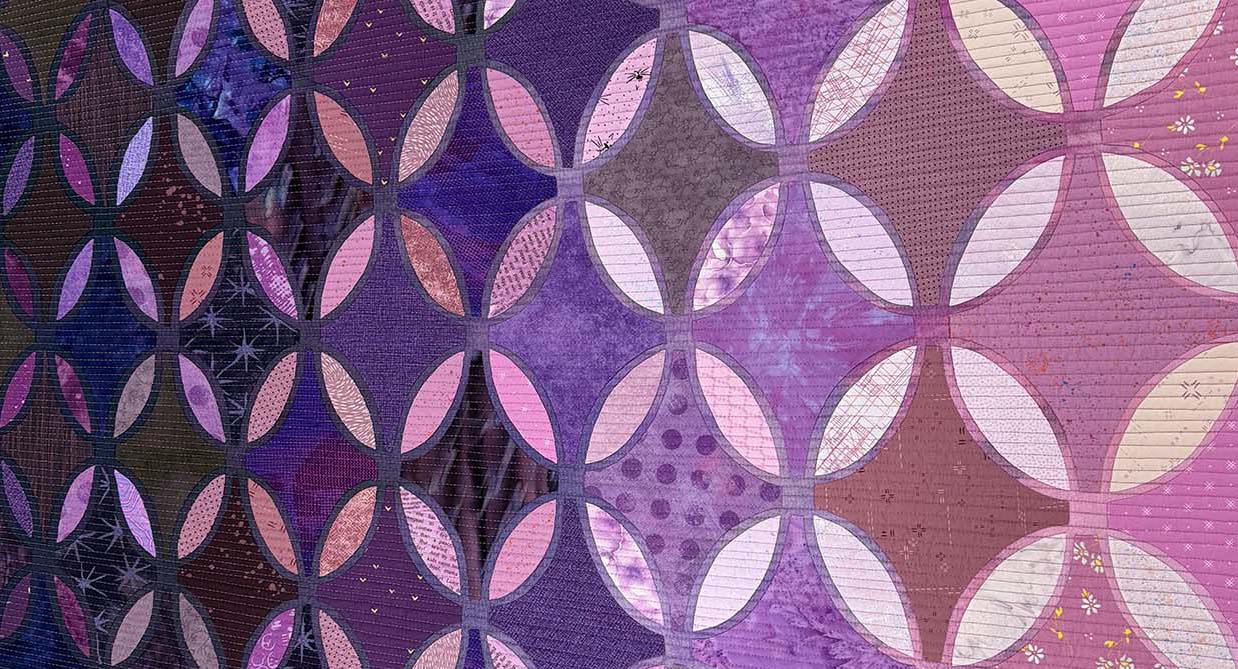
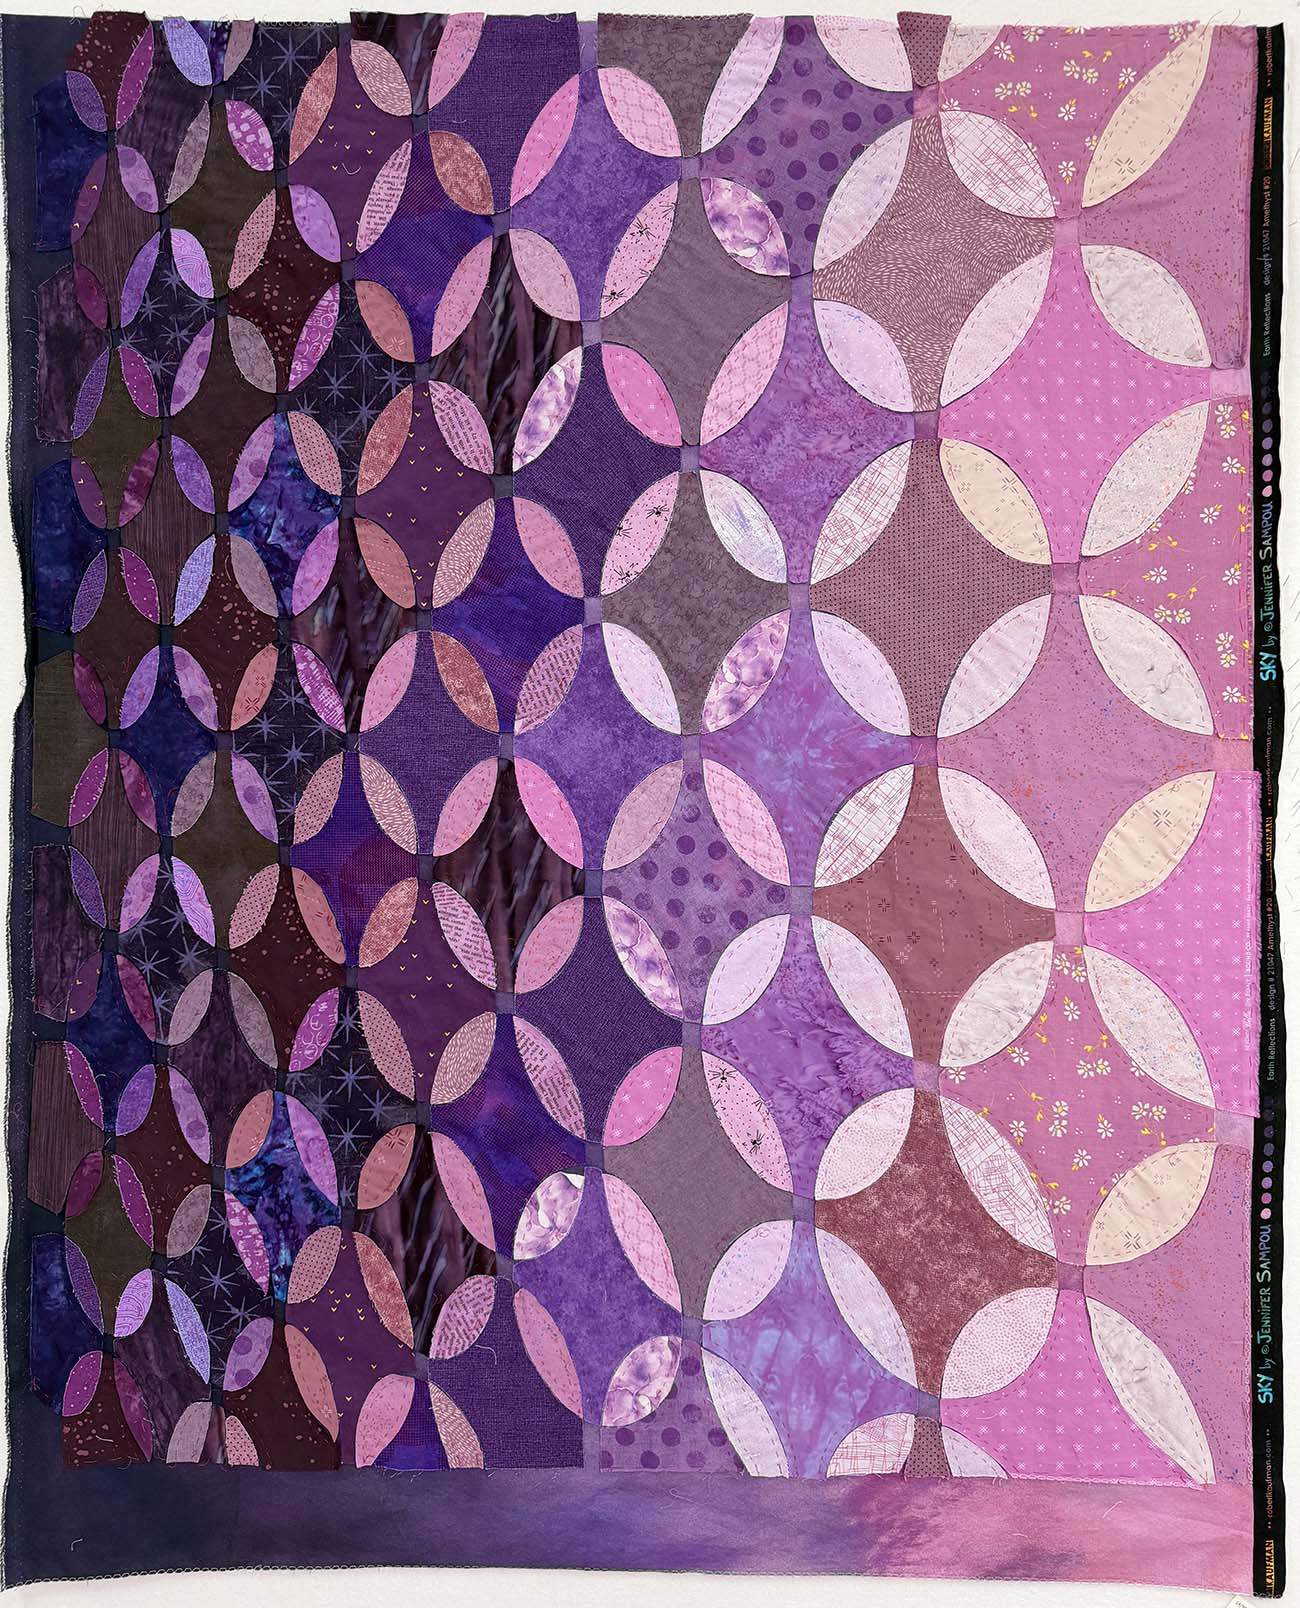
When I left you last on this quilt, I was pinning the appliqué components to the background fabric, which leads us into the appliqué process.
Basting
I used needle-turn appliqué for this design, and my favorite way to approach this technique includes two rounds of stitching: basting and permanent stitching.
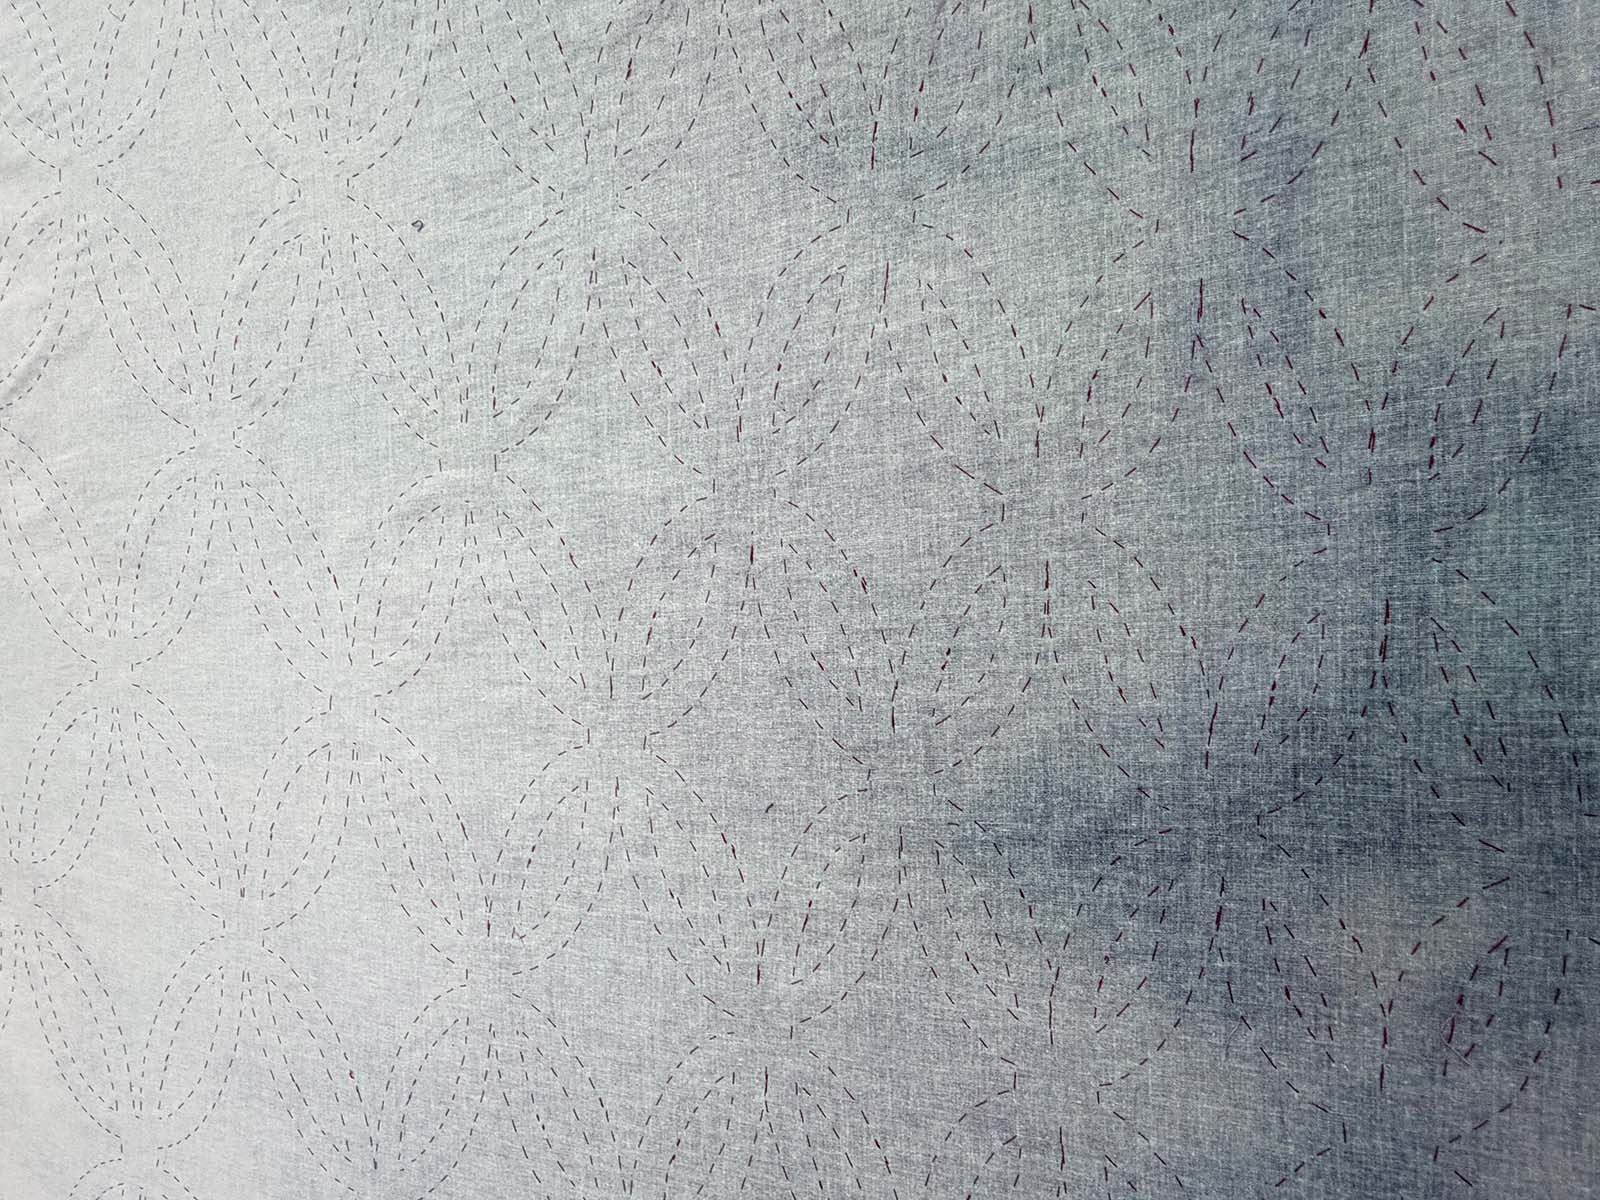
I position basting stitches a quarter inch from the edge of each appliqué component to help maintain a consistent finished seam allowance.
From the back of the quilt top, you can see how the basting stitches end up with relatively even spacing between the lines.
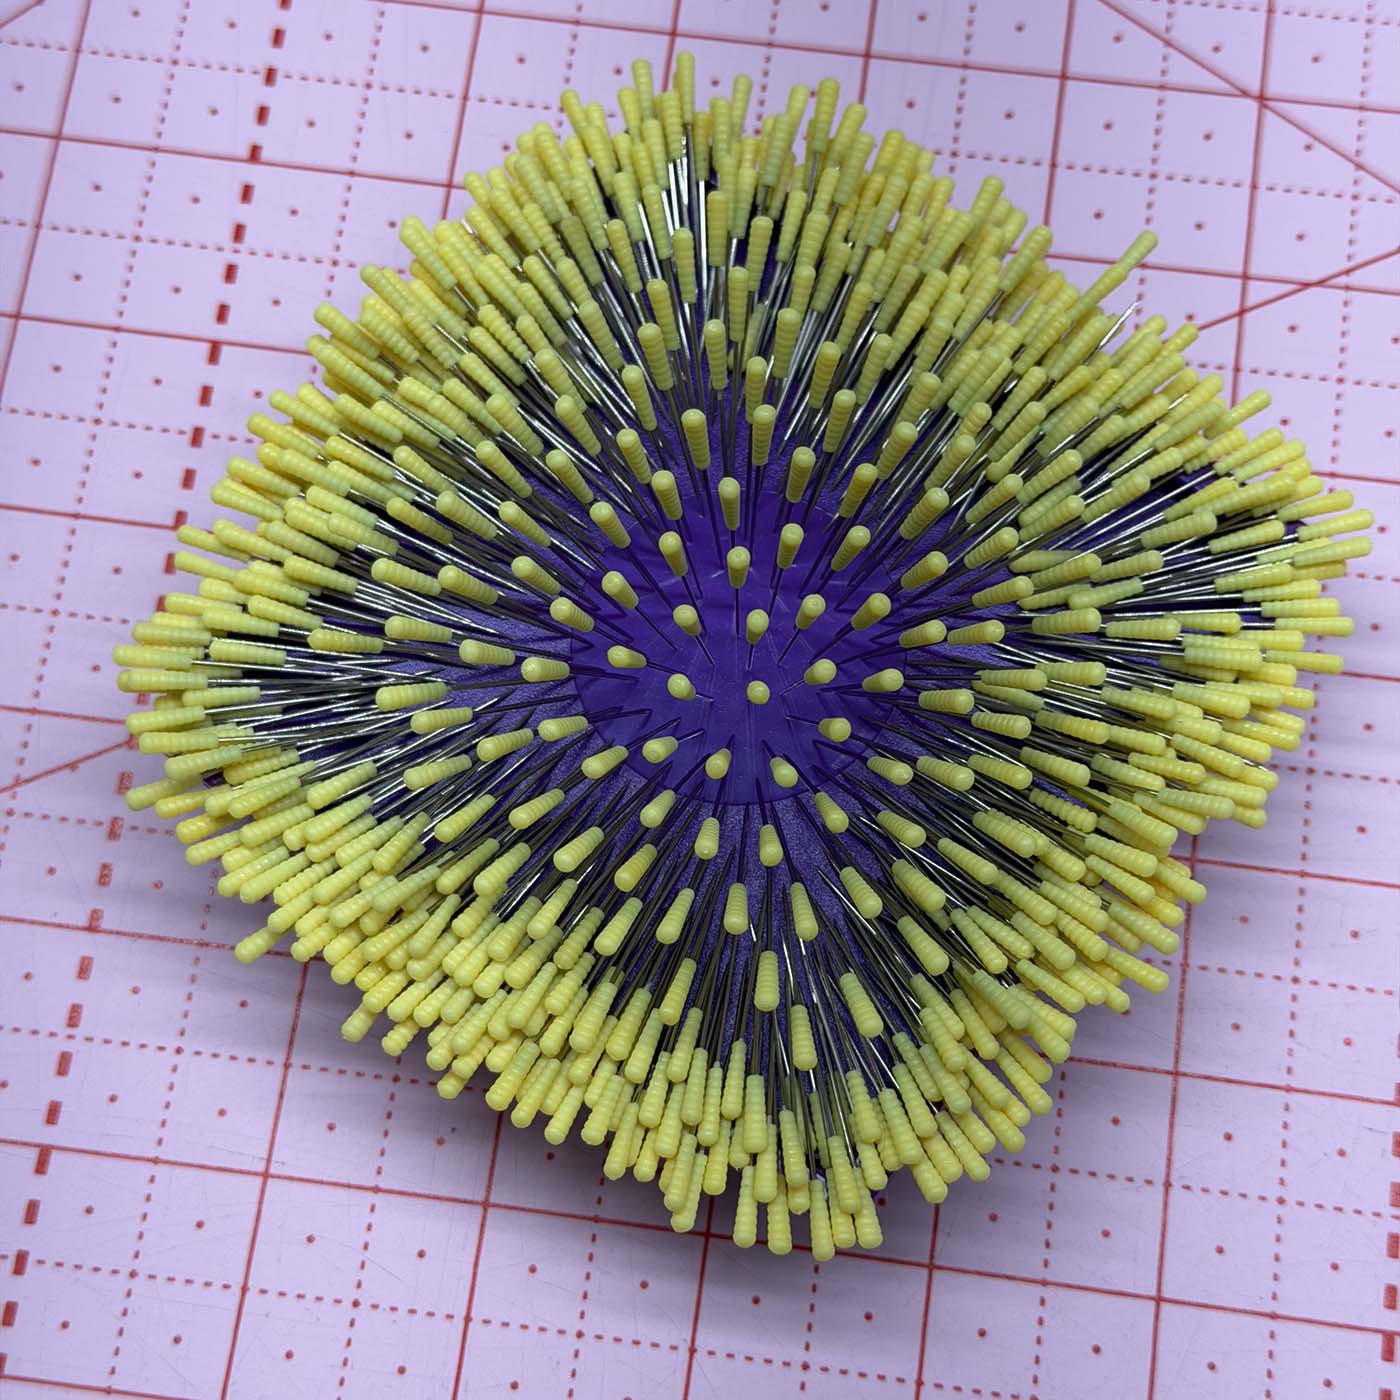
It was really impressive to see all of the pins I pulled out of the quilt top. It took hundreds to hold all of the individual pieces in place.
Final Appliqué Stitching
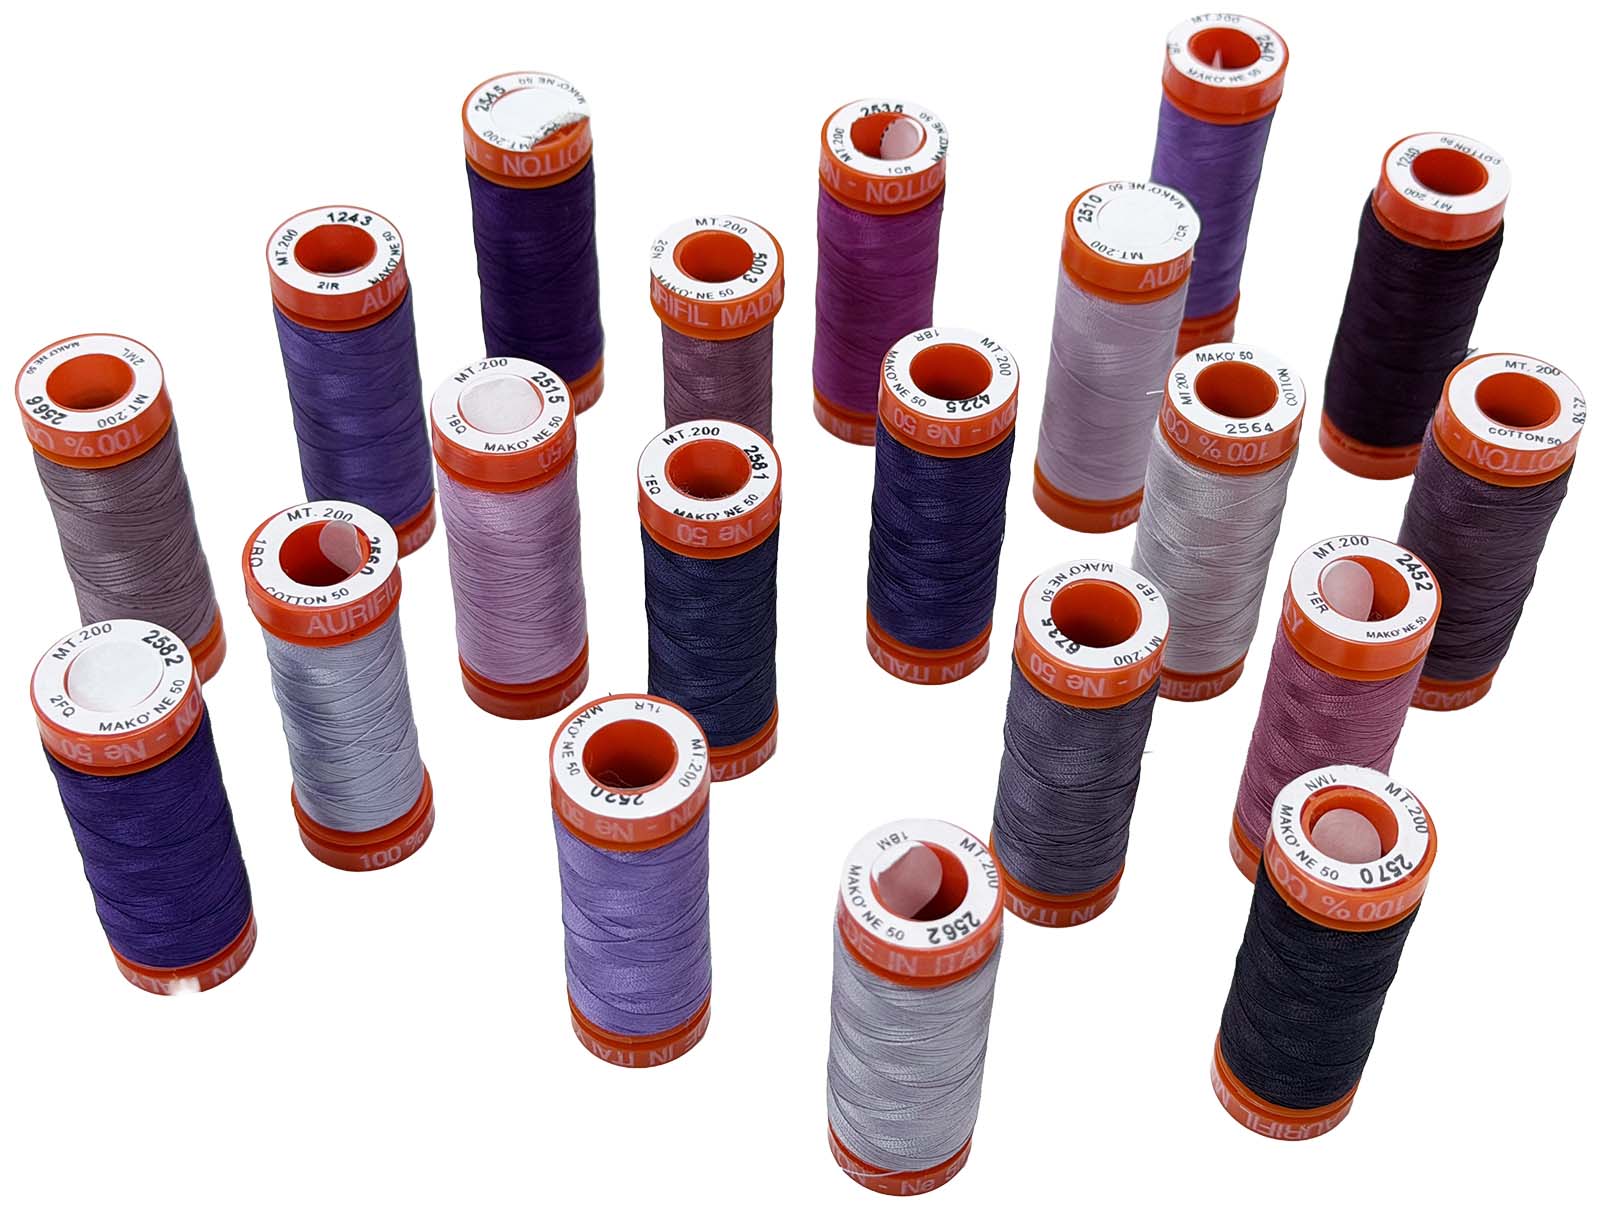
When selecting appliqué threads, it’s always best to match the appliqué fabrics as closely as possible. I’m lucky to have the full collection of 50-weight Aurifil, so I could precisely match just about every fabric I incorporated into the design. Without this selection at my fingertips, I could have gotten by with about half these colors.
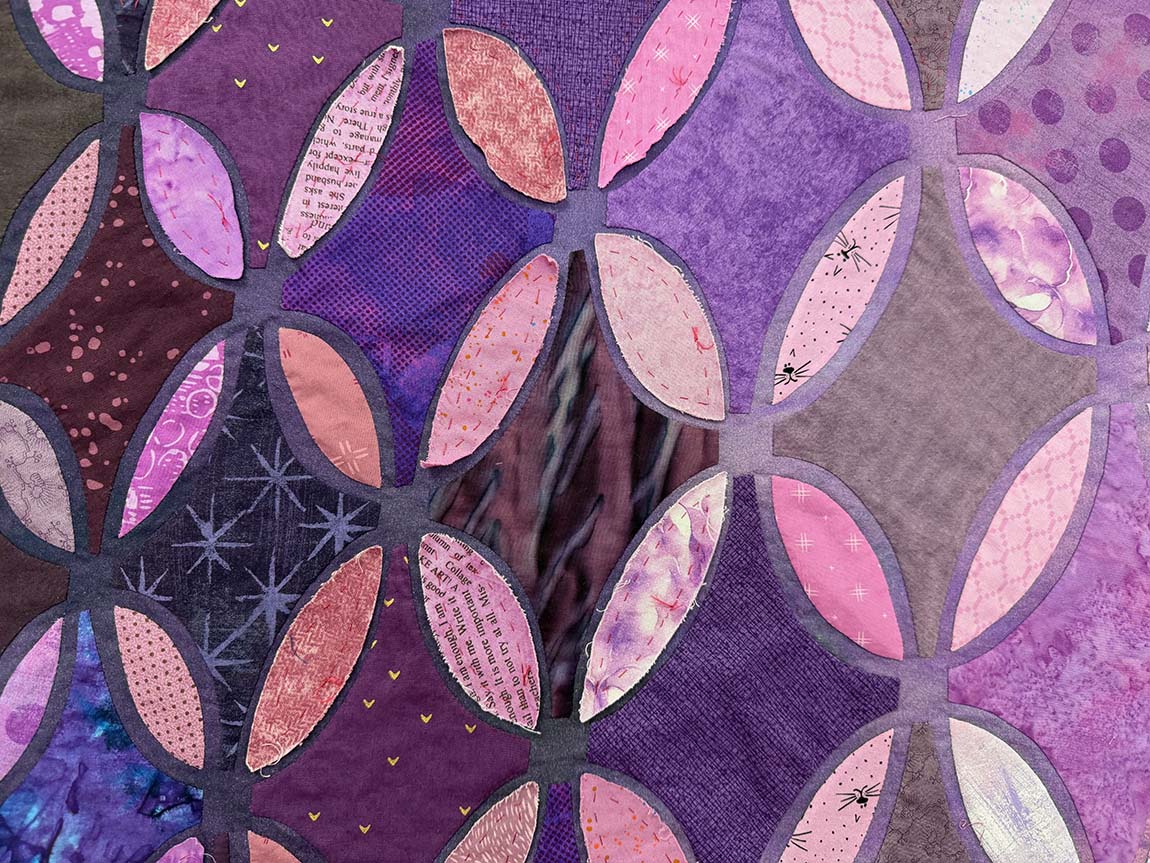
For the final stitching, I turn the raw edge of each component under until it meets the line of basting stitches, creating a consistent eighth-inch seam allowance. Once I stitch the adjoining pieces, a quarter-inch-wide stripe of the background fabric becomes visible between them.
Basting
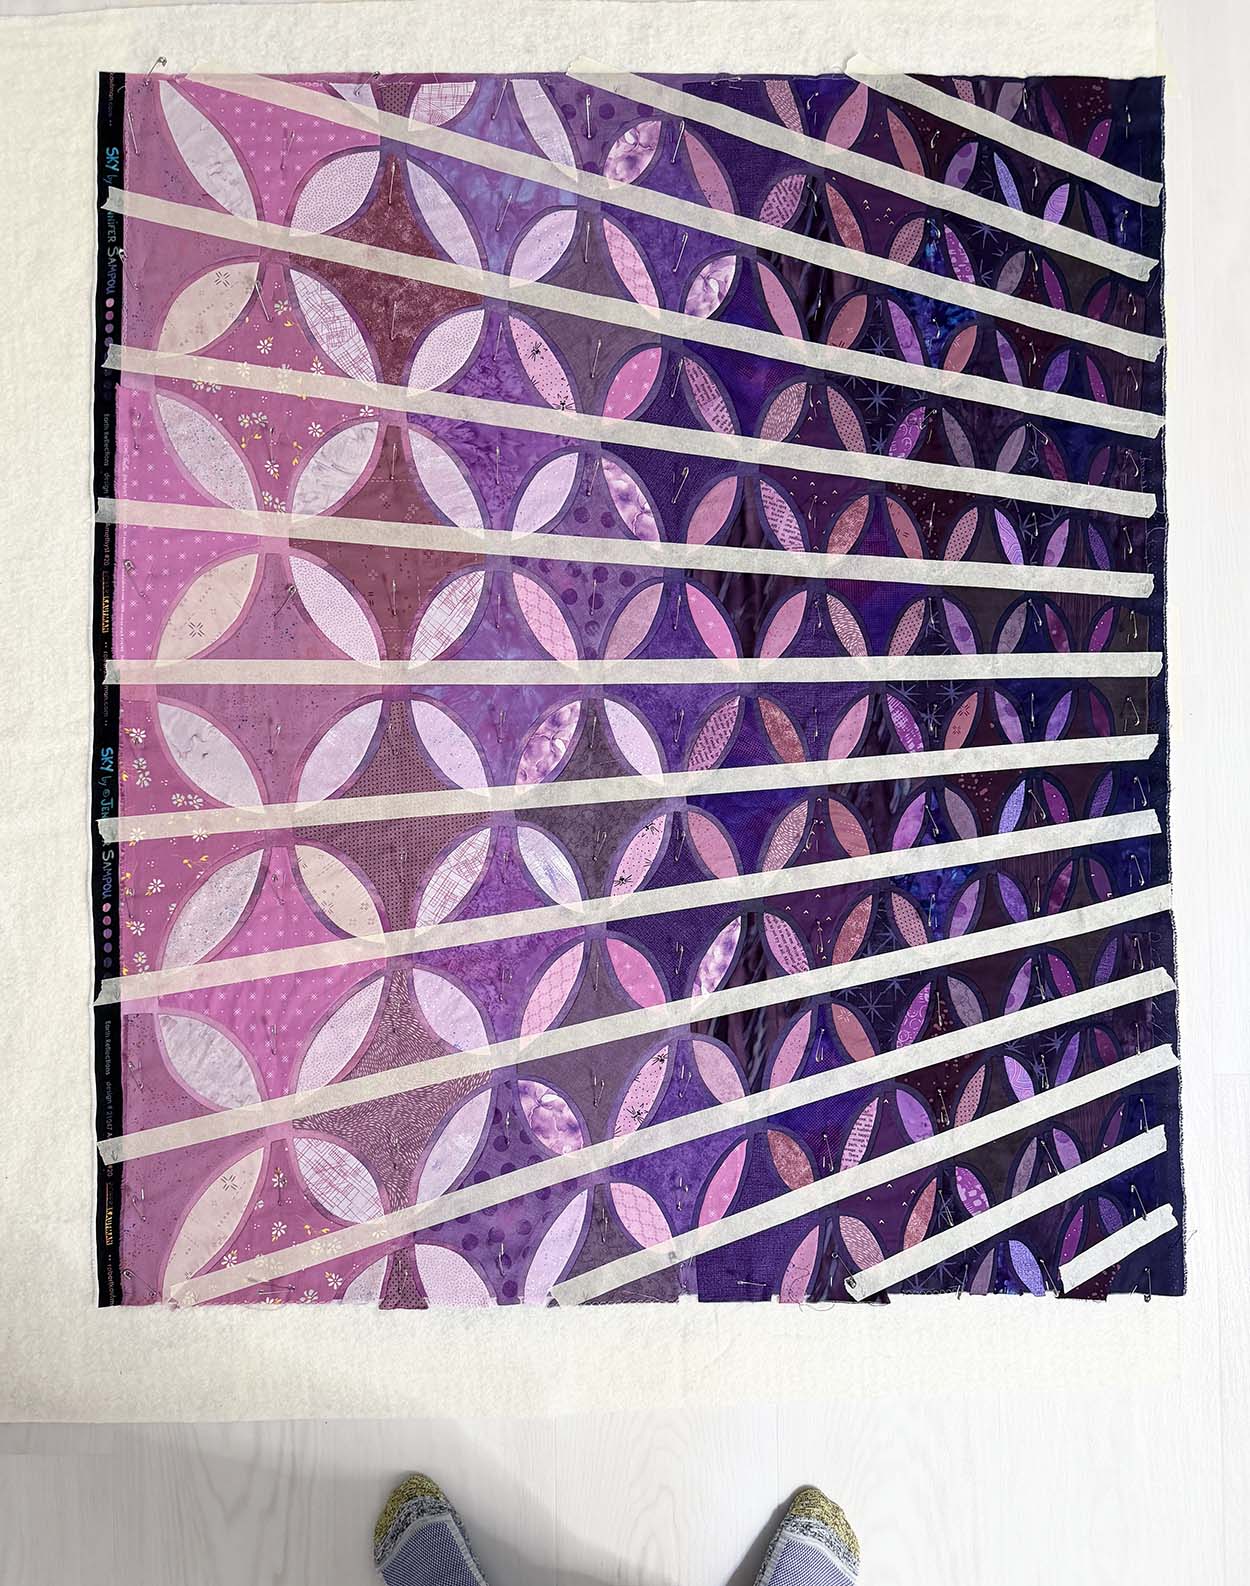
My goal for the quilting design is to enhance the perspective created by the appliqué motifs. To achieve this effect, I started by marking straight lines with masking tape that pass through the center of each non-orangepeel appliqué shape. I marked these lines before basting the quilt top, so I wouldn’t need to move pins during the marking process. For small quilts, I prefer to baste with safety pins. Since this quilt is a few inches too wide for my cutting table, I pinned it on the floor. With this quilt’s design, I removed virtually all the basting pins after stitching the first set of lines.
Quilting
While appliquéing, I realized that I kept coming back to one thread color, Aurifil 5003, over and over again. I had already selected a different thread for quilting, but realized the design would benefit from changing colors. I placed an order and waited anxiously for the thread to arrive while USPS took its sweet time getting it to me, even though I paid for (supposedly) fast shipping.
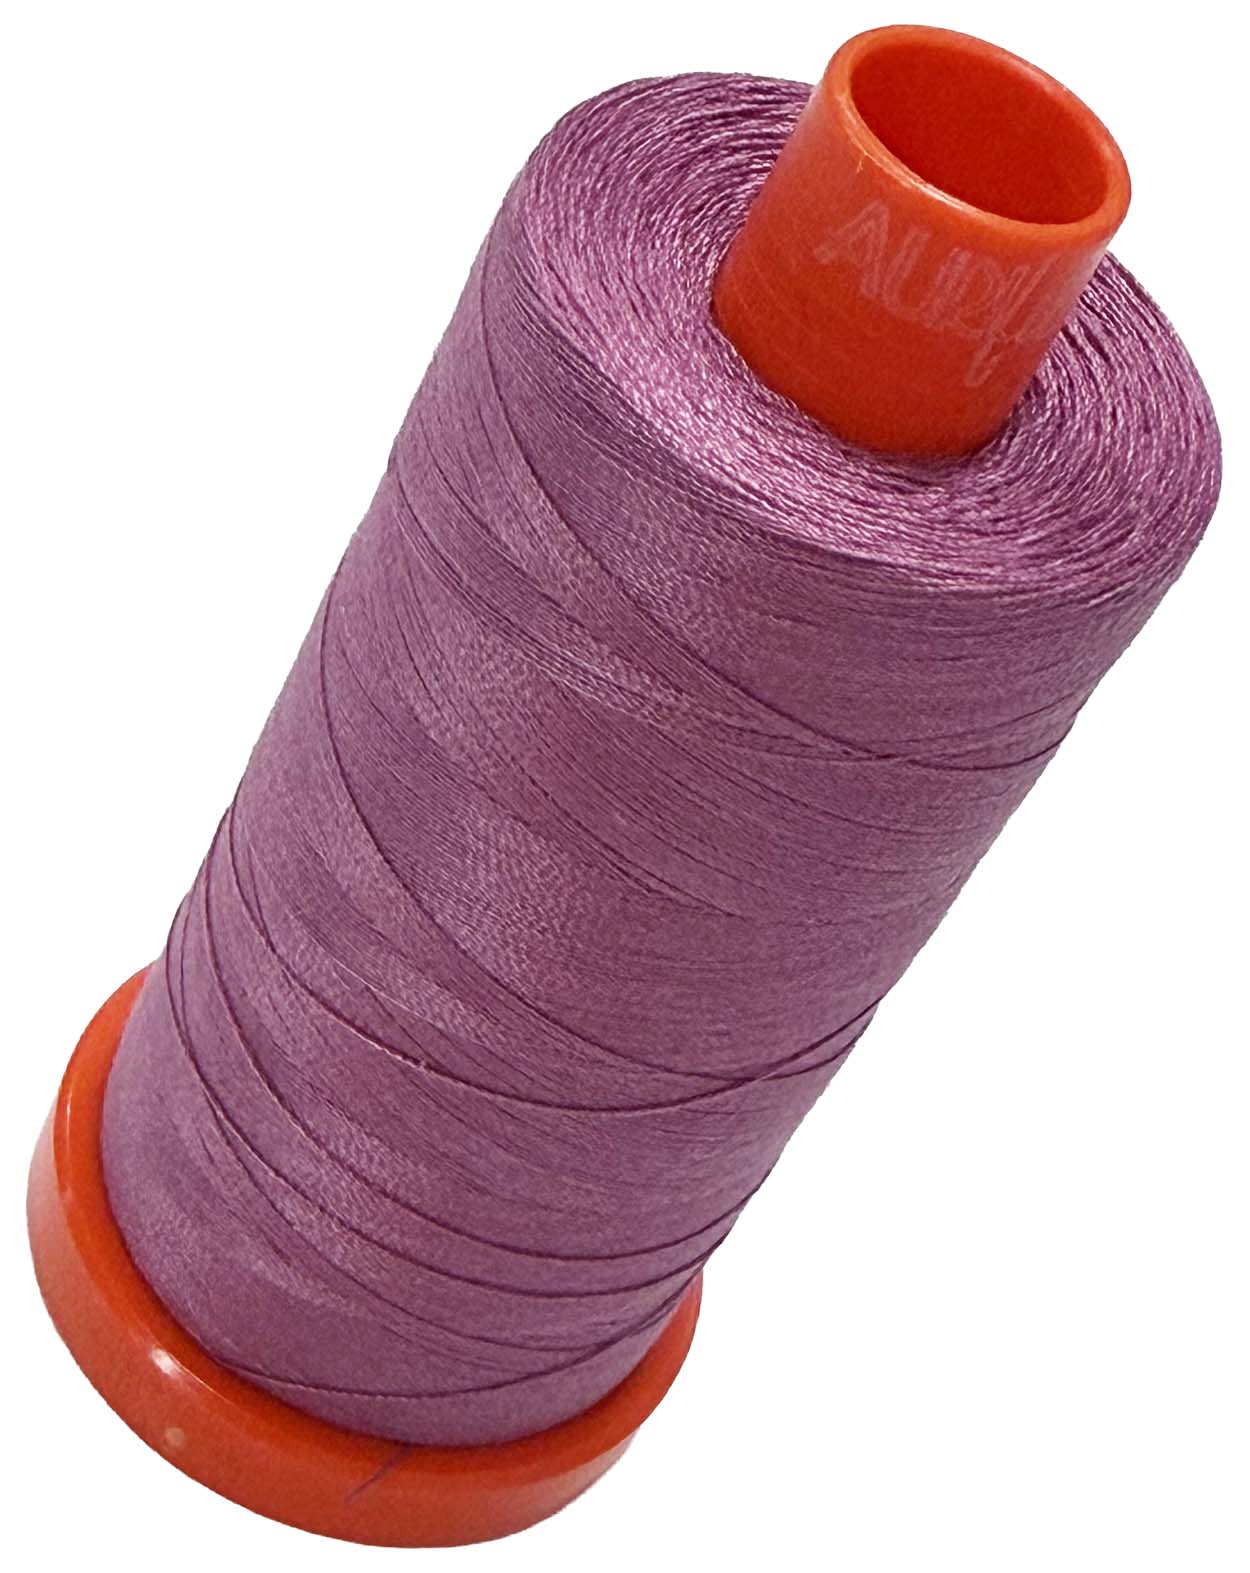
I was able to start quilting with my small spool of thread, and fortunately, the large spool arrived with just enough time for me to finish. I am so glad I went with the new thread color. Some colors visually melt into the surrounding fabrics, and this one did that perfectly.
When quilting this perspective design, I stitched one set of lines, then marked and quilted halfway between them. I continued this process until the stitching lines were about an inch apart at the widest points.
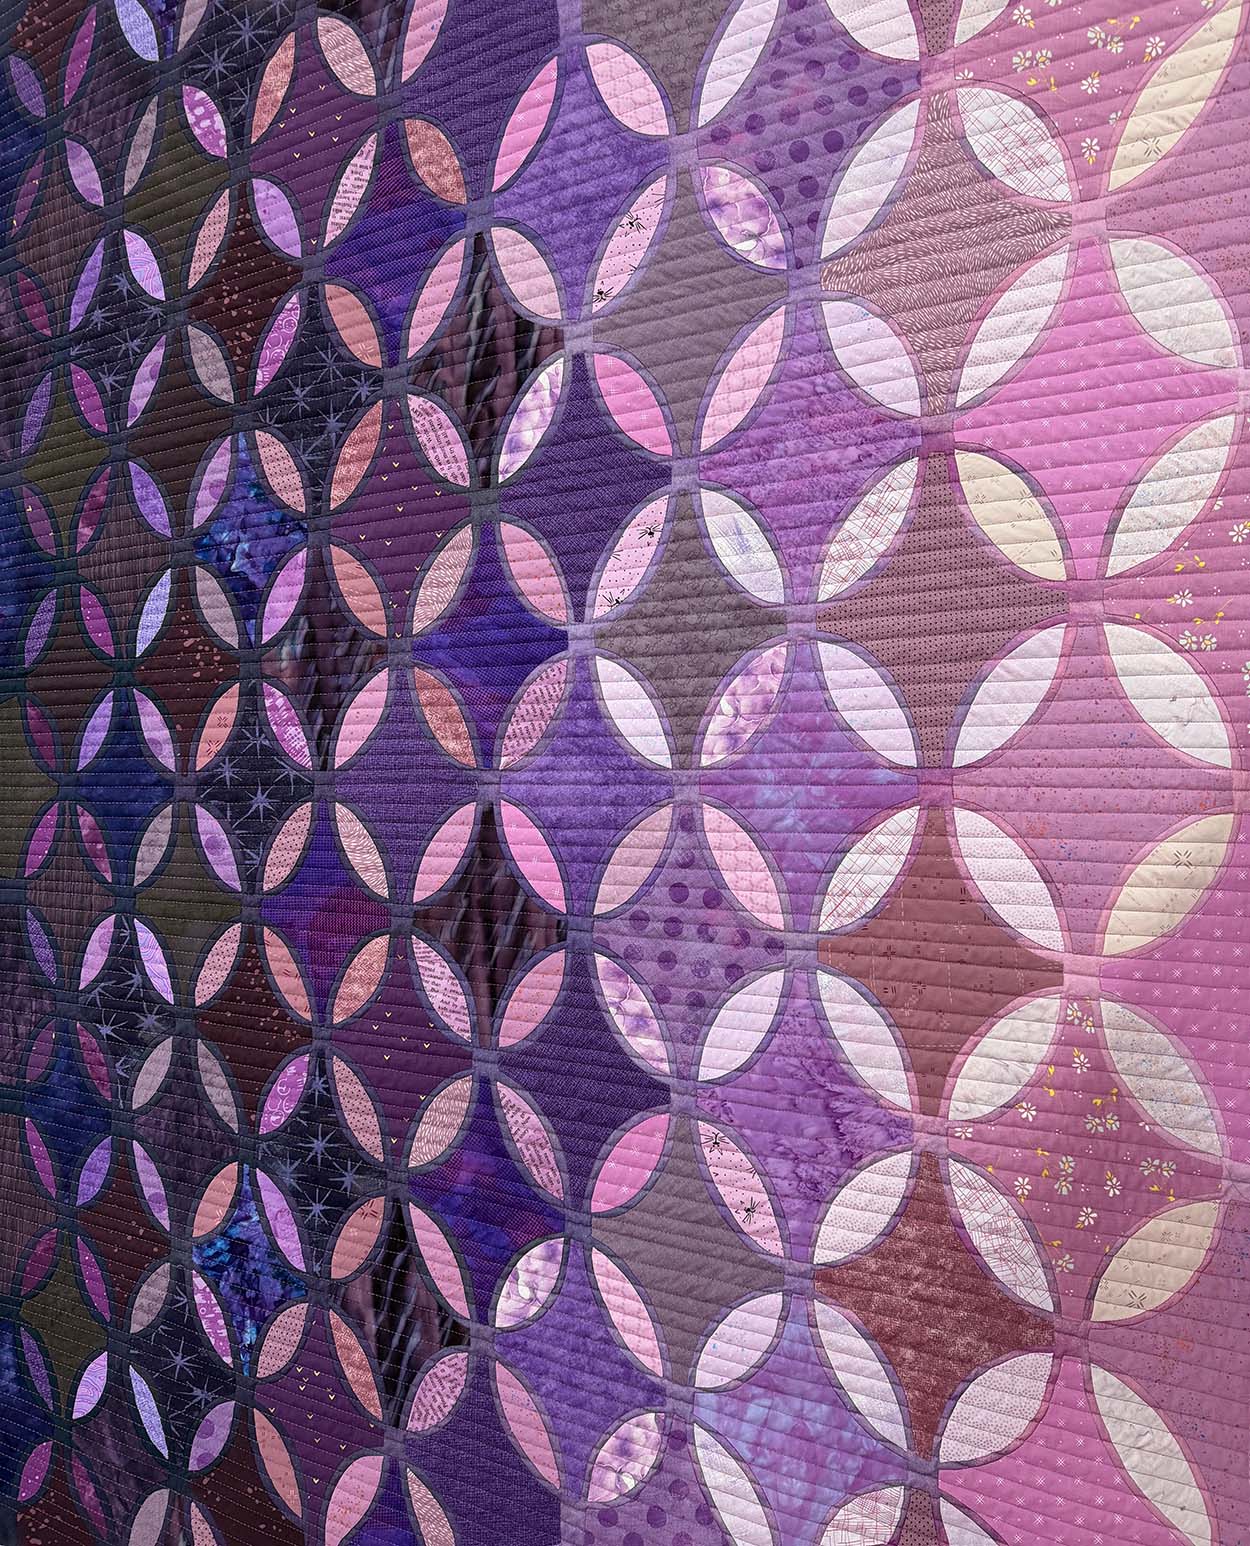
I could have stopped there, but I added one more set of lines, which altered the quilt’s texture in the most perfect way imaginable. It was definitely worth the extra work.
Edge Finish
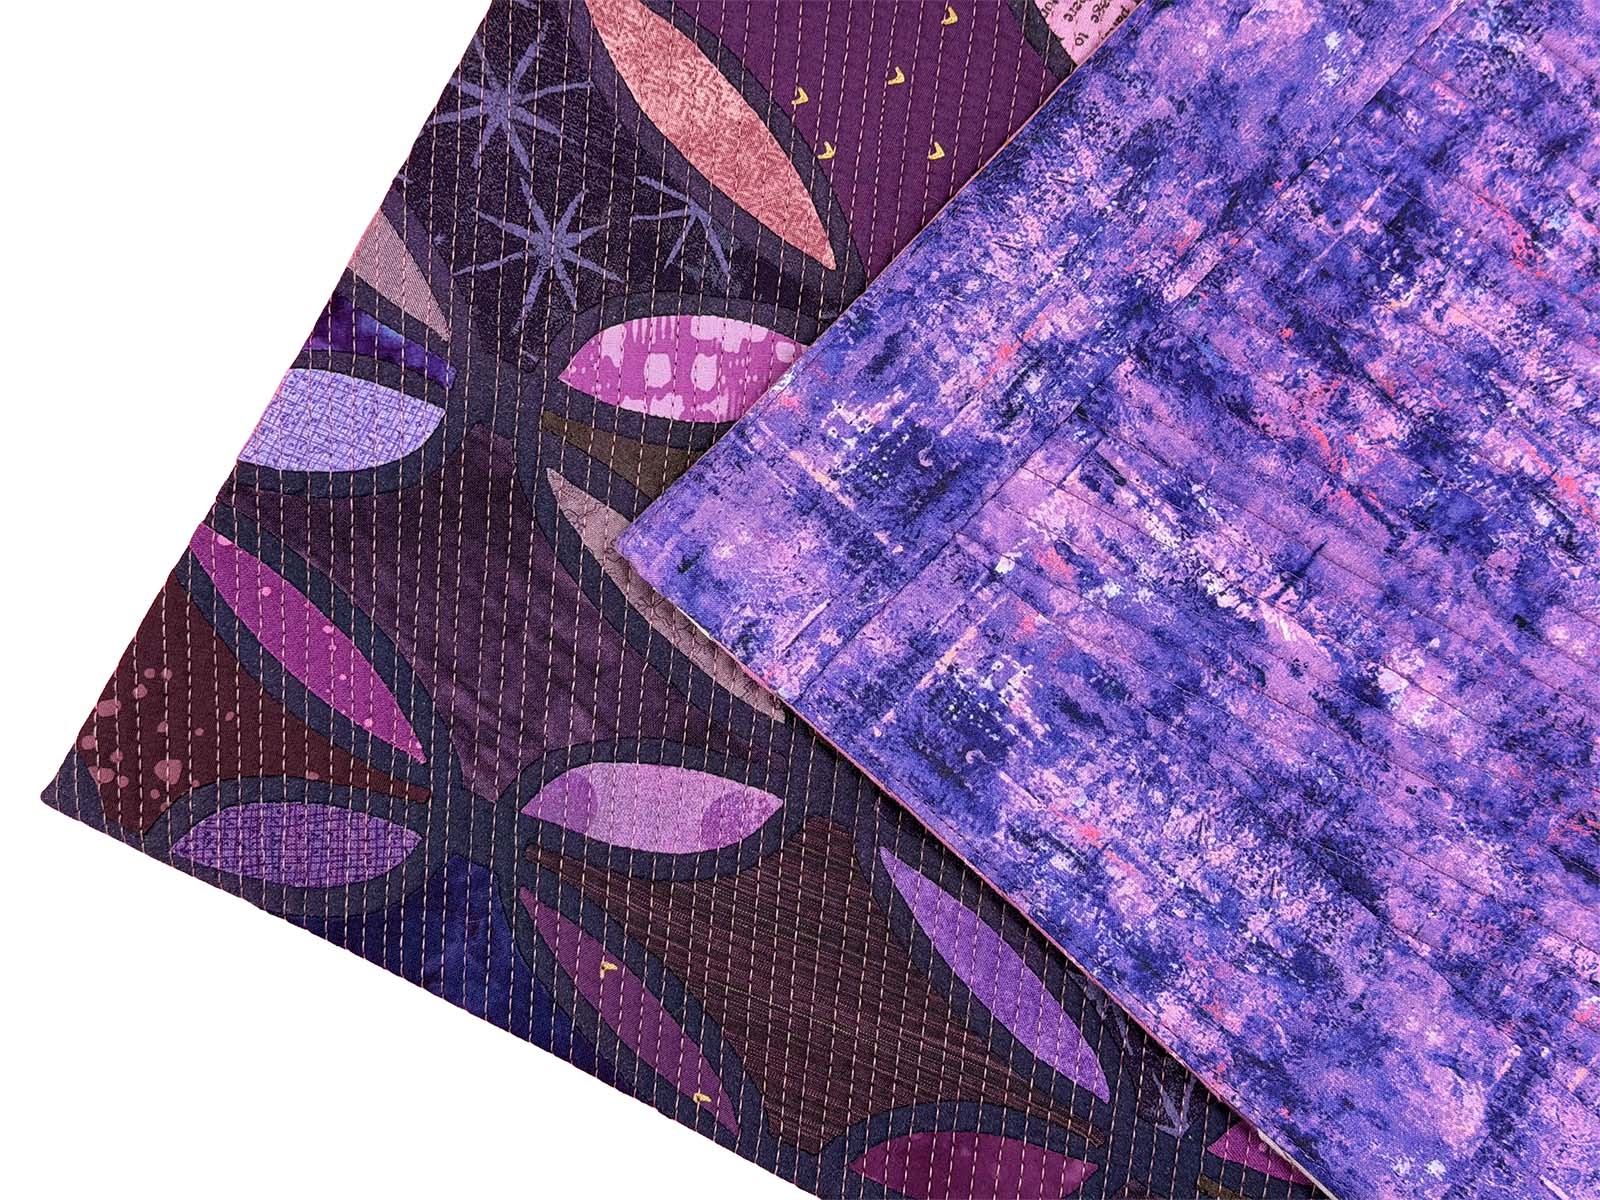
This design is intended to feel like an angled snapshot of a quilt, so I wanted to avoid the look of a framed edge. To achieve this, I went with a faced edge finish.
Quilt Show Entry
The first quilt show entry for Violet Rose is QuiltCon, which requires the following information along with three photographs:
- Title: Violet Rose
- Category: Pick-A-Color Scrappy Challenge
- Size: 38” x 46”
- Techniques: Facing/faced binding, Hand appliqué, Machine quilted without a frame (domestic), walking foot quilting
- Materials: Cotton fabric, Cotton thread, Cotton/wool batting
- Description: My favorite quilt photographs are often detail shots taken from an angle that captures a dramatic perspective of the design. In Violet Rose, I set out to create a quilt with a forced perspective effect that evokes the feeling of these photographs while looking at the design straight-on. Basing the design on the traditional pieced block, White Rose, emphasizes the perspective through repetition, while appliqué, rather than pieced construction, further transforms the traditional design.
The three photographs must include a full view of the quilt and a detail image. Starting last year, they also now require a detail shot of the quilt’s edge.
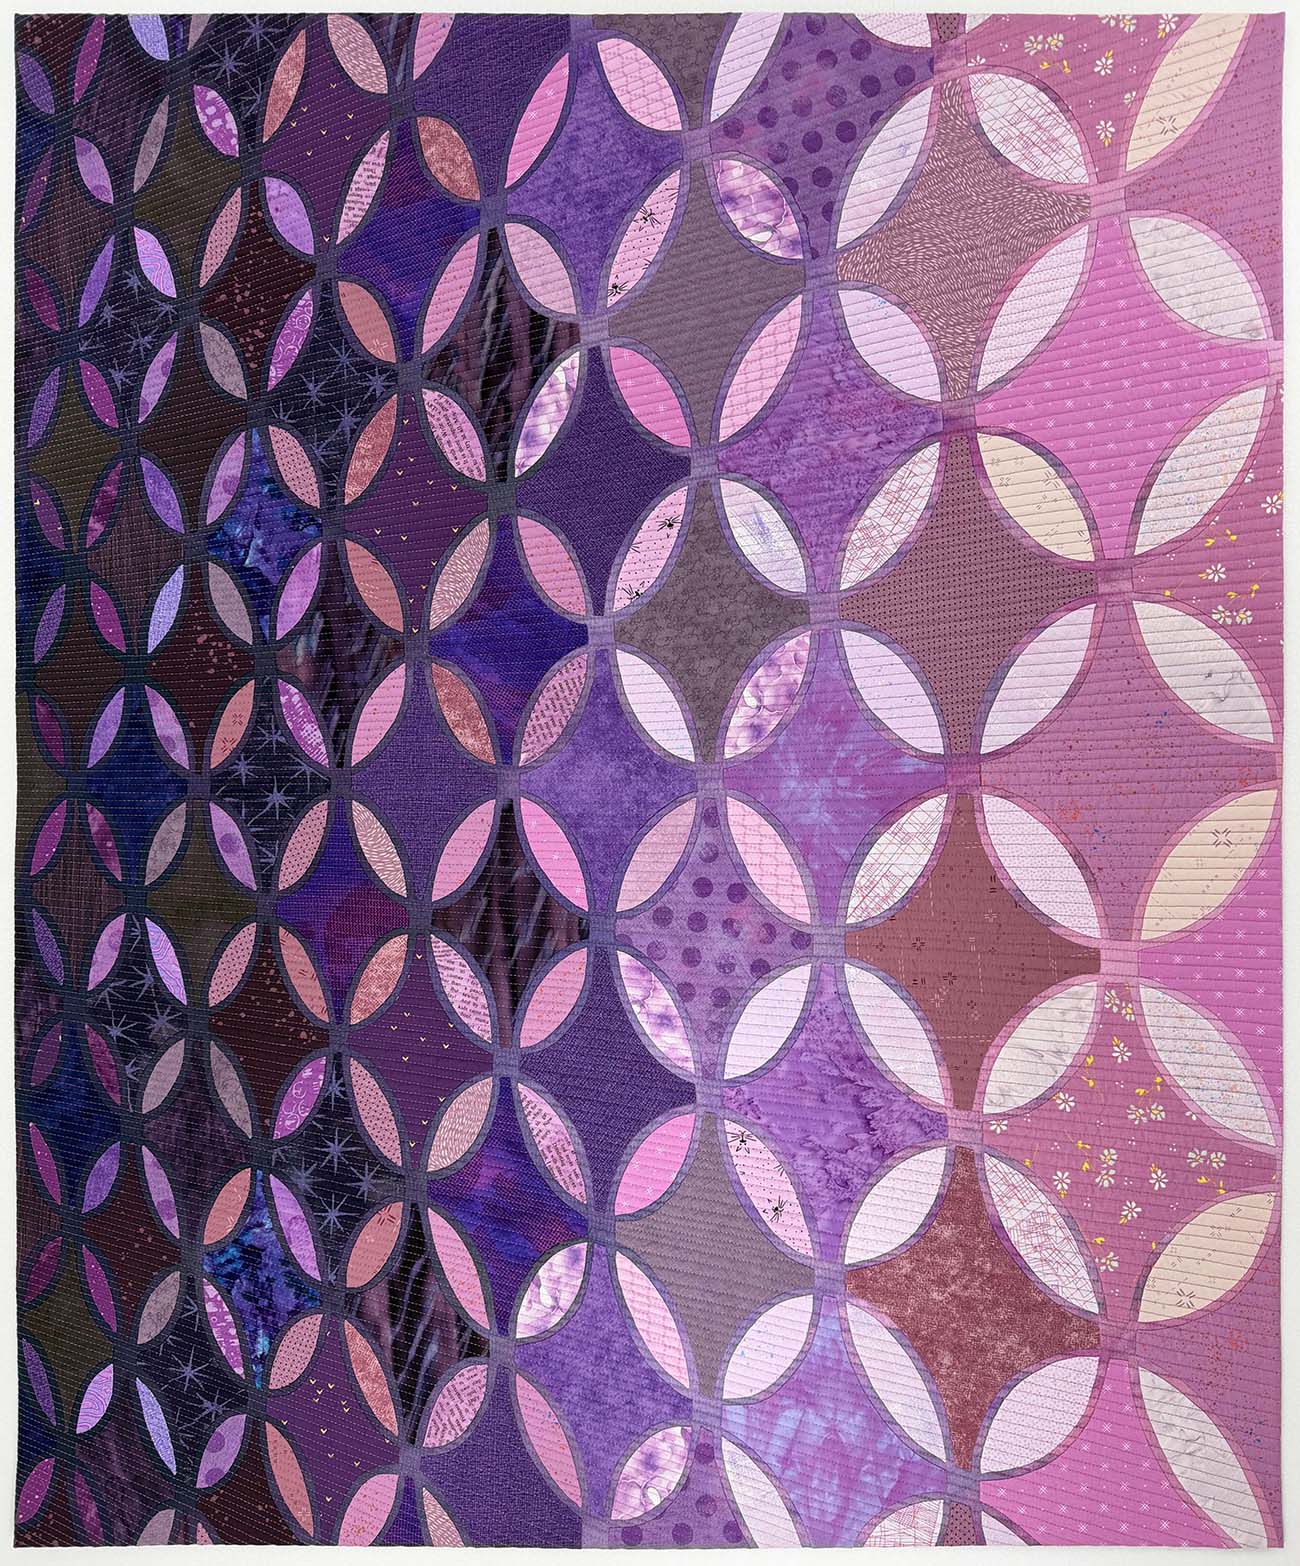
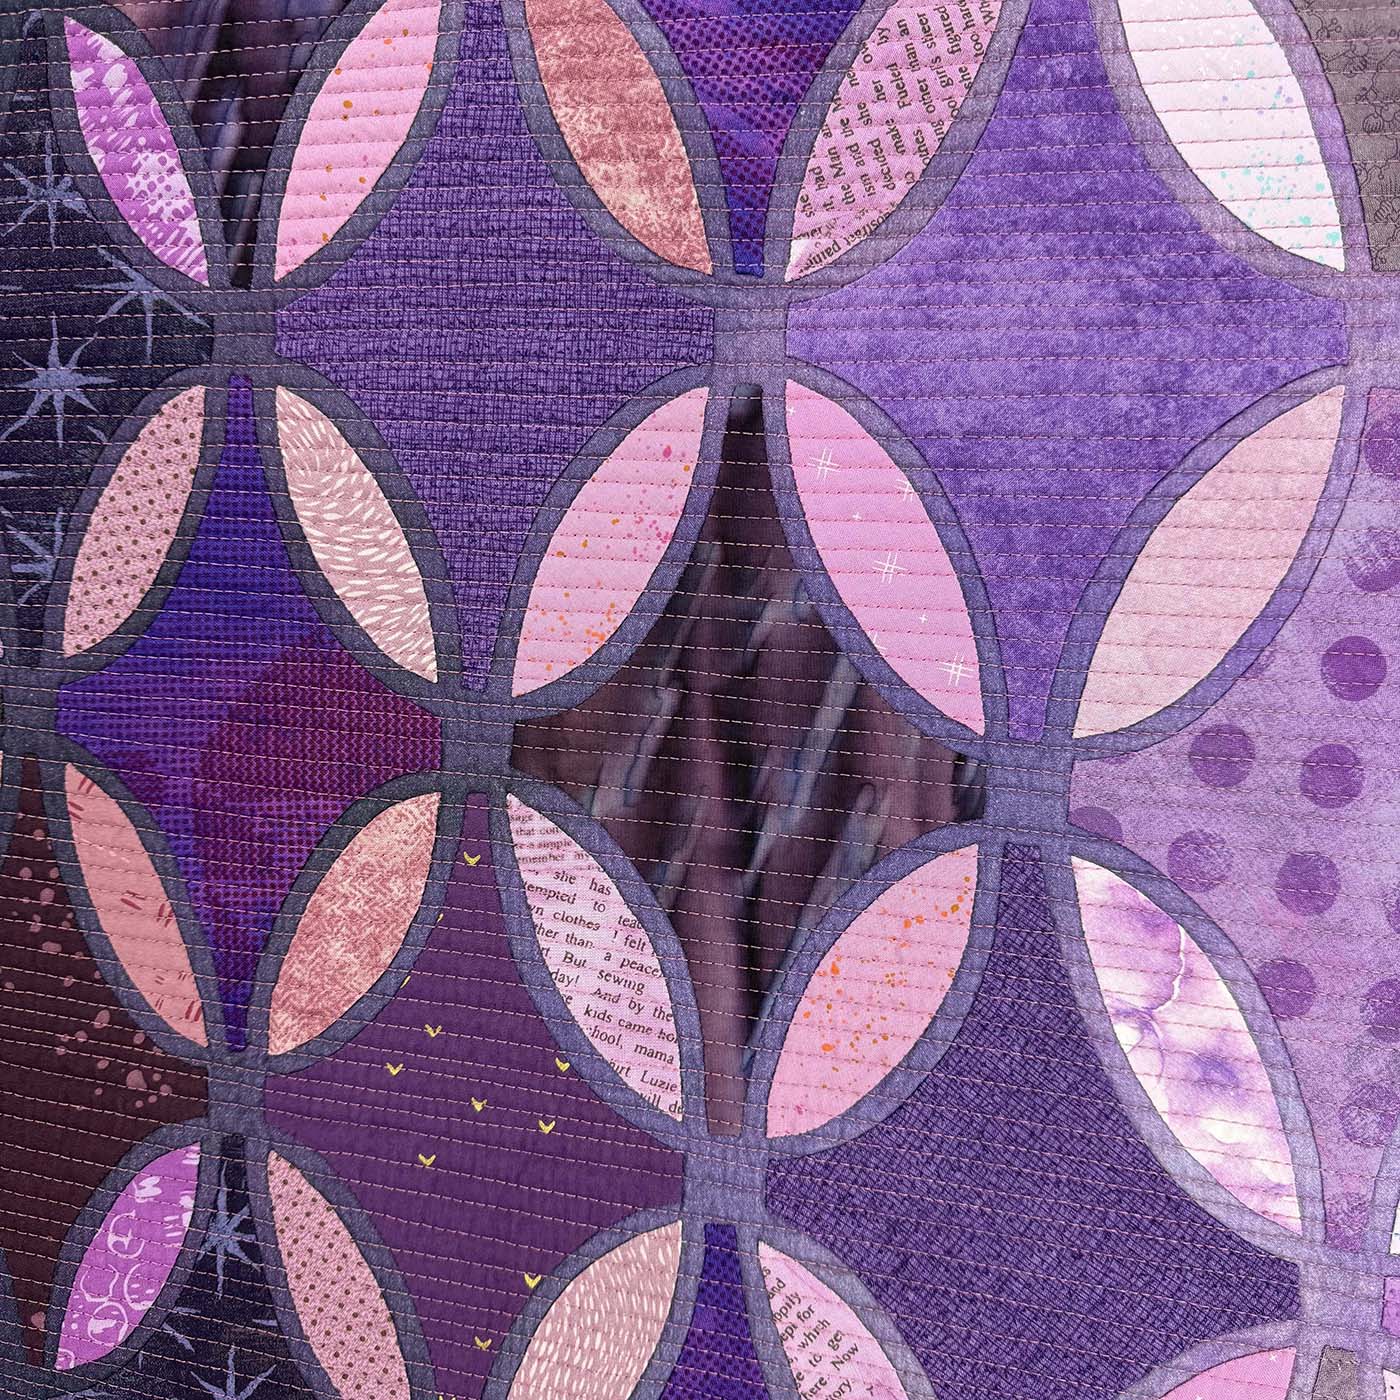
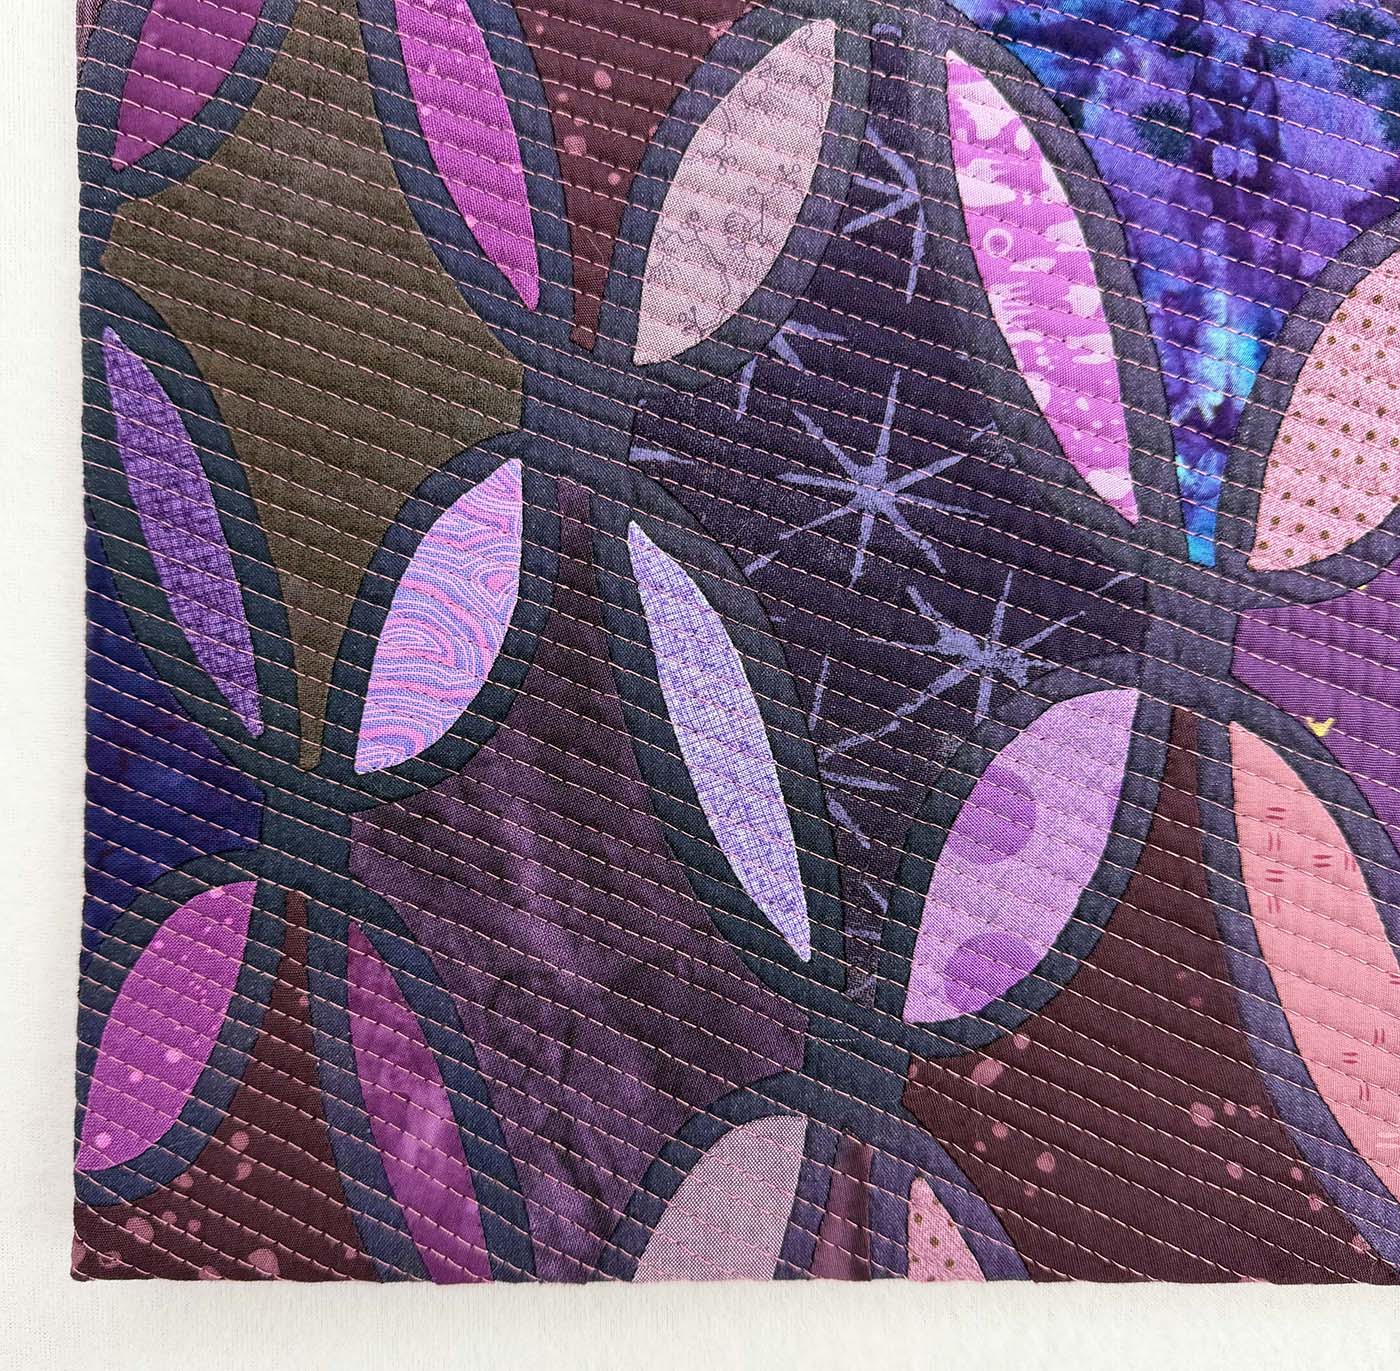
Violet Rose is one of the four entries I submitted for consideration in QuiltCon 2027. You can see the other entries here.
Quilt Stats
- Title: Violet Rose
- Size: 38” x 46”
- Techniques: Hand appliqué
- Quilting: Walking Foot quilting on a BERNINA 770 QE PLUS
- Fabric: Violet prints and solids from my stash (and some that I purchased to fill in the color gaps)
- Batting: Hobbs 80/20 Cotton/Wool blend
- Thread: 50-weight Aurifil in a variety of colors for the appliqué and in 5003 for quilting
- Edge Finish: Facing


No Comments