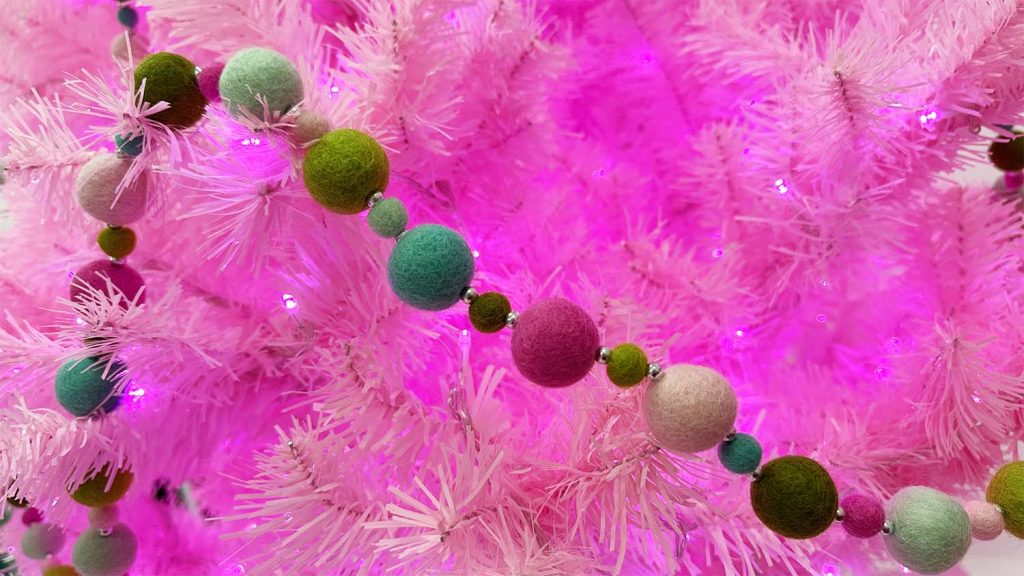
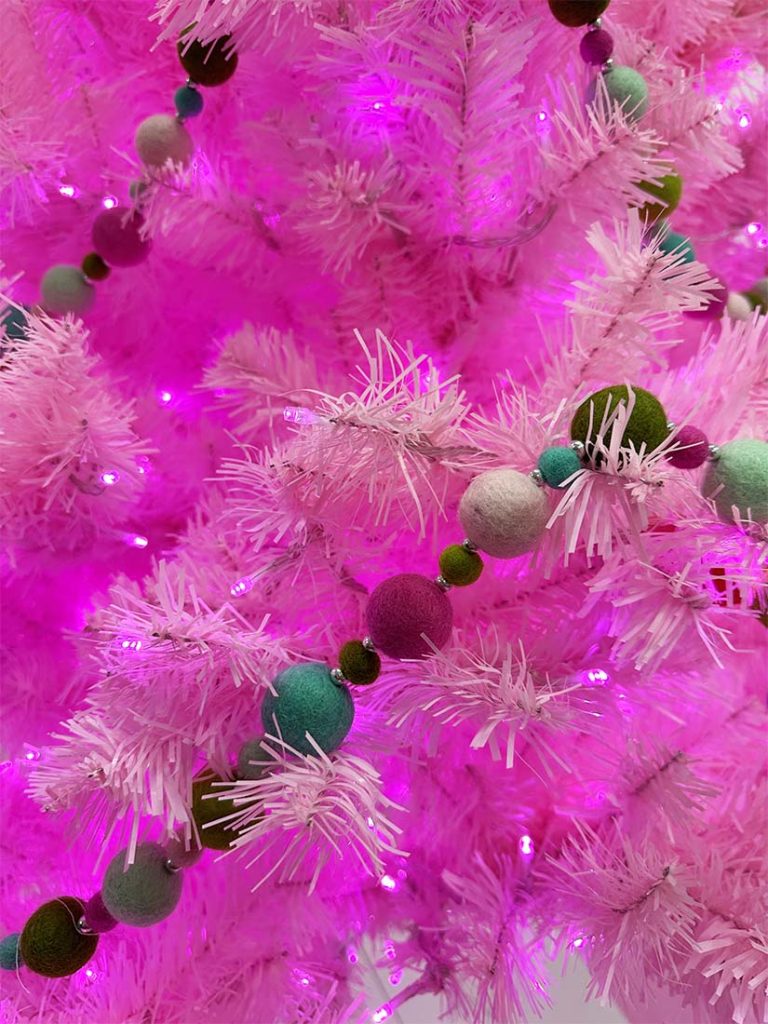
It’s time to go all-in with the holiday decor around here, and I’m embracing the fakeness of my fake tree—it’s pink with pink lights and pink, turquoise, green, and red ornaments.
All I needed was a garland to round out the decorations, so I made the pom-pom garland I had wanted for years!
(This post includes some affiliate links. If you click on an affiliate link and choose to make a purchase, I receive a small percentage of the sale at no cost to you. These funds help keep this blog running and content FREE for everyone!)
Supplies and Tools for a Pom Pom Garland
Would you like to make a pom pom garland, too? Here’s what you need!
Supplies
This garland section finished at 153 inches, so I’ll need to make more for next year to encompass my 7.5-foot tree.
Note: If you need help determining how much garland or how many ornaments you need for your tree, check out this Ultimate Guide to Tree Decorations.
Pom Poms
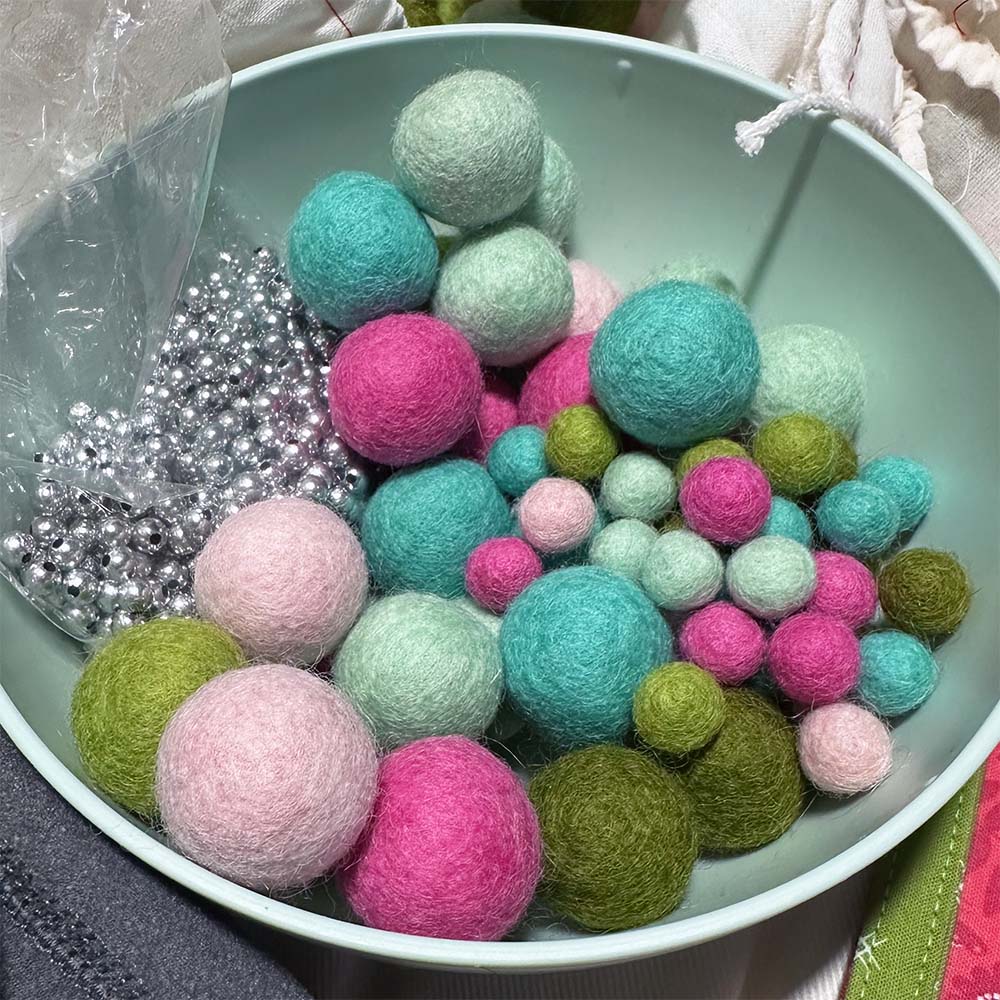
Size variation adds visual interest to almost any design, so I chose medium (1″) and extra-small (1/2″) pom poms from Benzie Designs for this garland. Each bag contains 50 pom poms, and I started with two bags of each size.
My Christmas tree is light pink, and I use a palette of pink, turquoise, green, and red ornaments. I selected a pre-mixed package of pom poms in the Glitter & Glass Palette, but there are many pre-mixed palettes to choose from. You can also buy individual colors to create your look.
Beads
Shiny moments are fantastic on Christmas trees because every time the twinkle lights hit a reflective surface, it amplifies the light’s impact.
I picked up 6mm plastic silver beads for this garland from a local craft store.
Thread
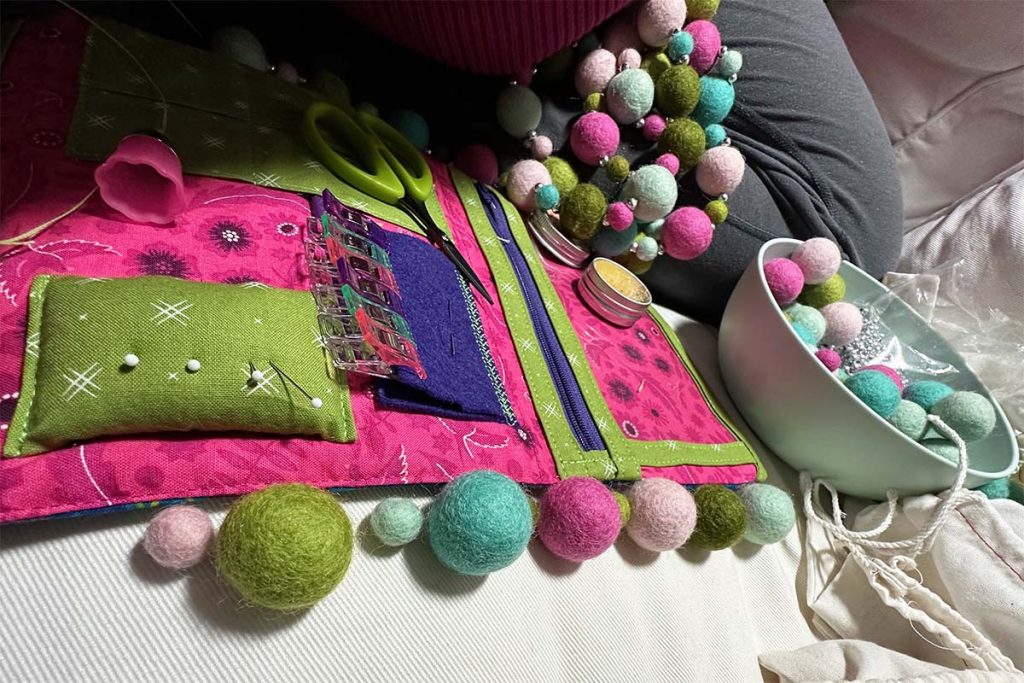
You’ll want a heavy-weight thread to string your pom poms. I used a double strand of Aurifil 12-weight thread for my garland, but something heavier, like 8-weight thread or embroidery floss, would also work well.
Tools
Needle
I suggest a needle at least 1/2″ longer than your largest pom pom. I used a longer needle in my general sewing kit. If you are buying a needle specifically for this project, try a darning needle because of the length and the size of the needle eye.
Scissors
Small, sharp scissors or snips are perfect for this project.
Thread Gloss
Technically, this is optional, but thread gloss prevents knots in your thread. If you are doubling your thread, like I did, running your thread through the wax also helps the two separate strands behave as one.
Thimble
Since I typically sew with a thimble, I also used it for this project. My favorite thimble is also designed to use the soft silicone portion as a gripper if your needle gets stuck trying to sew through a pom pom.
Constructing the Pom Pom Garland
Once you have all your materials ready, making the garland is straightforward and fun- the perfect activity to do in front of your favorite holiday movie!
Determine the Pom Pom Placement
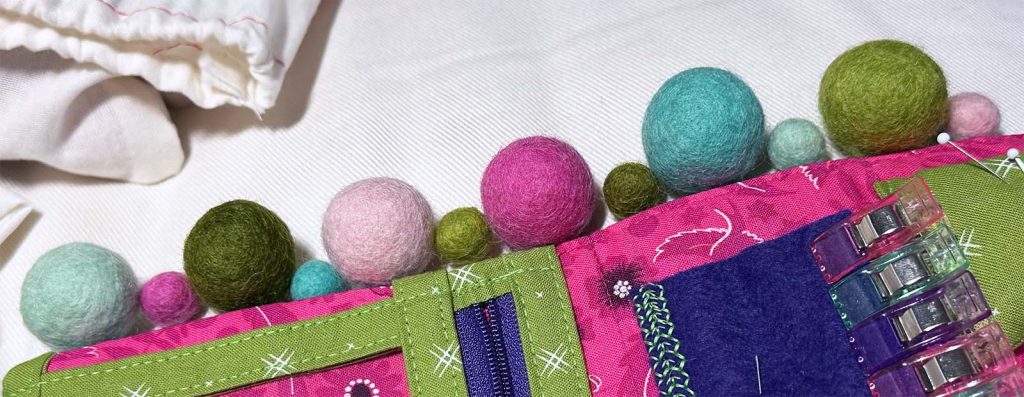
Start by taking one of each pom pom color and size and placing them in the order you want to string them. Keep this set of pom poms out as a placement reference as you string the garland, and use it at the very end to finish the garland.
Stringing the Pom Poms
Stringing a pom pom garland is one of the few sewing projects that requires a ridiculously long piece of thread. Since I doubled my thread, I started with a piece almost 10 feet long. When folded in half, this gave me about 5 feet of thread.
Once folded in half, run the thread through your thread gloss. Then, trim the cut ends of the thread to the same length and feed them through the eye of the needle. Tie a knot at the folded end of the thread, and now you are ready to string your garland.

Starting the Garland
Having your knot toward the central part of the garland instead of an end makes the garland more secure. To secure the first pom pom, stitch through the center of one pom pom and feed it to the knot in your thread. Add a bead to the thread and stitch back through the pom pom from the bead side to the knot side. (If you are not using beads, take a good-sized stitch on the the side of the pom pom opposite the knot.)
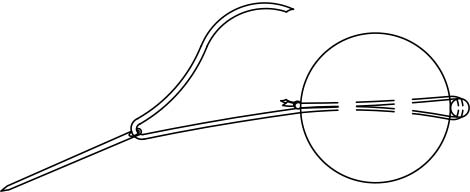
Now, you are ready to string your pom poms and beads. I used a large pom pom, a bead, a small pom pom, and another bead, and then I returned to a large pom pom. You can personalize your design by varying the sizes and order of your components.
Finishing a Section
When you come to the end of your thread, you don’t want an exposed knot at the finishing end of your garland. To prevent this, string your final pom pom onto the strand, followed by the final bead. Feed your thread back through the pom pom and tie a knot. To hide the thread tail and prevent the knot from catching on anything, feed the thread through the next couple of beads and pom poms, ending with a pom pom. Clip the thread tail to finish your garland section.

Adding to the Garland
You can make all of your garland sections separately, or you can make continuous pieces. To add to your garland, prepare the new thread section and feed on your first pom pom. Instead of adding a new bead, feed the needle through the final bead of the previous strand before stitching back through to the knot side of the new pom pom. Now, you are ready to add to your garland!

Other Holiday Inspiration
Are you ready for some more holiday inspiration? Here are some ideas to get you started:
Decor Inspiration
- Festive Christmas Quilt
- Decadent Stocking to hand by the fire
- Folded Fabric Ornament
- Easy Fabric-wrapped ornament
- Aurifil Thread-Inspired Cookies
Hand Crafted Gift Inspiration
- Zipper Pouch from Upholstery Samples
- Mug Rug from Extra Quilt Blocks
- Fun Panel for a Quick Kid’s Quilt
- Useful Cord Pouch



3 Comments
Fran
December 14, 2024 at 7:14 pmI like your garland. Did you use all the Poms in both bags of the two sizes that you purchased? How long was it in the end? Thanks.
12 DIY Home Decor Easy Bedroom Craft Ideas for a Stylish Space
May 29, 2025 at 11:40 am[…] String those together in any color combo we love—easy! If you need a visual, check out this pom pom garland guide. […]
27 Inspiring Dining Room Window Treatments to Transform Your Space | Stylish Ideas & Designs
July 14, 2025 at 10:34 pm[…] from a variety of fringe styles, including fun tassels, delicate braids, or even colorful pom-poms to ensure your curtains reflect your unique personality and design […]