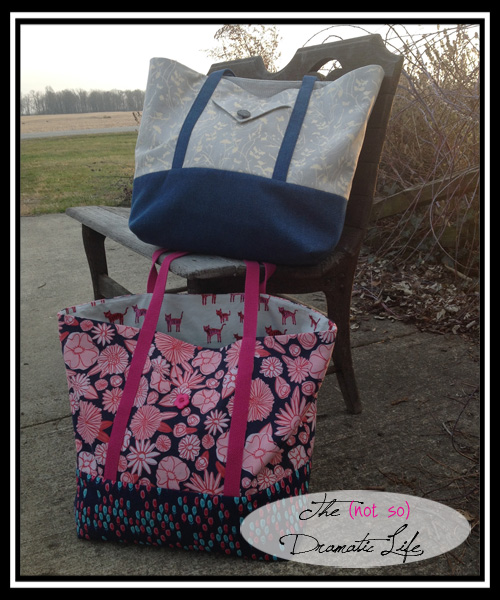
I love this tote bag! I have made many of them over the years for myself and others. The best part about this particular bag is that anyone who can sew a straight line with a sewing machine can make this tote! This is often the first project I have students (most of whom have never sewn anything) take on while learning to sew.
This is going to be a five part tutorial, with one section coming out each week. I am putting in a lot of pictures and directions, so some of these posts will be lengthy- but hopefully in a good way!
Who is this tutorial intended for?
- A beginning sewist who would like to improve their skills. (For the purposes of this tutorial I am assuming that you can thread your sewing machine, sew a straight stitch and zig-zag using the machine, read a ruler, and cut a straight line)
- A quilter who has little or no experience sewing bags or garments. (This project is designed to incorporate a lot of techniques and terminology used in garment construction, so reading other patterns should be easier after working through this project)
- Anyone who wants to try making their own pattern- That’s right you will be making this bag from a custom pattern that you will create to fit your needs!
What will each section of the tutorial cover? (Links will be provided as posts become available)
- Part 1: Gathering Supplies (You’re here now!)
- Part 2: Drafting Your Pattern
- Part 3: Cutting the Fabric
- Part 4: Assembling the Bag
- Part 5: Finishing Techniques
Are you on board? If so, you will want to start gathering the following supplies. I often list what I use, and then follow up with one or two other options. Just choose the material you are the most comfortable using. If you have questions please leave a comment or email me, and I will do try to help you figure out what you need.
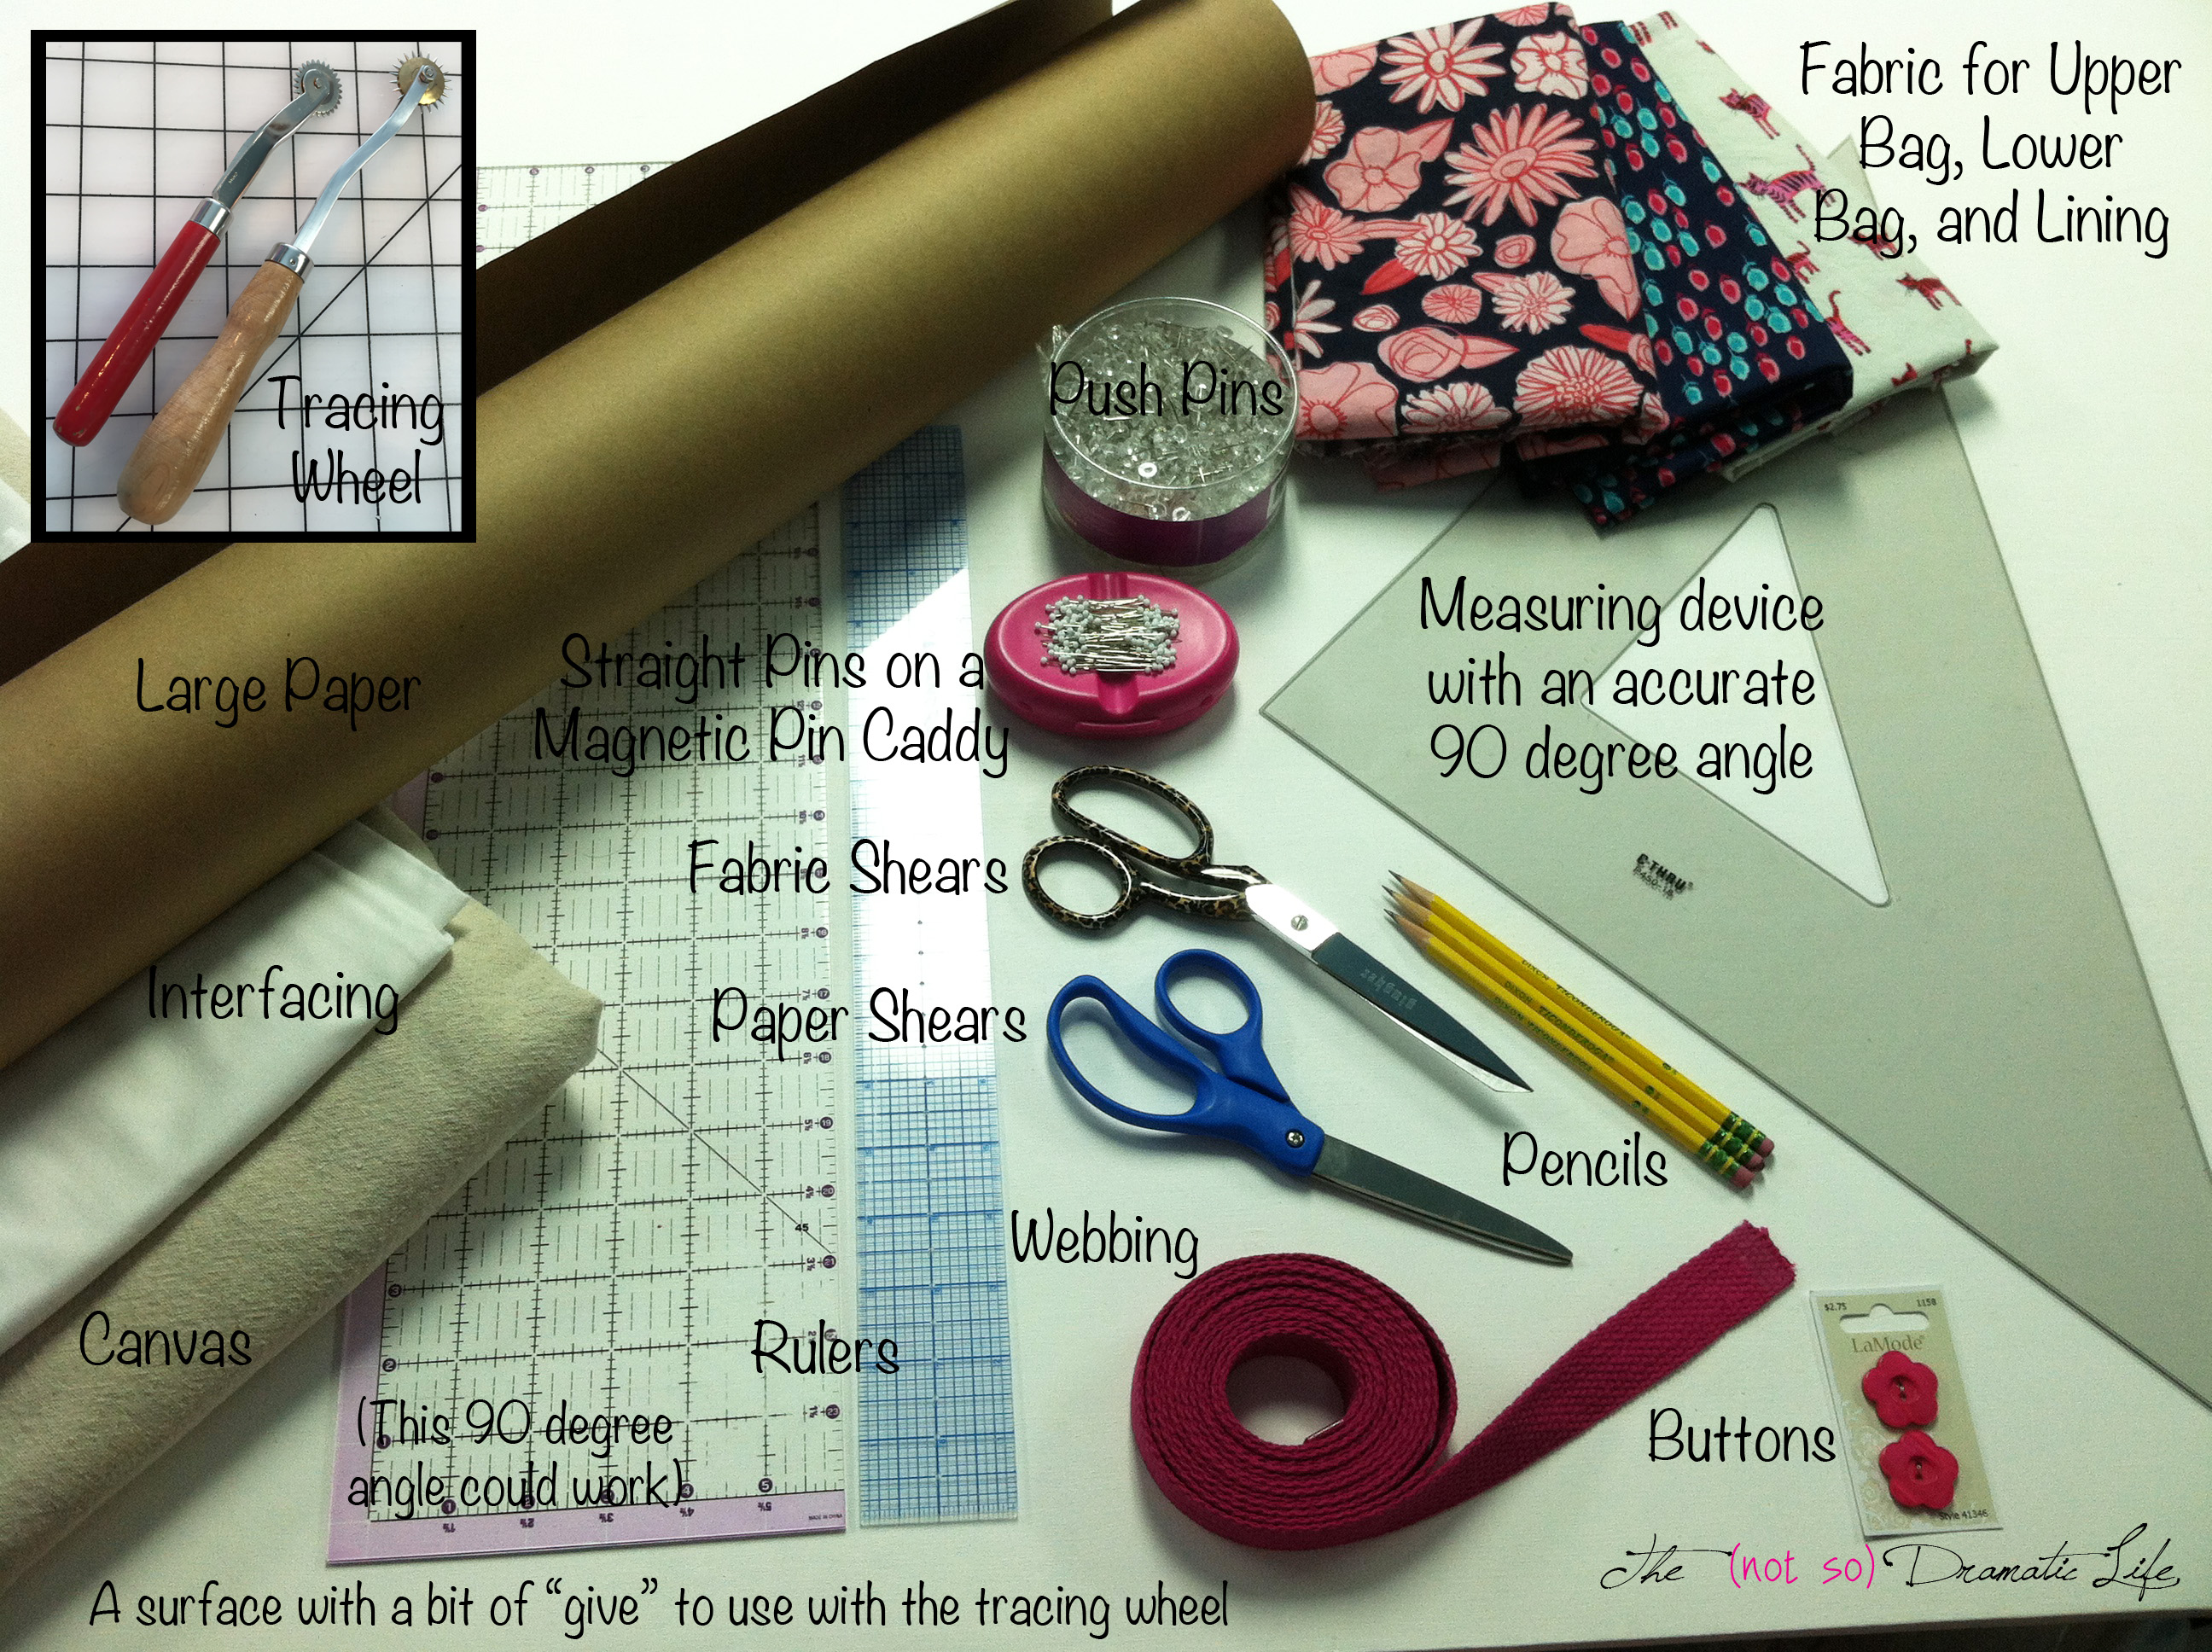
For Drafting your pattern you will need:
- Large paper- I keep a roll of brown paper on hand to make patterns. It was purchased in the paint area of a big-box hardware store. You can also use something like freezer paper or tape together several sheets of printer/notebook paper if you don’t want to purchase a roll of brown paper.
- A ruler with clear and accurate measurements. I usually use a 2″x18″ gridded ruler found in most art, drafting, or sewing stores. You can also use a good rotary cutting ruler or metal ruler.
- A 90º Angle- I usually use a large drafting triangle. Other possible options are a tailor’s or framing square or a square rotary cutter ruler (the larger the better).
- A couple sharp pencils
- A good eraser
- Tape- transluscent is best, but masking could work in a pinch. I like a matte finish because it is easier to write over should the need arise
- Tracing wheel / Pounce wheel / Perk wheel / Spiky-Wheel-of-Death. I’ve heard this called a few things, but make sure you have one with pokey edges (the smooth wheel won’t work for this project)
- A surface with a bit of give. My table is covered with a painted, muslin covered piece of homasote. Homasote is a construction material originally intended to function as a sound barrier, but it can act as a low cost bulletin board since it is firm and still easy to push a thumb tack into. A cork board placed flat on the table or a piece of foam core are also plausible options.
- Scissors suitable for use on paper
- push pins
For cutting and constructing your bag you will need:
- Ruler, pencils (or other marking device that will show up on your fabric), perk wheel, surface with a bit of give, and push pins from the list above.
- Straight pins- whatever size and type you prefer. I use size 21 with glass ball heads.
- Container or pin cushion for straight pins
- Fabric Shears
- Tracing Paper (the type with a colored chalk or waxy coating on one side and plain paper on the other) I like using large sheets of tracing paper in light blue that I get from Richard the Thread. (Not a sponsored post- I just really like this tracing paper for bag and garment projects!) For this project you don’t necessarily need to make that kind of investment, the small sheets from most large sewing stores are ok.
- 1 yard quilting cotton for upper section for the bag exterior (this is an ample amount- the actual amount may be less depending on the bag size you choose and type of print)
- 1 yard quilting cotton for lower section of the bag exterior (this is an ample amount- the actual amount may be less depending on the bag size you choose and type of print)
- 1 yard quilting cotton for bag lining (this is an ample amount- the actual amount may be less depending on the bag size you choose and type of print)
- 1 yard cotton canvas or cotton duck: You will never see this fabric in the finished bag, but it add structural integrity to the bag. If you would like a less expensive option, I have had success using a canvas drop cloth from the paint section of a hardware store. (I will be posting a tutorial for preparing a canvas drop cloth for sewing projects)
- 1/3 yard of fusible interfacing, woven if possible. I typically use Pellon Shape Flex Woven Fusible Interfacing that is generally available at big box sewing stores.
- About 3 yards of webbing for your bag handles. I usually use cotton webbing 1″ in width.
- 2 Buttons
- Thread to match (or coordinate with) bag exterior and bag lining.
- Hand sewing needles and beeswax or Thread Heaven (as desired)
- Sewing machine with bobbins, needles, etc.
I am really excited to share the process of creating this bag, and I hope you will enjoy making this skill building tote!
This post is linked up with WIP Wednesday at Freshly Pieced, and Tip and Tutorial Tuesday at Late Night Quilter. Please stop by to see all of the beautiful projects being created.

8 Comments
Jasmine
January 21, 2015 at 10:59 amHow fun! I have taught some of my nieces to sew by making a tote bag before as well.
Tote Bag Tutorial Part 2: Creating the Pattern | The (not so) Dramatic Life
January 28, 2015 at 2:01 pm[…] Part 1: Gathering Supplies […]
Preparing a Canvas Drop Cloth for Use in a Sewing Project | The (not so) Dramatic Life
February 2, 2015 at 10:32 pm[…] projects, but tends to be sort of expensive (for what it is) in the big-box craft stores. In the tote bag series I am currently writing, canvas is used to add strength to the project. I thought I would share […]
Tote Bag Tutorial Part 3: Cutting Out Your Bag | The (not so) Dramatic Life
February 3, 2015 at 11:36 pm[…] Part 1: Gathering Supplies […]
Stephanie@LateNightQuilter
February 17, 2015 at 2:23 pmI’m so excited to see this series of tutorials! What a great resource. I swore off bag-making last week with my 8 zipper purse that made me cry. But you had me when you said that this is the project you recommend for newbies. Maybe I just need to go back in time and use your tutorials, and chillax a bit to bring the fun back into bag-sewing. I hope you’ll keep linking up your series over at my Tips and Tutorials Tuesdays as the weeks go by. Thank you so much!
Tote Bag Tutorial Part 5: Finishing Techniques | The (not so) Dramatic Life
February 18, 2015 at 12:22 pm[…] Part 1: Gathering Supplies […]
2015 First Quarter Finish Wrap-up | The (not so) Dramatic Life
April 4, 2015 at 10:37 pm[…] January and February I posted tutorials on this site for patterning and constructing a personalized tote bag. I had taught this in person a few times, but I had not put it into writing before this […]
Nan Verbrigghe
October 29, 2016 at 1:47 pmThank you for posting your tote bag tutorial. Knew I had to try this project; my first attempt at bag and pattern making. Your tutorial is so well written and easy to follow – just like you were here helping me. Amazed at how much I enjoyed this project (and enjoyed your humor!).